
Aperiodic monotile or "einstein" tile with hidden tabs
We calculate the final price from your selected file. You review and accept it before payment.
Saved on this device.
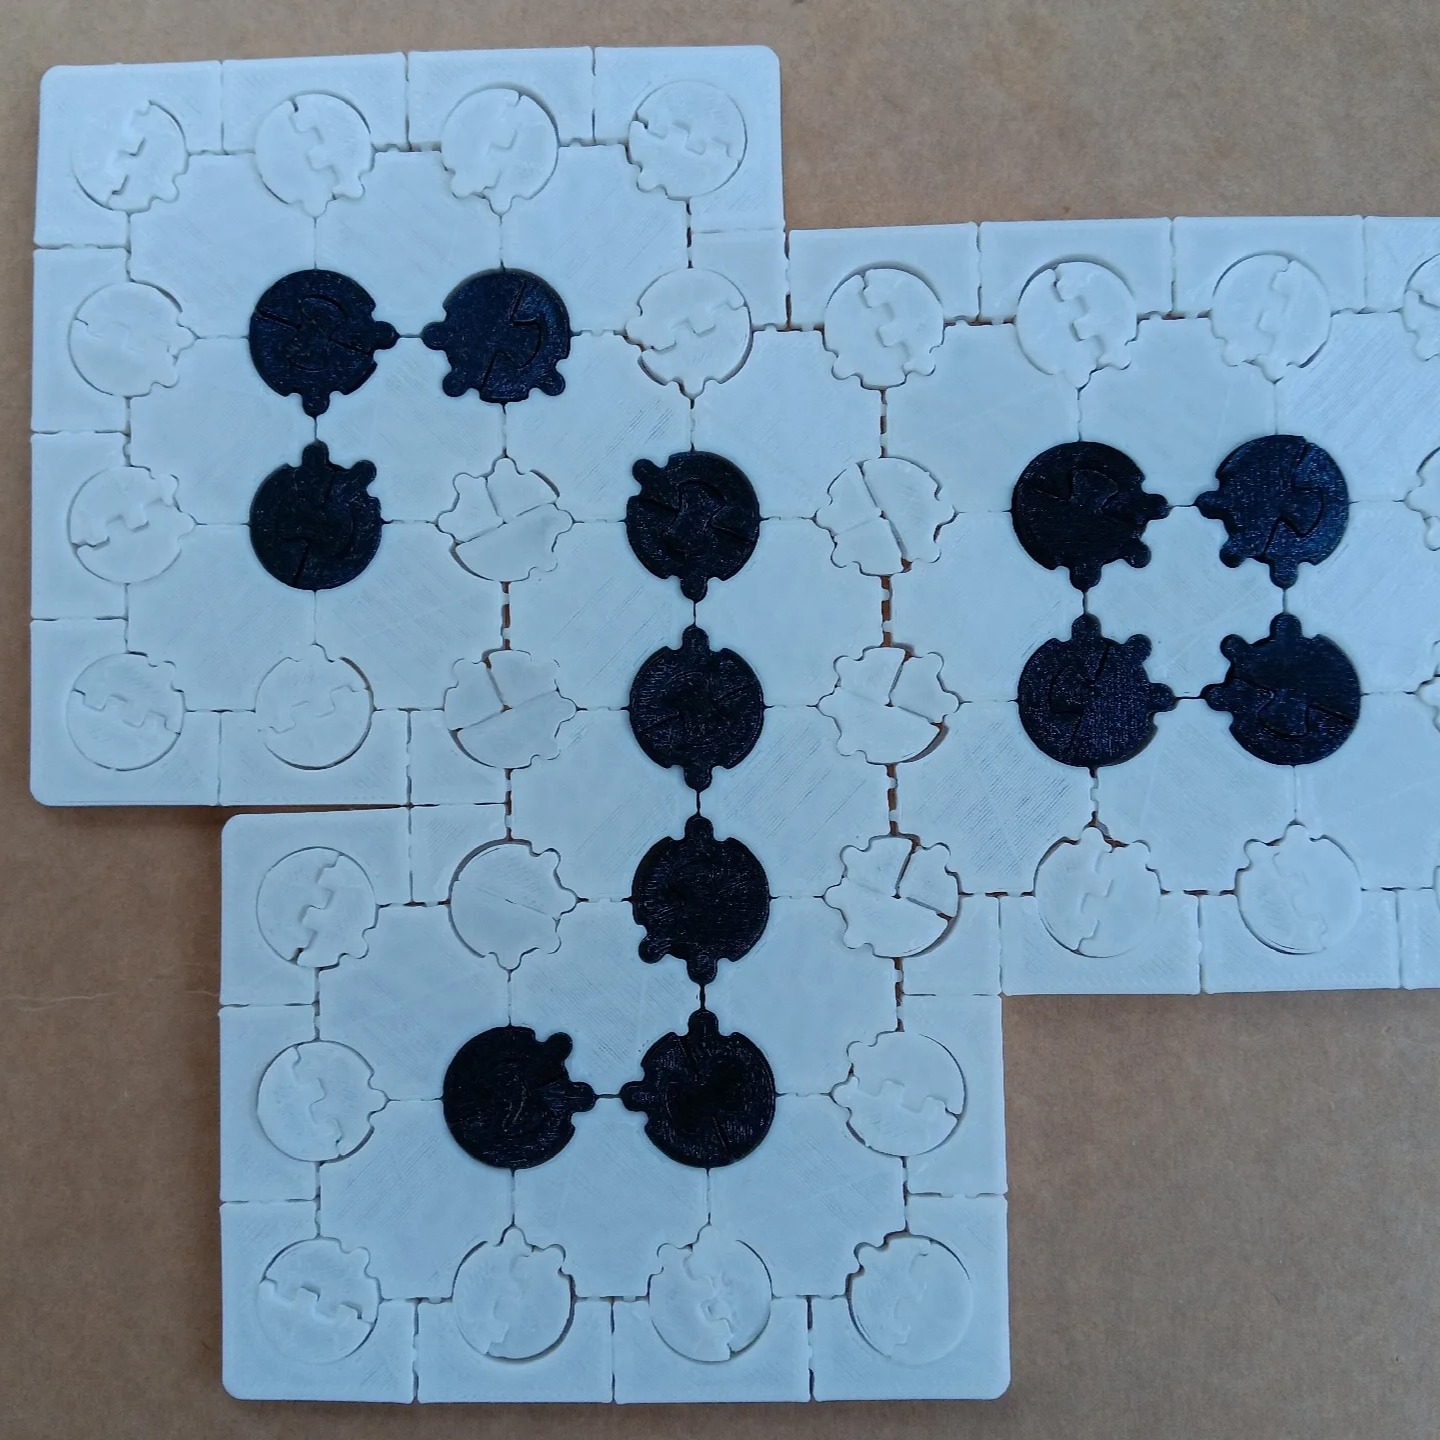
The aperiodic monotile, (or "einstein" tile) using hidden tabs so that tiles hold together and the tiling is liftable.
- Rating
- 0 / 5
- Likes
- 4
- Downloads
- 16
- Makes
- 0
- Views
- 184
- Reviews
- 0
Updated at source:
Model information
- Source
- Printables
- Category
- Puzzles & Brain-teasers
- License
- Creative Commons — Attribution — Share Alike
An aperiodic monotile was discovered in 2023 by David Smith, Joseph Samuel Myers, Craig S. Kaplan, and Chaim Goodman-Strauss. It is “a single shape which tiles the plane, and can’t be arranged to have translational symmetry.” The discoverers call the shape a “hat” (though it looks a lot more like a v-neck T shirt to me). It is also sometimes called an “einstein” tile, punning on German for “one stone" (I find this confusing, and don't like it, but I seem to be outvoted. It has nothing to do with Albert Einstein, anyway.)
My main challenge in making this printable was to produce interlocking tabs that hide under the tiles when assembled and hold them together. I use trapezoidal tabs (hexagon halves) only on the long edges of the kites that comprise the tile, and alternate them in a way that is consistent when the tile is flipped. I won't prove that this works, but you can try it yourself. The long edges pair up around the tile, with two pairs on a convex boundary and one on a matching concave boundary.
There are two reasons to assemble each tiles in three pieces.
- Most significantly, it is so that the tabs can be printed without overhang.
- It also provides way to distinguish the sides by color.
The top and bottom are held together with a dovetailed peg. I tried some other solutions. This turned out to be the most reliable. The peg has a gap to compress at the tip. It holds on a narrow section of the dovetail groove. The photos show how to fit the tiles together. As shown, you may need more than your fingertips to align the peg flush with the tile edge.
Four peg models are included here, using a range of gaps: 0.75mm, 0.9mm, 1.1mm, and 1.25mm. You only need one of them. A smaller gap is harder to fit but also holds more firmly. I would recommend printing one copy of each peg to discover which you prefer. 0.75mm does work, but it is a tight fit that will require a hard push.