1 / 3
Metal Rear Axle for OpenRC Tractor
Order a print of this model
We calculate the final price from your selected file. You review and accept it before payment.
Saved on this device.
Replacement of printed rear axle with metal 12 mm adapter with set screw
- Rating
- 5 / 5
- Likes
- 13
- Downloads
- 102
- Makes
- 2
- Views
- 631
- Reviews
- 2
Updated at source:
Model information
- Source
- Printables
- Category
- RC & Robotics
- License
- Creative Commons — Attribution — Noncommercial — Share Alike
This remix replaces the 3d printed rear axle (Part 9) with a purchased 4 mm short (18 mm long) 12 mm brass wheel hex coupling. I got mine on Ali express. 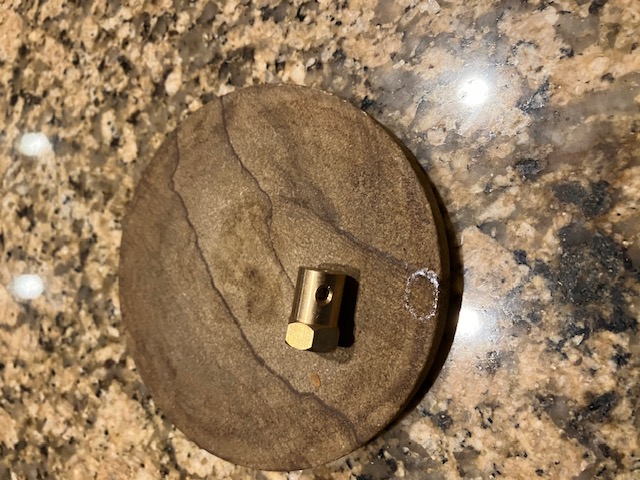
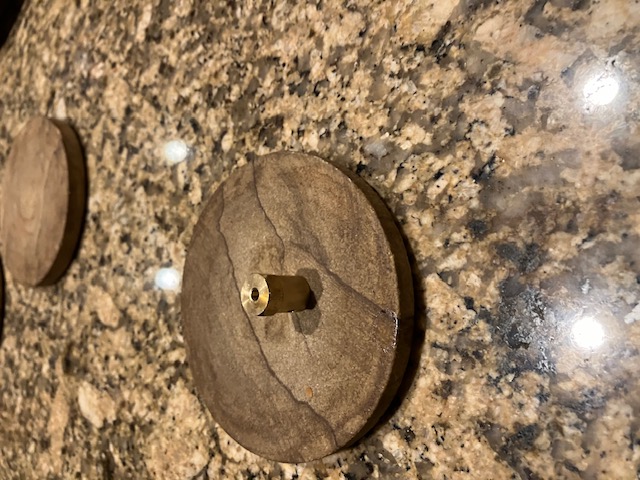
To make the remix work you'll need to replace the rear axle adapter (part 16) and the rear wheel nuts (part 20) with the files provided. You'll also need to print a small washer to keep the rear bearings in position. The new axles will each require a M4 x 10 flat head screw to mount.
- Remove the rear wheel, fender and the rear bearing cover
- Remove the 3d printed rear axle (part 9) and the rear bearing. You can dispose of the axle but keep the bearing
- Screw the set screw into the brass wheel coupling and slide the bearing to the top (hex end)
- Put the axle bearing washer on the coupling below the set screw.
- Put the coupling on the motor shaft, lining up the set screw with the flat on the shaft. (There are two set screws holes but I only used one)
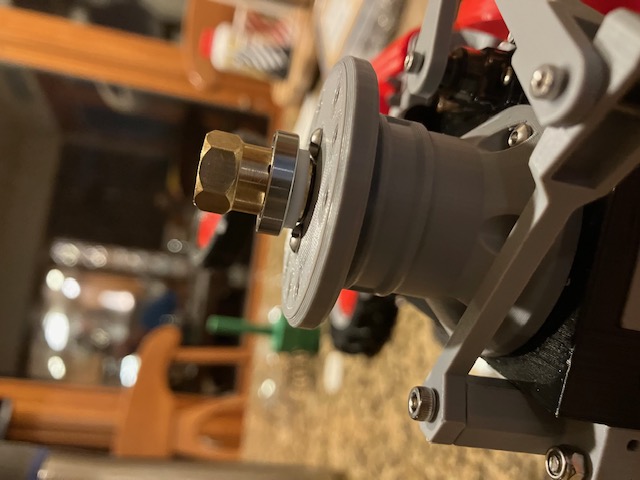
- Now holding the bearing up against the hex end tighten the set screw with the provided hex key
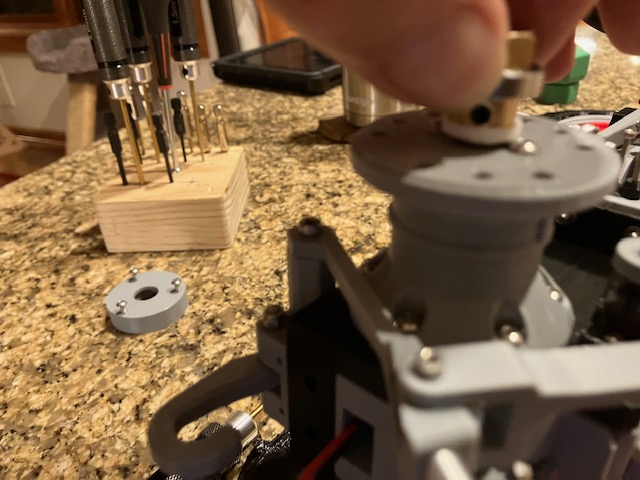
- Slide the bearing down against the washer
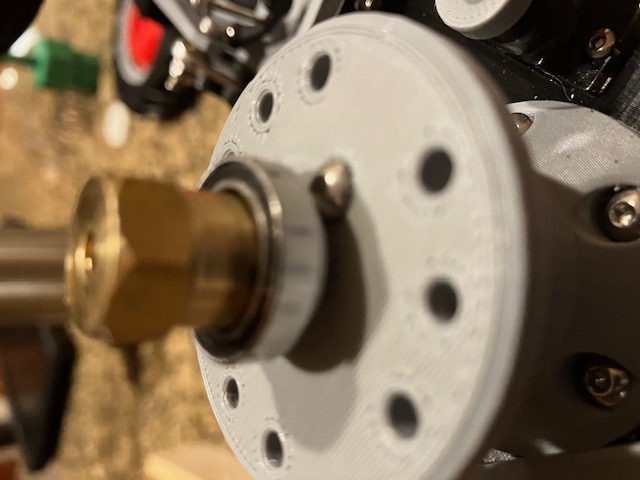
- Replace the rear bearing cover and screw it in place.
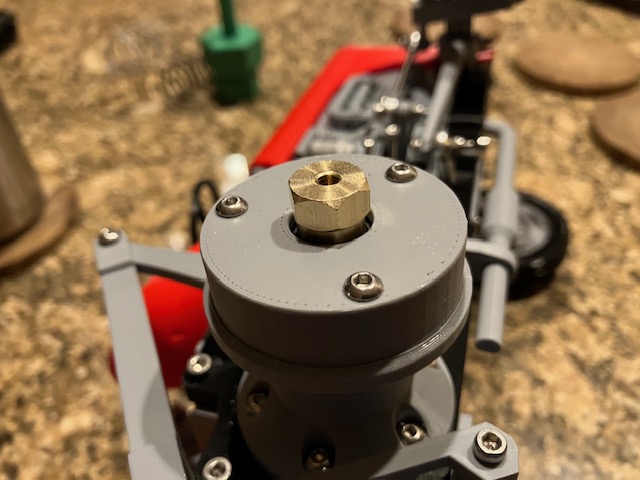
- Put the Fender back on
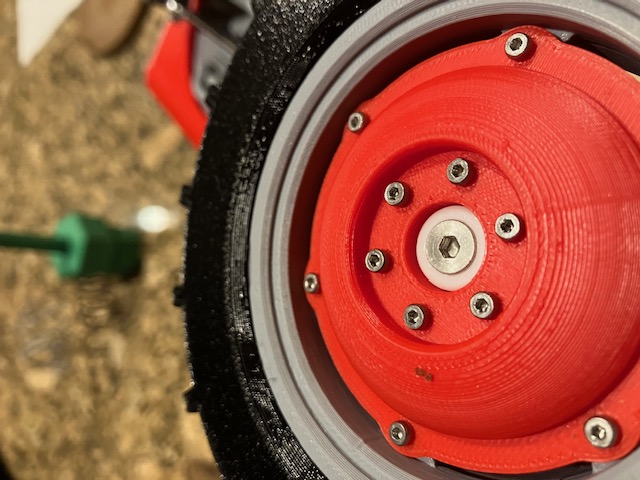
- Now replace the rear axle adapter on the back of the rear wheel with the part from this remix
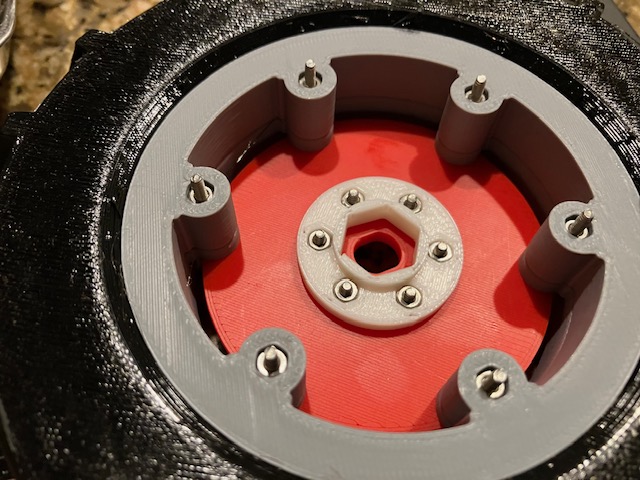
- Finally, remount the rear wheel using the revised wheel nut from this remix and a M4 x 10 flat head screw