P
PrintablesAcceptable Printing

Bolt Action Gun Fidget Toy V2.0.3
A fun way to spend your day!
- Downloads
- 1,836
- Likes
- 91
- Rating
- 5
Counting matching models…
A fun way to spend your day!
Yes, I know, it is in fact an abomination.
It has so little parts it is easy to put together, if you are confused contact me. Scale the model as big as you can in your slicer for best results.
funny thing
Need women? (or men depending on your gender) Wear this all new croc charm for free! (you have to buy filament) Court fair Maidens and leave none for your friends!
You gotta say its cool, I mean, come on!
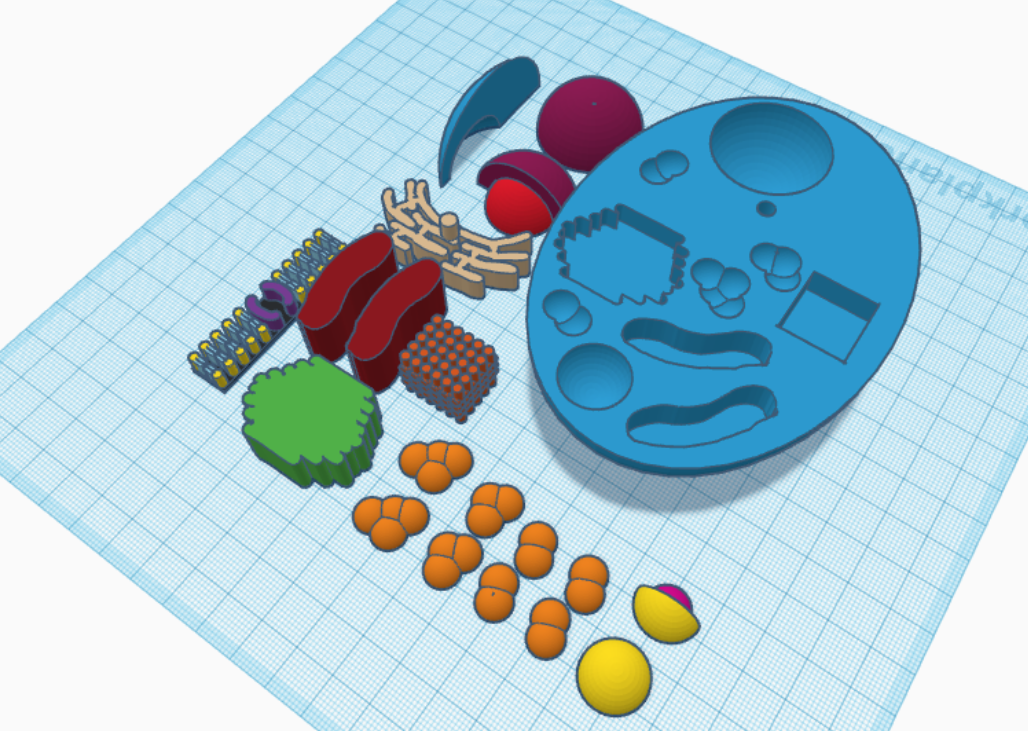
If you want the names for each one (Color coded to the main picure) are linked here: https://docs.google.com/document/d/1nL-4Wv3lX7z734L7rqBnnf0iExko6NHYxbLiUKlkP2Y/edit?usp=sharing
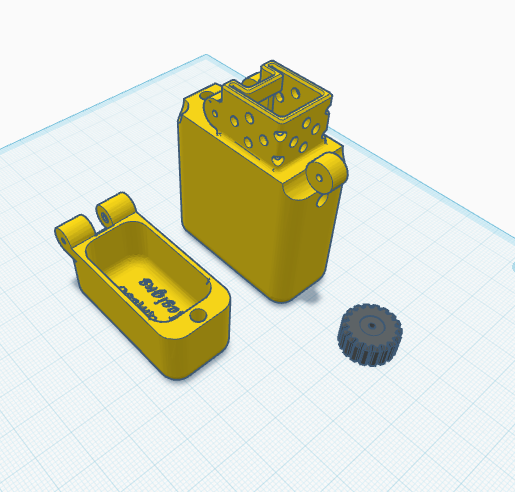
Caramelo Designs' "FIDGET LIGHTER!!!" but without the annoying screws.
I would recommend using a light filliment such as PLA ABS and PETG not any others for it may increase drag. Use suports and adhesion, make sure to sand the bottom of the propeller for best use, print at 0% infill and 0.8mm wall thickness…
Whatever you do DO NOT put a small firecracker (or explosives) in the break action chamber on the back. (BEWARE OF POWDER BURNS)
To assemble this you will need: Filament pieces (~15mm long) Glue of any kind, I personally use hot glue. Precision. (you will have to use your eyes for some parts, and if you have any ideas to make assembly easier tell me. A 3D printer.…
@JacksonSmith_473990 For inspiration to upgrade his cool model. Go cheak his model out aswell.
Caramelo Designs' "FIDGET LIGHTER!!!" but without the annoying screws and this version does not require magnets.
Assembly Guide: Step one: Attach the two half circles with spikes on them with the big square pin. Step two: Fit the chain in the long tube with holes in it. Step three: Connect the small barring (a short cylender with five holes) to the…
Reach far with the Jet Attachment.
Use filament for the small holes.
Here is the scene from the movie: https://www.youtube.com/watch?v=btp8VHiSKZE
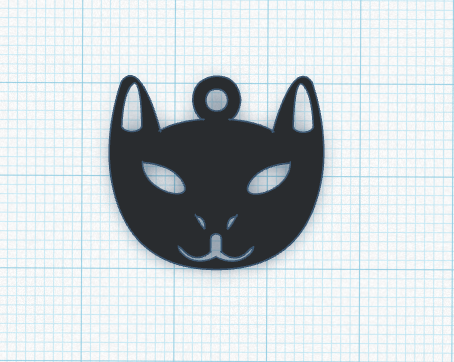
A kitty cat to keep you company.
Size up or down to your liking, however sizing up will help with adhesion.
"Lets cook" - Walter White
Instructions for Assembly: Insert your refill of filament from bamboozled, (Bambu) on to the price with the “L” shaped line on it. (shown as dark grey) Then place the other half with pin into it and twist. (shown as black) Print away!…
CUBE CUBE CUBE CUBE CUBE CUBE CUBE CUBE CUBE CUBE CUBE CUBE CUBE CUBE CUBE CUBE CUBE CUBE CUBE CUBE CUBE CUBE CUBE CUBE CUBE CUBE CUBE CUBE CUBE CUBE CUBE CUBE CUBE CUBE CUBE CUBE CUBE CUBE CUBE CUBE CUBE CUBE CUBE CUBE CUBE CUBE CUBE…
OOOOOOOOOOOOOOHH ÆÆÆÆÆÆÆÆÆÆÆÆÆÆÆÆÆÆHH
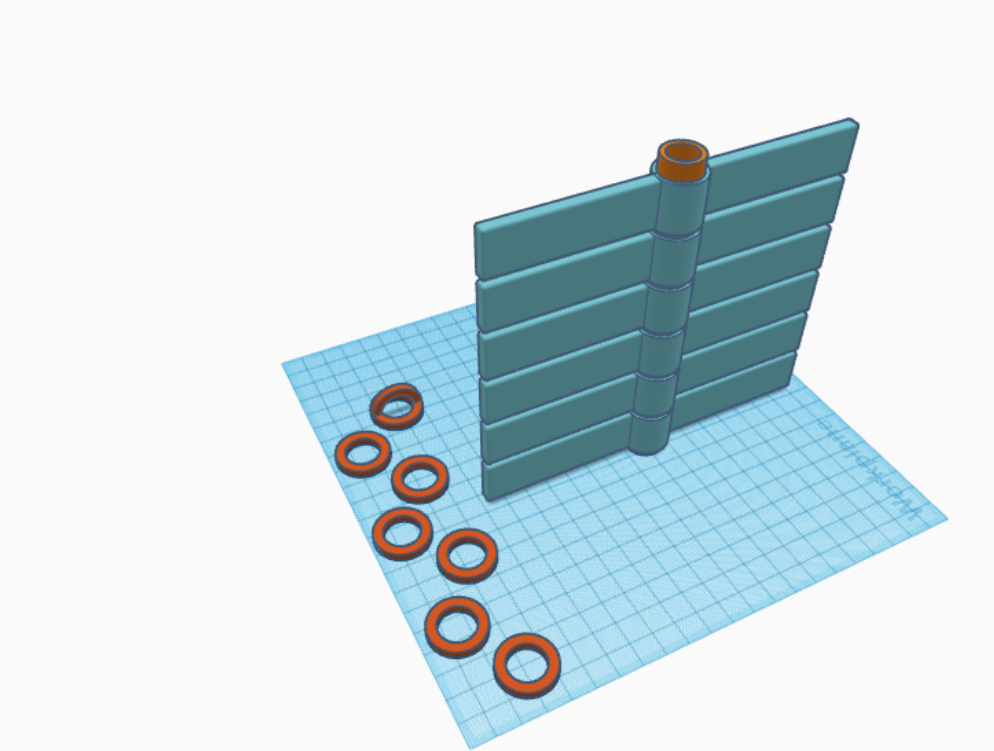
INSTRUCTIONS: insert the long thiner pole through all of the parts that have holes. :D Next EVENLY hammer or shuve the poles with pointy tips point down into ground. make sure the tops are even to eachother and that it will rotate. Last…
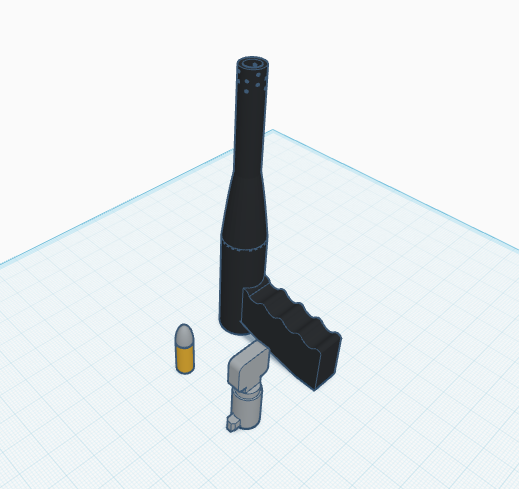
This nightmare was made for revenge on airsoft cheaters and just fun in general. To load this funny thing they vairy for different types of airsoft guns: AEG: Just drop it in the muzzel fins down, make sure it is all the way through an at…
A fun model to have on your desk to remind you not to 'screw' up. (If you do not get this reference a scientist was messing with a plutonium core with tungsten carbide bricks (which I did not add but I added the beryllium half sphere)…
Need to down a pack (of beer or soda) in just to refills? Well with this you can feel tipsy in no time!
To assemble: Step one: Grab the big long tube and place a printible washer that came with this model, fix a washer without a arch atop it and the bottom of the tube. Step two: Place a spinner to the tube and then a washer with no arch on…
Once Banana Opener© is printed and ready to use follow the instructions below: Step one: place the Banana Opener© firmly atop a banana. Step two: Pull the Banana Opener© as you would open an annoying regular banana, pull back on the stem.…
To construct: Step one: Insert tall tub into the middle tube of the spinner. Step two: Put end-caps on either side of the tall tube. Step three: Tie strings to each end-cap, and balance somewhere fitting in you yard.
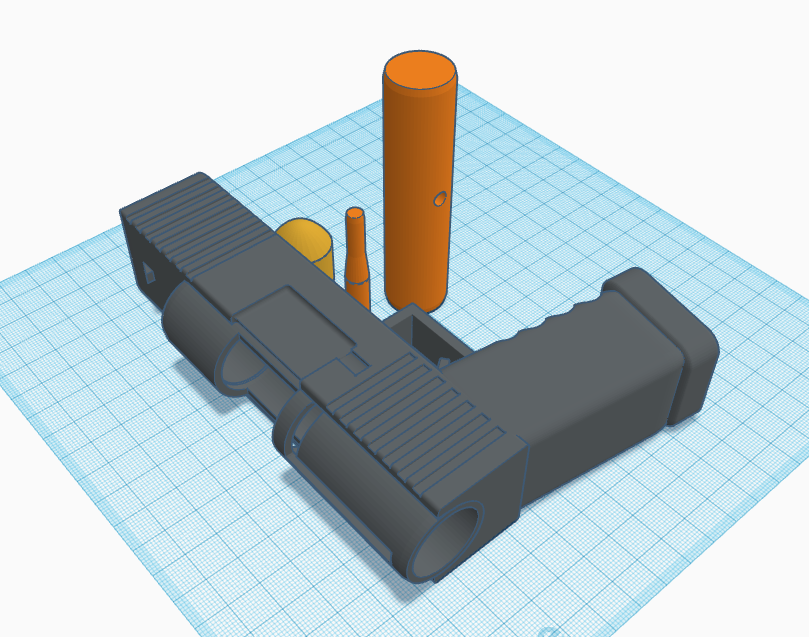
Instructions: Insert fins down into muzzle or tip first into breach. WARNING !!! DO NOT SHOOT IN FACE OR EYES COULD CAUSE SERIOUS INJURY !!!
Instructions: I would suggest you print each part except the base 4-6 times each, meaning you should have 4-6 of each part except the base. Supports are not needed, and I would suggest you print at a higher infill, like 50-100% infill.…
Print at 0.2mm layer height and change filament (for multicolor) on the 9th layer after the 8th. Acceptable printing.
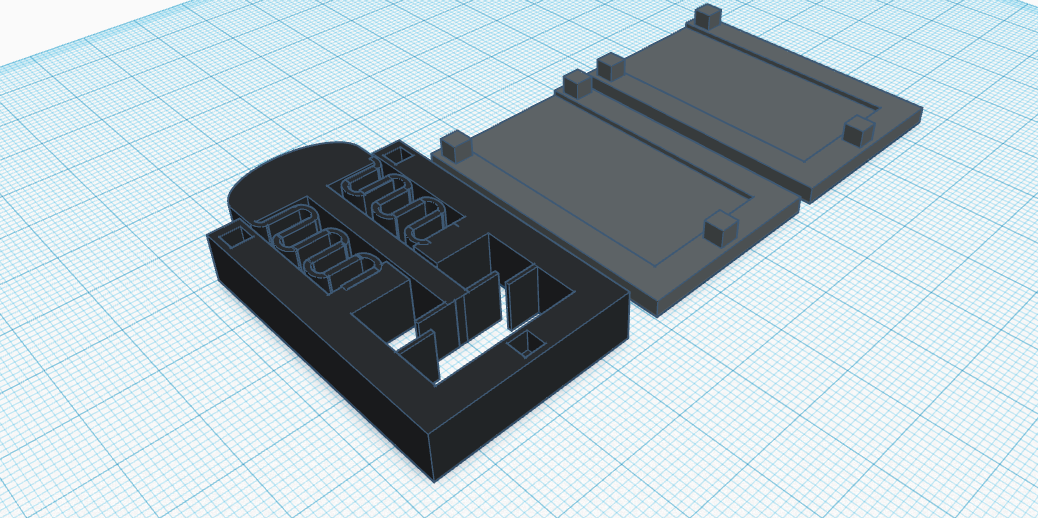
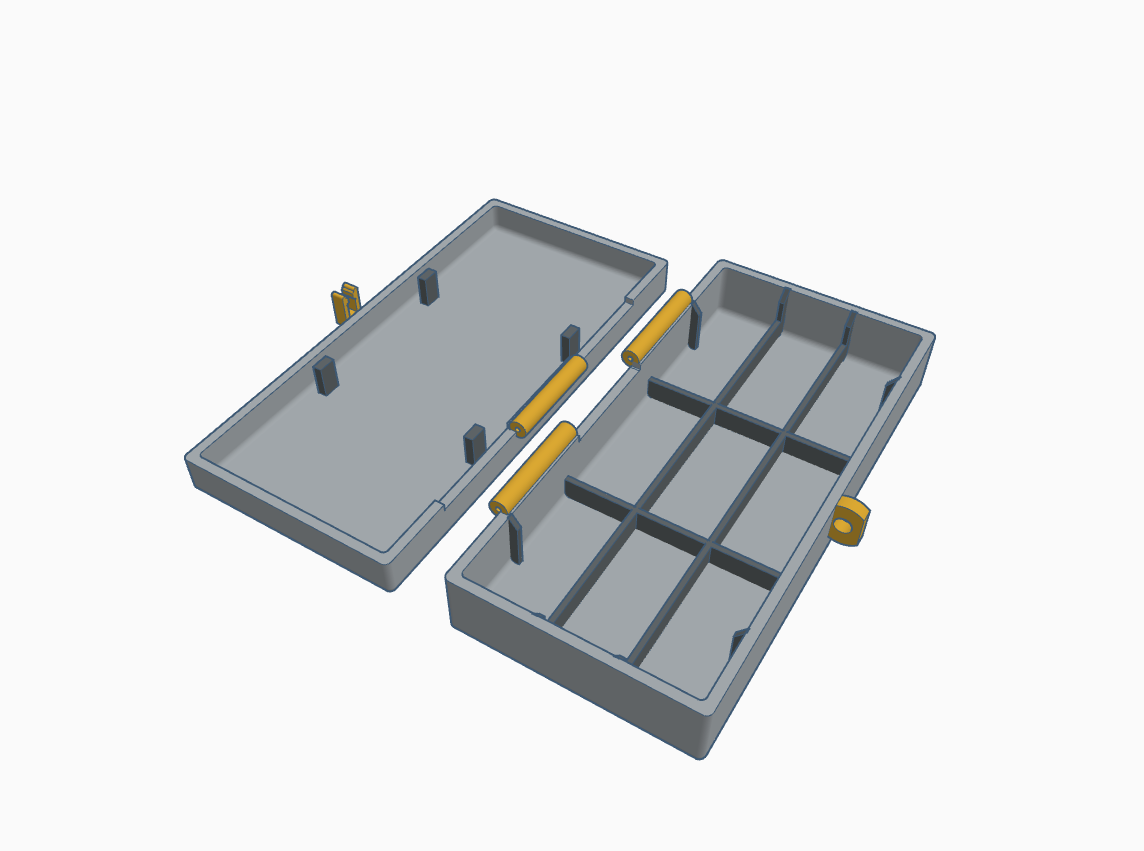
The lines and bars on the inside for the case act as anti rattle for the console, (You can also put game cards or sd cards in there) although it is not perfect to achieve no rattle, if you want you can add foam. Assembly: Cut a piece of…
His name is Tim but his friends call him “Cool Guy”
Set on a windowsill or in front of any light source and boom, you've got a beautiful linthropane.
I would print it to weigh a good amount, and have some heft so that it does not slide back and forth. I printed mine with 4 layer walls, 4 bottom layers, 5 top layers, at 30 percent infill, weighing in at about 450 grams.
Print of eight of each piece. And yes you will need glue, I did try to use 3D printed pins but that failed. I will name the objects by number so you know which piece fits which. example: Tentacle 1 - Wedge 1 will fit with: Wedge 1. And,…
These are all currently available results.