P
Printableslucas32

Picatinny Iron Sights
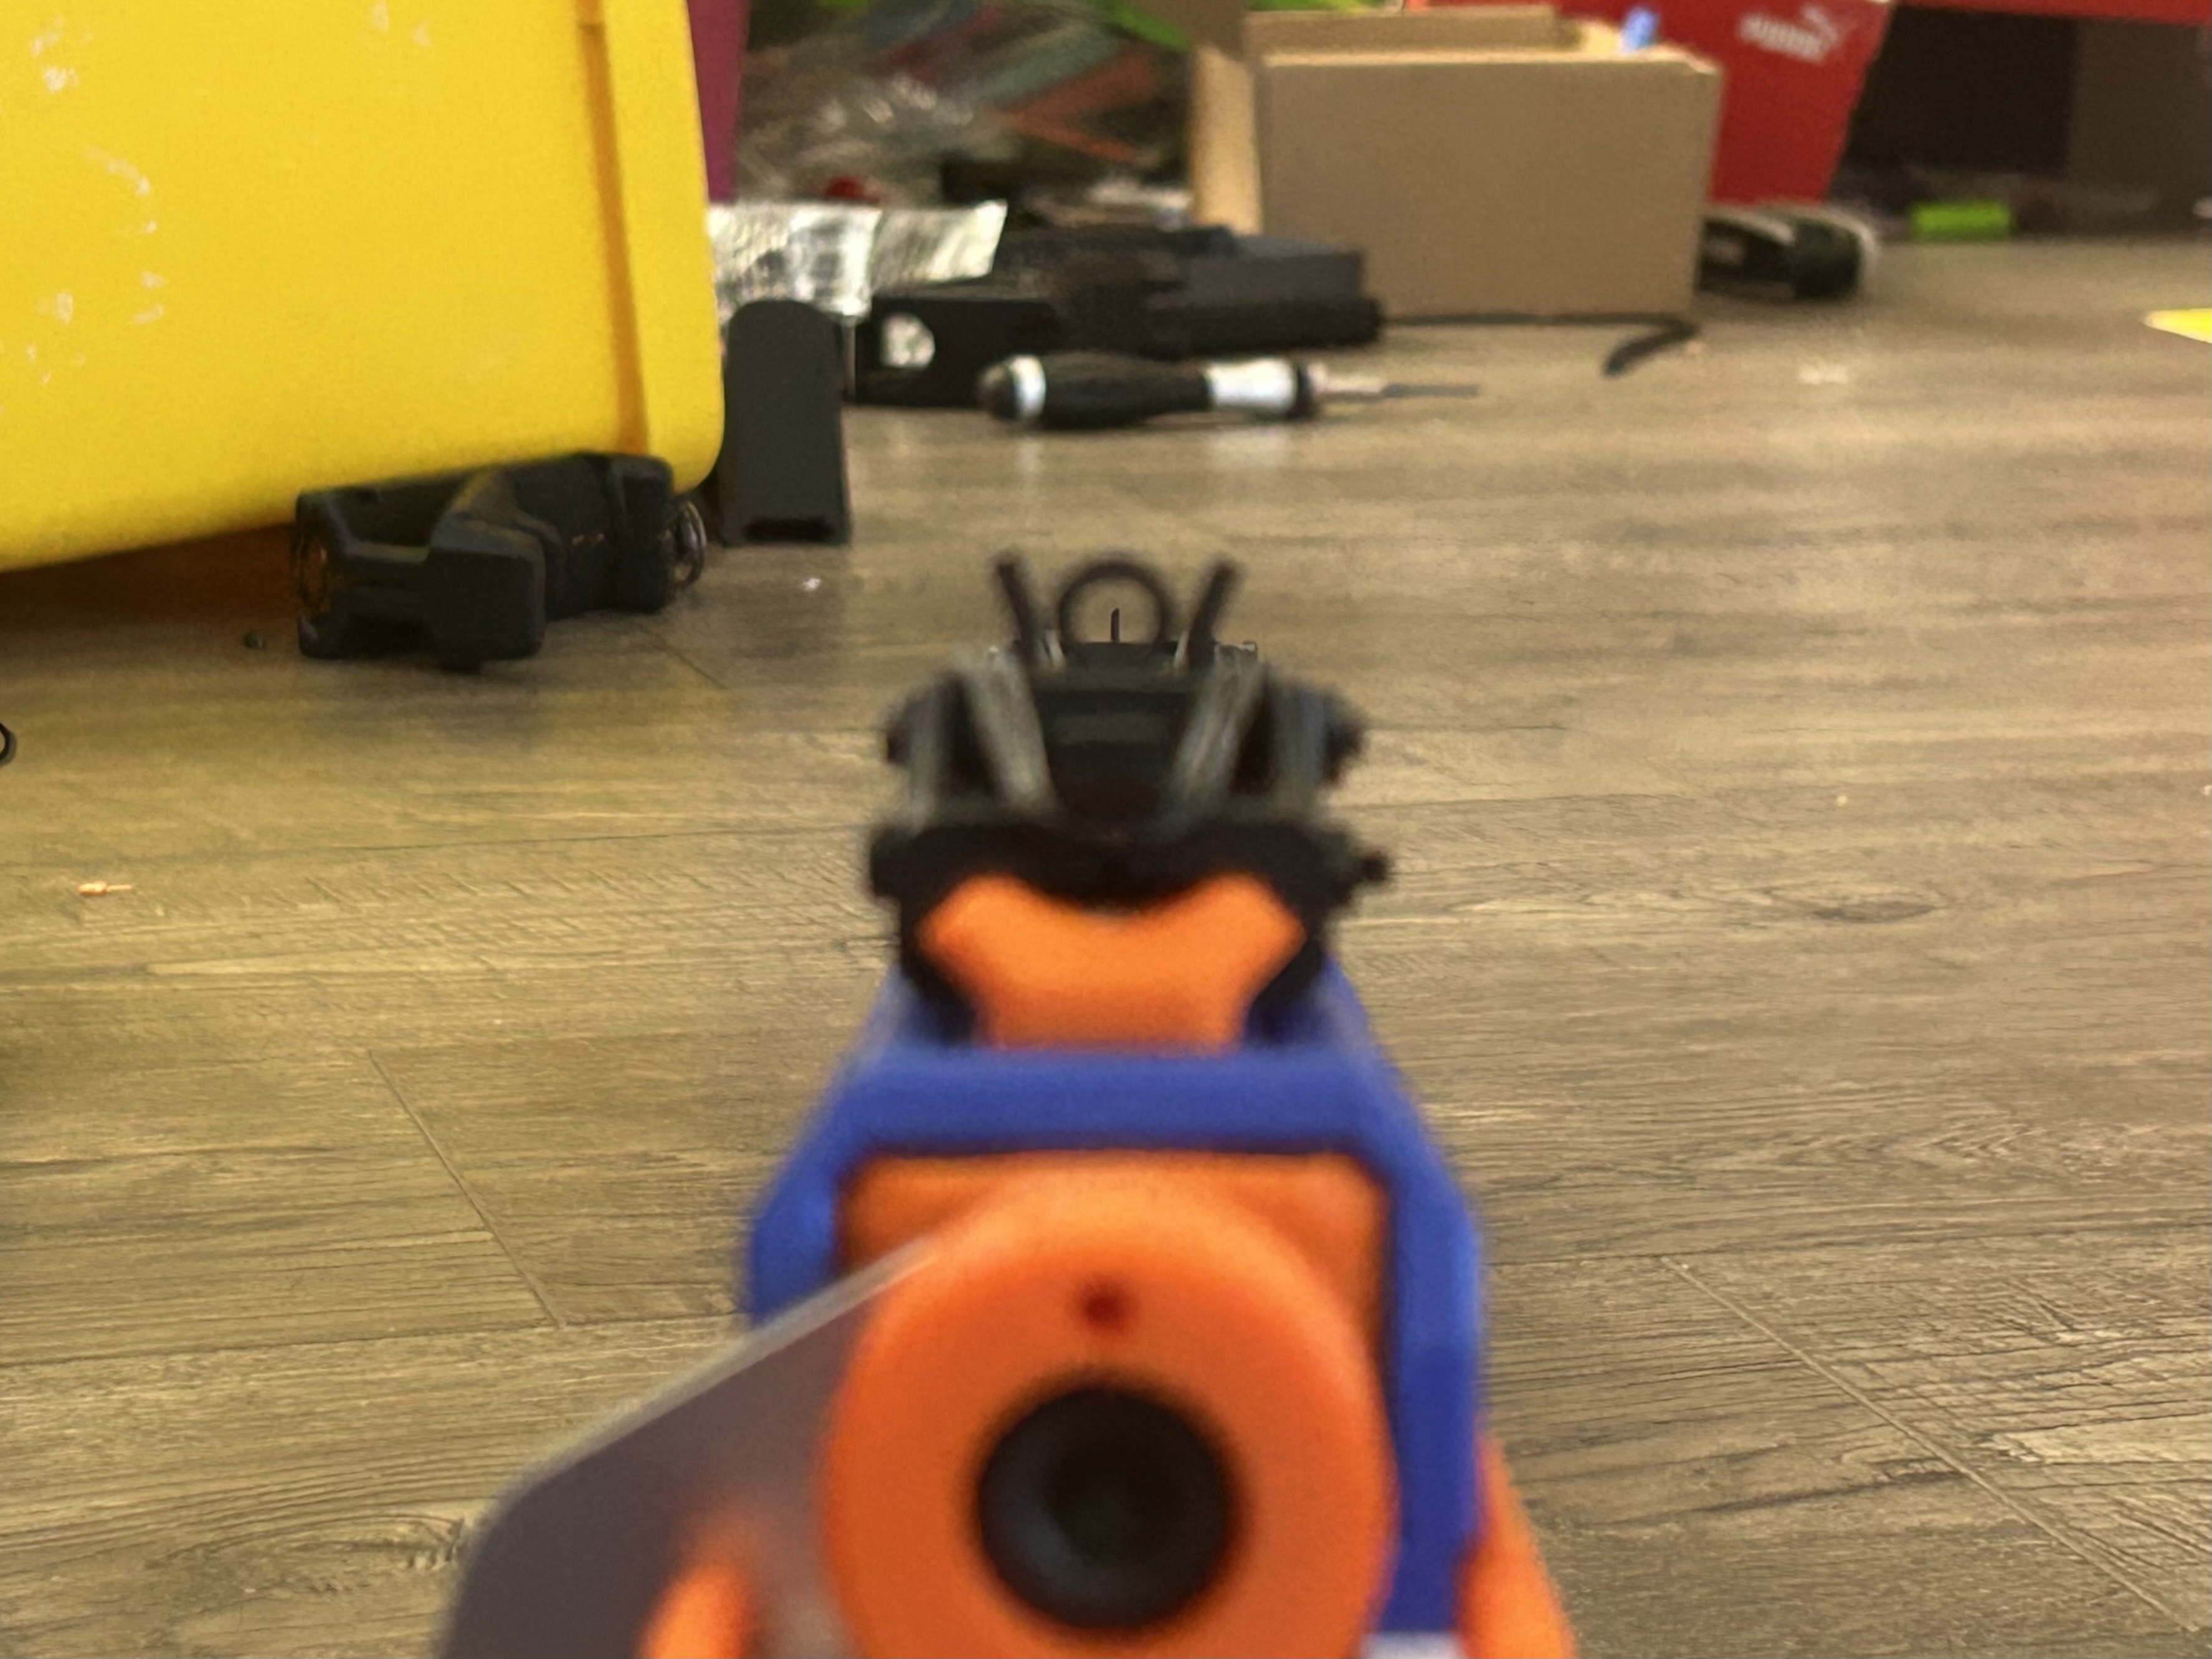
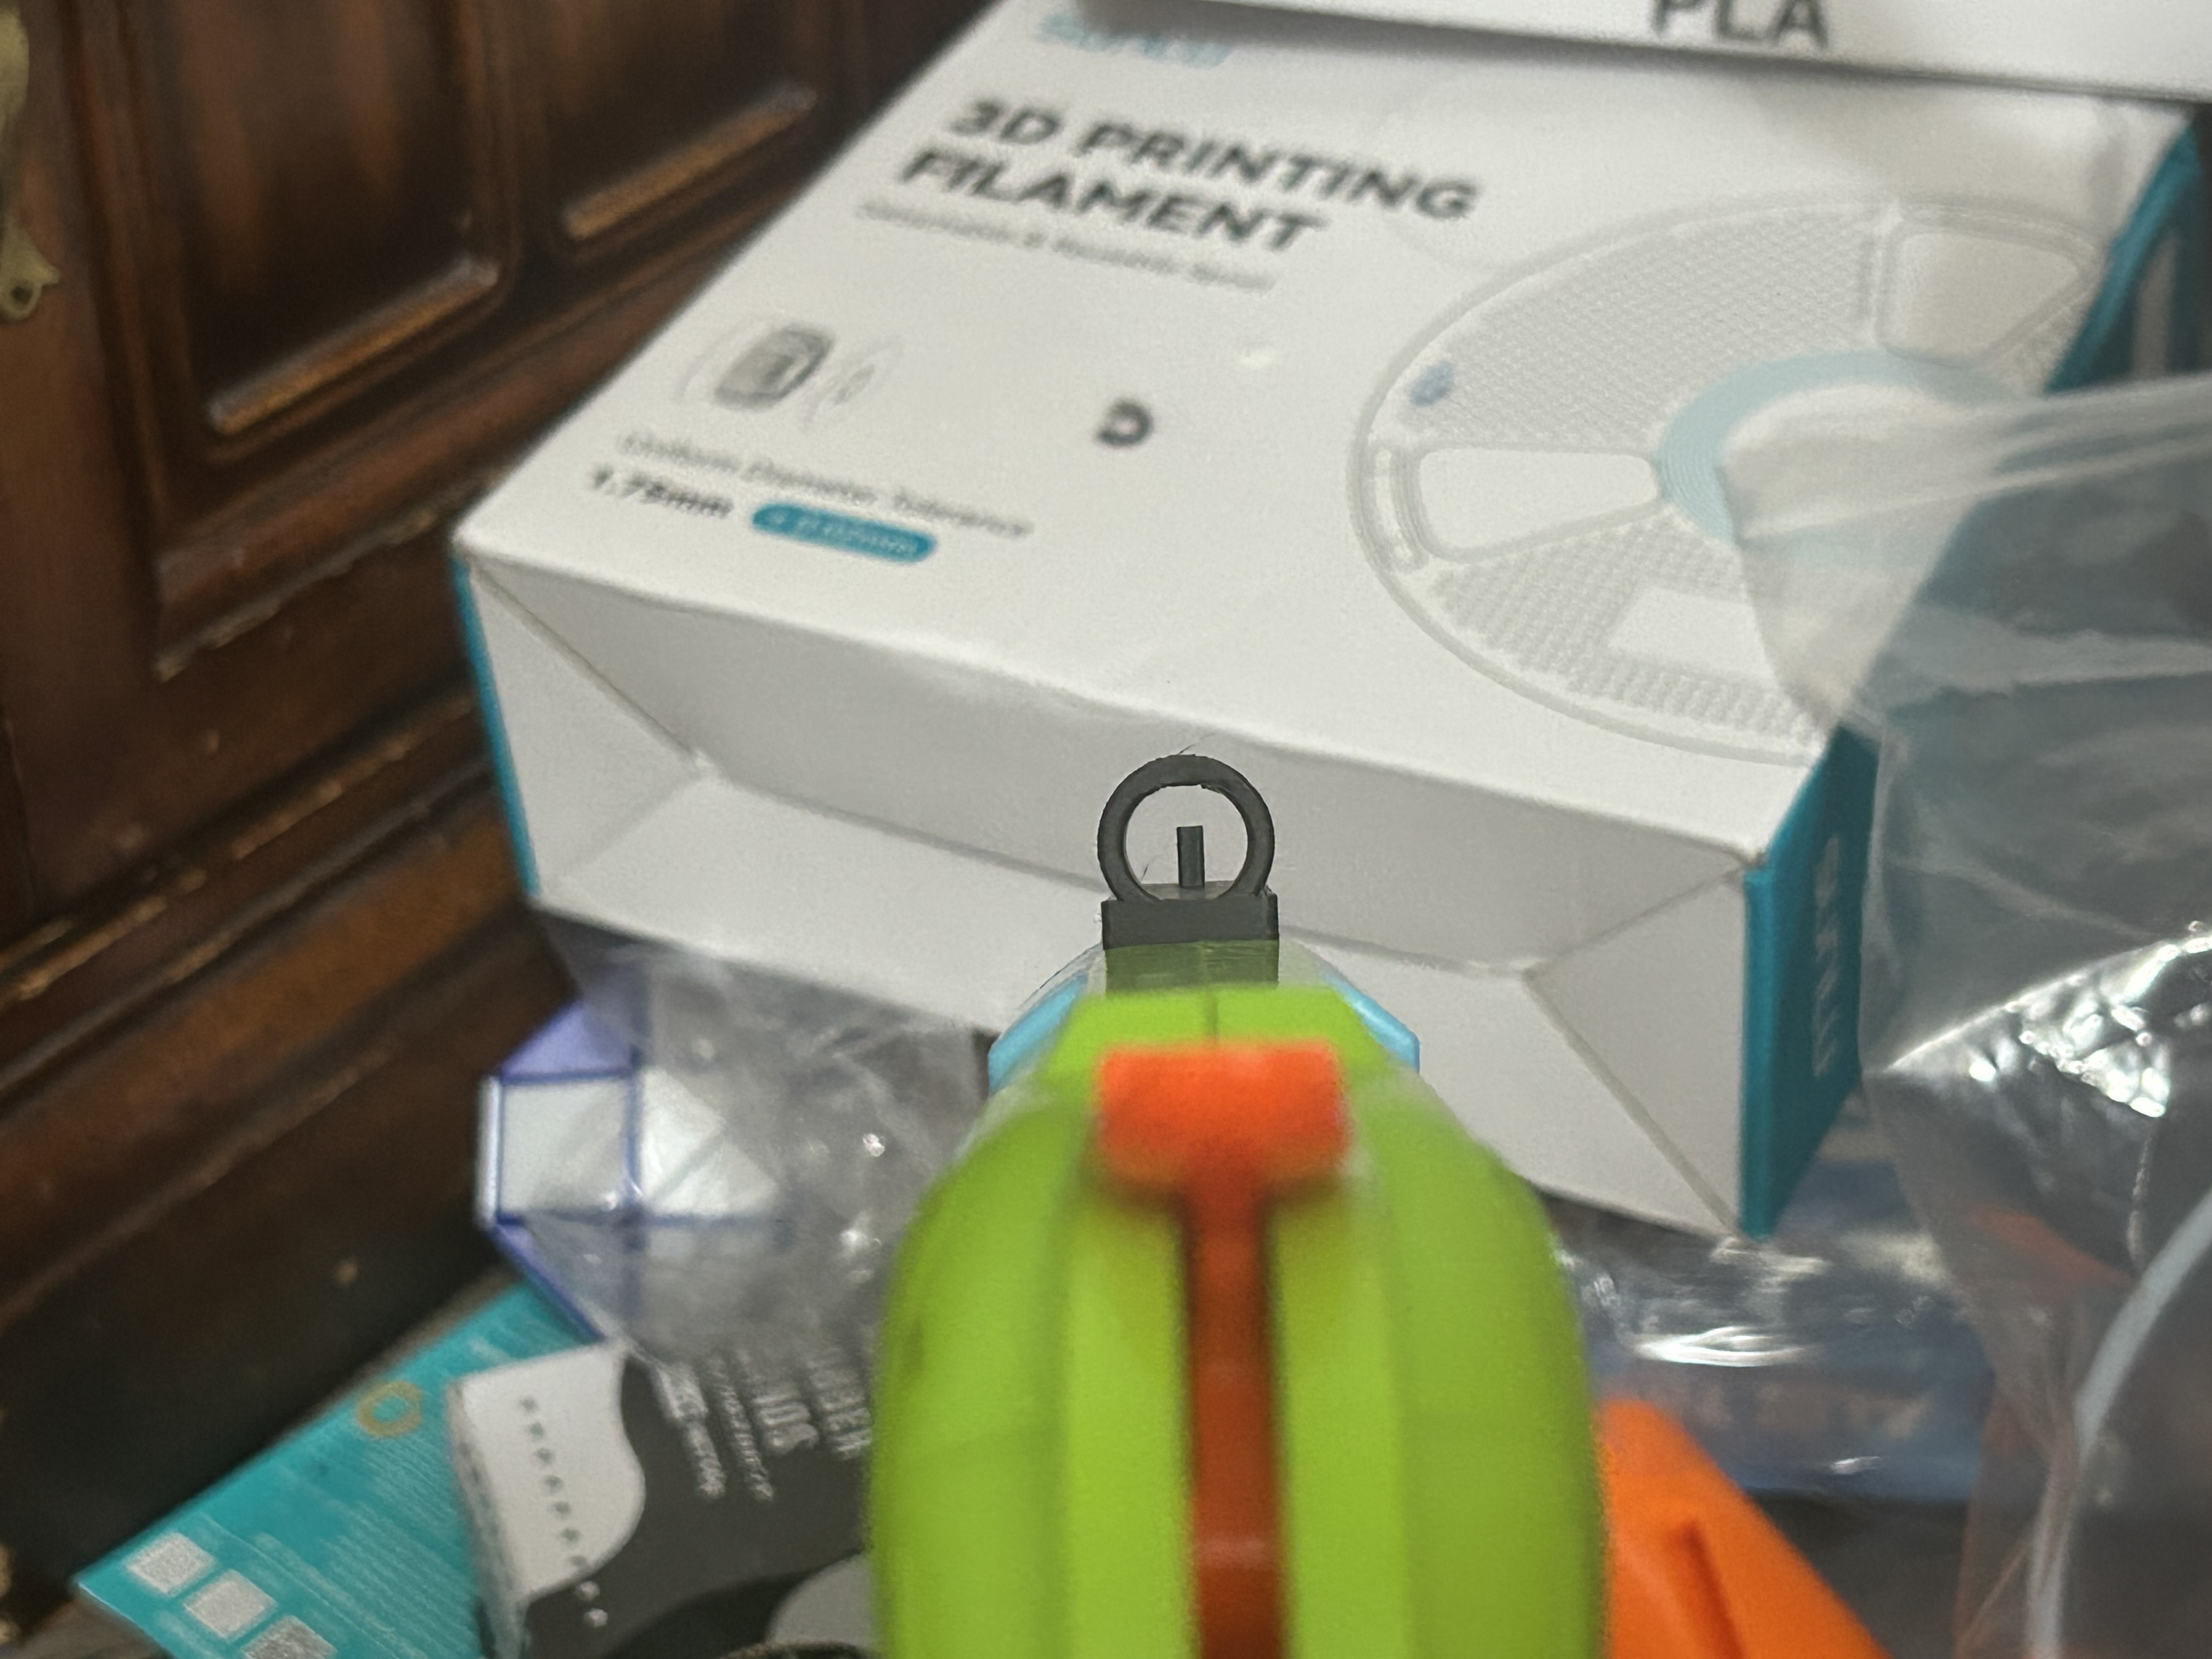
Print with original settings Put 1.75mm filament in the holes to look like fiber optic
- Downloads
- 127
- Likes
- 24
- Rating
- 5
Counting matching models…
Print with original settings Put 1.75mm filament in the holes to look like fiber optic
Print with 100% infill.
Print with original settings
made it more similar to szeez's iron sights
Print with original settings
Print in 100% infill For some reason, I had to take it out and put it back in after it didnt catch, no idea why. It still worked after. will add pictures later too lazy rn
All files in print orientation Multicolor Inserts: Only for the inserts I included Transparent filament until 0.5mm Filament change at 0.5mm to the reticle color For the other parts, go to: No hardware:…
File in print orientation No supports needed Go to original model for other files:
Print N-Strike stock with supports All files in print orientation Hardware: Glue M3x20 screw Assembly is super simple, just apply glue, then slot whichever attachment point you want into “blinkstock”. PRINT THIS INSTEAD!! IT LOOKS AND…
Edit 1/22/26: forgot to put the slot for the string, sorry about that Tie multiple knots!! If you're using the endcap, try to leave a tiny bit of them brim on, to add friction so the endcap stays in place. You can also just find any other…
Requirements: Extended handguard Extra screws to mount rails At least ~220x220mm build volume, the top rail when rotated 45 degrees is ~213x213mm The bottom rail also covers the bottom of the receiver, so go to my other model if you don't…
Files in print orientation No supports Insert 1.75mm filament into holes to mimic fiber optic
Print with supports I recommend painting supports on the bottom of the angled part. Without supports there, mine looked bad. It could just be my filament or printer though. Apologies for the bad quality for the sight picture, it's the…
remix of lanka by Leedle Dynamics All pieces printed with support, PLA, 5 walls, 10 top/bottom layers. this is a repost, i accidentally messed up the spacing on the old one sorry photos are the old version, which has incorrect spacing…
Print Instructions: All files in print orientation If you want, you can have more walls and/or infill for weight and strength. I printed with default settings (2 walls, 5 top, 3 bottom) Only "pilotrearblank" and "pilot rearpic" need…
Print settings: Supports needed 5 walls All files in print orientation
Print with original settings Works well with my double sided Silly collet
Print with original settings If you don't want the bumper, it's probably best to only put 5 darts in. If you're like me and use the bumper, you can put up to 7, maybe even 8, if your darts are squishy. I've only tested this with a Worker…
Print with original settings File in print orientation
Print right side with supports Needs 2 M3x30 screws and 2 M3 nuts apologies for the bad print quality lol
Print with supports.
Print with default slicer settings You can use AMS to switch the text color
I haven't tested with thinner walls, but assuming it's gonna take on the force of your spring, I think it's best to print with at least 3 walls. I opted to use a screw instead of the pin, as it was annoying to hammer out. File in print…
Print with supports Hardware: M3x20 screw around 3 inches of 4mm cord (same as Leedle Dynamics' cord) 016 o-ring for mounting
Files in print orientation Needs two M3x30 screws and two M3 nuts
Print mount with supports Needs 2x M3x25 screws and 2x M3 nuts
Files in print orientation Needs M3x30 screw and M3 nut
Print with supports For me, 101% scale worked best
File in print orientation
Print with original settings Only one 016 o-ring for the Collet, I removed the others
Print with original settings Might need gluing, mine didn't Added logo back Made holes 5mm for 4mm cord Removed breech notches Split into 2 parts to print an orange tip Added more travel for ejector catch because mine wasn't ejecting…
Files in print orientation You have to glue these on, pretty self explanatory.
Files in print orientation Print Settings: "bolt": supports, high infill and wall for strength Everything else can be default You may need to glue the connector and ball if too loose, or scale down the connector if too tight. I had to…
You can just use default slicer settings, but add a brim, the brace is very thin. Make sure you slide the brace/reinforcement from the front and no other way.
Refer to here for instructions:
One file for AMS, one file to glue in the individual letters
Print with supports not only on build plate This does not work with the orange blaster it came with. Assembly photos are from a prototype, but I liked the ring version better.
Print with supports I recommend switching from orange to black like how I did, as it looks better.
Print with original settings You'll need to glue this on
Print with supports and smaller layers for more detail
untested, my orange filament hasnt come yet
Hardware One 016 o-ring Default print settings
These are all currently available results.