P
PrintablesGrendelrt
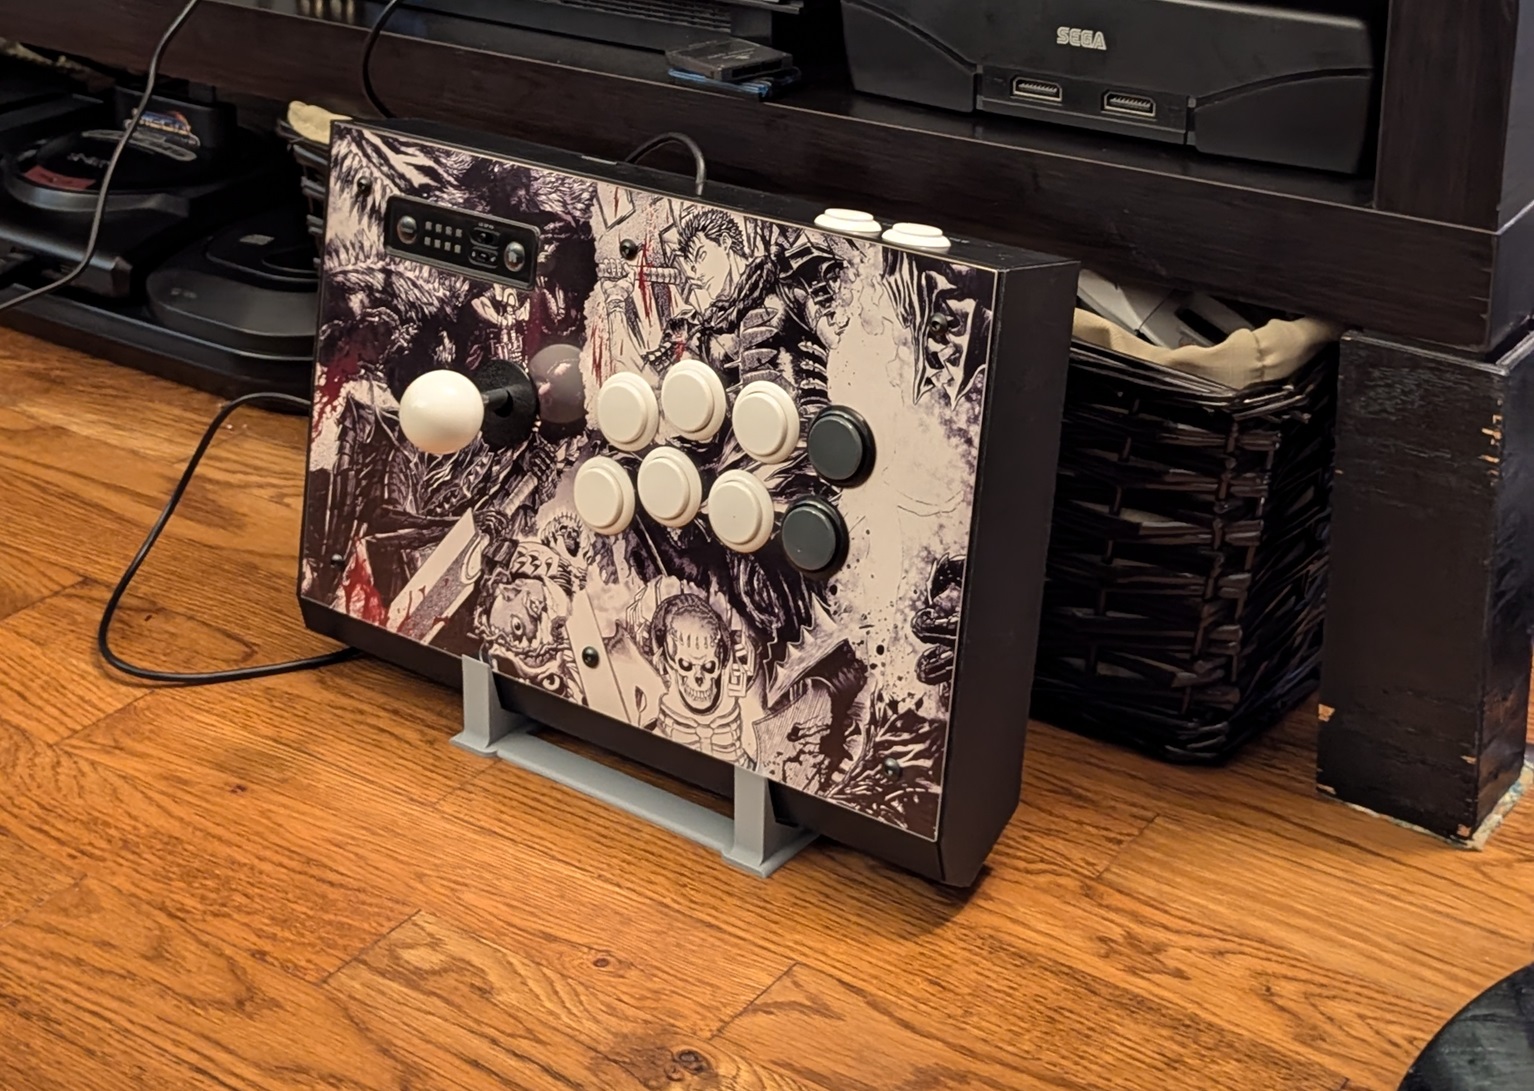
MadCatz SFIV TE Arcade Stick Stand
simple stand for madcatz sfiv te stick.
- Downloads
- 112
- Likes
- 8
- Rating
- 0
Counting matching models…
simple stand for madcatz sfiv te stick.
Here's a bezel for the Madcatz TE2/TE2+ . It's hard to find them so why not DIY? Since it's a big part, you need to assemble it. Mines were printed on a Kossel Linear Plus. Straight part is long but should fit in most 3Dprinters. You need…
This part tends to break easily. I made a replacement in two parts. I strongly suggest to do a 100% fill for the main part, and use a clear filament for the second. Note: you need to melt the 6 prongs of the logopart after mounting it.…
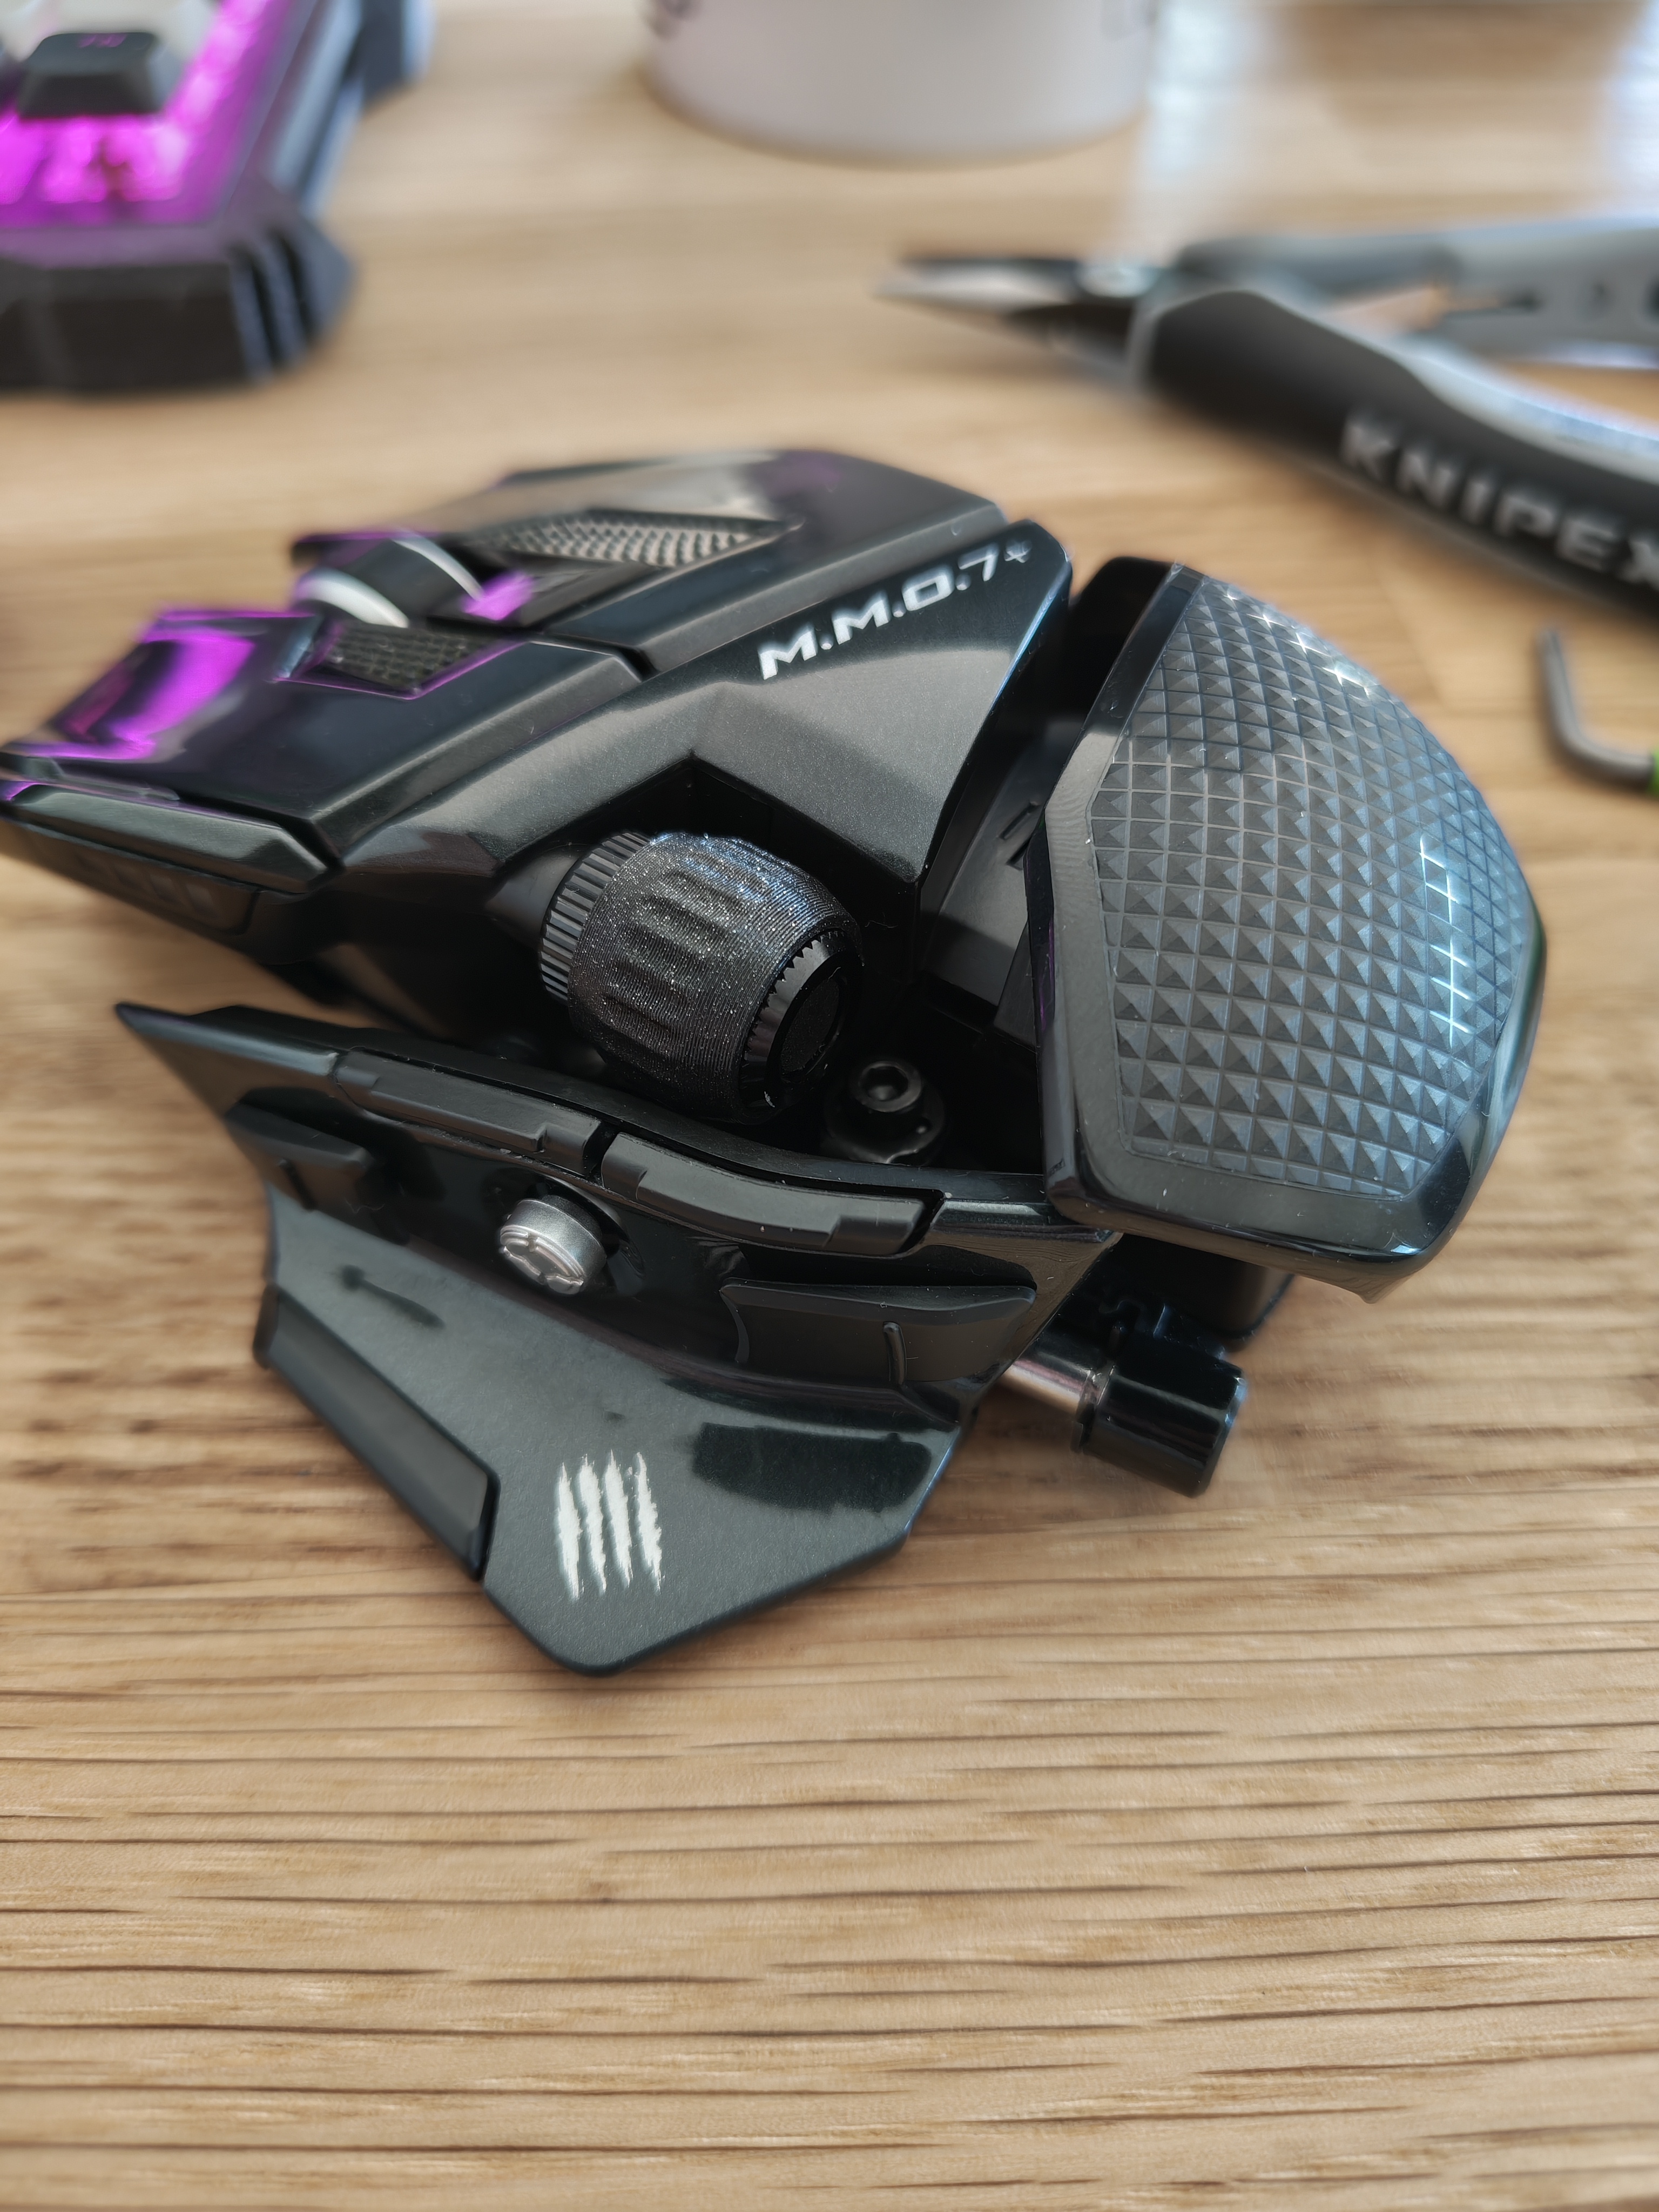
It's a pinky rest that I modeled for the new M.M.O.7+ from MadCatz. It consists of two pieces, that need to be glued together. I recommend printing the bigger part standing upright on the provided flat face. It requires good bed adhesion…
This is a drop-in model for the MadCatz TE2 that replaces the proprietary connector with a proper USB-C connection. The two items you'll need are: https://www.amazon.com/dp/B0B4J5NJ2Y USB Type C Connector Board DIY Desolder the connector…
Back cover for Mad Catz 'Ultra Street Fighter IV' Edition Arcade Stick. Requires some supports to be printed, but they are pretty easy to remove. .STEP file is included for any further modification.…
With this quick print and a not so quick disassembly of the mouse, you can improve the usability of the horizontal mouse wheel. With the uploaded size it only works when the thumb cluster is all the way forward, otherwise the wheel…
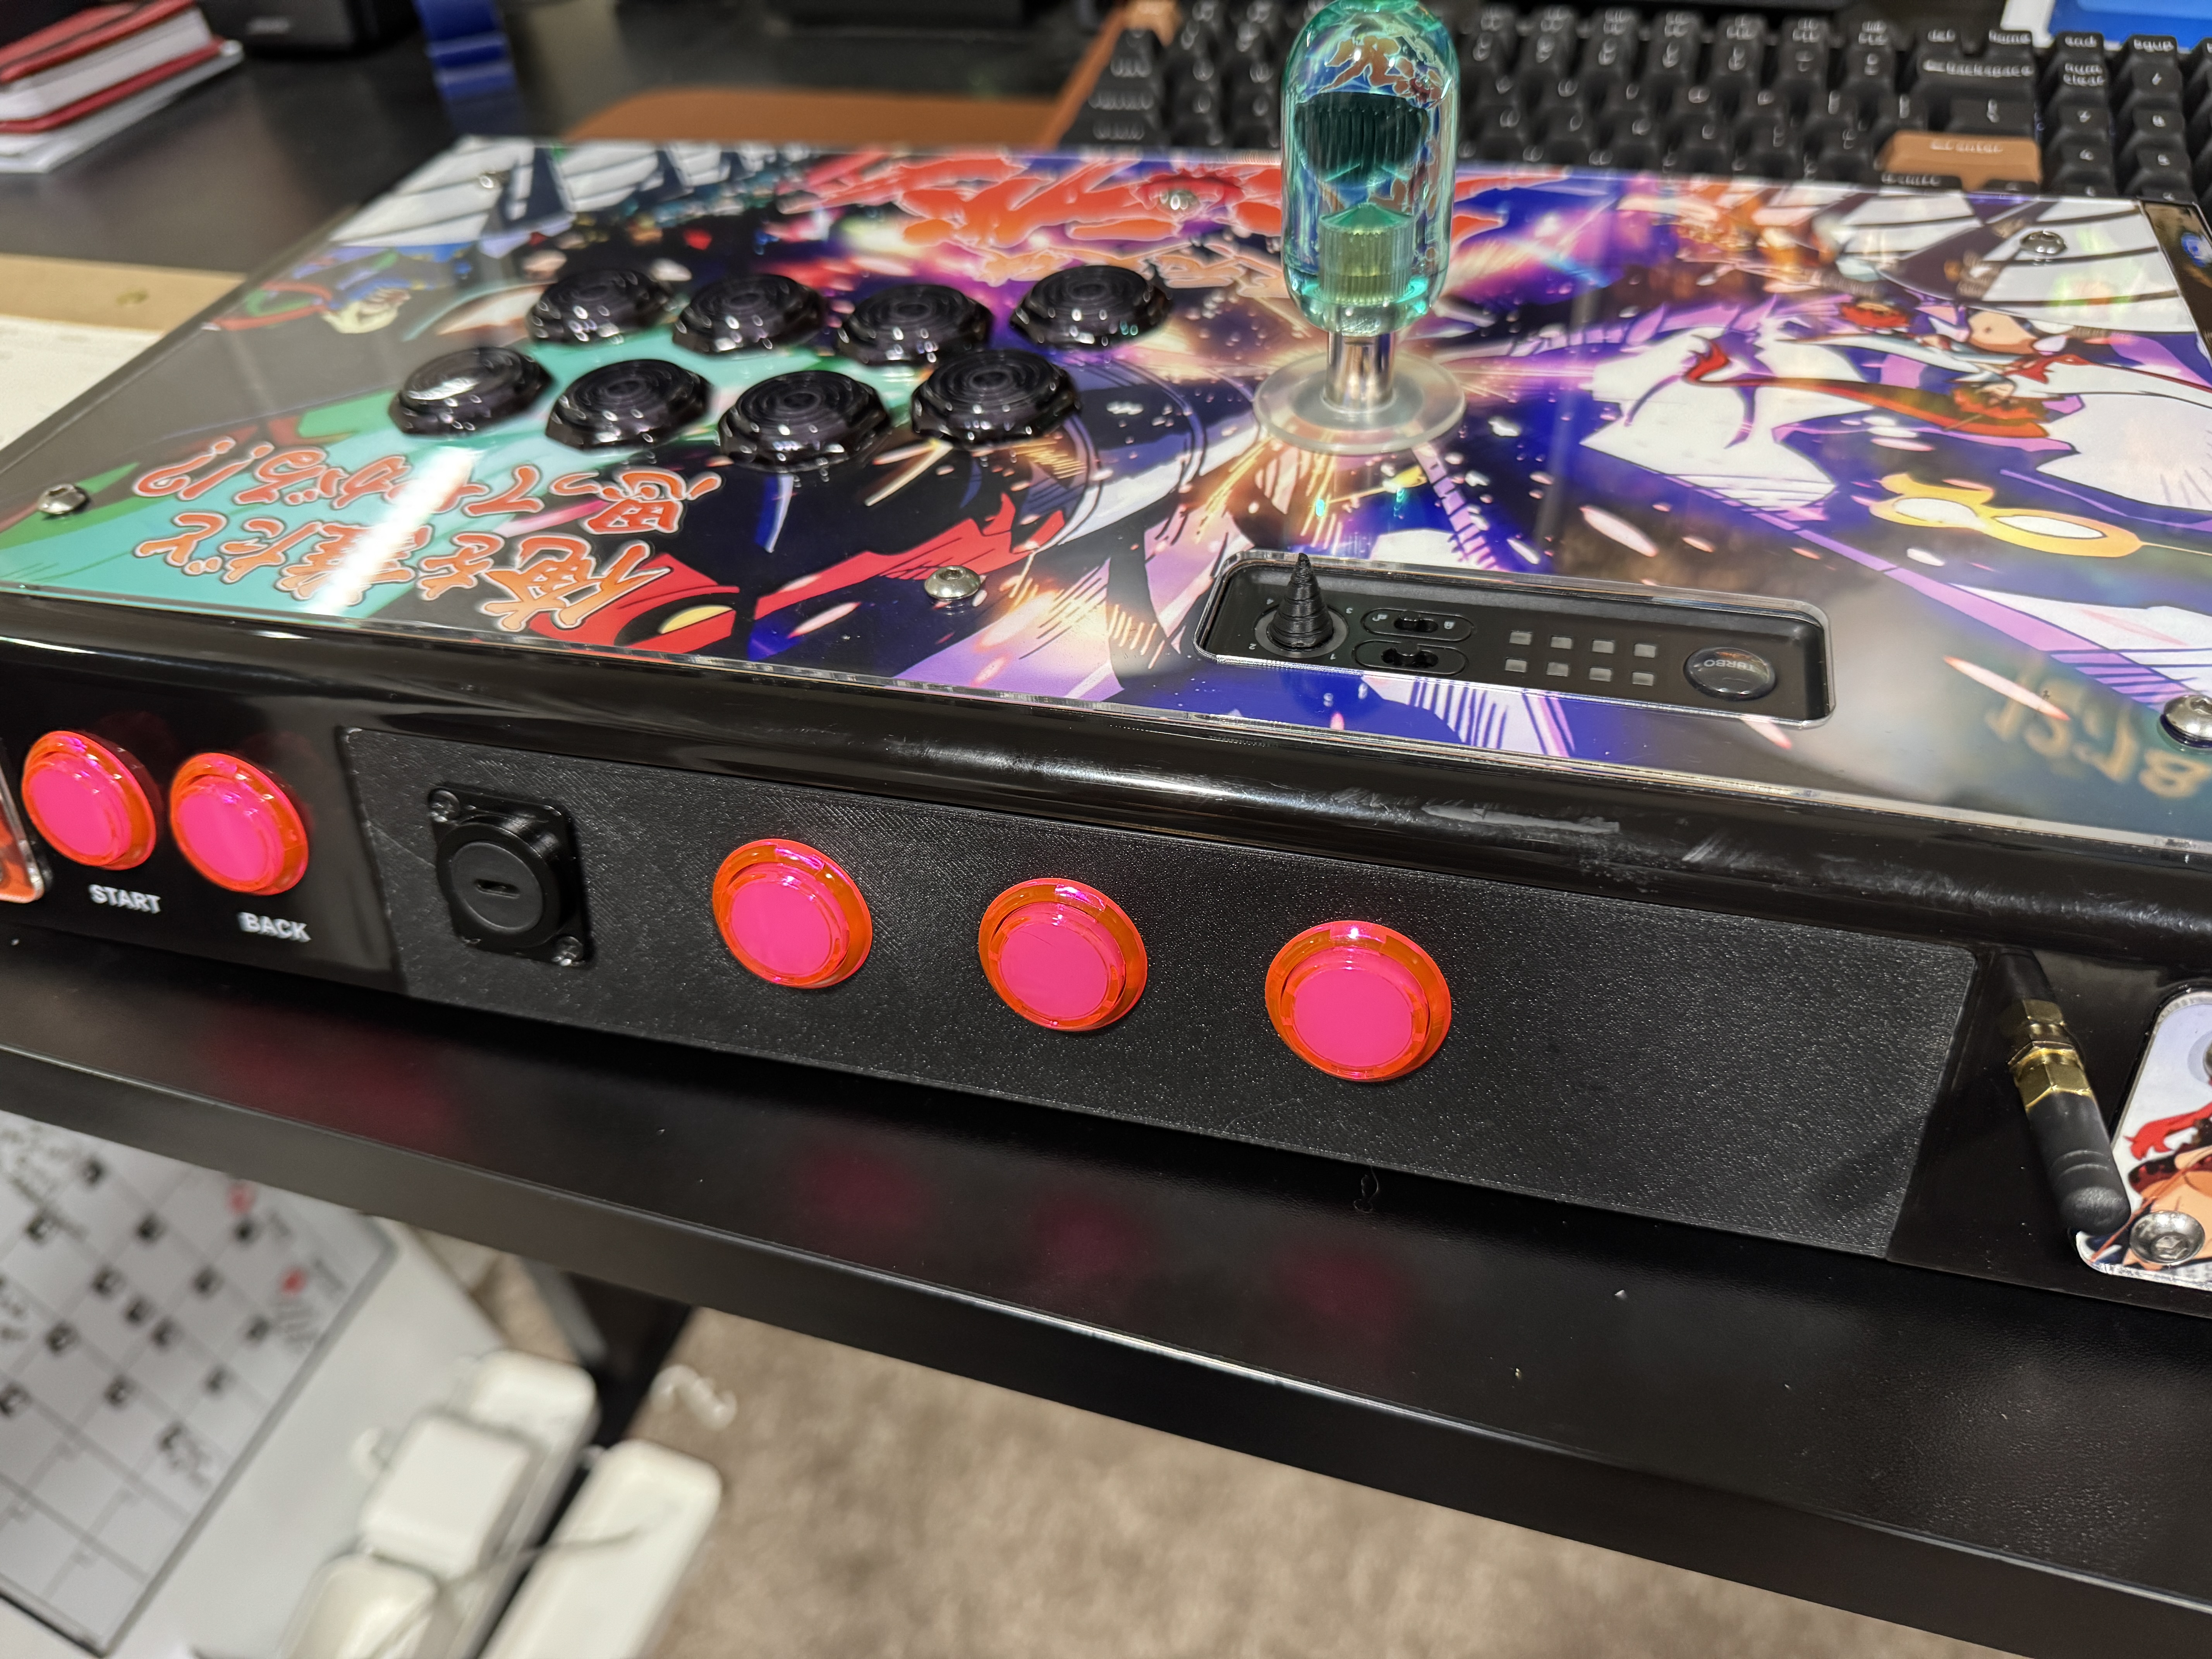
This screws in to replace the cable bay in the back of the MadCatz VS stick. Just remove the old bay and use the two internal screws to place this in there. It flush and sits snug. Gives you room for 3 buttons and 1 neutric. Step file is…
If you have de Madcatz TE, SE or TES+, this quick connect board is supposed to help you link the buttons to the main PCB. However if like me you're modding stick, it's possible other peope get rid of this thing. Here's everything you need…
There are others out there but this is made to fit a larger ssh1106 screen and 12mm buttons. I tried others but they did not fit or print the way I liked so I made this from the ground up. Print on a 45 degree angle to get best results.
This screws in to replace the cable bay in the back of the MadCatz VS stick. Just remove the old bay and use the two internal screws to place this in there. It flush and sits snug. Gives you room for 3 buttons and 1 neutric. Step file is…
There are others out there but this is made to fit a larger ssh1106 screen and 12mm buttons. I tried others but they did not fit or print the way I liked so I made this from the ground up. Print on a 45 degree angle to get best results.
It's a pinky rest that I modeled for the new M.M.O.7+ from MadCatz. It consists of two pieces, that need to be glued together. I recommend printing the bigger part standing upright on the provided flat face. It requires good bed adhesion…