
Flashforge Adventurer 5M Enclosure
Obliczymy ostateczną cenę na podstawie wybranego pliku. Sprawdzisz ją i zaakceptujesz przed płatnością.
Zapisane na tym urządzeniu.

Enclosure with built-in screen
- Ocena
- 4,75 / 5
- Polubienia
- 347
- Pobrania
- 2403
- Wydruki
- 2
- Wyświetlenia
- 19 838
- Oceny
- 4
Aktualizacja u źródła:
Informacje o modelu
- Źródło
- Printables
- Kategoria
- Other Printer Parts & Upgrades
- Licencja
- GNU General Public License v3.0
Improved version with display installation from the inside (without frame).
_____________________________________________________________________________
Enclosure with 4 mm polycarbonate sheet panels https://a360.co/47jcXw3 . The purpose of the creation was to minimize the design and the likelihood of damaging the display by accidentally snagging it. Approximately 700 grams of plastic were used for printing.
The display is disassembled and installed through the frame with native screws in the Riser of the case. All the details are printed on the printer itself. A monolithic version of the Riser has been added. When printing, take into account the shrinkage of the material!
The front right part of the riser is made in two versions: for printing with supports, and with ribs, which need to be cut off after printing.
Front spacers are optional (there are problems with the rigidity of the parts), they are needed to cover the screen cable.
The door handle is available in two versions: for magnets D5x2, and for magnets from Vaporesso XROS evaporators (7x2x2.5 mm).
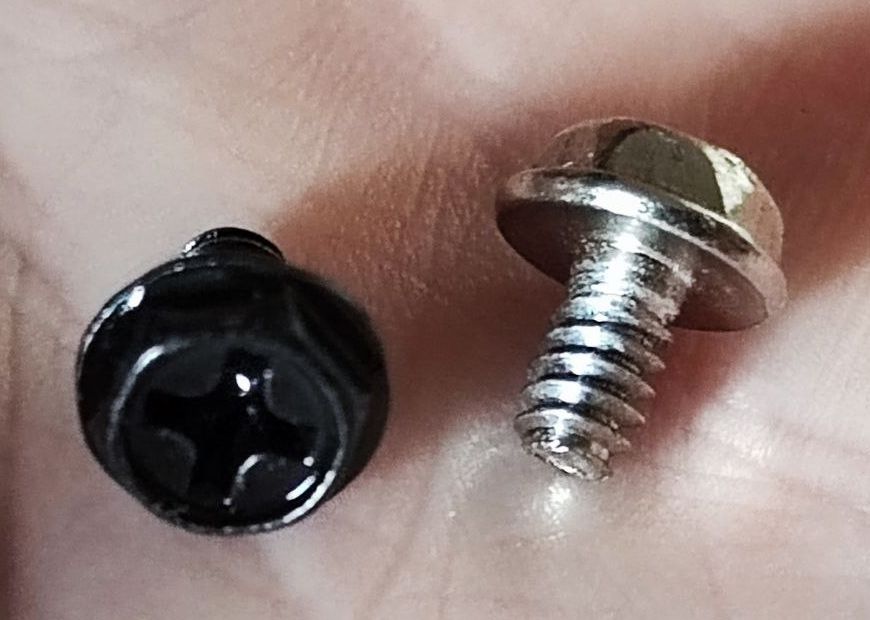
The parts are assembled with countersunk head screws M3x10 DIN 7991 and hexagon lock nuts DIN 985. Mounting to the printer frame on screws #6-32 UNC (screws for computer cases). Front door hinges - M3x8.
The photos show an early version.
Internal trays for essential tools.
_____________________________________________________________________________
Ещё одна версия зашивки под листовой поликарбонат 4 мм https://a360.co/47jcXw3 . Целью создания была минимизация конструкции и вероятности повредить дисплей, случайно зацепив его. Для печати затрачено приблизительно 700 гр. пластика.
Дисплей разобран и установлен через рамку родными шурупами в "Подъём" корпуса. Все детали печатаются на самом принтере. Добавлена монолитная версия “Подъёма”. При печати учитывайте усадку материала!
Передняя правая часть подъёма выполнена в двух вариантах: для печати с поддержками, и с рёбрами, которые после печати нужно срезать.
Передние проставки опциональны (есть проблемы с жёсткостью деталей), нужны что бы прикрыть шлейф экрана.
Ручка дверцы в двух вариантах: под магниты D5х2, и под магниты из испарителей Vaporesso XROS 7х2х2,5 мм.
Детали собираются винтами с потайной головкой M3х10 DIN 7991 и гайками со стопорным кольцом DIN 985. Крепление к раме принтера на винтах #6-32 UNC (винты для компьютерных корпусов). Петли дверцы M3x8.
На фото ранняя версия.
- Улучшенная версия с установкой дисплея с внутренней стороны (без рамки).
Внутренние лотки для инструментов первой необходимости.