
1 / 3
"The Sandwich" (Raspberry Pi 5 M2 SSD Case)
Zamów wydruk tego modelu
Obliczymy ostateczną cenę na podstawie wybranego pliku. Sprawdzisz ją i zaakceptujesz przed płatnością.
Zapisane na tym urządzeniu.
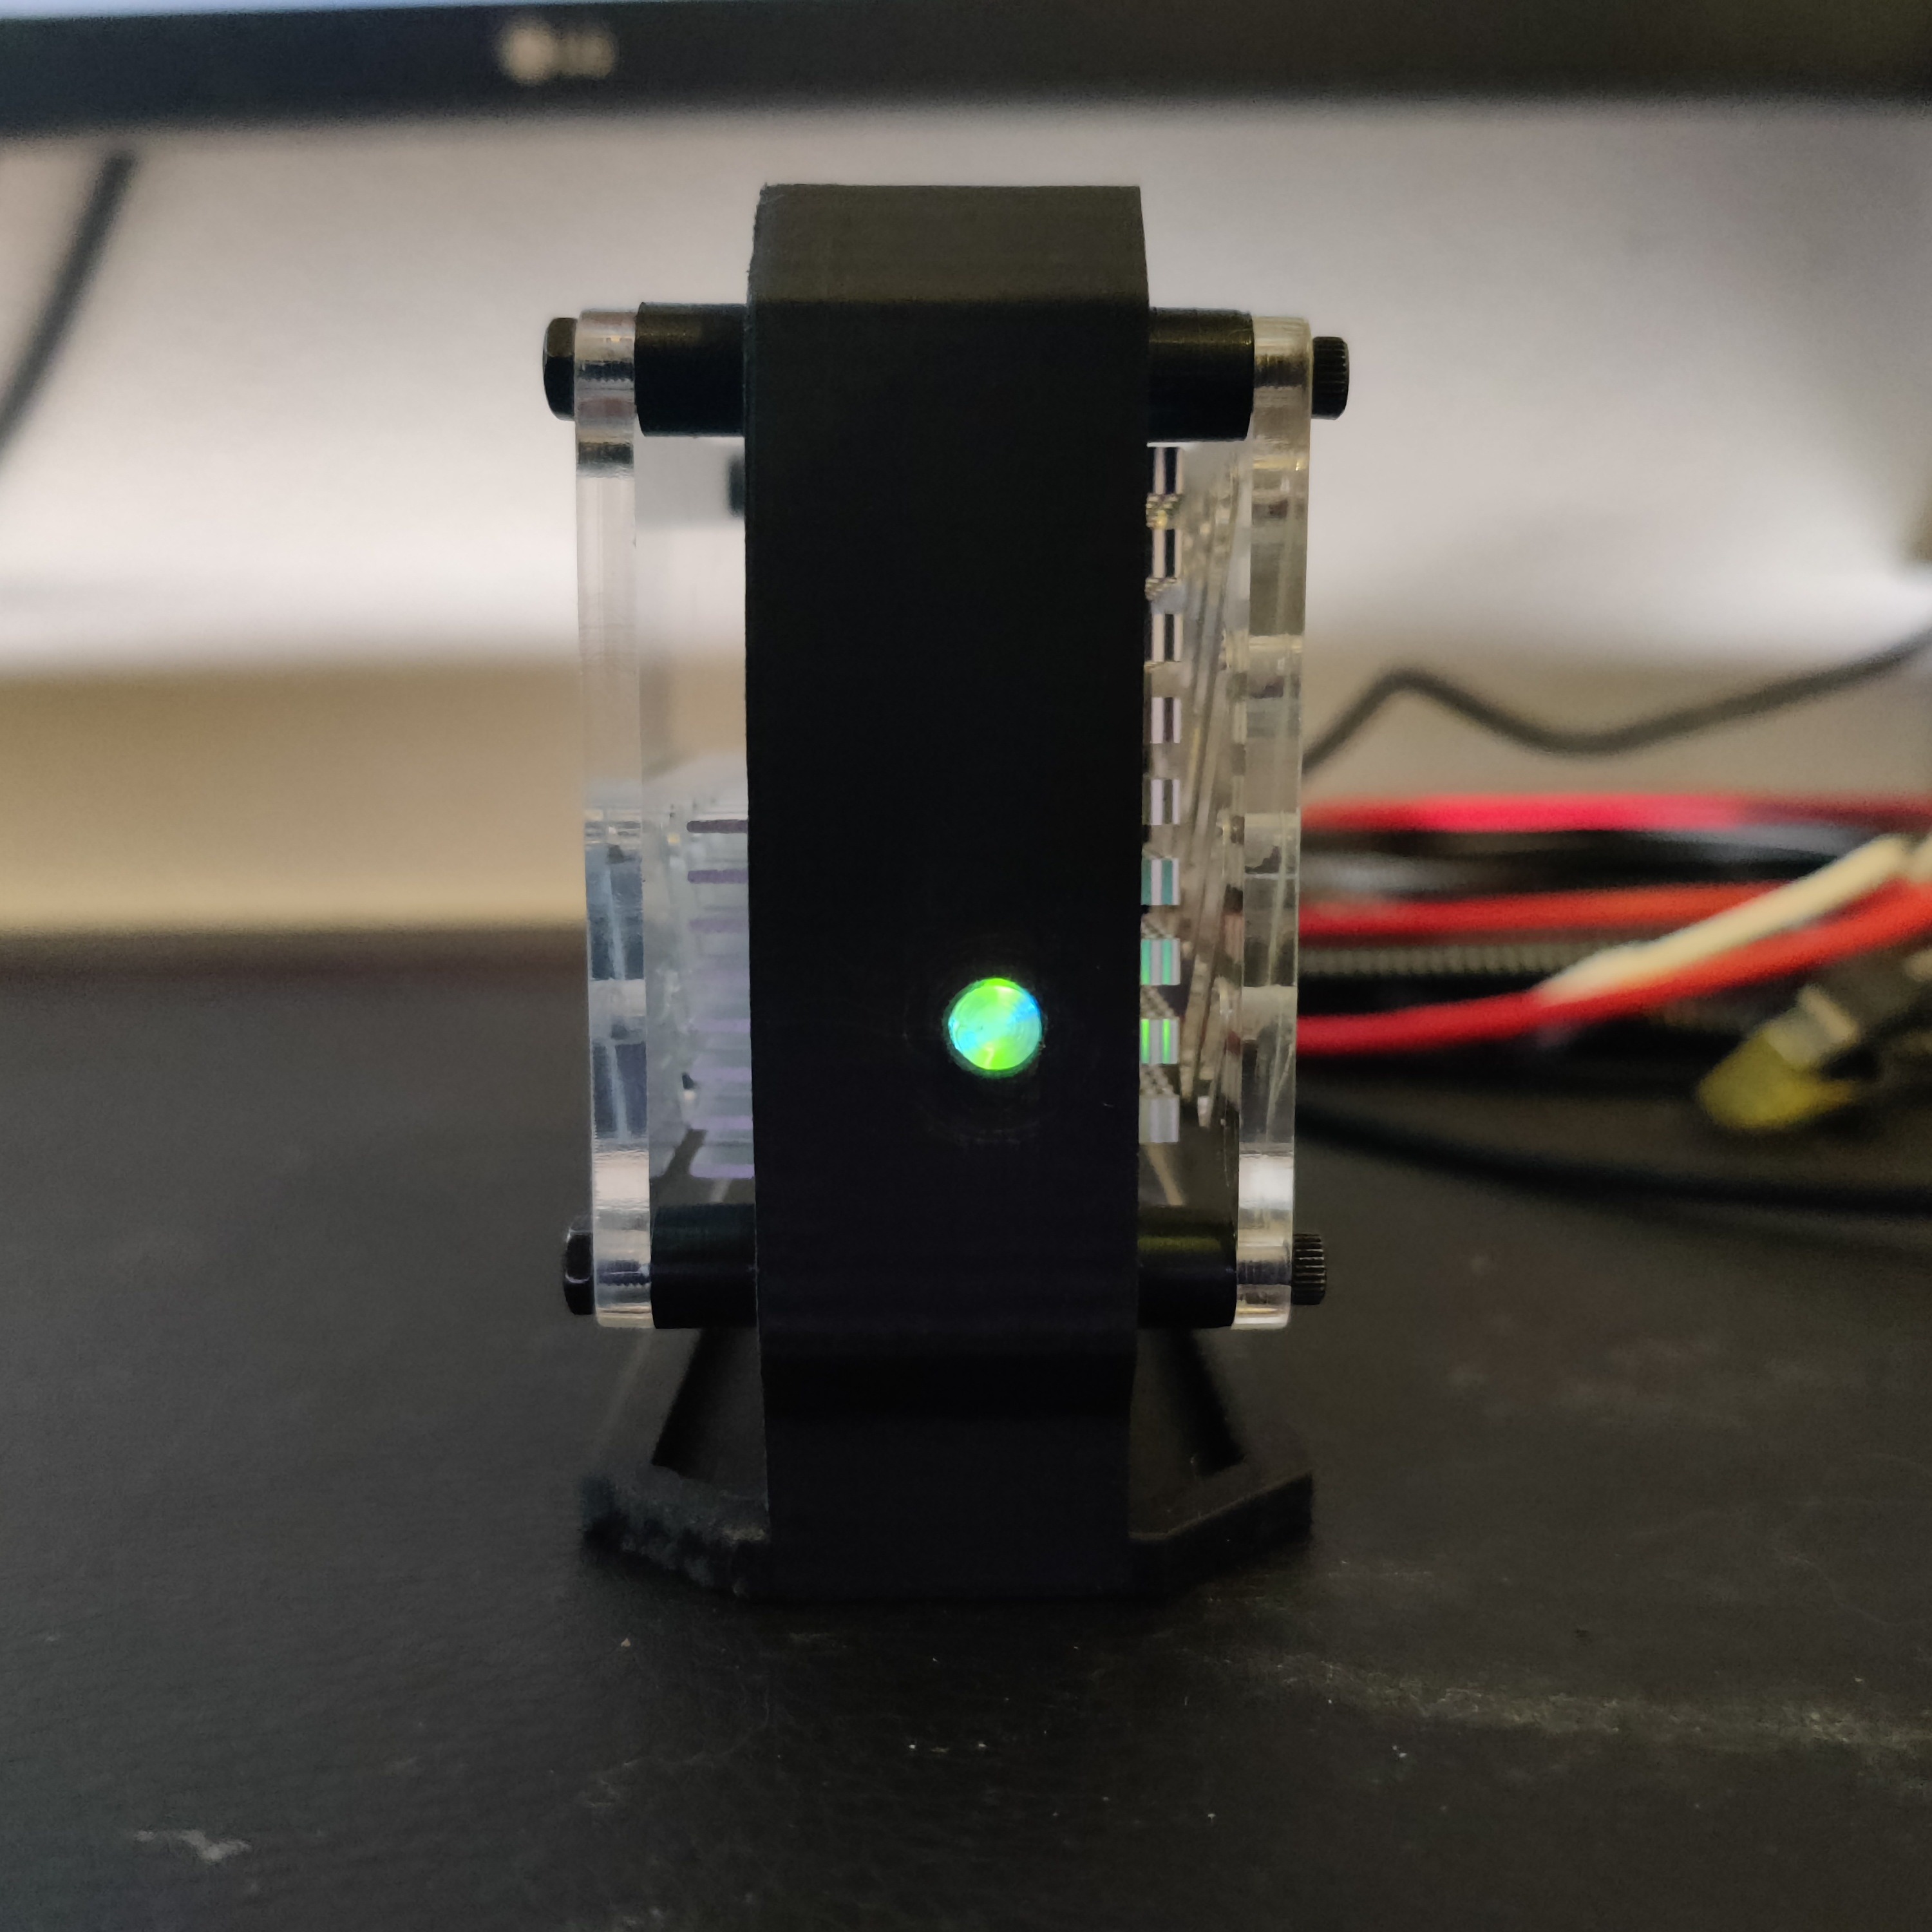
The coolest way to showcase your Pi!
- Ocena
- 0 / 5
- Polubienia
- 13
- Pobrania
- 53
- Wydruki
- 0
- Wyświetlenia
- 1108
- Oceny
- 0
Aktualizacja u źródła:
Informacje o modelu
- Źródło
- Printables
- Kategoria
- Computers
- Licencja
- Creative Commons — Attribution — Noncommercial — Share Alike
SzczegółyPliki (8)Wydruki i komentarze (Wydruki: 0) (Komentarze: 0)Remiksy (0)Kolekcje (19)Powiązane
The Sandwich
Grocery List
- Raspberry Pi 5 8 GB
- Raspberry Pi 5 Active Cooler
- Geekworm X1002 M.2 NVMe SSD Pip PCIe Peripheral Board Bottom for Raspberry Pi 5
- Crucial P3 2TB M.2 PCIe Gen3 SSD
- CTRICALVER aluminum M.2 SSD heatsink
- 20mm thermal tape
- M2,5 x 40 hexagon socket screw (4 pieces)
- M2,5 hexagon nut (4 pieces)
- AuviPal BCLINK USB-C right angle adapter
- 3 x RUXELY USB C Extender
Recipe
- mount the Active Cooler on the Pi

- use the thermal tape to put the heatsink on the SSD

- mount the M.2 SSD on the Geekworm Board

- Connect the SSD Board to the Pi

- put the screws through the pi-side-plate

- put the large spacers on the screws

- screw the screws through the wholes of the Pi into the thread of the ssd board

- stack the usb extenders

- put the extender stack into the bottom of the base

- inser the button into the base front hole

- put the Pi into the base and on the usb extender

- fully screw the screws

- put the small spacers on the screws

- put the ssd side plate on the screws and screw it with the nuts

Printing Advice
All Parts, except the base, can be printed without support.
The best way i found to print the base is lying on the side, with tree support. Just like this:

To get the cool button-glow-through-effect from the status LED, i printed the Button with transparent filament.
I used PLA for all Parts, except the side plates. These can also be prindet without any problems, but i prefered laser cut acrylic glas for this parts, to have a clear view on the hardware. If you prefer this too, i also uploaded the .dxf files.