
USB Shifter Plate with TPU gasket and miss shift feature ( 7+R / 6+R )
Obliczymy ostateczną cenę na podstawie wybranego pliku. Sprawdzisz ją i zaakceptujesz przed płatnością.
Zapisane na tym urządzeniu.

3D Printed plate with embedded TPU gasket to reduce noise + slider feature to reduce miss shifts.
- Ocena
- 5 / 5
- Polubienia
- 53
- Pobrania
- 383
- Wydruki
- 6
- Wyświetlenia
- 2118
- Oceny
- 6
Aktualizacja u źródła:
Informacje o modelu
- Źródło
- Printables
- Kategoria
- Video Games
- Licencja
- Creative Commons — Attribution — Noncommercial
Changelog:
12/02/2025
Added a 6+R version. Look for the “_6R” files. I checked everything in cad and it should work just fine but I did not personally test print (tested by c4tkybnm, check the makes). It may look a bit weird because I tried to use as most of the right wall as possible to prevent potential mis shifts to reverse. Use the same instructions to print/assemble as the original one.
________________________________________________________________________________________________________________
________________________________________________________________________________________________________________
I wanted to attenuate the noise of this cheap shifter, so printing something out of TPU seemed like the logical step. I didn't want to use glue or fasteners to secure the TPU so I embedded it in the plate printing process.
I was also having trouble with shifting precision and was shifting to 7th and reverse gear instead of 5th or 6th, doing a 6 + R plate was an option but I don't like the idea of removing a feature from the shifter completely. So I came up with a simple slider on rubber bands that hides the 7th and reverse gear and hopefully help with miss shifting due to lack of precision on my end.
This shifter has a hall sensor version board, so I am unsure if this will work as well in the microswitch version. If someone tries it, please do leave a comment below.
The noise reduction isn't crazy since there's a lot of noise coming from the interior mechanism. But the TPU gasket does help with the noise generated from the stick hitting the plate. I used 95A so softer TPUs might give better results in noise reduction.
________________________________________________________________________________________________________________
Hardware needed:
Simple plate version: None. It uses all of the original fasteners.
Miss shift version: 6x M3x12 SHCS + 6x M2x4 SHCS + rubber bands (the ones I used are around 60mm in diameter)
________________________________________________________________________________________________________________
Printing process:
Start by printing the TPU_gasket. If possible, avoid using a brim or mouse ears, it is extremely important to keep the dimensions of the gasket as precise as possible.
Clean any blobs or stringing on the gasket, any imperfections might result in difficulties when embedding it to the plate.
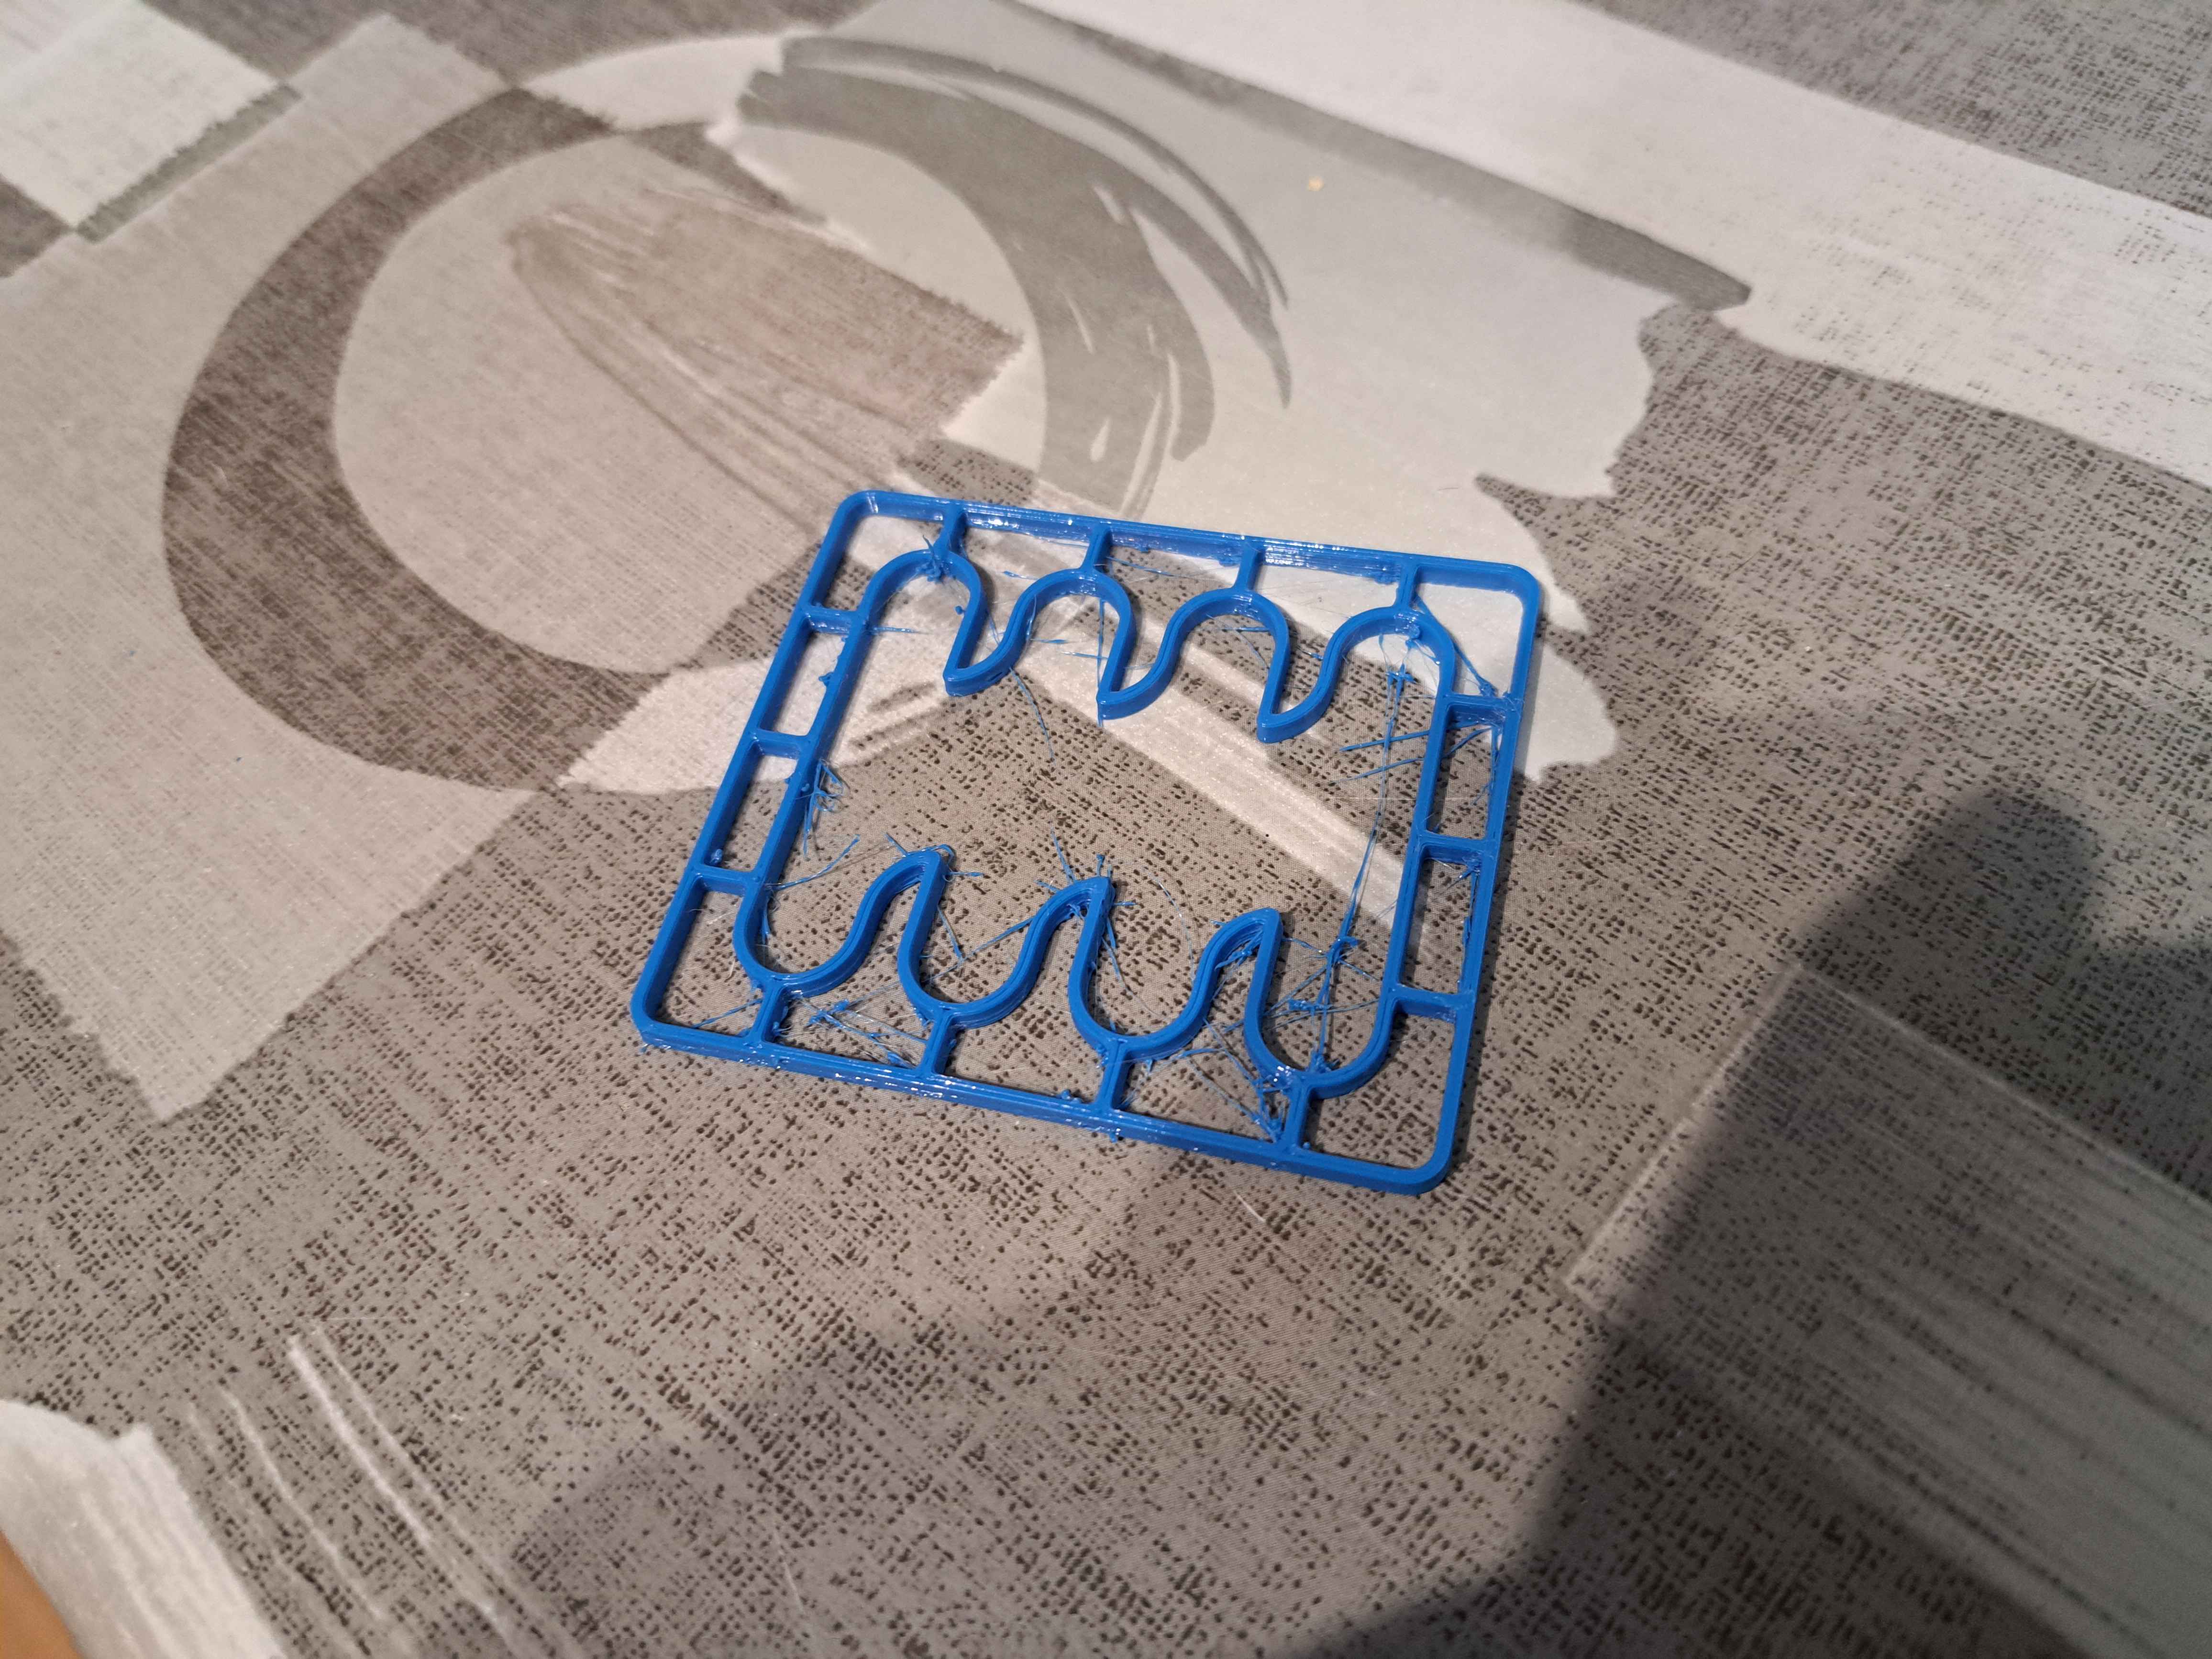
Next you can print the plate, either “Plate_simple” if you don't want the slider feature (uses all of the original fasteners) or “Plate_MS” if you want the slider feature (6x M3x12 SHCS will be needed). I used PLA but any hard plastic should work.
Important: I used 0.2mm layer height + 0.25mm initial layer height, use the same if you can to ensure that you pause the print at the right time to insert the TPU gasket. If you use these settings, you can pause the print at layer 20 (before the layer get's laid down), so be careful in your slicer of choice and ensure that the pause cycle happens at the start of the layer and not the end, if it's the latter, pause at layer 19.
Once paused, insert the gasket carefully but firmly in the plate, ensure that nothing is sticking out.

There's a 0.2mm height difference between the gasket and the plate layer that will cover it to help with any inconsistency.
Resume the print.
If you go for the miss shift option, print the other parts (Top_bracket + Bot_Bracket + Slider), you'll need 6x M2x4 SHCS for the slider.
________________________________________________________________________________________________________________
Assembly:
1 - Secure the electronics board to the plate.

Simple version: Use all 4 of the original smaller bolts. Go to step 4.
MS version: Use 2 of the original smaller bolts on the left side of the plate.
2 - Place the Top_bracket and Bot_bracket and continue securing board to the plate using 2x M3x12 SHCS bolts.
3 - Place 2 x M3x12 bolts in the ears on the plate, facing outwards.
4 - Secure the plate to the rest of the shifter.

Simple version: Use all 4 of the original longer bolts.
MS version: Use 2 of the original longer bolts on the left side of the plate and 2x M3x12 SHCS on the right side.
5 - Place the 6 x M2x4 SHCS on the slider part.
6 - Place the slicer on the rest of the assembly (bevel facing the stick shifter) and secure it with rubber bands.
________________________________________________________________________________________________________________
And that's it, enjoy.