
Name Plate with Holder – Press-Fit Letters, Any Single-Color Printer
Obliczymy ostateczną cenę na podstawie wybranego pliku. Sprawdzisz ją i zaakceptujesz przed płatnością.
Zapisane na tym urządzeniu.

Two-color name plates on any single-color printer: press-fit letters, free generator included.
- Ocena
- 0 / 5
- Polubienia
- 11
- Pobrania
- 108
- Wydruki
- 0
- Wyświetlenia
- 441
- Oceny
- 0
Aktualizacja u źródła:
Informacje o modelu
- Źródło
- Printables
- Kategoria
- Office
- Licencja
- Creative Commons — Attribution — Noncommercial — Share Alike
Crisp two-color name plates on any single-color printer
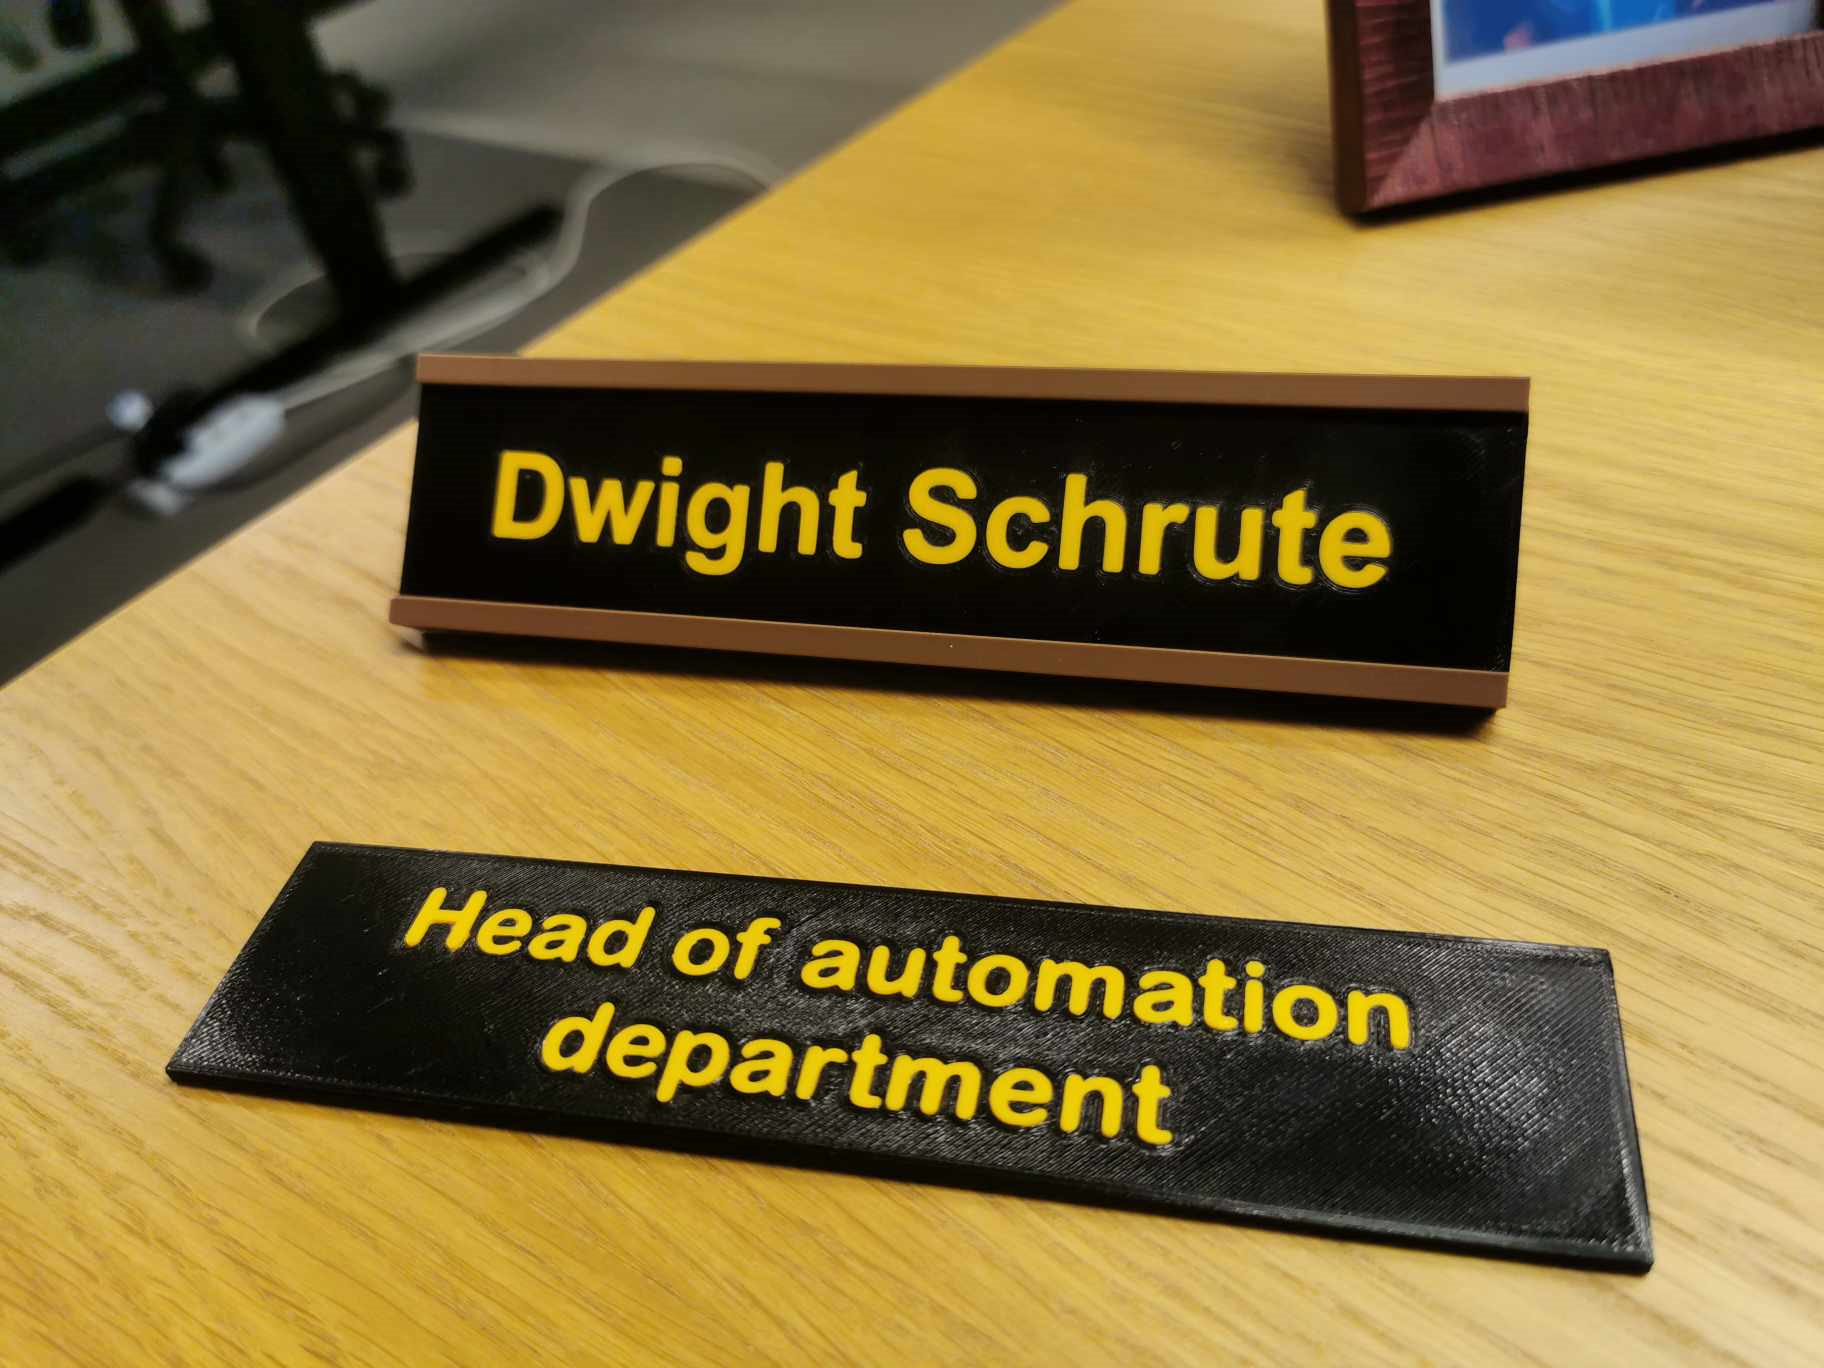
Print the plate and the letters as two separate parts, then press the letters into the plate. No MMU, no AMS, no ironing and no stringing. The edges stay sharp because each color is printed on its own.
This project started as a funny surprise for my colleague and ended up as a good learning experience. The full story is at the bottom.
The easy way: Name Plate Generator (free)
To avoid redoing this in CAD for every plate, I built a free tool that does it for you: https://github.com/AivarasNarbutas/NamePlateGenerator
Type your text (front and back), then pick any installed font or a .ttf/.otf file. Font, size, bold and italic can be set per character.
A 3D preview shows the plate, letters and holder before you export.
Pocket depth, text height, fit clearance and print gap are all adjustable. Fit clearance is how much smaller the letters are made per side, which is the -0.08 mm from the manual method.
It includes a holder/stand generator (a channel stand and a slot base) that resizes with the plate.
It exports a ready-to-print 3MF, or separate STLs for the plate, letters and holder. The 3MF carries the settings, so you can re-import and edit it later.
Start with a fit clearance of about 0.08 mm and adjust it to your printer and font.

Assembly
Print the plate, the letters and, optionally, the holder.
Press the letters into the pockets in the plate. Add a little glue if needed.
Slide the plate into the holder.
At -0.08 mm the letters sat tight in the plate on my printer.
Manual method (CAD)
If you prefer to do it by hand, for example in Fusion 360:
Add your text to the model inside the BlankPlate.STEP file. I used the Arial Rounded MT Bold font.

Extrude the text into the plate with Cut.

Extrude the text again as a New Body.

Select each side face of the text bodies (not the top or bottom) and apply a negative offset. -0.08 mm worked best for me, but the right value depends on your font and printer.


In the slicer, separate the plate and the text into two objects and print them as two separate prints.


Press the letters into the plate. Add a little glue if needed. At -0.08 mm the letters sat tight in the plate.
Optional: print stand.stl for your plate.
Why not print it in two colors on an MMU?
I tried first.
Attempt 1: MMU3 with ironing. I printed a plate with the text "Head of automation department". The result was terrible, with black plastic strings and blobs all over the yellow text.

Attempt 2: MMU3 without ironing. Better, but still not perfect.


Attempt 3: separate plate and letters, pressed together. After a few tests with the offset around the letters, -0.08 mm worked perfectly for me. This approach needs no MMU, so any single-color printer works.
Made one?
Post a make and tell me which font and fit clearance worked for you. I'm collecting values that work well for different fonts and printers.
Happy printing! If the generator is useful to you, there's a Buy Me a Coffee link in the app and on GitHub.