
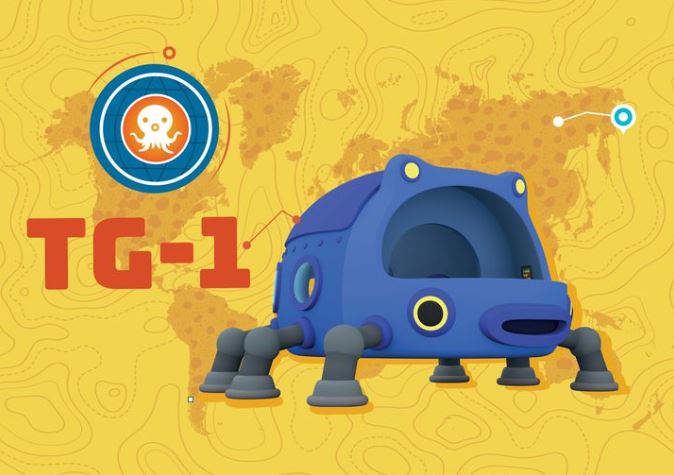
Octonauts Terra Gup 1 (TG-1)
Obliczymy ostateczną cenę na podstawie wybranego pliku. Sprawdzisz ją i zaakceptujesz przed płatnością.
Orientacyjna cena wydruku pliku
0,09 € – 0,12 € netto (bez VAT)
Dla pliku: WindowX1 100% no shell_0.4n_0.1mm_PLA_MK4_6m.gcode
To wstępna wycena jednego pliku. Dokładną cenę poznasz przed zamówieniem.
Plik i założenia wyceny
Plik użyty do wyceny
Średnia wycena orientacyjna: 0,11 € netto (środek widełek).
- Masa podana przez autora
- 1 g
- Czas druku podany przez autora
- 7,2 min
- Materiał u źródła
- PLA
- Materiał wyceny
- PLA
- Drukarka wyceny
- Bambu Lab P1S - 0.4 nozzle
- Proces wyceny
- 0.20mm Standard
Orientacyjna wycena wyłącznie wybranego pliku, oparta na masie i czasie druku podanych przez autora. Warianty plików nie są sumowane. Ostateczna cena zostanie obliczona po analizie pliku.
Zapisane na tym urządzeniu.

Toy from the Show Octonauts: Above and Beyond on Netflix. Made it in multiple parts so that color changes can be done
- Ocena
- 5 / 5
- Polubienia
- 38
- Pobrania
- 276
- Wydruki
- 5
- Wyświetlenia
- 1346
- Oceny
- 3
Aktualizacja u źródła:
Informacje o modelu
- Źródło
- Printables
- Kategoria
- Other Toys & Games
- Licencja
- Creative Commons — Attribution — Share Alike
Layer Heights
- Body - 0.2mm or less
- Windows/Legs/Lights/Eyes - 0.15mm or less
Supports
- Body - Yes. The screw holes, mouth, and portholes need supports
- Eyes - Printing screw hole down needs supports for the overhangs
Print Quantity
Body - 1
Lights - 2
Windows - 4
Eyes - 2
Legs
- Nut - 12
- Dual ball joint - 6
- Bottom Leg - 6
- Screw into Body - 6
Print Orientation/Details
- Legs: Print with Brim with one of the two flat sides down. Shouldn't need supports. May need to sand a bit of the ball joints down a bit depending on how well the brim comes off.
- Eyes: Print screw side down with supports around the overhang. Going from Yellow to Black looks better with this orientation.
- Lights: Thick side down
- Windows: Prongs facing up
Assembly
Leg to Body:
Can be hard to get the “Screw Into Body” part to initially thread. I used a pair of pliers gently pushing and turning. Once you get it in the first time, it'll be easier subsequent times. Assemble the whole leg to use as leverage to get the screw end into the body. It takes a fair bit of persistence and force. Once it's slightly threaded, use pliers to gently turn it the rest of the way. Can use super glue in the threads to keep it from coming out. Just fair warning that this is the hardest part.
Legs
Ball Joint: Put the nut on a hard surface and push the ball joint straight down into it. It'll click in place with enough force. It felt like too much to me at first, but it takes a fair bit.
Screw the nut onto the "Bottom Leg"/"Screw Into Body" models. There should still be a fair bit of movement.
Eyes
Like the legs, the initial screwing in can be difficult. Carefully use pliers to tighten the eye in. Use a dab of super glue to secure it in place
Lights
Push the pieces into the holes with a dab of super glue to keep it in place.