
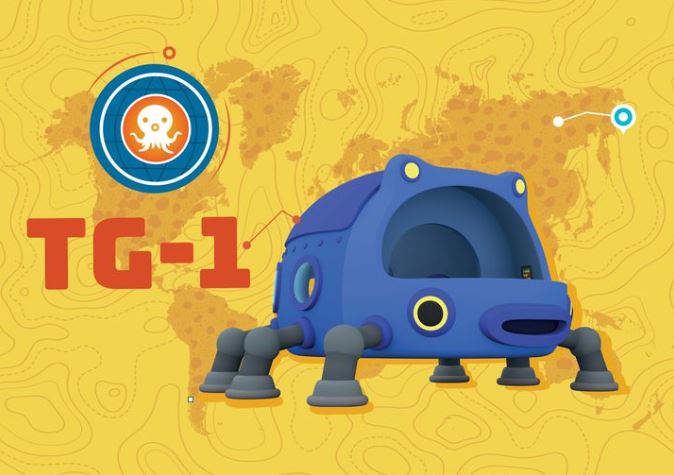
Octonauts Terra Gup 1 (TG-1)
We calculate the final price from your selected file. You review and accept it before payment.
Estimated printing price per file
€0.09 – €0.12 net (excluding VAT)
For file: WindowX1 100% no shell_0.4n_0.1mm_PLA_MK4_6m.gcode
This is an estimate for one file. You’ll confirm the exact price before ordering.
File and estimate settings
File used for this estimate
Average indicative estimate: €0.11 excluding VAT (range midpoint).
- Weight reported by the author
- 1 g
- Print time reported by the author
- 7.2 min
- Source material
- PLA
- Estimate material
- PLA
- Estimate printer
- Bambu Lab P1S - 0.4 nozzle
- Estimate process
- 0.20mm Standard
Indicative estimate for the selected file only, based on the author’s weight and print time. File variants are not added together. The final price is calculated after file analysis.
Saved on this device.

Toy from the Show Octonauts: Above and Beyond on Netflix. Made it in multiple parts so that color changes can be done
- Rating
- 5 / 5
- Likes
- 38
- Downloads
- 276
- Makes
- 5
- Views
- 1,346
- Reviews
- 3
Updated at source:
Model information
- Source
- Printables
- Category
- Other Toys & Games
- License
- Creative Commons — Attribution — Share Alike
Layer Heights
- Body - 0.2mm or less
- Windows/Legs/Lights/Eyes - 0.15mm or less
Supports
- Body - Yes. The screw holes, mouth, and portholes need supports
- Eyes - Printing screw hole down needs supports for the overhangs
Print Quantity
Body - 1
Lights - 2
Windows - 4
Eyes - 2
Legs
- Nut - 12
- Dual ball joint - 6
- Bottom Leg - 6
- Screw into Body - 6
Print Orientation/Details
- Legs: Print with Brim with one of the two flat sides down. Shouldn't need supports. May need to sand a bit of the ball joints down a bit depending on how well the brim comes off.
- Eyes: Print screw side down with supports around the overhang. Going from Yellow to Black looks better with this orientation.
- Lights: Thick side down
- Windows: Prongs facing up
Assembly
Leg to Body:
Can be hard to get the “Screw Into Body” part to initially thread. I used a pair of pliers gently pushing and turning. Once you get it in the first time, it'll be easier subsequent times. Assemble the whole leg to use as leverage to get the screw end into the body. It takes a fair bit of persistence and force. Once it's slightly threaded, use pliers to gently turn it the rest of the way. Can use super glue in the threads to keep it from coming out. Just fair warning that this is the hardest part.
Legs
Ball Joint: Put the nut on a hard surface and push the ball joint straight down into it. It'll click in place with enough force. It felt like too much to me at first, but it takes a fair bit.
Screw the nut onto the "Bottom Leg"/"Screw Into Body" models. There should still be a fair bit of movement.
Eyes
Like the legs, the initial screwing in can be difficult. Carefully use pliers to tighten the eye in. Use a dab of super glue to secure it in place
Lights
Push the pieces into the holes with a dab of super glue to keep it in place.