
XIAO ESP32s3 (Sense) Camera for Prusa XL
Obliczymy ostateczną cenę na podstawie wybranego pliku. Sprawdzisz ją i zaakceptujesz przed płatnością.
Zapisane na tym urządzeniu.

A complete setup for a ESP Camera for Prusa Connect (XIAO ESP32S3 Sense) on a Prusa XL
- Ocena
- 5 / 5
- Polubienia
- 38
- Pobrania
- 190
- Wydruki
- 3
- Wyświetlenia
- 1866
- Oceny
- 3
Aktualizacja u źródła:
Informacje o modelu
- Źródło
- Printables
- Kategoria
- Prusa Parts & Upgrades
- Licencja
- Creative Commons — Attribution — Noncommercial — Share Alike
————Required Hardware————
| Item | Cost |
|---|---|
| Seeed Studio XIAO ESP32 S3 Sense | ~$24 |
| IKEA Lillhult USB-A to USB-C Cable | ~$5 |
| Old Apple (iPhone) 5W USB power adapter | ~$0 |
| 5 × M3-0.5x8mm Socket Cap Screws | ~$4 |
I pick the Seeed Studio XIAO ESP32 S3 Sense because of its small size, lower price-point, and excellent WiFi signal.
————Software Setup————
I was unable to flash the camera firmware using the provided binaries provided on the Prusa-Firmware-ESP32-Cam.
However, I carefully followed the instructions for how to compile software in the Arduino IDE and successfully got the everything working. I am now able to flash new firmware using provided binaries.
————Remixing & Assembly————
| 1) Case Selection | |
|---|---|
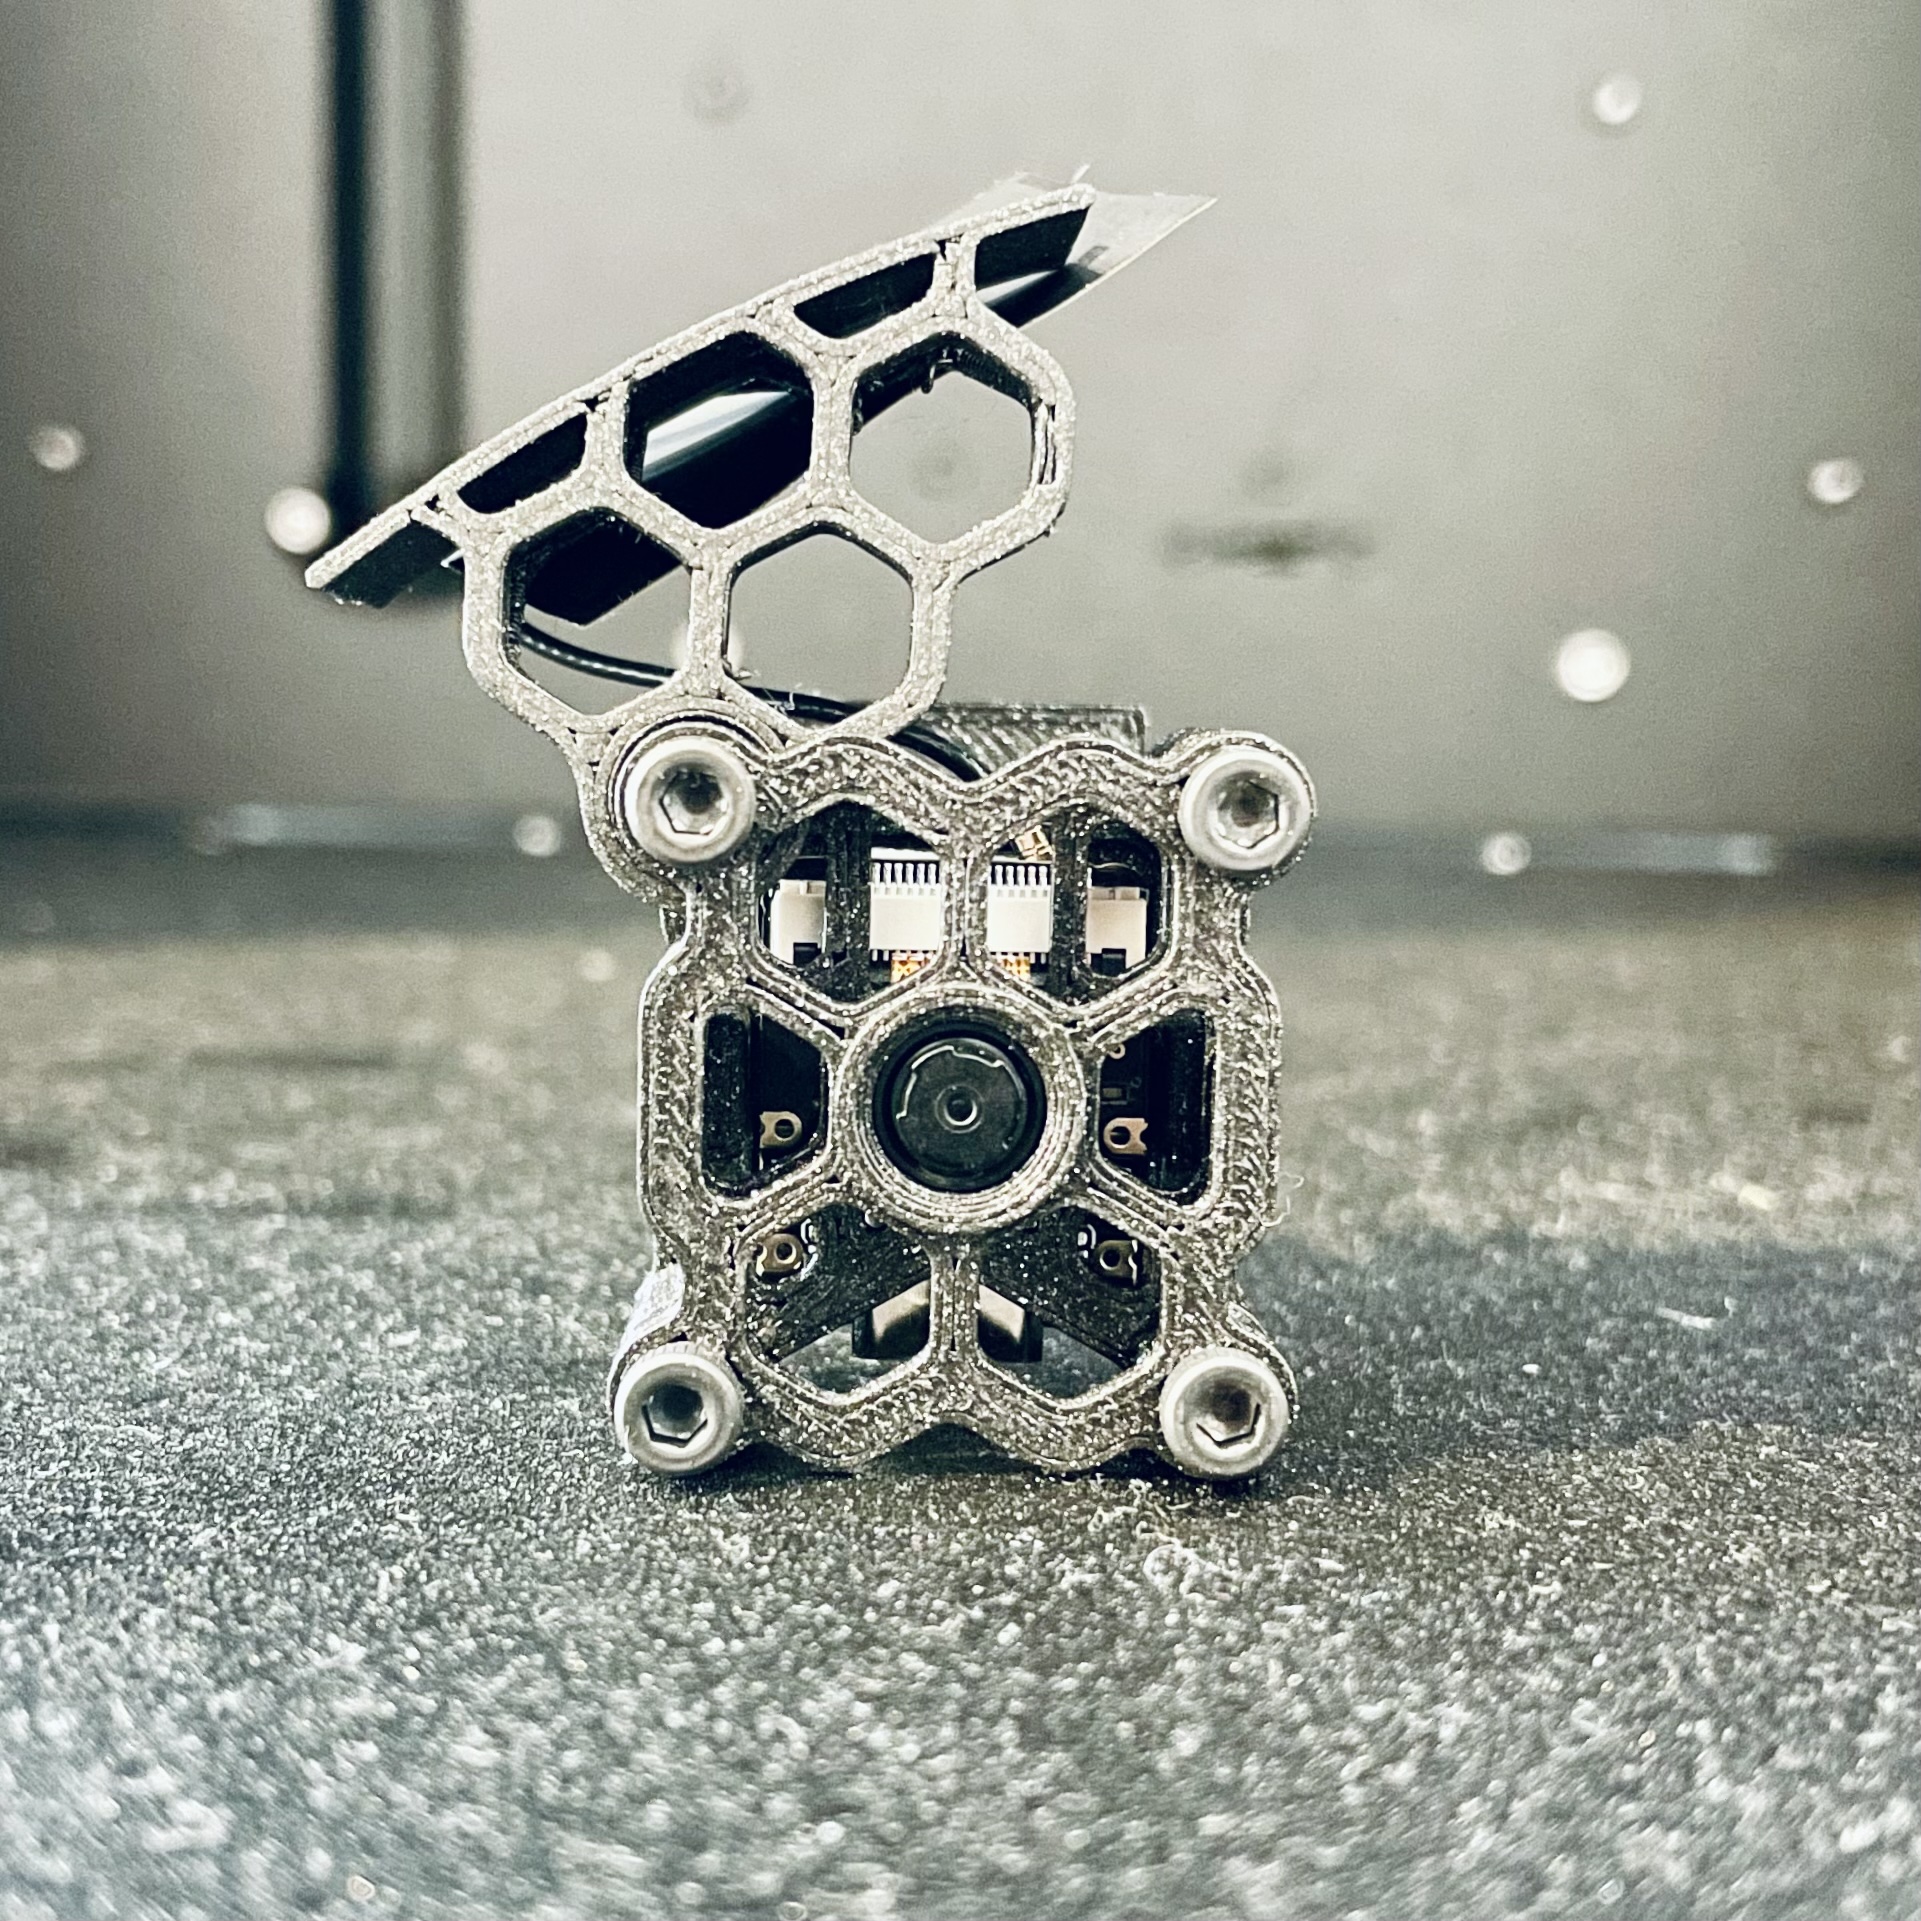 | Because the Seeed Studio XIAO ESP32 S3 Sense can get very warm, I wanted a case with maximum airflow and I found Camera Case Xiao ESP32S3 Sense by brunnair. I had to make a couple small adjustments to make the hardware fit. (reference "Differences of the remix compared to the original" for additional details) |
| 2) Ball and Socket Connector | |
|---|---|
 | Then I need a way to connect it to my PrusaXL. I used the ball and socket connector from the ESP32-S3 EYE camera cover / mount and remixed with the Camera Case Xiao ESP32S3 Sense housing mount. |
| 3) PrusaXL Mount | |
|---|---|
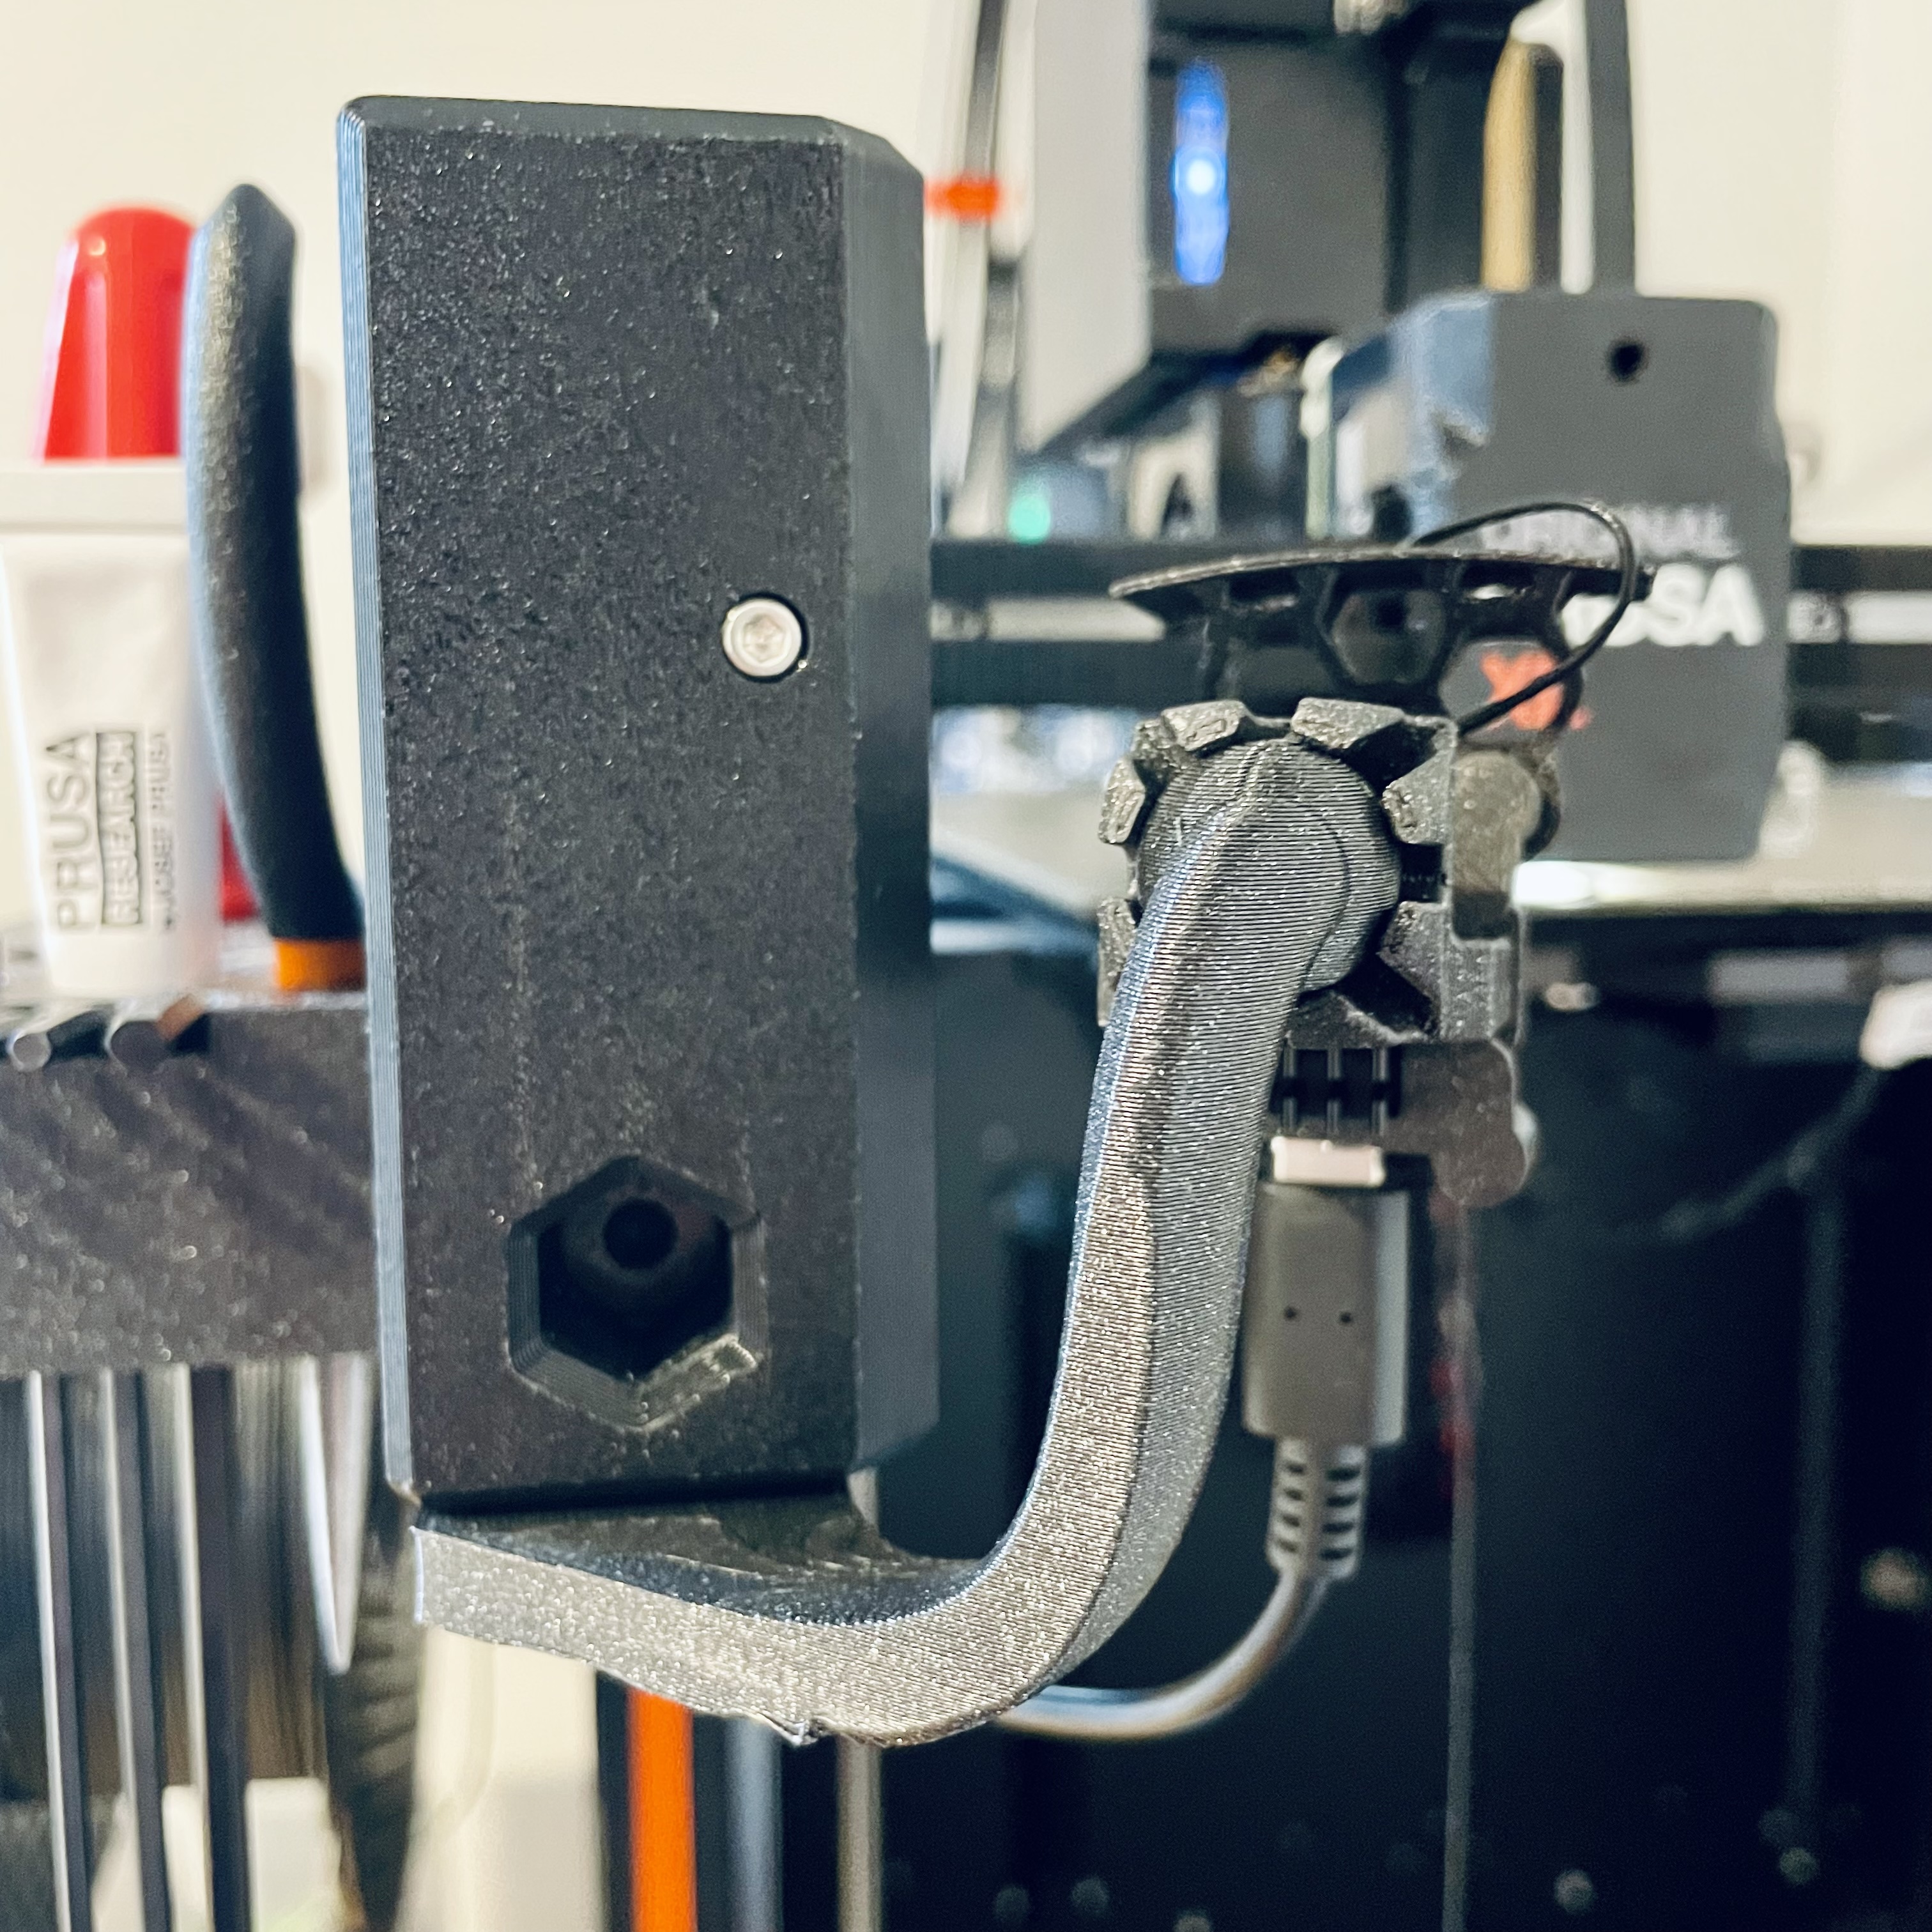 | Next I then printed the ESP32-S3-EYE cam mount prusa XL. This let me attach the camera to the left side of the upper arm of the Prusa XL. I needed a way to keep the mount attached so I printed M3 T-slot nut (M3nEs nut) and attached it using the last (5th) M3-0.5x8mm screw. |
| 4) PrusaXL Mount | |
|---|---|
 |  |
| For improved cable management and visual aesthetics, I used the slots in the T-Frame to hide the USB-C power cable for the camera. I then printed two T-Slot Extrusion Channel Covers for the horizontal sections (top under & lower outer) to cover the cable and keep it hidden. NOTE: the vertical channel cover comes as part of the PrusaXL | |