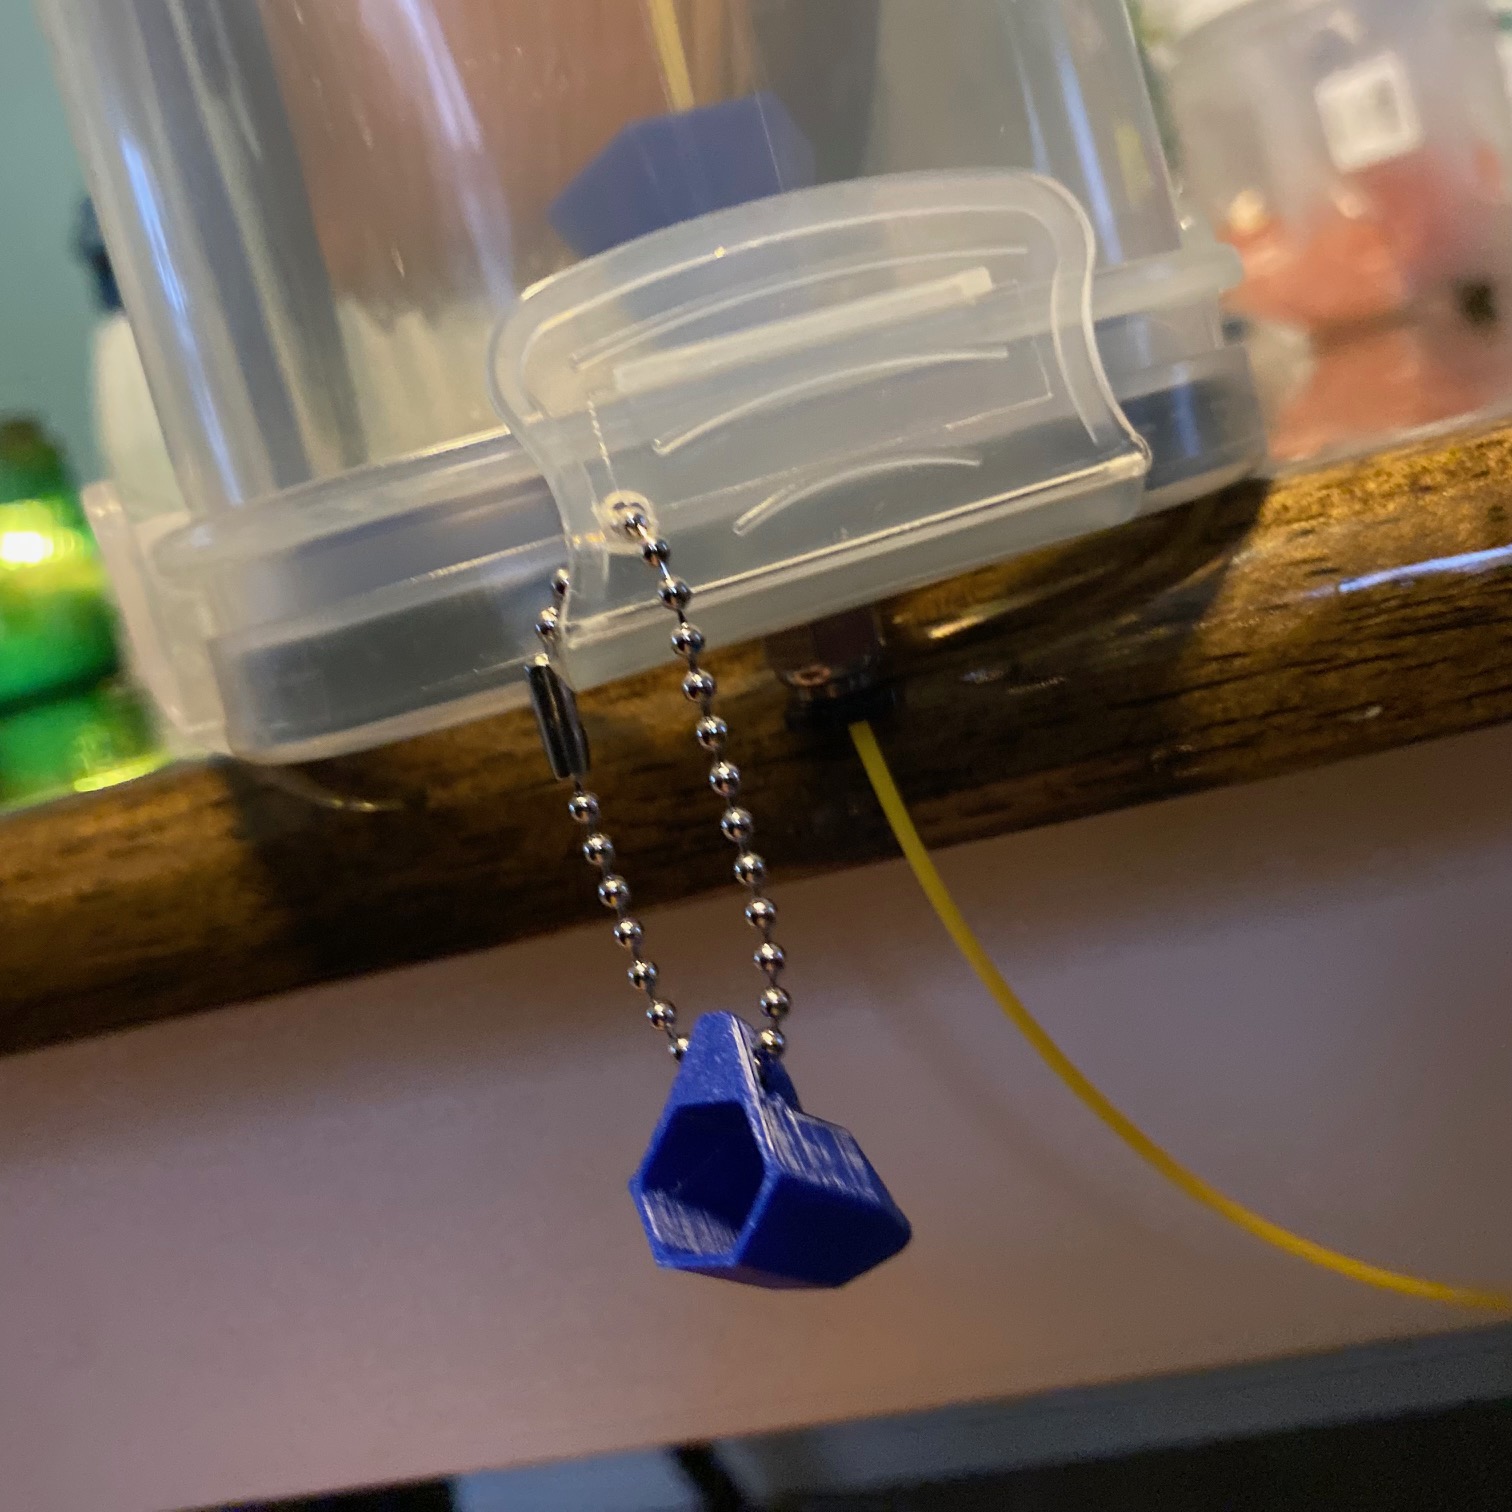
Filiment Dry Box Storage/Down Feeding System From Shelf
Obliczymy ostateczną cenę na podstawie wybranego pliku. Sprawdzisz ją i zaakceptujesz przed płatnością.
Zapisane na tym urządzeniu.

Cost effective/efficient way to load, store, and change filament quickly.
- Ocena
- 5 / 5
- Polubienia
- 735
- Pobrania
- 912
- Wydruki
- 1
- Wyświetlenia
- 20 656
- Oceny
- 3
Aktualizacja u źródła:
Informacje o modelu
- Źródło
- Printables
- Kategoria
- Accessories
- Licencja
- Creative Commons — Attribution — Noncommercial — Share Alike
What this project accomplishes
- Easy/Fast filament loading/unloading from a single position above your printer.
- The least amount of hardware needed.
- The least amount of filament needed. (about 130g per box)
- The least amount of holes being drilled into your dry-box. (1)
- Minimal maintenance air tight long term dry storage for all filaments.
This setup is intended to down fire filament out of your dry box containers into your printer. This allows you to quickly grab and feed filament into and out of your printer efficiently. This setup does not use bearings, I do not believe they are necessary. If you need a shelf set-up that works perfectly with this system look here. For optimal feeding you may want to re-orient your run-out sensor/PTFE Tube to easily accept filament feeding directly into the top of your printer. Not required, however.
What you will need (To buy)
- Containers
- Fittings
- Desiccant - Or equivalent
- Square hygrometer - Optional. Can add later
- Chain for caps - This is very optional. I find super convenient tho.
- Double sided foam tape - Only needed if using the hygrometer. If your have a Dollar tree near you they are $1.25 a package. Try there first.
- 4 small screws per box to attach base into the uprights.
What you will need (To assemble)
- Cutters and de-burring tool
- A Drill and drill Bits
- 10mm wrench
- Sharpie or marking tool
- Phillips head screw driver
Print Settings:
3 walls, 5 top and bottoms layers, 20% infill
All parts have been made to make for an easy intuitive assembly. BUT… Keep scrolling for the fastest possible assembly procedure.
- Rip off Flap from Container.

2. Lay base into top

3. Mark Hole to drill
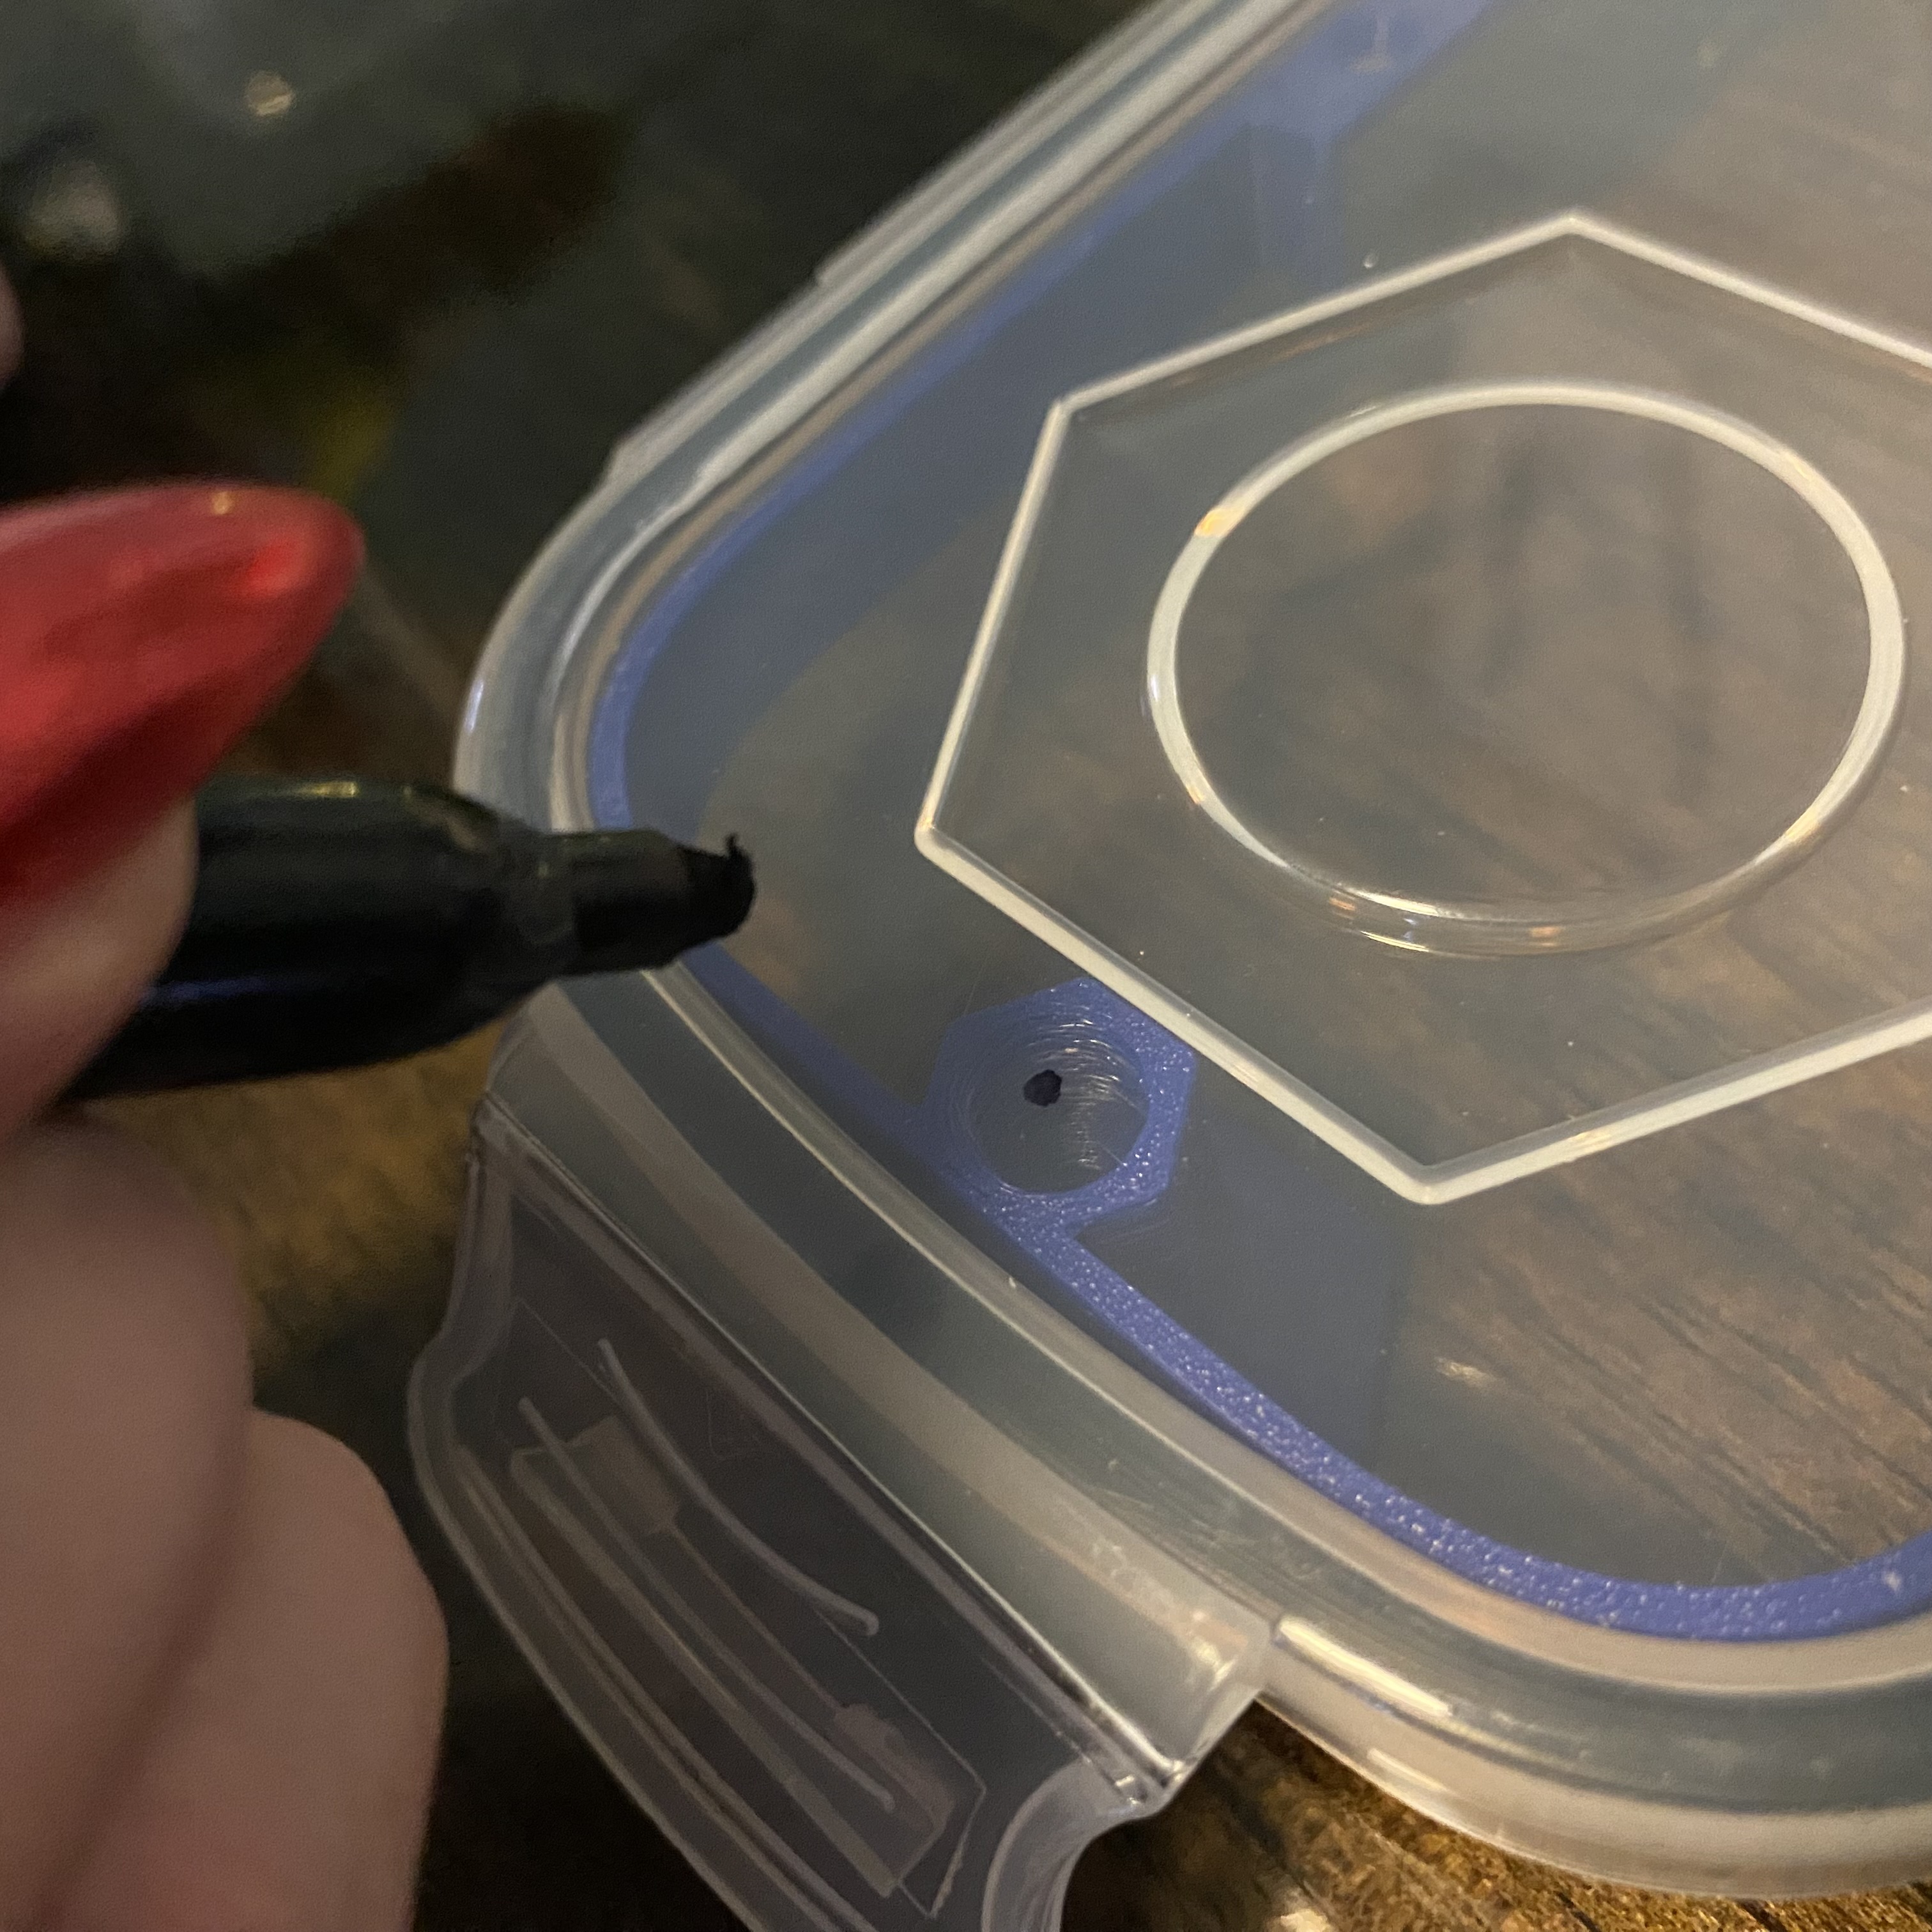
4. Drill pilot hole then drill hole to size and de-burr

5. Screw Uprights into base

6. Screw fitting into base thru top, 10mm to tighten down. use thumb to keep funnel flush to top. This may take some fiddling to get lined up.

7. Place foam tape into Hygrometer mount squares.

8. Snap hygrometer into mount. Make sure swoop is on the bottom!

9. Place mount into box using line on the box to center. once lined up push firmly to stick into place.


10. Screw spindle and nut together thru spool and set into uprights. Feed filament thru funnel.

11. Latch container body onto lid. Fill desiccant lock on the top and push into container lid.


12. Drill last hole into front flap and add chain and cap. DONE!