
Magnetized PTFE Tubes Quick Connect
Obliczymy ostateczną cenę na podstawie wybranego pliku. Sprawdzisz ją i zaakceptujesz przed płatnością.
Zapisane na tym urządzeniu.
Tired of playing with PTFE tubes when changing filament rolls? Use these quick connects!
- Ocena
- 5 / 5
- Polubienia
- 13
- Pobrania
- 31
- Wydruki
- 1
- Wyświetlenia
- 299
- Oceny
- 1
Aktualizacja u źródła:
Informacje o modelu
- Źródło
- Printables
- Kategoria
- Prusa Parts & Upgrades
- Licencja
- Creative Commons — Attribution — Noncommercial
I have been printing with the MMU for some times now and based on my setup, I print from dryboxes located on a shelf above the printer.
The setup I had was working fine however I need to change colors quite often and it was a pain to reach the back of the shelf, undoing ptfe tubes, putting the new box, re-attaching the tube etc.
I decided I needed to find a way to quickly change boxes without the hassle of playing with the tubes too much. Here comes the Magnetized Quick connect/disconnect.
UPDATES:
2024-12-17 - QuickConnect_Connector_v4.stl. Made it a tiny bit thicker so there is less wobble in the receiver, caused by the ptfe tube being too long for between drybox and adapter
How it works!
- The receiver box i designed is made to accomodate the 5 lines going to the buffer/or mmu unit. There is 5 ports, containing 2 magnets each. There is also the option of using single receiver boxes if it suits better your needs.

- The output of the drybox as a ptfe tube connected to a connector. You can use 2 magnets in there as well but you are having issues dealing with polarity, just add 2 small screws instead and will work as good.
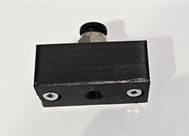
- Simply bring the connector and the receiver together for a snappy snug fit. Just push the filament to the other end!
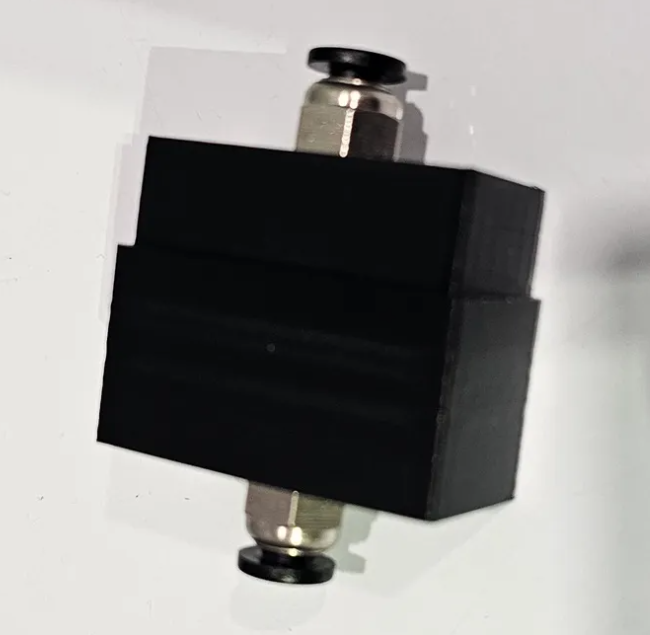
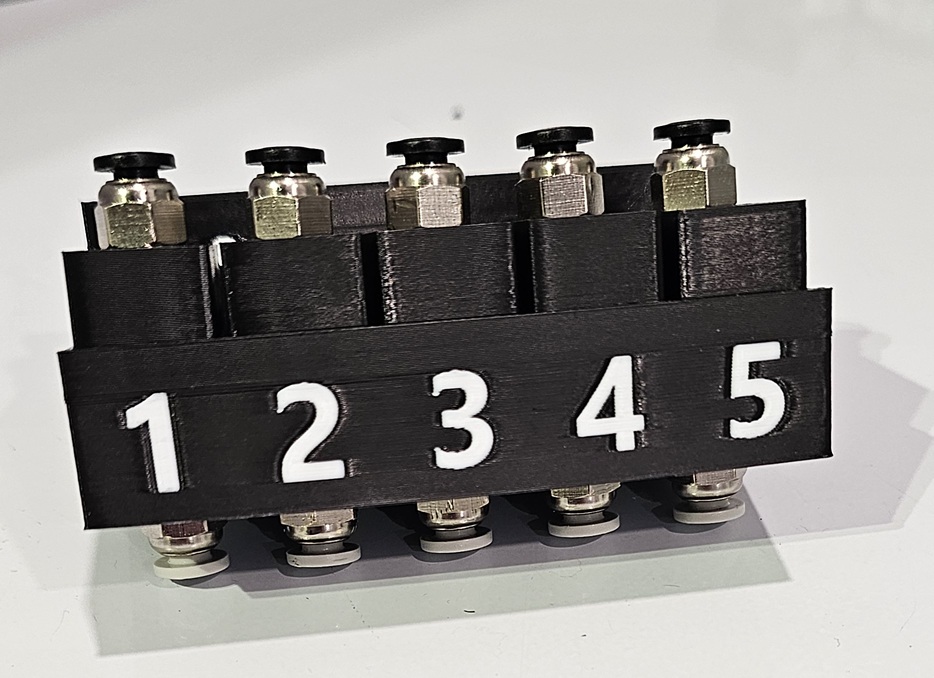
- When not in use, you can insert the connector into the connector holder (I put mine on each drybox)
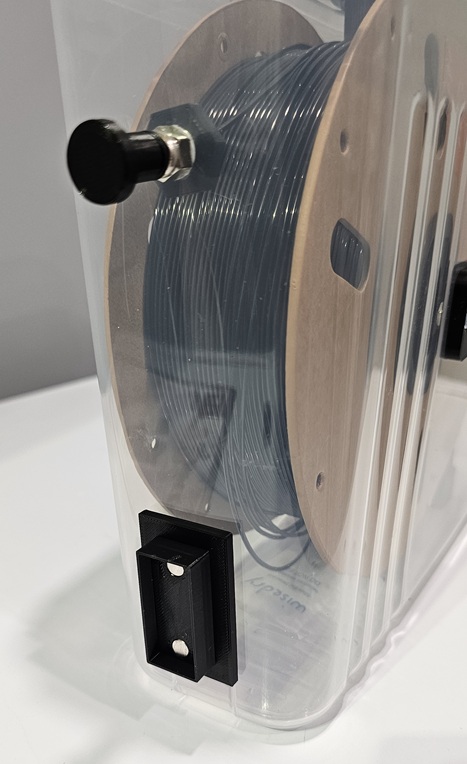
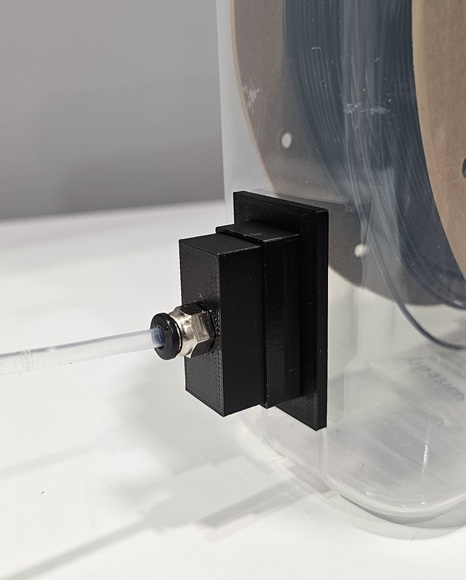
*Optionally, you can use the QuickConnect Solo if you do not have a MMU unit or if you need to print with special filament/not using MMU. This option attach to the MK4S frame. Just add a little piece of PTFE tube for the PC4-M10 and bring the filament to the nextruder.
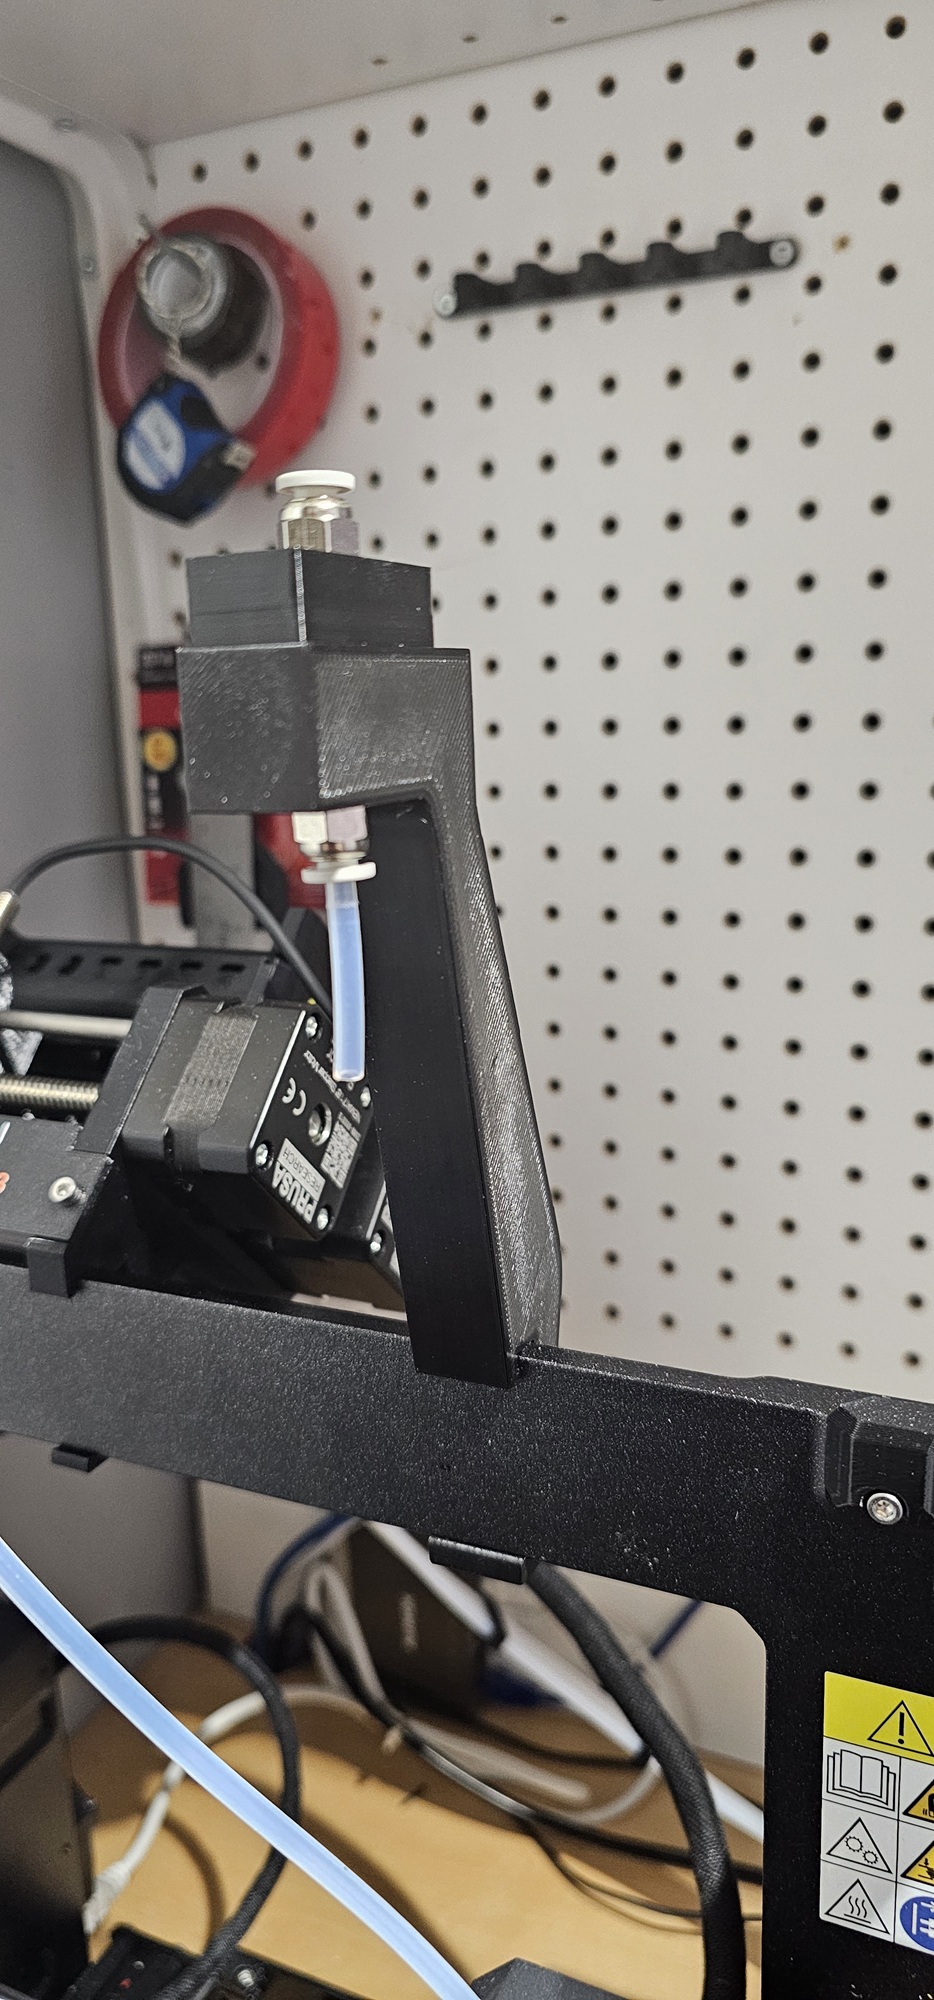
This eliminates the need to unplug ptfe tubes to change boxes! Simply equip a connector to each of your dryboxes.
Magnet Assembly:
- Make sure to put the magnet on both the receiver and the holder so they attract correctly. Simply insert small screws on the connector side instead of magnets and it will work as good. You can use magnets on the connector however you will need to make sure they are properly installed to deal with polarity. I suggest screws.
- Use superglue to hold the magnets in place.
Material needed:
- Small round magnets 6mm x 2mm (https://a.co/d/eSkwXpP)
- Super glue / CA (for magnets)
- PC4-M10 Pneumatic Connector (https://a.co/d/bUo3Ugs)
Printing:
- Filament: PLA or PETG
- Supports: Only the receivers may need some support for the PC4-M10 holes. The 3mf files have paint on support already set for this.
Files:
- QuickConnect_Receiver_v3.3mf - Single Receiver box with paint on support for the PC4-M10 holes
- QuickConnect_Receiver_v3.stl - Plain receiver box
- QuickConnect_Connector_v3.stl - The adapter connecting in the receiver
- QuickConnect_5x_Receiver_Box_v3.3mf - Receiver box (5) with numbers and paint on support for the PC4-M10 holes
- QuickConnect_5x_Receiver_Box_v3.stl - Plain Receiver box (5)
- QuickConnect_Holder_v3.stl - Hold the connector when not in use
- QuickConnect_Solo.stl - Used if you do not have a MMU unit or if you need to not use the MMU for a print like with TPU. Attach to the MK4S frame.