
Hadley Mount with Build-In Azimuth rotation
Obliczymy ostateczną cenę na podstawie wybranego pliku. Sprawdzisz ją i zaakceptujesz przed płatnością.
Zapisane na tym urządzeniu.

A remix of the Hill Mount for Hadley that adds build-in Azimuth rotation (using wheels). Rock solid on a deck surface.
- Ocena
- 0 / 5
- Polubienia
- 9
- Pobrania
- 61
- Wydruki
- 0
- Wyświetlenia
- 825
- Oceny
- 0
Aktualizacja u źródła:
Informacje o modelu
- Źródło
- Printables
- Kategoria
- Physics & Astronomy
- Licencja
- Creative Commons — Attribution — Noncommercial — Share Alike
This telescope mount has an integrated Azimuth rotation.
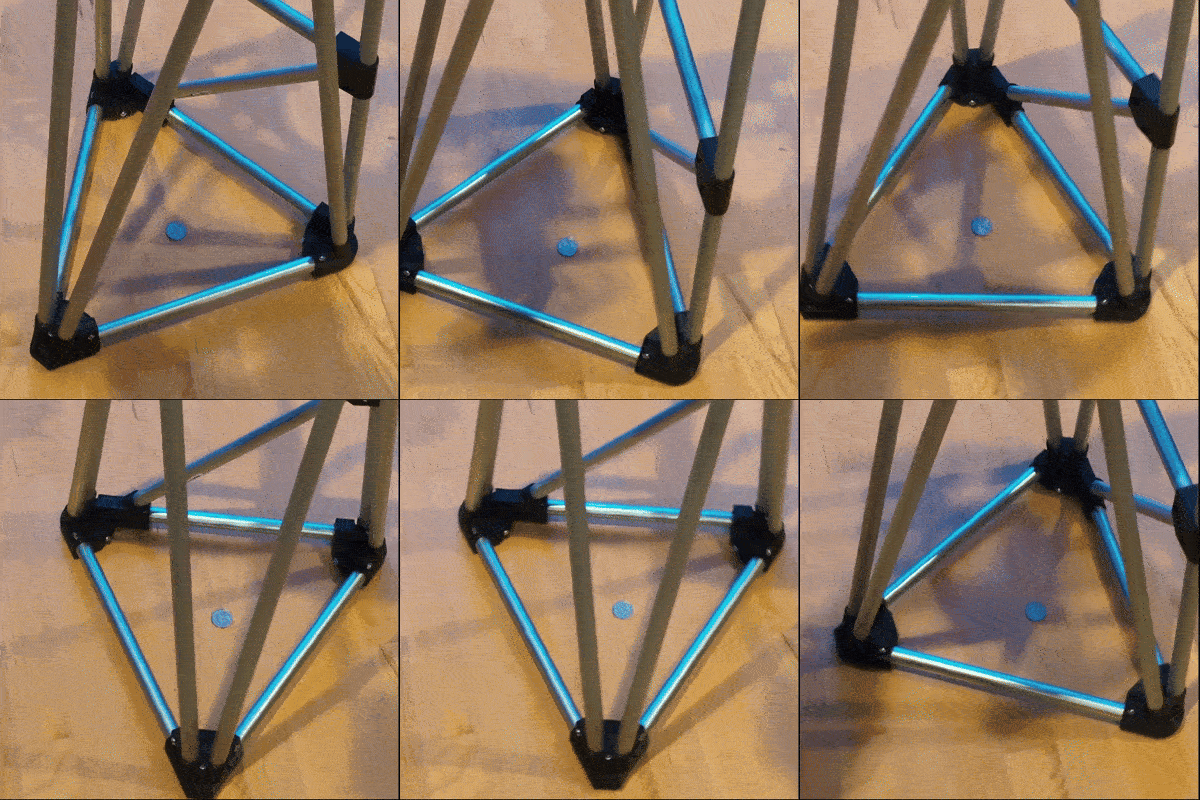
The design is a remix of my prior remix (Z-Brace - a stiffer Hill Mount for the Hadley Telescope). It adds Azimuth rotation with only a few extra parts.
The new mount design has three wheels oriented to create a virtual center of rotation. The mount holds it's center well, even when pushing the telescope near the end.
I tried it with a 9 mm eyepiece and it is rock solid; Jupiter & four visible moons were super sharp and wobble free. It was easy to track them across the night sky with a light touch :-)
Note: the base parts still have holes (like the original) to support other mounting options.
Instructions note
These instructions are in addition to the Z-Brace remix and the Hill Mount for Hadley.
Additional parts
- 3x 608 Bearings (see below for an alternative without bearings)
- 3x #8 x 1 inch Machine Screws
Printing instructions
For modifying an existing remixed Hill Mount:
- Print the Base parts (Front, Left, Right) as before; PLA in default settings works well.
- Print 3 Bearing Centers in PLA
- Print 3 Bearing Tires in FLEX (I used Overture TPU). Makes sure to use Scarf Joints with Random orientation for a smooth rolling action (requires PrusaSlicer 2.9)
- Alternative without Ball Bearings: print the Hard Wheel in PLA or PETG. It rolls pretty well, bit less grip on the rolling surface.
- Note: no supports needed on any part.
For a newly built telescope mount:
- Print the three Base parts as well as the Bearing parts (3x) from this Remix
- Print the two Middle parts from Z-Brace remix (see printing parts)
- Print the Top Part from Hill Mount for Hadley.
- Cut the EMT tubes per prior instructions:
- 6x 30 inches
- 3x 12 inches
- 1x 14 ⅓ inches
- 1x 9 ⅔ inches
Assembly instructions
- Stretch the tire over the 608 bearing and insert the Bearing Center
- Position the wheel in the slot in the Base part (it is a tight fit)
- Push the machine screw in; the end of the screw hole is purposely narrow for a light screw-in fit.
- Put the new Base parts on your Hill Mount.
Use instructions
- Place the mount on a smooth surface (such as a deck or a wooden floor) for a smooth action.
- For a rougher surface such as a deck with grit, slats, boards or a grooved surface:
- Print four Track parts (inspired by Brio tracks)
- Glue them together using a flat support surface for a good flat joint; super glue works well. Sand the rolling surface in the joints a bit if necessary to even out a small step.

- Use a small board on uneven surfaces or grass. (approx. 20 x 20 inches).
- Roll away!
Creator's Note
- Hadley is fun a thing to design for, check out my other designs in Redlow's Hadley Add-Ons Collection
Change Log
- Jan 24, 2025: added the Track part, updated the Base parts to make the wheel visible (makes it easier to place it into the track in low light conditions)