
DIY desiccant (silica gel) bag dryer rack
Obliczymy ostateczną cenę na podstawie wybranego pliku. Sprawdzisz ją i zaakceptujesz przed płatnością.
Zapisane na tym urządzeniu.
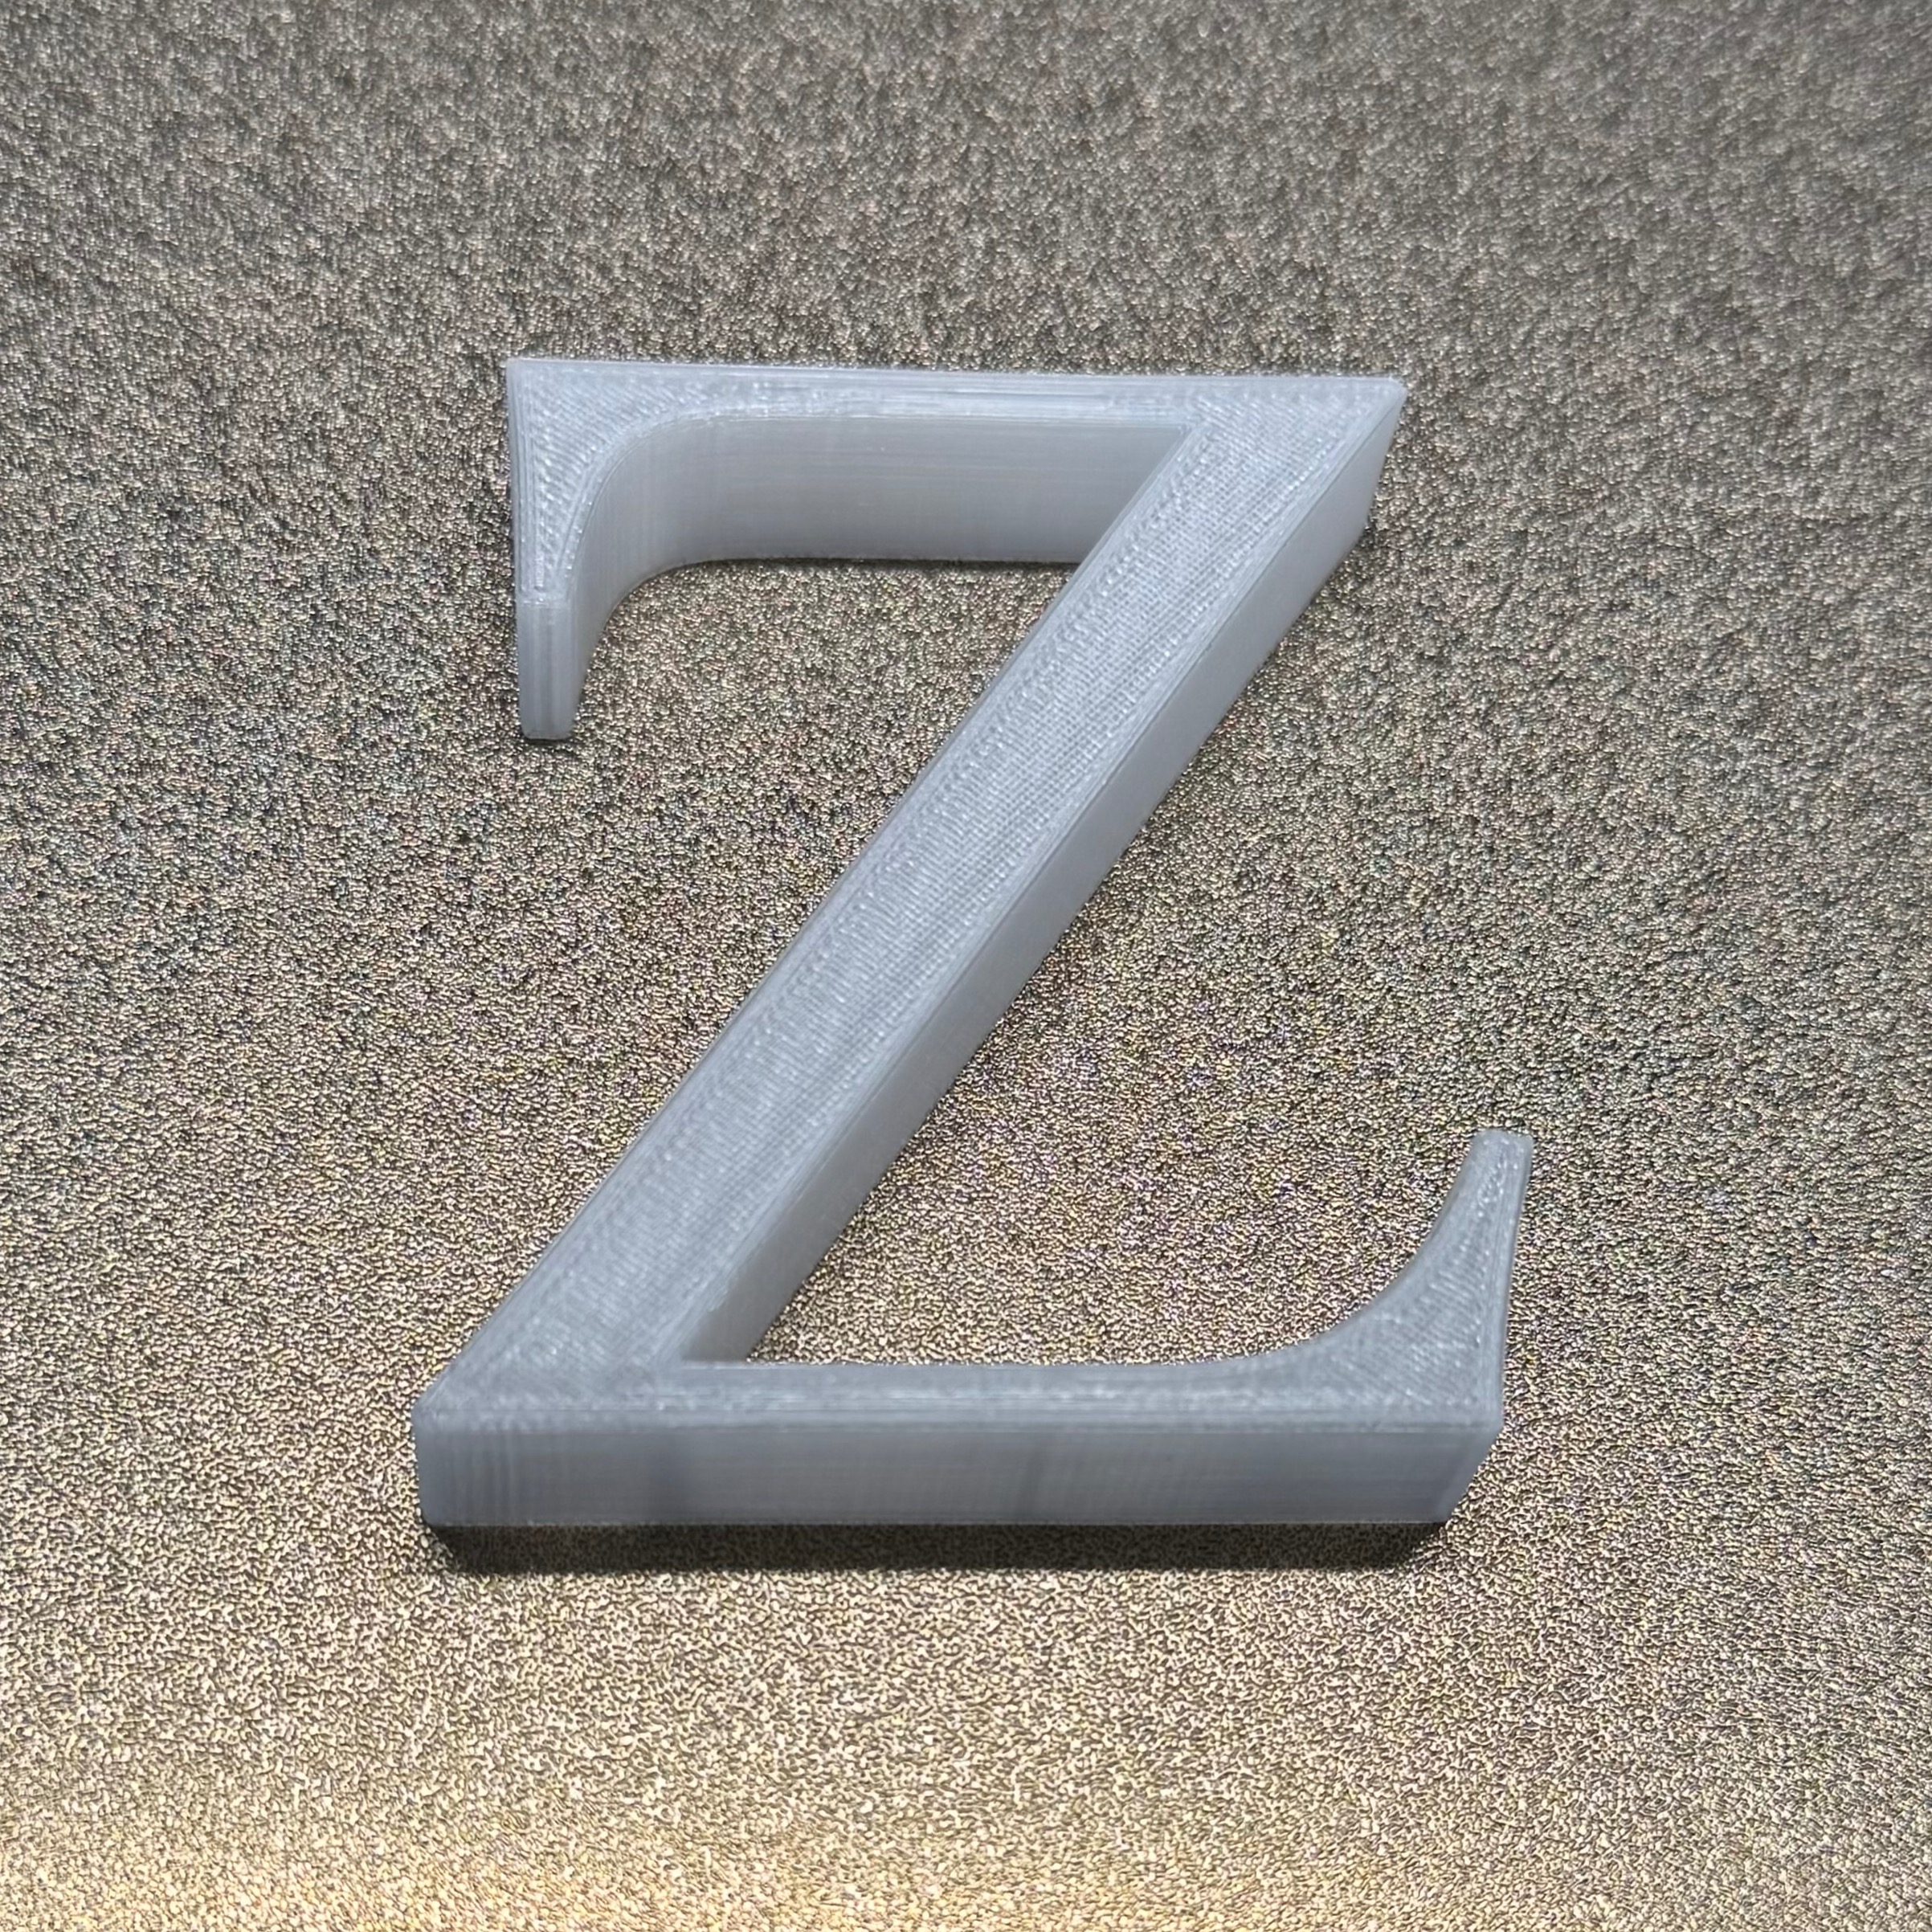
Dry desiccant bags on a heated bed, easy to print and assemble.
- Ocena
- 5 / 5
- Polubienia
- 13
- Pobrania
- 34
- Wydruki
- 2
- Wyświetlenia
- 450
- Oceny
- 2
Aktualizacja u źródła:
Informacje o modelu
- Źródło
- Printables
- Kategoria
- Accessories
- Licencja
- Creative Commons — Attribution
This easy to print and assemble model makes it easy to dry desiccant bags on your printer's heated bed.
Inspiration
This idea is primarily inspired by the excellent video by Ricky Impey on how to make a DIY filament dryer, but I needed a way to hold the bags inside the bag.
CAUTION: CARDBORD IS FLAMABLE!
Make sure nothing gets too hot or starts to smoke/burn, have a smoke alarm close by.
However cardboard should not burn or be unsafe to have around the operating temperature for drying dessicant bags, so this should be pretty safe is done correctly.
What you will need
- Filament box or similar sized box
- Preferably PETG
- Heat resisting tape like kapton
- Optionally a hygrometer
PRINT and assembly
- Print the two .stl models
- Use PETG for the heat resistance to avoid warping
- Line height isn't important as we just want the model to print fast
- The model uses thin lines, perimeter walls should make infill choice irrelevant
- You might want to increase the fan speed, despite printing with PETG, to make the bridging easier (I had it on 100% and it seems strong enough for this purpose)
- Tape them together at various points, until stable
- I used a little strip of yellow kapton tape, rolled it around the parts (see pictures)
- Remove the lid from the filament box, (see video above for details)
- Install hygrometer if you want
- Add tape to box where it touches the bed, (reducing the chance of the cardboard getting hot)
Then just place the bags on the rack, heat the bed to around 75C. The holes and imperfect nature of the box makes it so enough air circulates and after a few hours you should be able to measure a clear drop in weight of the desiccant bags due to water evaporating.
I created a macro for turning on the heated bed, moving the bed forward and getting the tool head out of the way. Make sure to edit for your printer dimensions.
[gcode_macro DRY_DESICCANT]
description: Configure the printer for drying desiccant
gcode:
    M140 S75 ; Set bed temperature
    M104 S0 ; Turn-off Extruder
    M106 S0 ; Turn-off fan
    G28 ; Home all axes
    G90 ; Absolute positioning
    G1 X0 Y220 z190 ; Present bed
    M190 S75 ; Wait for bed to reach temperature
Why not just microwave or an oven the desiccant bags ?
Due to health concerns with indicating desiccant which is explained in great detail by CNC Kitchen (See video below), it is not recommended to dry these kinds of bags in ovens that you also use for food. Unless you have a dedicated oven for this, a simple DIY dryer rack for desiccant on your heated bed seems like the easier solution.