
Brackets and Pegs for 3D printable Rack
Obliczymy ostateczną cenę na podstawie wybranego pliku. Sprawdzisz ją i zaakceptujesz przed płatnością.
Zapisane na tym urządzeniu.

Some connection accessories for the 3D printable rack.
- Ocena
- 0 / 5
- Polubienia
- 14
- Pobrania
- 124
- Wydruki
- 0
- Wyświetlenia
- 476
- Oceny
- 0
Aktualizacja u źródła:
Informacje o modelu
- Źródło
- Printables
- Kategoria
- Computers
- Licencja
- Creative Commons — Attribution — Noncommercial — Share Alike
A collection of brackets and M5 pegs to expand and reinforce your 3D printable rack system.
This model is part of a series of accessories for my 3D printable rack system. You can check the other models here:
Do you like my models? Consider buying me a coffee ;)

Assembly instructions
Pegs
You can use the M5 3D printable pegs to join two rails together and make a taller rack. You will need one peg for every pair or rails.
To install it, follow the instructions below.
- Insert the peg into one of the rail M5 holes.

- Push the other rail against the other end of the peg. Then press the rails against each other until the peg is fully inserted on both.

- Make sure everything is correctly aligned.
- For better results, also use the 3D printed brackets.
Brackets
The brackets can be used to reinforce the connection between rails. To install them, please follow the instructions below.
- Align both rails, and place the bracket on top of them.
- Insert 2x M5x20mm screws in the bracket. And also insert 2x M5 hex nuts on the back of the rails.
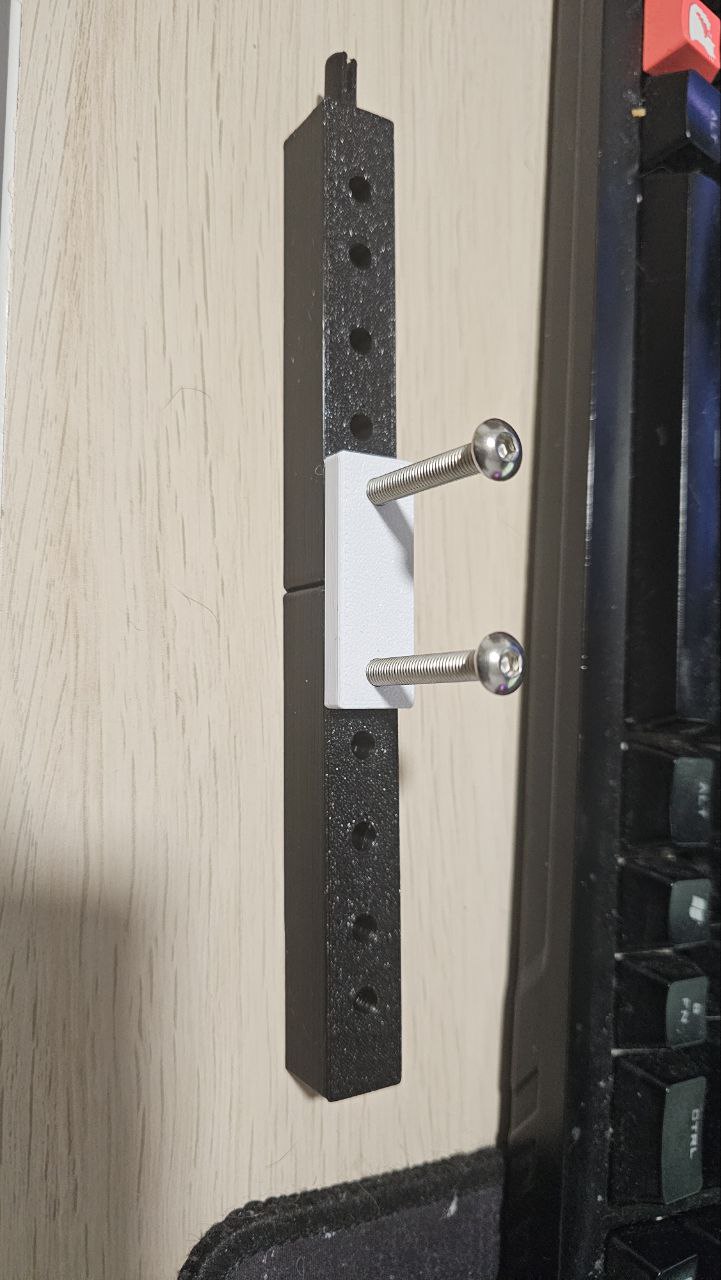
- Fully insert the M5 screws, and you're done!
Print Settings
Rafts:
Doesn't Matter.
Supports:
No.
Walls/Perimeters:
At least 3.
Resolution:
0.2 or 0.24
Infill:
25% or more
Filament:
PLA/PLA+/PETG/ABS/ASA/Nylon