
RCCar
Obliczymy ostateczną cenę na podstawie wybranego pliku. Sprawdzisz ją i zaakceptujesz przed płatnością.
Zapisane na tym urządzeniu.
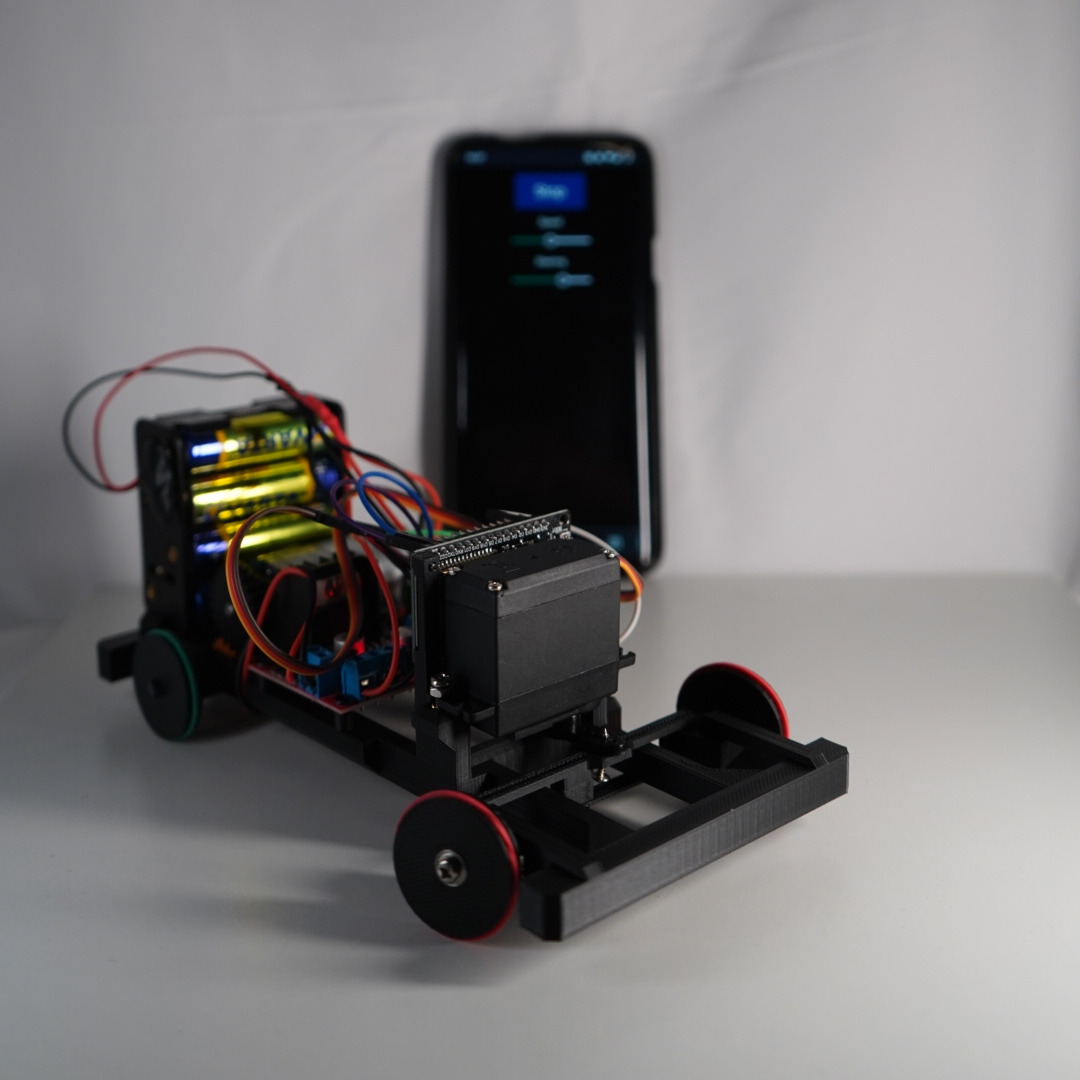
A easy to build RC-car controlled via a web interface
- Ocena
- 0 / 5
- Polubienia
- 1
- Pobrania
- 7
- Wydruki
- 0
- Wyświetlenia
- 76
- Oceny
- 0
Aktualizacja u źródła:
Informacje o modelu
- Źródło
- Printables
- Kategoria
- RC & Robotics
- Licencja
- Creative Commons — Attribution — Noncommercial — Share Alike
General infos:
What you need to build this RC-car:
- 1x ESP32-WROOM-32S dev board that accepts 12V for input
- 1x L298N dev board
- 1x LM7805 dev board
- 4x M3 heat inserts
- some M3 & M2 screws
- 1x JGA25-370 or similar 12V motor
- 1x MG995 servo
- 1x 8 AA battery holder
- 2x 693 bearings
You can use the following program on your ESP: https://gitlab.com/31ank/rccarcode
This will host a website on the ESP with which you can control the RC-car.
The program uses pin 26 for the servo and pin 22 & 23 for the motor/L298N.
REMINDER: Wifi isn't the fastest protocol, so be prepared that the controls aren't responsive
Build instructions:
- Insert the heat inserts into the front-wheel holders & the servo mount
- Install the wheels/drive axle/steering axle.
- Mount the Servo, ESP32, L298N and LM7805 (but not the motor).
- Connect the 12V from the battery holder to the ESP32, L298N and LM7805.
- Mount the motor and connect it to the L298N.
- Connect the 5V from the LM7805 to the servo.
- Use pin 26 from the ESP32 as control signal for the servo.
- Connect pin 22 & 23 from the ESP32 to the L298N to control the motor.
Update 2025.02.20:
Added RCCar-BodyV2: the battery holder is now mounted on the front instead of the back, this improves the grip for the front wheels.
Update 2025.02.16:
Added new front-wheel holders (folder "NewWheelHolders") where the front wheel cannot fall off. It uses 2x 605 bearings for the front wheels instead of 693 and two M3x5.
Known issues:
- If you accelerate to fast the battery holder can fall off