
bobble bot - the wiggly fidget friend + 3D Printer Vibration Checker
Obliczymy ostateczną cenę na podstawie wybranego pliku. Sprawdzisz ją i zaakceptujesz przed płatnością.
Zapisane na tym urządzeniu.

A charming, spring-loaded, wiggly fidget companion that fits perfectly in your hand! Only 3 parts for assembly!
- Ocena
- 4,8 / 5
- Polubienia
- 140
- Pobrania
- 497
- Wydruki
- 10
- Wyświetlenia
- 3854
- Oceny
- 10
Aktualizacja u źródła:
Informacje o modelu
- Źródło
- Printables
- Kategoria
- Other Toys & Games
- Licencja
- Creative Commons — Attribution — Noncommercial — NoDerivatives
Meet Bobble Bot! A charming, spring-loaded miniature robot and wiggly fidget companion that fits perfectly in your hand.
Optimized for 3D printing, this simple and fun fidget toy is perfect for your desk - just press its head and watch it bobble with delight! Or mount it on your car's dashboard with some double-sided tape and let the bobble bot wobble over cobble :)
Hint: Place it on your 3D printer frame and use it as a stability checker to ensure your 3D printer is on a steady surface!
Included in the package you will find 5 bot faces. Choose the mood that best suits you :)
***Please READ*** Print settings - Assembly Instructions
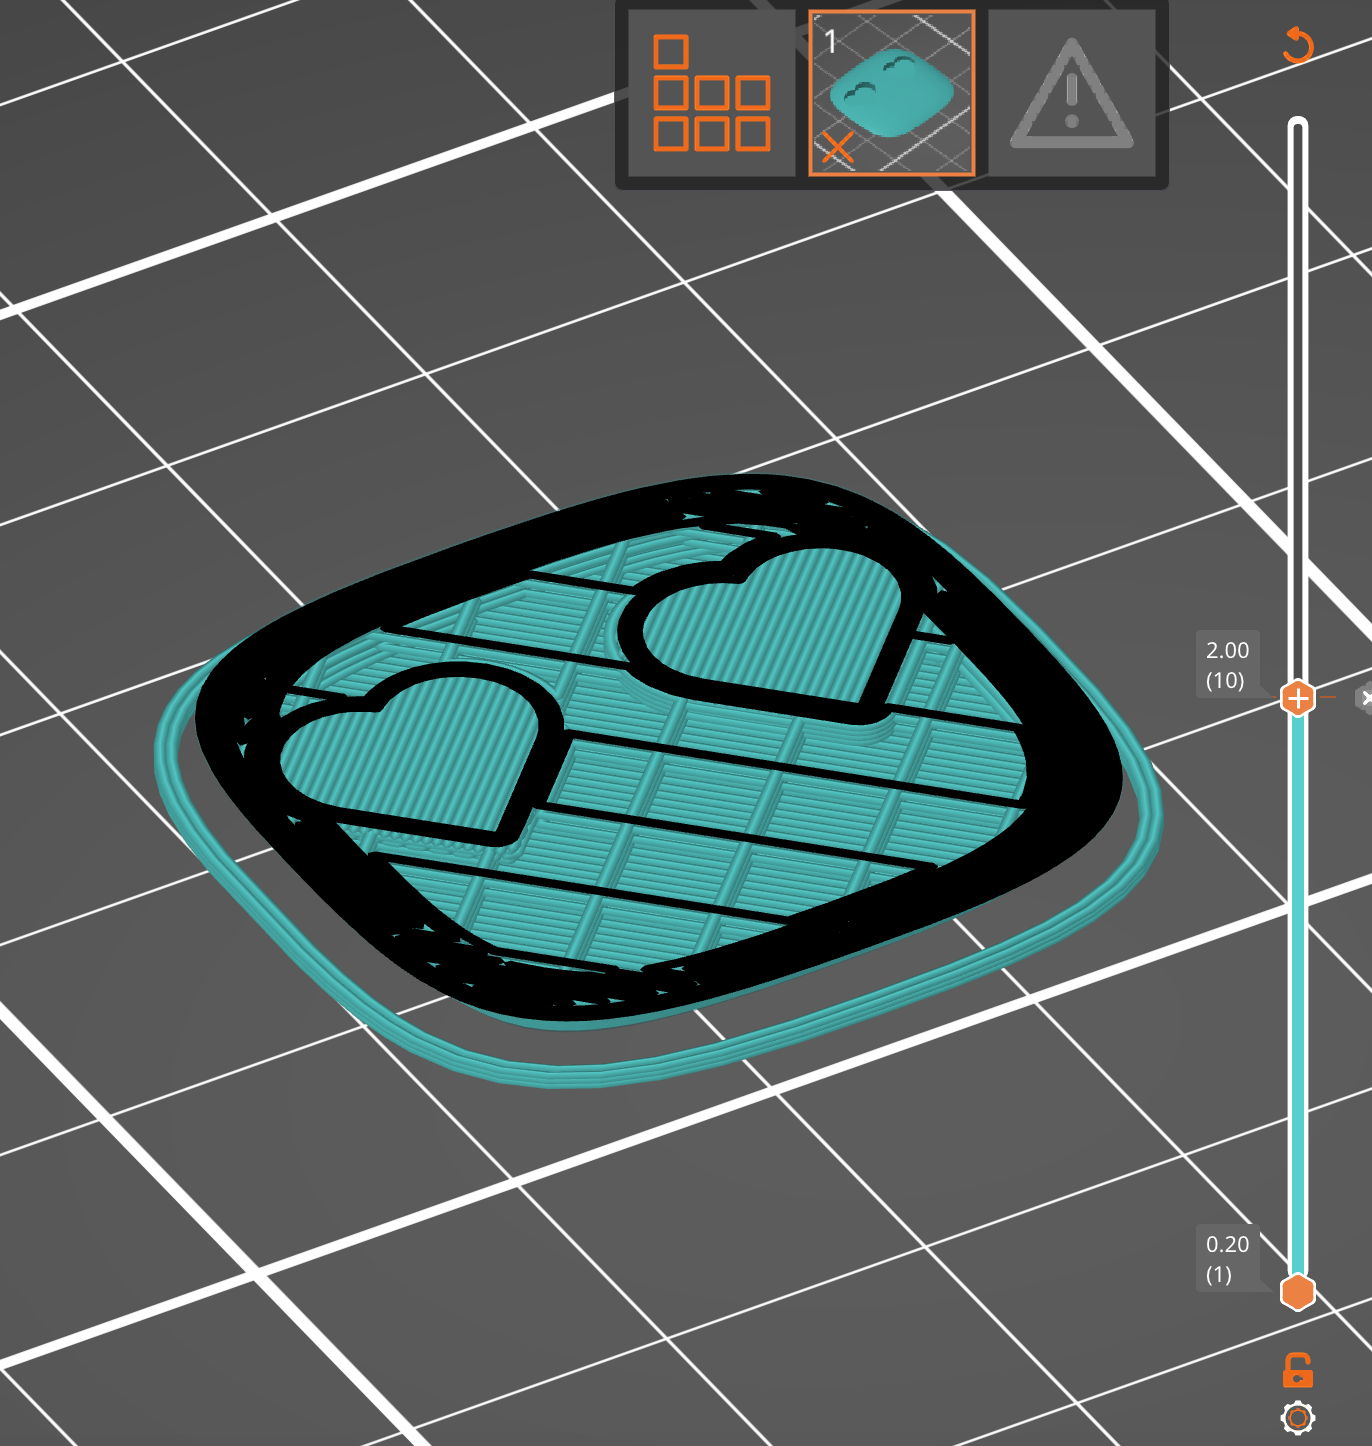
For optimal wobbleness, please print the head with PETG 0.2mm layer height with 10% rectilinear infill pattern! (0.1mm gets to wobbly and the weight of the head pushes the spring all the way in so there is no wobbliness…)
Set the seam position to rear for the head.
Remove the parts after the print sheet has cooled, then flex the sheet to release it.
Please do not pull off the head from the sheet after printing as this may break the spring. Simply take a spatula, paint scraper, or any flat and sharp blade and scrape the 3D model carefully from the bed.
Do a color change for the bot face to choose your favorite eye color.
Carefully screw the feet to the spring. Make sure not to overturn the screw as this may break the spring. Don't be afraid to tighten the feet (the spring will turn while tightening - this is normal). You can also pull out the spring a bit and hold on to the end to threaded cap. I've assembled many of these during prototyping and the spring never broke off. Simply screw them on until the feet are aligned properly and tight.
Once you have successfully attached the feet, use a few drops of superglue to attach the face to the head securely.
Excited to see some creations of this case with unique and stylish color combinations!
Enjoy!
3D Model Usage Disclaimer
All 3D models provided by me are offered free of charge and are licensed under a Creative Commons license. These models are intended for personal and non-commercial use only. Resale, redistribution for profit, or inclusion in any paid product or service is strictly prohibited.
Any unauthorized commercial use or sale of my models constitutes a violation of the license terms and may result in a formal report, takedown request, and potential legal action. By downloading or using these models, you agree to comply fully with the stated licensing conditions.