
Annex Belay for RatRig V-Core 3.1
Obliczymy ostateczną cenę na podstawie wybranego pliku. Sprawdzisz ją i zaakceptujesz przed płatnością.
Zapisane na tym urządzeniu.
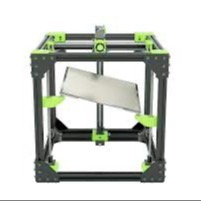
Adapted the Annex Engineering Belay system to be easily integrated into a VC3.1
- Ocena
- 5 / 5
- Polubienia
- 6
- Pobrania
- 11
- Wydruki
- 1
- Wyświetlenia
- 340
- Oceny
- 1
Aktualizacja u źródła:
Informacje o modelu
- Źródło
- Printables
- Kategoria
- Other Printer Parts & Upgrades
- Licencja
- Creative Commons — Attribution — Share Alike
Please refer to the Annex Engineering Documentation at Github for how to set up Belay: https://github.com/Annex-Engineering/Belay
This remix allows for a more direct integration into a RatRig V-Core 3.1. The components are:
- Integrated Belay & Endstop Frame Mount - bolts into place where the stock Y Endstop mount goes. Requires 2 M3 (4mm OD) heatset inserts for the Y endstop and 2 M3 (4mm OD) heatset inserts for the Belay Main Body to bolt to. Also install an M10 pneumatic fitting into the top to serve as a PTFE Guide.
- Belay Main Body - using 2x M3x8 bolts to bolt it to the Frame Mount
- Orbiter 2.0/2.5 Adapter Plate - holds the Orbiter 2.0 (or 2.5) to the frame. This requires two M3 heatset inserts in the two holes next to where the filament comes out from the extruder, which is where you bolt the extruder down to this plate. Then install an M10 pneumatic fitting to serve as a PTFE guide. This part does require supports to print.
Then you will also need the stock Annex parts that are the slider and cover. Annex documentation explains how it assembles, is wired, and how to set it up on your machine.
I have tested this with the RatRig Toolhead (beta 1, beta 2, and full release 1.0). It is also compatible with the Funssor Super Lightweight CNC XY Joiner ( https://www.aliexpress.us/item/3256806012224033.html ).