
Low Profile Desk Vice - Full documentation provided
Obliczymy ostateczną cenę na podstawie wybranego pliku. Sprawdzisz ją i zaakceptujesz przed płatnością.
Zapisane na tym urządzeniu.

A small, and suprisingly high quality vice to be installed to a desk or workbench.
- Ocena
- 0 / 5
- Polubienia
- 11
- Wydruki
- 0
- Wyświetlenia
- 185
- Oceny
- 0
Aktualizacja u źródła:
Informacje o modelu
- Źródło
- Printables
- Kategoria
- Tools
- Licencja
- Commercial Use - No Derivative
This project has been sponsored by JLCCNC. I suggest ordering the part titled “Handle ring” from metal, however that is not a necessity for you to recreate the project. Using a strong material is recommended.
Bill of Materials:
8mm shaft coupler x2 Attaches to “Vice gear outer x2”
5mm*300 steel shaft x4 Epoxied to “Vice back”
^ 5*50mm steel shaft x3 (can be cut down from 200mm shaft) Epoxied to "Handle" and “Handle ring” (For my CNC model, I added M5 Threads to the handle and ring)
200mm t8 lead screw x2 Clamped to 8mm shaft coupler
M6*50 hex socket screw x11 Joins “Vice front” and “Vice gear core” to “Vice back”
M6 Nut x11 Placed in “Vice back”
M3*14 hex socket screw x9 Attaches "Handle ring" to “Vice gear middle ”
M3*16 (or higher) x8 Joins T8 Nut to “Vice desk mounting bracket”
M3 nut x8 Joins T8 Nut to “Vice desk mounting bracket”
M3 heatset insert x9 Inserted into “Vice gear middle ”
M4 heatset insert x8 Inserted into “Vice gear outer x2”
M4*12 (to M4*8 ) hex socket screw x8 Attaches Shaft coupler to “Vice gear outer x2”
6004ZZ (42*20*12) bearing x4 Two pressed into “Vice gear middle”, and one into each “Vice gear outer x2”
oil impregnated copper bushing (5*7*6) x8 Pressed into Vice desk mounting bracket
Vice tips:
- When assembling shaft coupler, aside from using M4 screws, also use epoxy resin, or a really strong adhesive.
- Print with 5 walls, 60% infill, 4 top and bottom layers (PLA). For high torque, I suggest printing "Handle ring" with a stronger material. I printed this part with ASA.
- I have provided an “Interface Piece.” It can be printed with a TPU and tacked on with a small amount of superglue.
- Use a small amount of 3d printer lubricant on the flat parts of the gears for a much nicer sound
- Use reverse-threaded t8 rods and bolts so that the vice moves in the “correct” direction when screwing and unscrewing
- I strongly suggest attaching to a desk/workbench with countersunk screws, however, since i have a glass desk, and arent planning to use anythign too heavy, i will use copious amounts of 3M double sided tape
- Vice can be modified with provided .STEP file
Desk mounting holes:
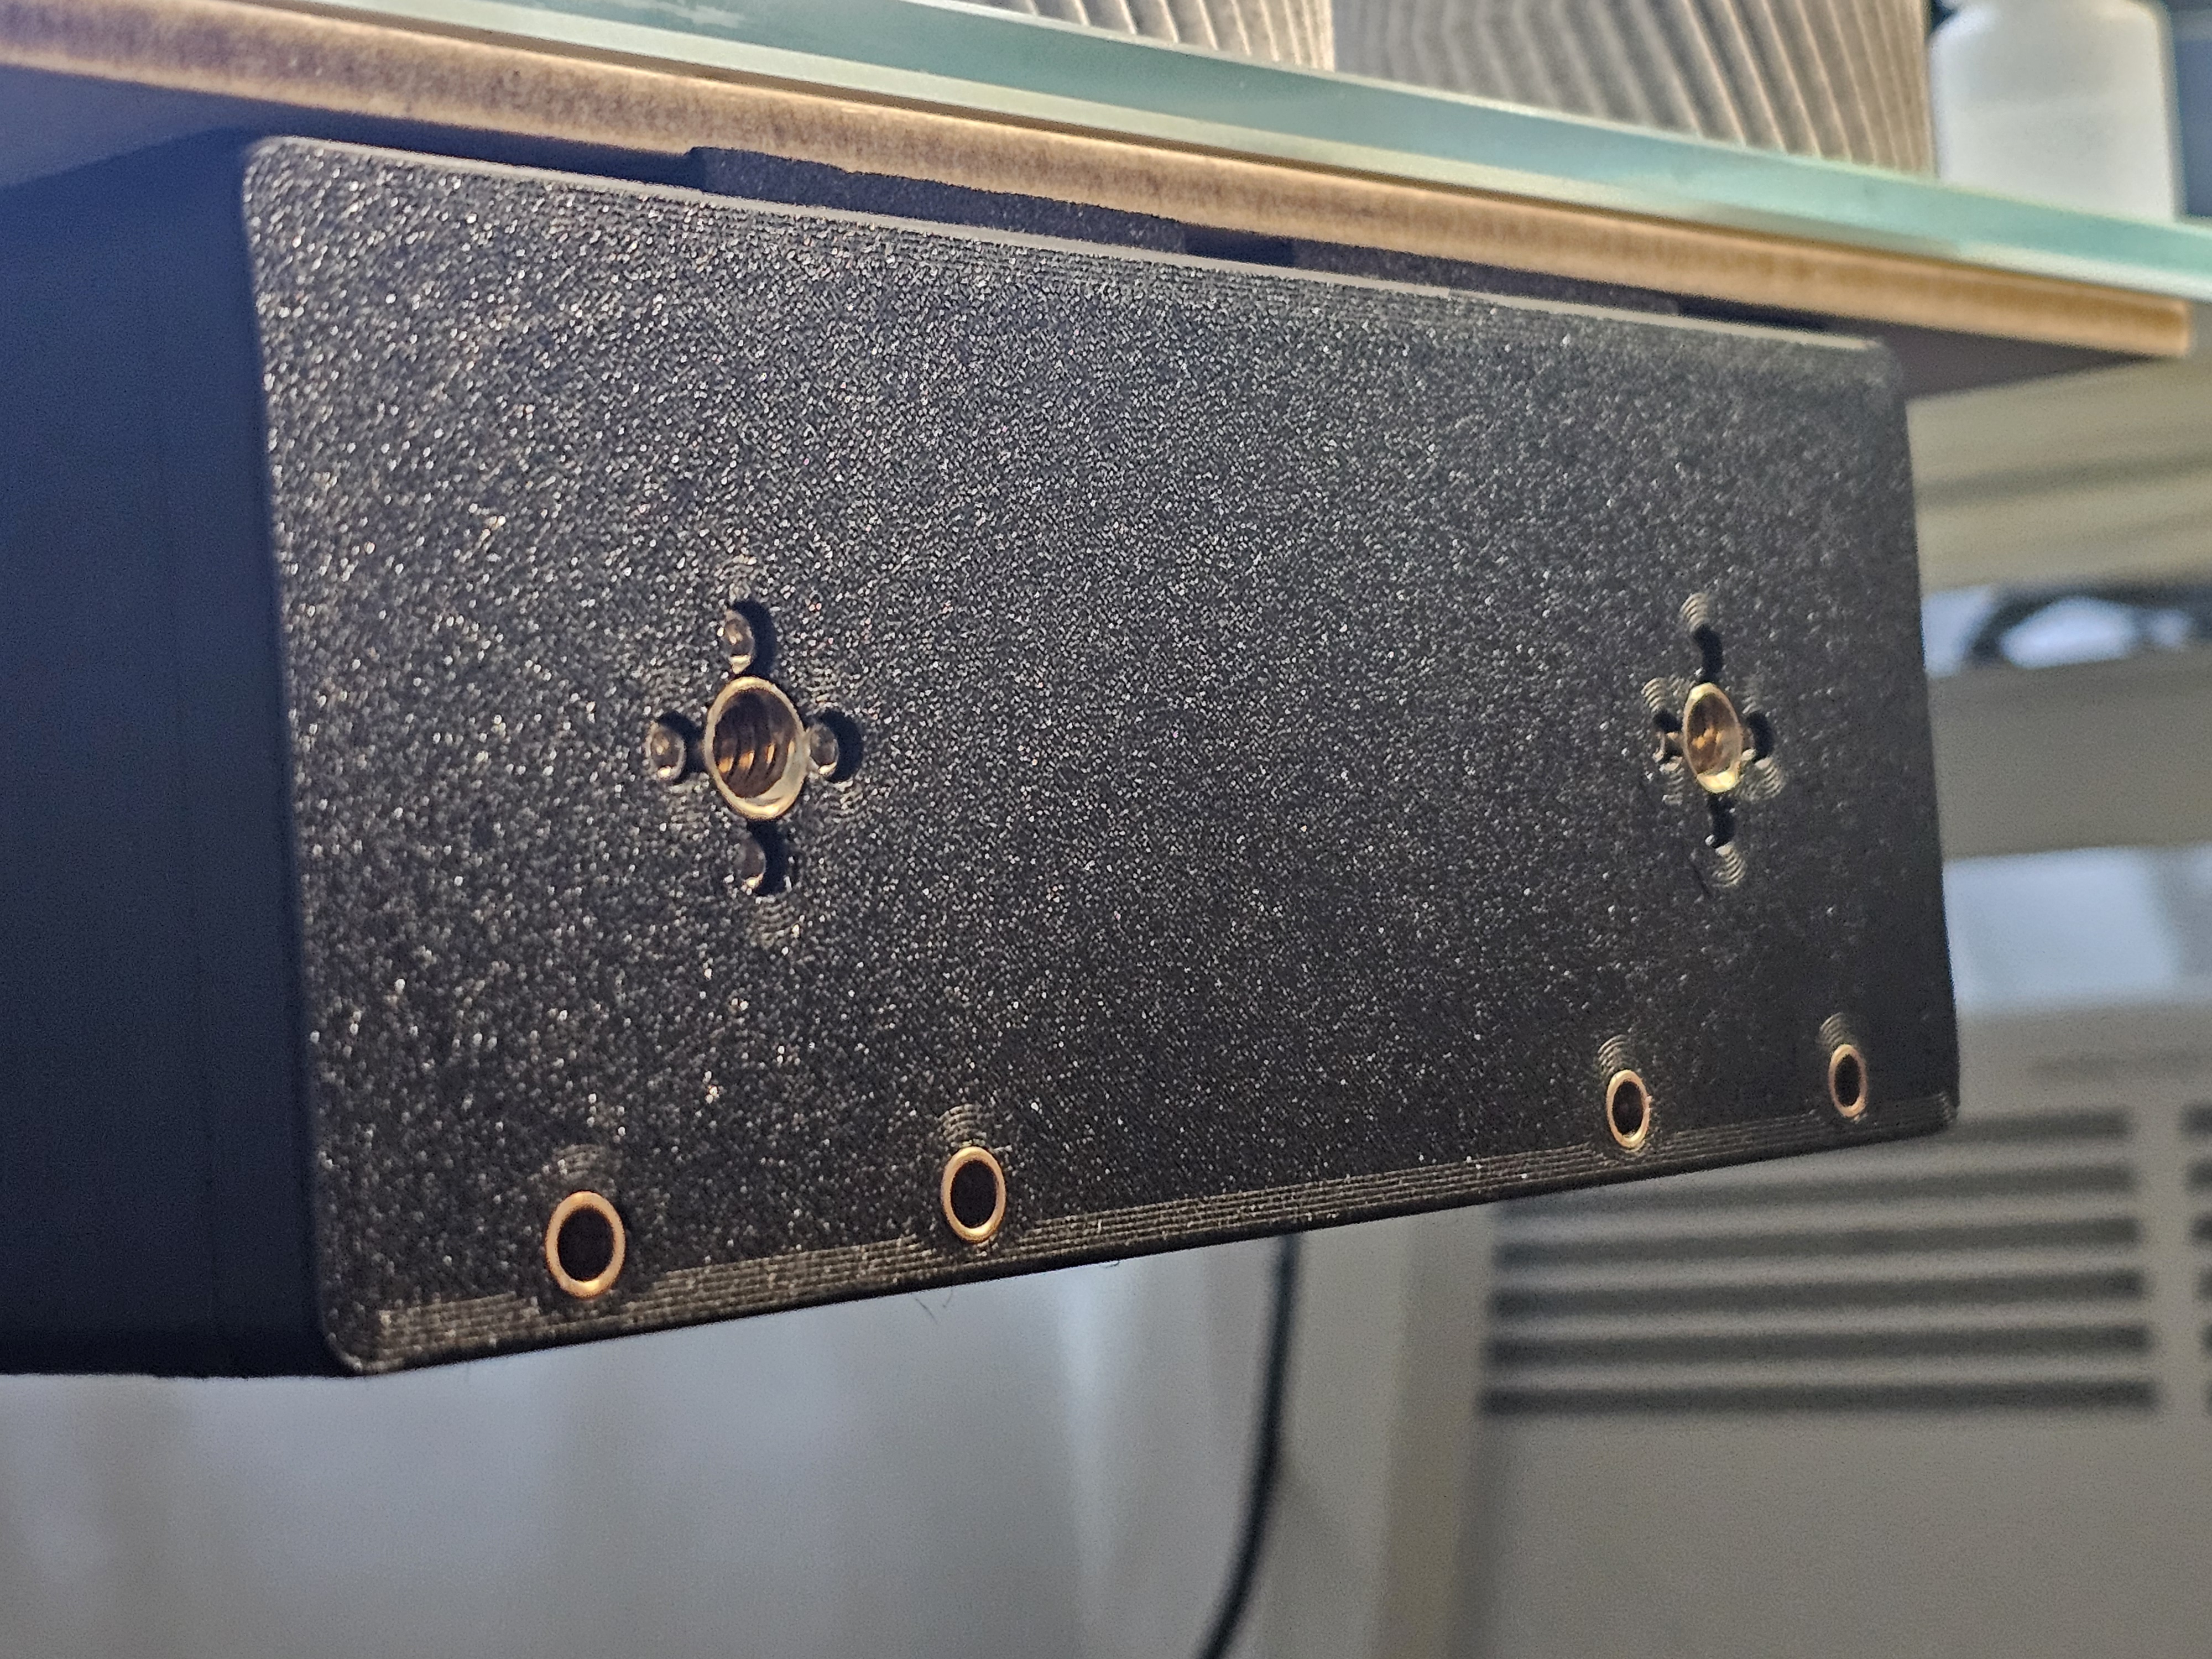
M6 3x3 grid with 75mm spacing. 26.5mm from table edge


Mounting to glass table
I personally, have a table made of glass, and thus cannot screw the vice to it. In situations like this, I suggest heavy duty double sided tape. I laser-cut an MDF sheet to bolt the vice to before taping it to my desk.

Accessing nuts on the back
It was difficult for me to access the nuts at the back of the vice, so i have modelled some nut tools specifically to fit this vice. These can also be re-used for future projects :)

Maintaining equal distance on each lead screw
To make the vice evenly spaced, I suggest assembling it in the order shown below:

^in this step above, use the strongest glue available, and ‘drown’ the shaft coupler in adhesive. This clamp will be pulled out of the gear with hundreds, or even thousands of newtons of force.


I have also manufactured an aluminium ring so that i get as much force on the vice as i can without breaking it, Although I wasn't happy with it, especially as the bottom surface was heavily angled due to an error in machining.
(Please note that a metal part is not strictly necessary. As stated before, a strong polymer such as ASA or PA6 is sufficient)


I was not happy with my metalworking attempt. Especially with the unevenly spaced 3mm holes, and wonky 5mm holes. Instead, I ordered the annodised aluminum handle ring from JLCCNC. The price quote for this part was only ~£40 (including bead blasting and annodising) unlike some competitors and local CNC services, this product was higher quality than i excpected and charged much less than the £100 to £200 i had to pay from other services. (without annodising). Shipping cost was also negligable.
The threaded holes have a small amount of rip-out from my own threading. The part arrived flawlessly without defects or any machining defects, not even ringing or stairstepping that CNCed parts often have. 


JLCCNC have sponsored a portion of this project by providing the machined part for free.
Other than designing PCBs, the JLC company also has a branch of machining, 3D printing (FDM, Resin, SLS, Metal), and even supplying mechatronic parts. Their CNC and 3D Printing parts are very cheap, and I was genuinely suprised by the part quality.
https://jlccnc.com/?from=Magmabow
