
1 / 10
Creality K1 Lid Riser (K1C K1SE)
Zamów wydruk tego modelu
Obliczymy ostateczną cenę na podstawie wybranego pliku. Sprawdzisz ją i zaakceptujesz przed płatnością.
Zapisane na tym urządzeniu.

Hinged lid riser that combines features from some of my favorite lid riser models.
- Ocena
- 5 / 5
- Polubienia
- 87
- Pobrania
- 614
- Wydruki
- 5
- Wyświetlenia
- 4076
- Oceny
- 5
Aktualizacja u źródła:
Informacje o modelu
- Źródło
- Printables
- Kategoria
- Creality Parts & Upgrades
- Licencja
- Creative Commons — Attribution — Noncommercial — Share Alike
SzczegółyPliki (12)Wydruki i komentarze (Wydruki: 5) (Komentarze: 19)Remiksy (1)Kolekcje (105)Powiązane
Before you start:
- Shrinkage compensation - This model was tested in PETG without shrinkage compensation and with ASA with shrinkage compensation and both fit perfectly. Use https://www.printables.com/model/480907 to calculate shrinkage if you wish. I included a small test fit version of two corners and one betweener so you can make sure things fit before printing everything. The lid riser will still seal if your model shrinks a little, It just won't be perfectly tight. My ASA shrinkage comp is 99.5625%
- Material Selection - I recommend printing in PETG or better. PLA will not hold up to longer prints of any high-temp material.
- BOM - Eight M3x10mm socket head or button head screws.
Features:
- A Good Seal - The riser has a lip that goes behind the lid and between each part to ensure a good seal for any material that needs to keep the heat, or the smell, in.


- Hinges - The wide open hinges allow for easy access to the top of the printer without worry that the lid will close on its own or with a bump.

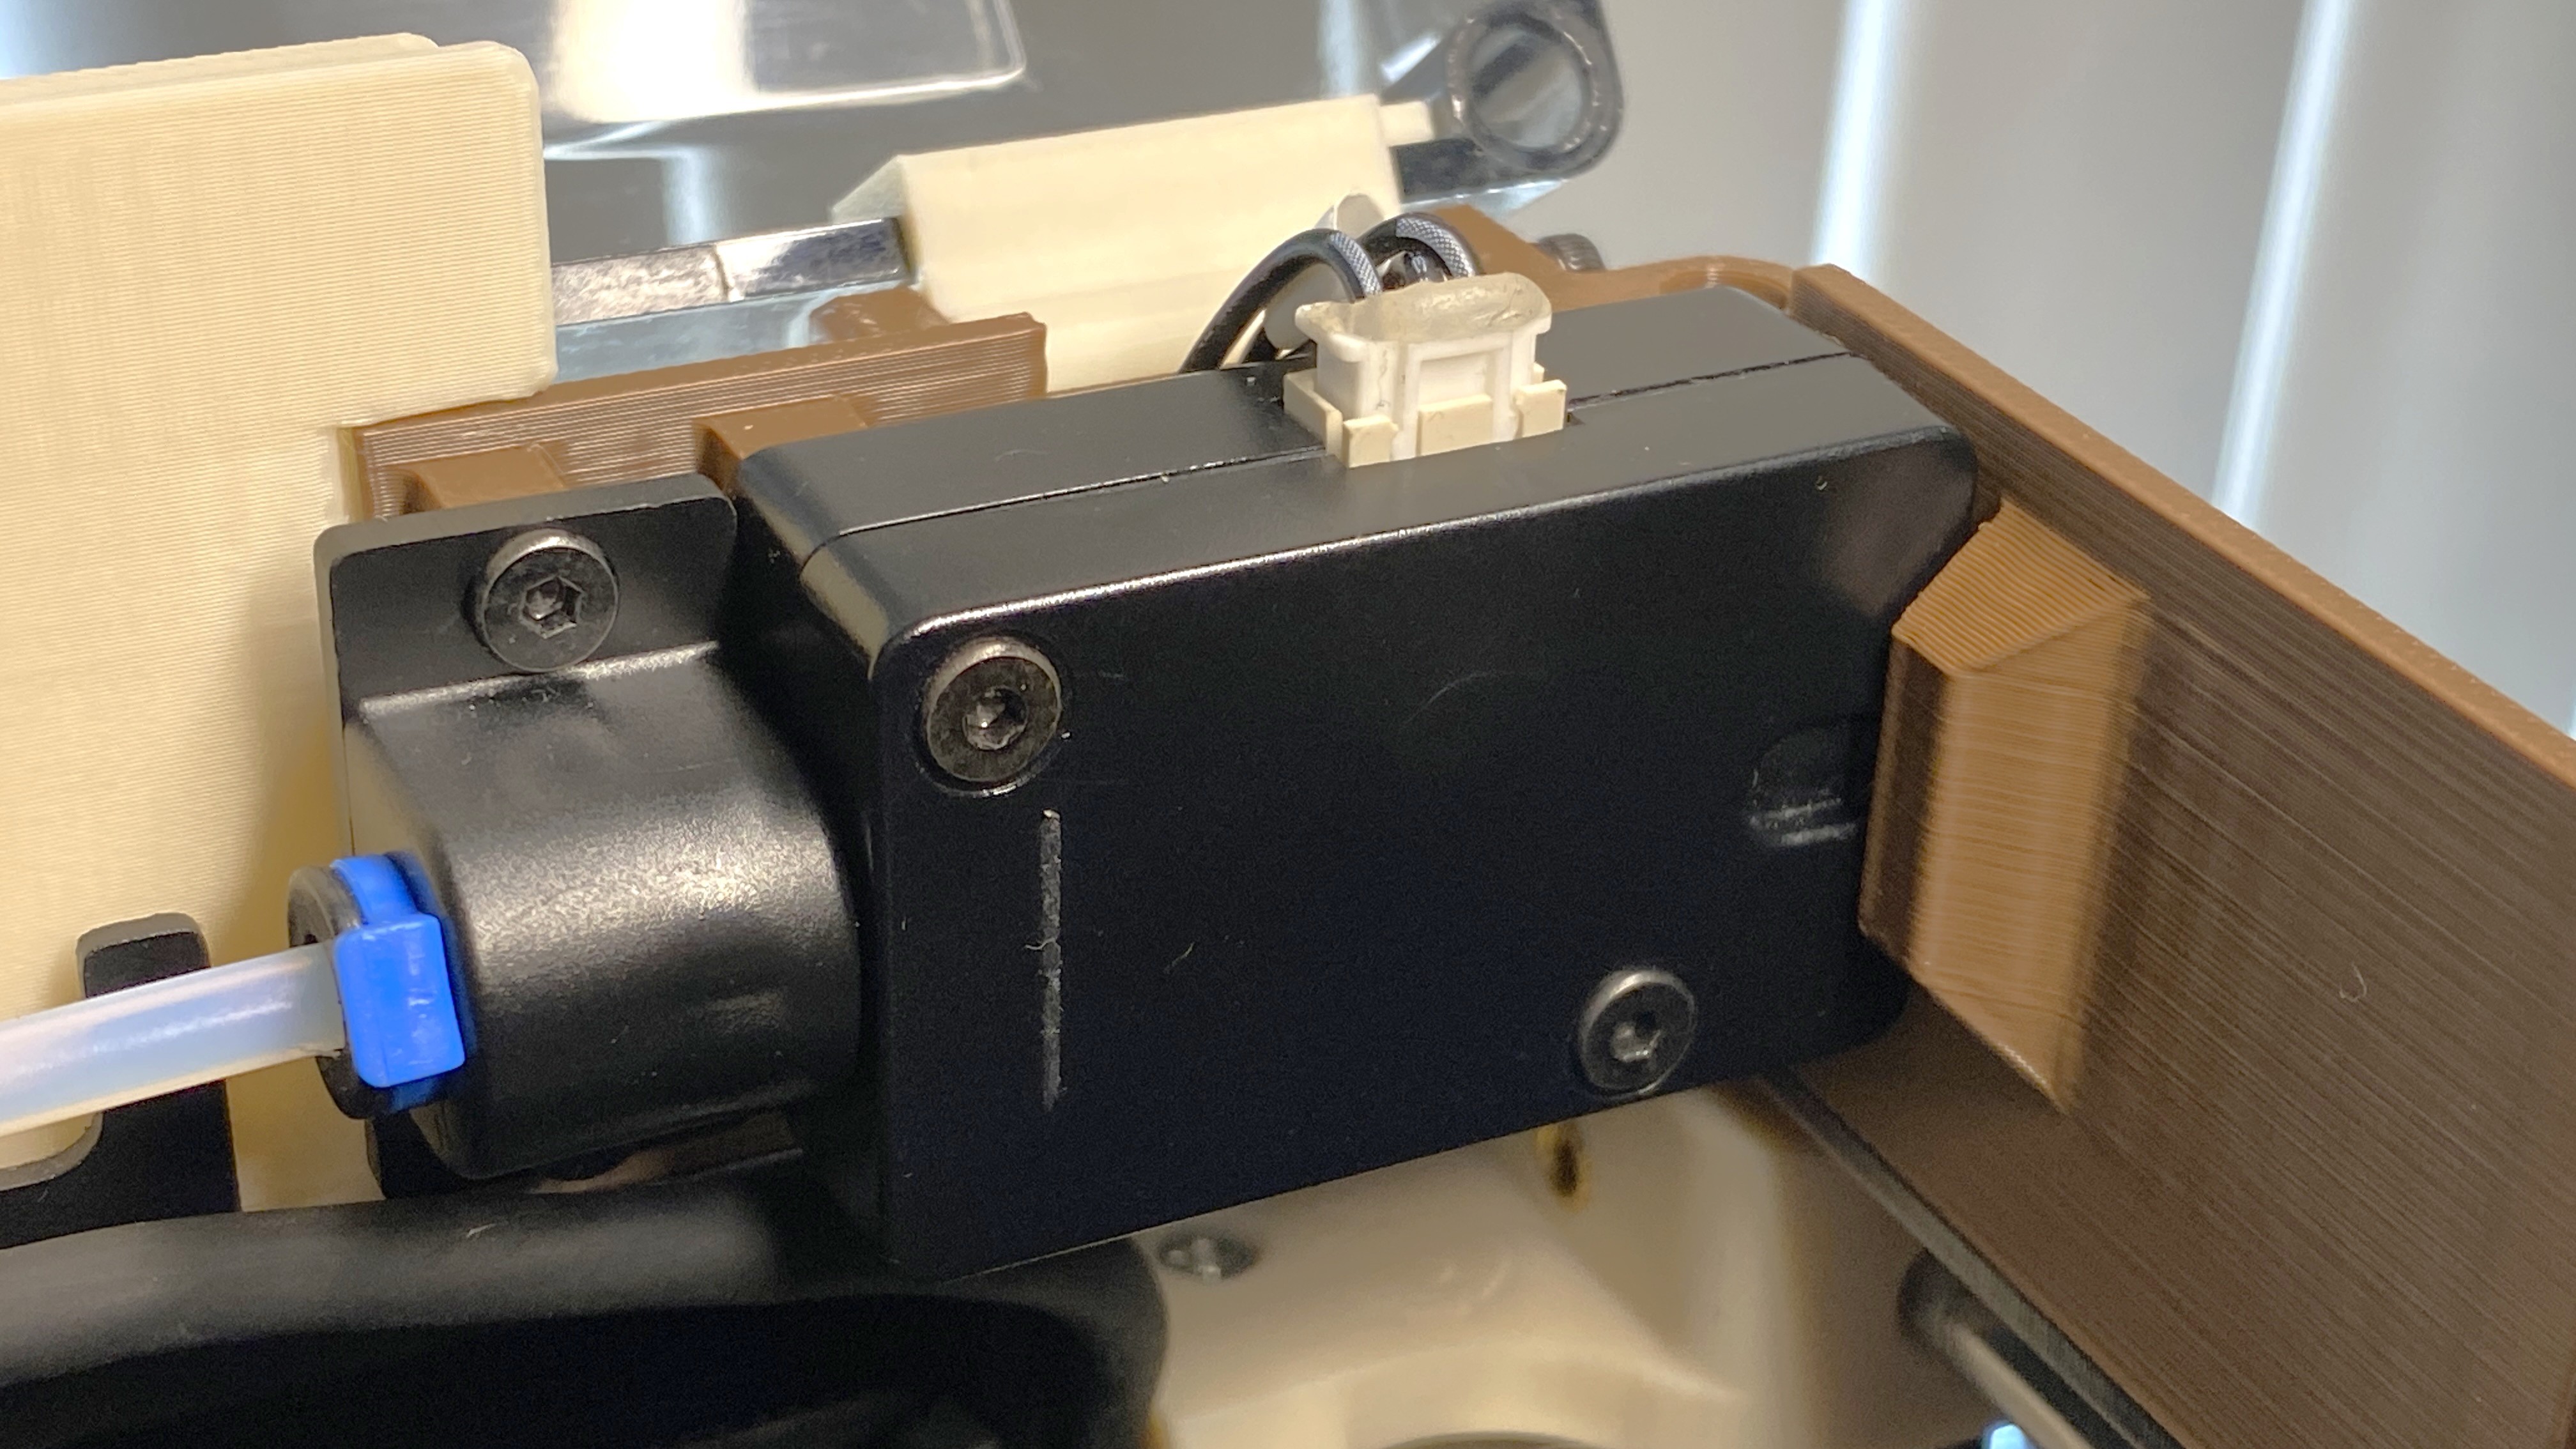
- Filament Sensor Options - Relocate the filament sensor to the top right corner with easy access to the external bowden tube clip, or use the slotted rear betweener with the default runout location.

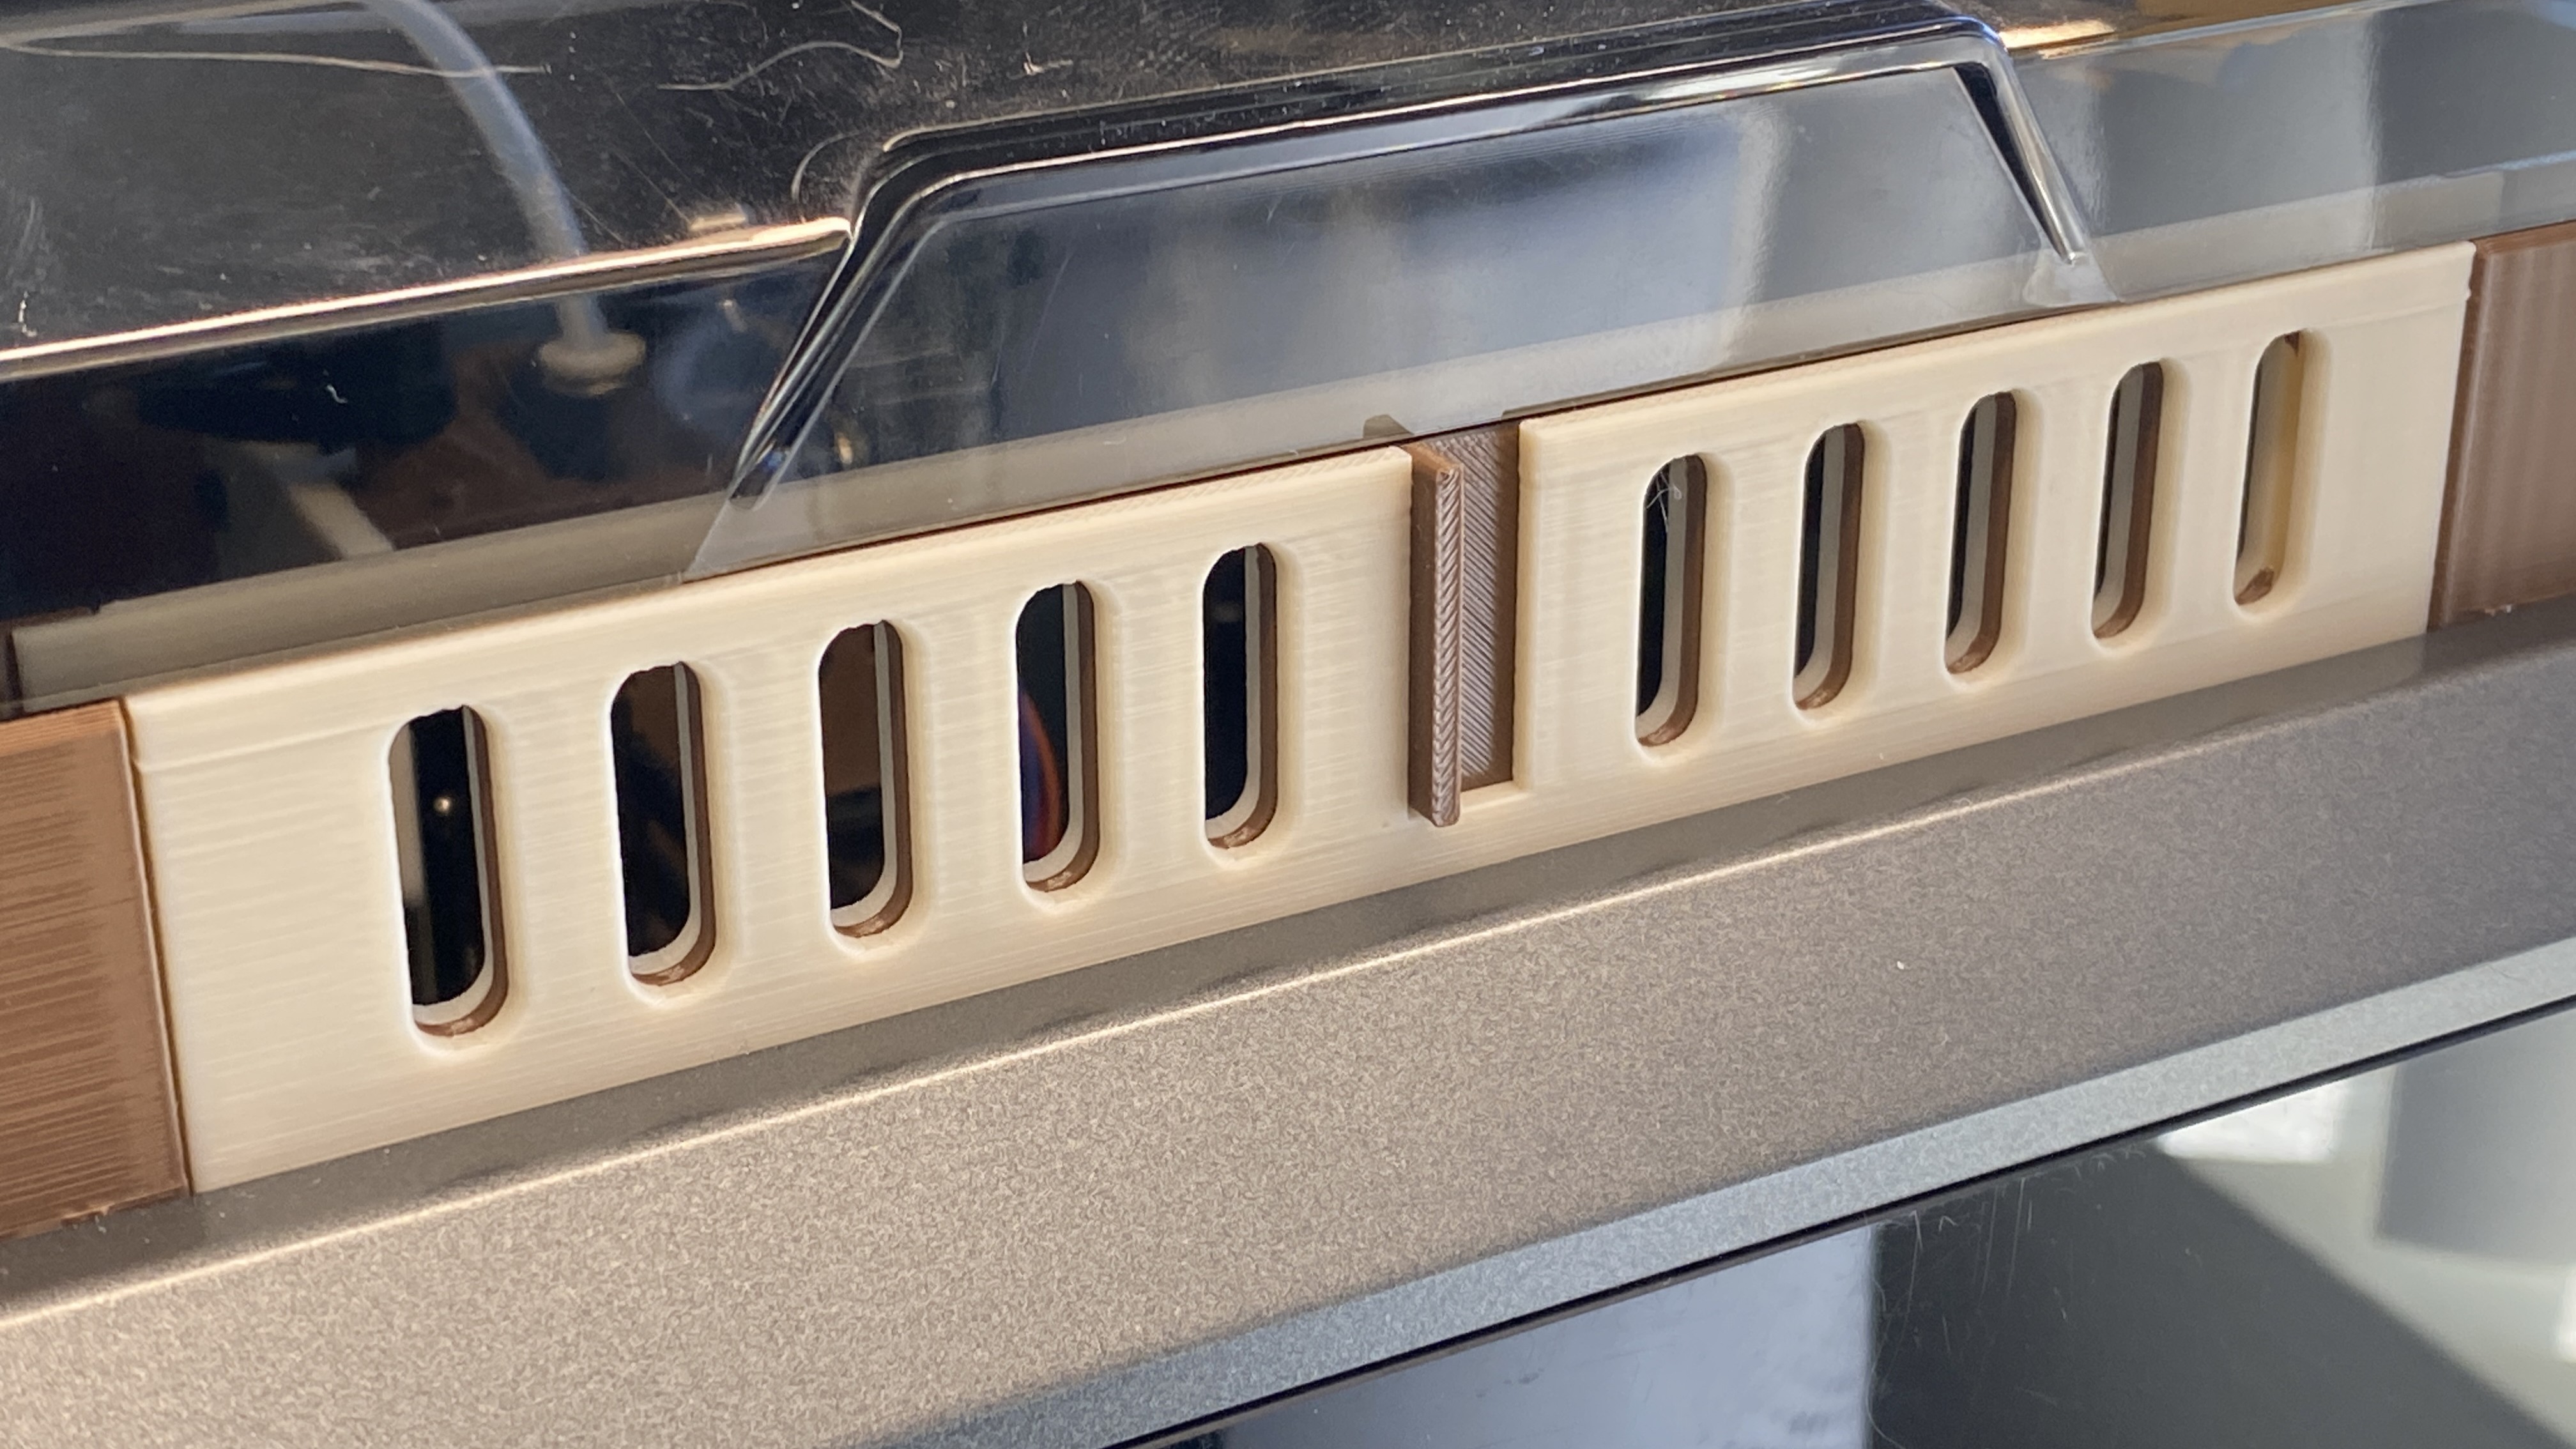
- Vents - Print PLA or PETG without opening the door or lid by opening the vents.
Print Settings:
- Orientation - All models are in their correct vertical orientation, they obviously can be rotated. The betweeners are printed vertically to remove the need for support and to match the surface finish of the corners.
- 0.2 Layers - This model was designed to be printed with 0.2 layers to ensure height consistency. Printing at other layer heights may cause an uneven number of layers. (38mm / 0.16 = 237.5 layers)
- Walls and Infill - I personally used 3 walls and 15% cross hatch, these settings can be changed based on your judgement.
- Brim - I use default mouse ear brims (5mm, 0.1mm), they were more than enough to prevent warping.
- Support - The rear betweener needs support and the filament runout corner will benefit from support. Paint supports on the overhangs only, enable manual sung support (organic can be used if preferred), top and bottom z-distance 0.2mm.
Assembly:
- One M3x10mm screw is used to secure each corner, and two are used in each hinge to secure it from either side.

- The filament runout sensor cable may have to be lightly pulled for more slack, be very careful! If you feel too much resistance, it’s worth it to take off the underside cover to feed more by hand, there may be a zip tie that needs cutting.
- The sensor cable needs to be plugged in to the sensor before mounting, the plug cannot fit behind the sensor once mounted.
- The runout sensor screws go directly into the plastic, be careful not to overtighten and strip the holes.
- I use the blank betweener on the left side, and stick fingerboard or similarly thin foam tape to mute the annoying smack of the cable chain.
Thank you!
Please share your builds and feedback! I love seeing how others customize and I always want to improve my designs!