
Motoblitz underbarrel Picatinny rail
Obliczymy ostateczną cenę na podstawie wybranego pliku. Sprawdzisz ją i zaakceptujesz przed płatnością.
Zapisane na tym urządzeniu.

An underbarrel add-on for the Motoblitz
- Ocena
- 5 / 5
- Polubienia
- 11
- Pobrania
- 40
- Wydruki
- 1
- Wyświetlenia
- 299
- Oceny
- 1
Aktualizacja u źródła:
Informacje o modelu
- Źródło
- Printables
- Kategoria
- Other Toys & Games
- Licencja
- Creative Commons — Attribution
Introduction
This is an add-on for the Nerf Motoblitz, to mount it you need to first remove the white attachment normally mounted to the blaster.
Hardware
4 M3x10mm socket head screws
1 M3x14mm “ ” "
3 M3x20mm “ ” "
5 M3x40mm “ ” "
If you choose to print one of the versions with side rails you will need 3 more M3x20mm socket head screws for every additional rail.
Printing Instructions
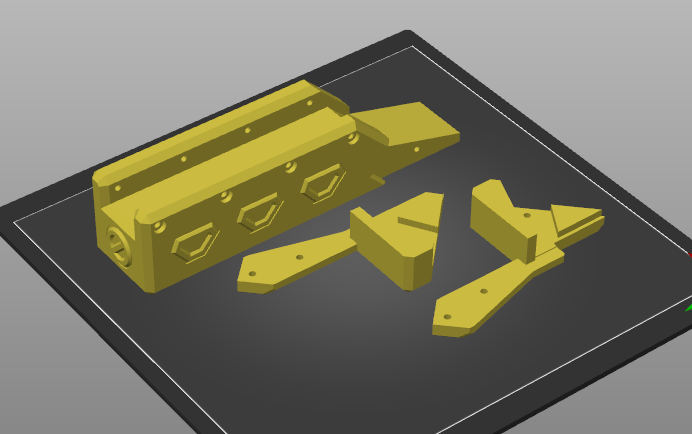
All pieces are good printed with 4 perimeters and 15% infill. Included in the files there are also alternative versions with rails on the side of the front piece, with the side rail on the right or left side or on both.
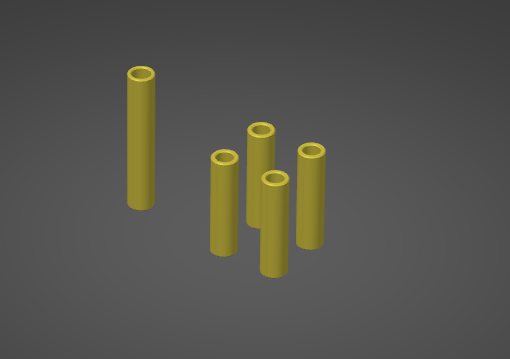
For the spacers i strongly recommend to use brims.
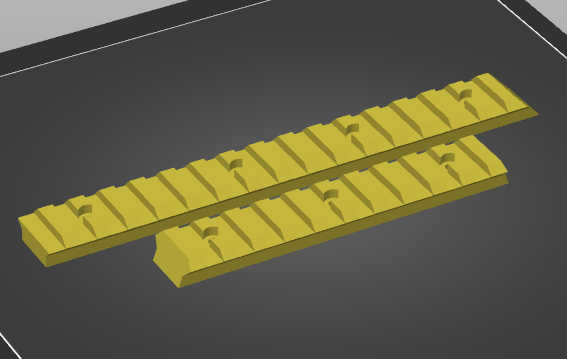
Printing orientations:
Assembly Instructions
As already mentioned in the introduction, you first need to remove the white blaster attached to the Motoblitz, this involves opening the blaster and undoing some clips on the inside of the shells. It should be pretty easy, since the the clips are very obvious.
Once the attachment is removed, you can start the assembly by inserting the spacers in the pointed holes. The Back Spacer is longer than the other four, so you can't confuse them.
Insert them in the pointed holes:
Then you can slide the Front piece under the barrel

And you can screw it in with the M3x40mm screws

Then you can slide the the rear pieces from the sides of the blaster and screw them to the front piece with the M3x10mm screws

Next you can screw the side pieces together with the last M3x40mm

Now you can screw the rail to the front piece using the M3x20mm screws and the M3x14mm screws
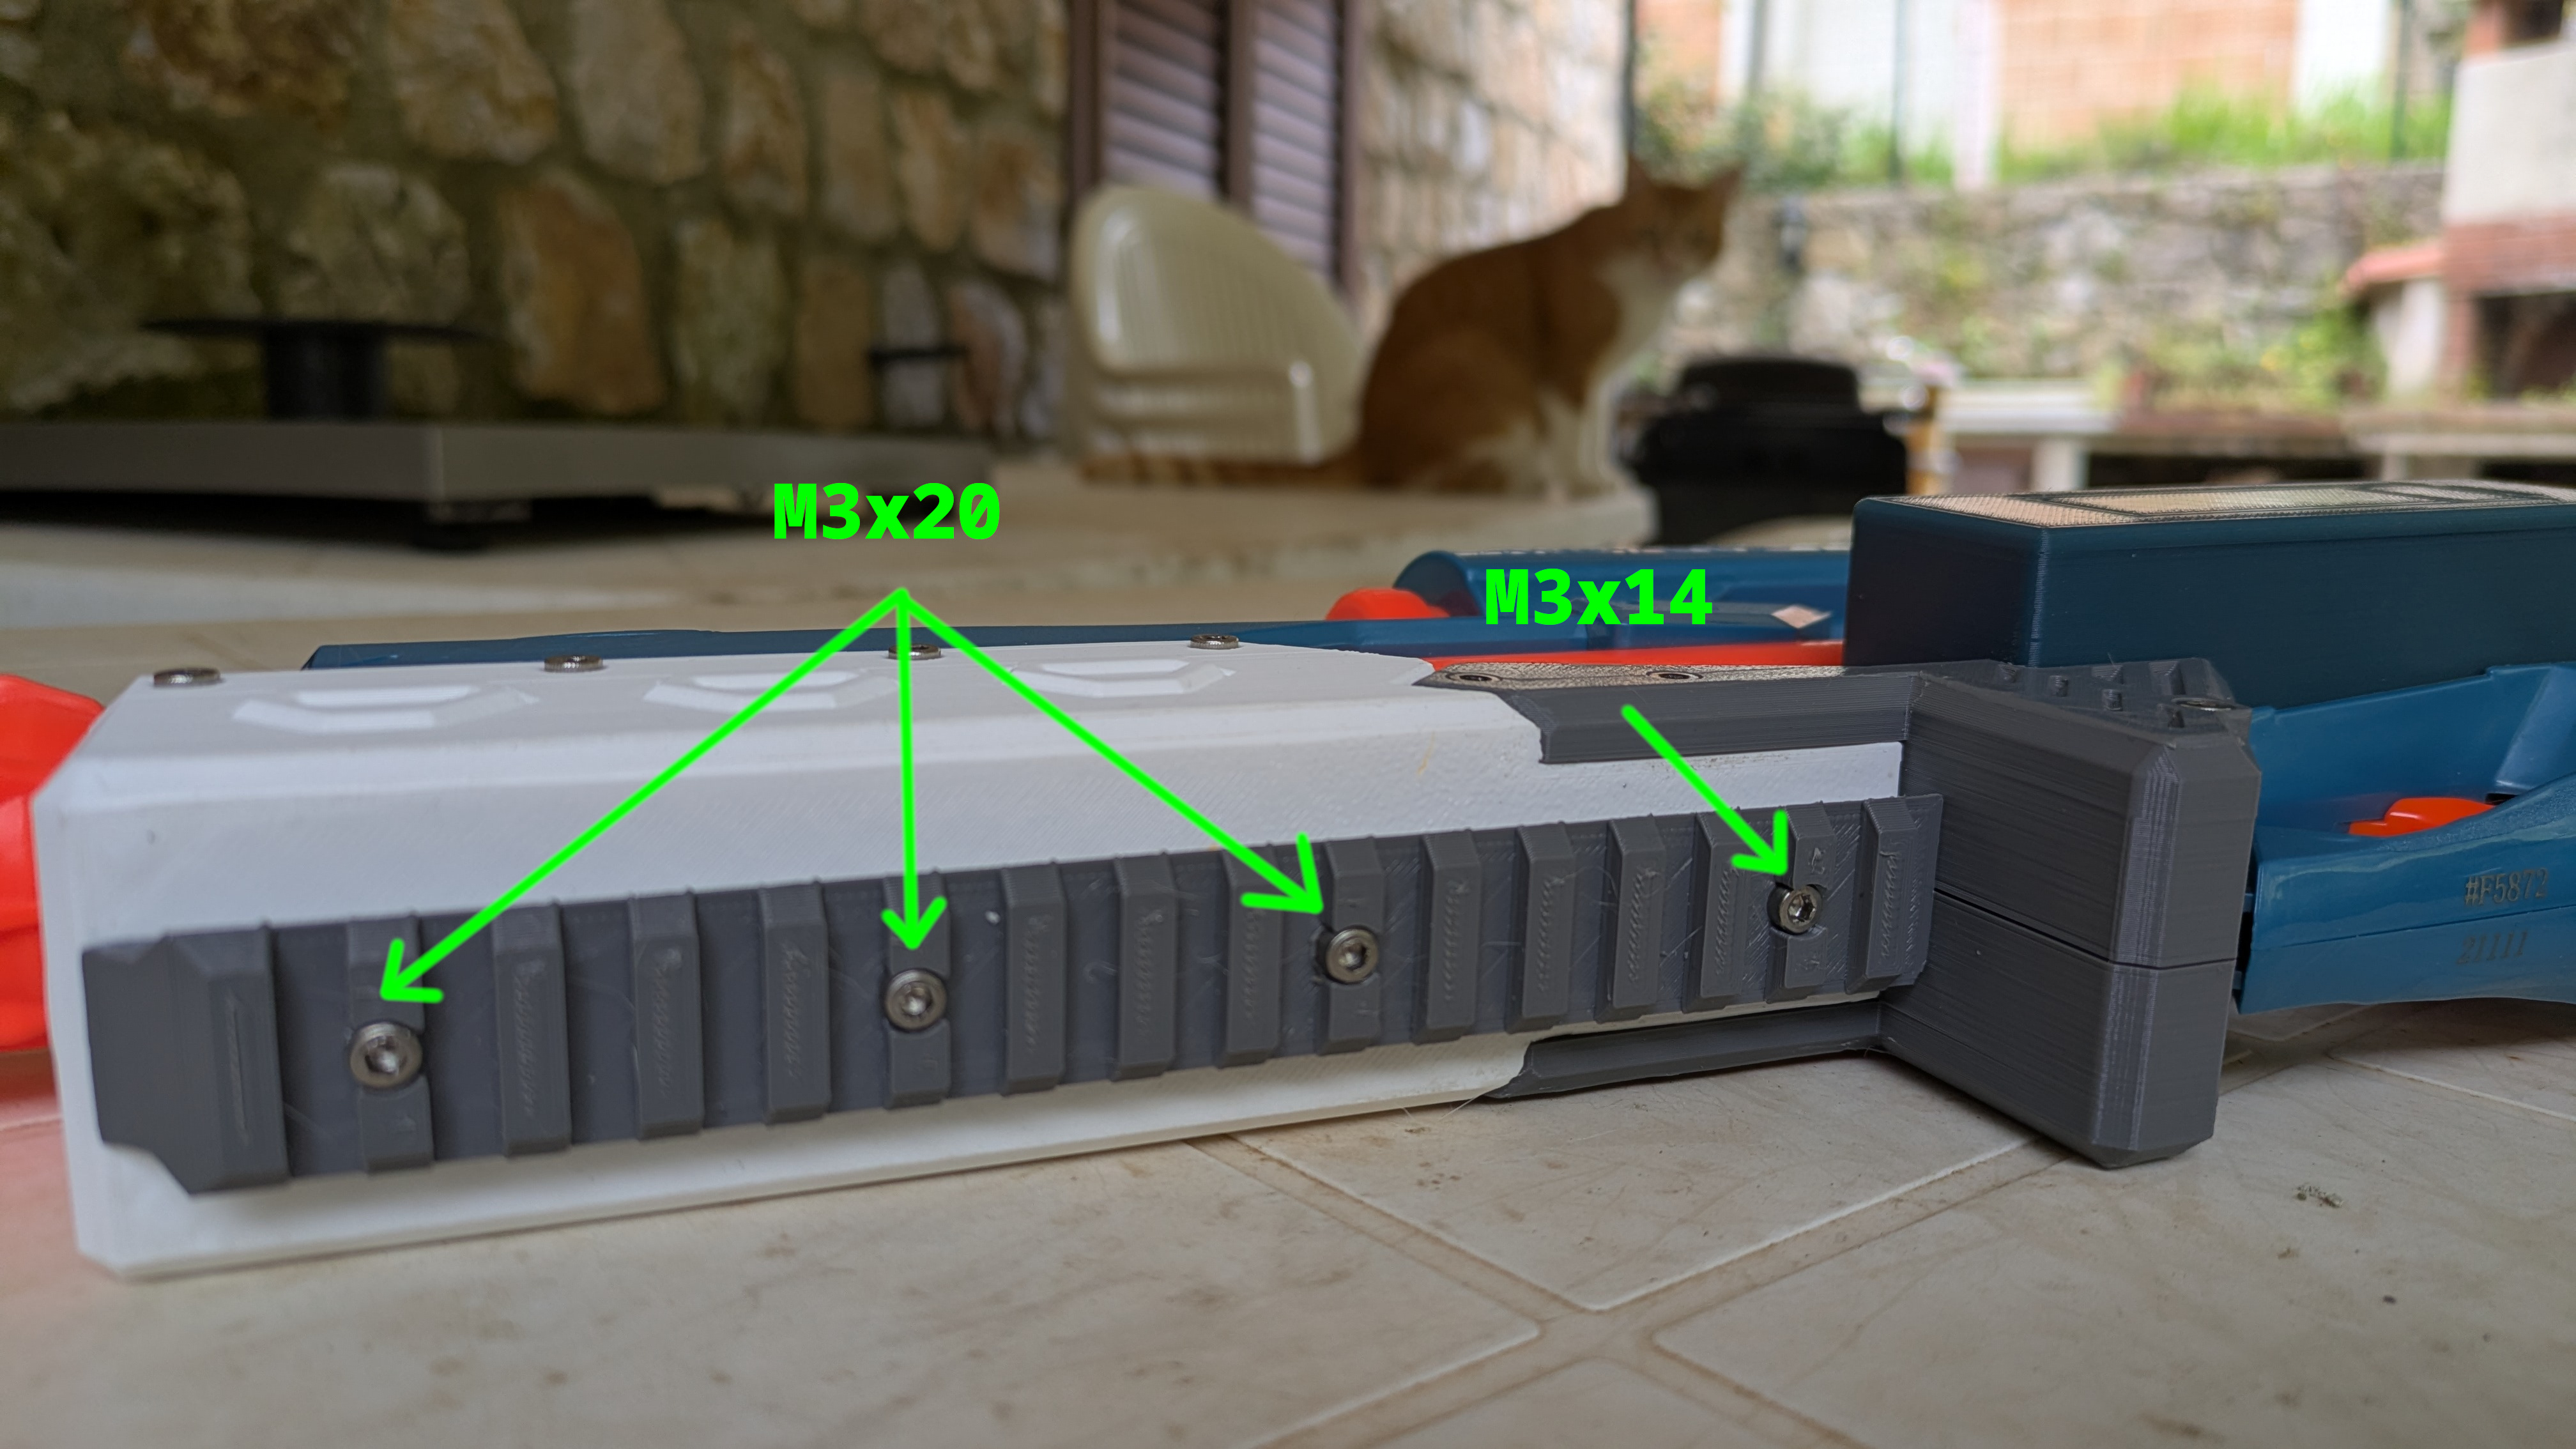
If you are using one of the front pieces with the side rails you can use 3 M3x20mm screws for every rail
Final Notes
The M3x40mm screw for the rear pieces could be difficult to align, but if you push it into the hole should screw in.