
1 / 2
Prusa CORE ONE BedLevel Correction & Dust Cover
Zamów wydruk tego modelu
Obliczymy ostateczną cenę na podstawie wybranego pliku. Sprawdzisz ją i zaakceptujesz przed płatnością.
Zapisane na tym urządzeniu.
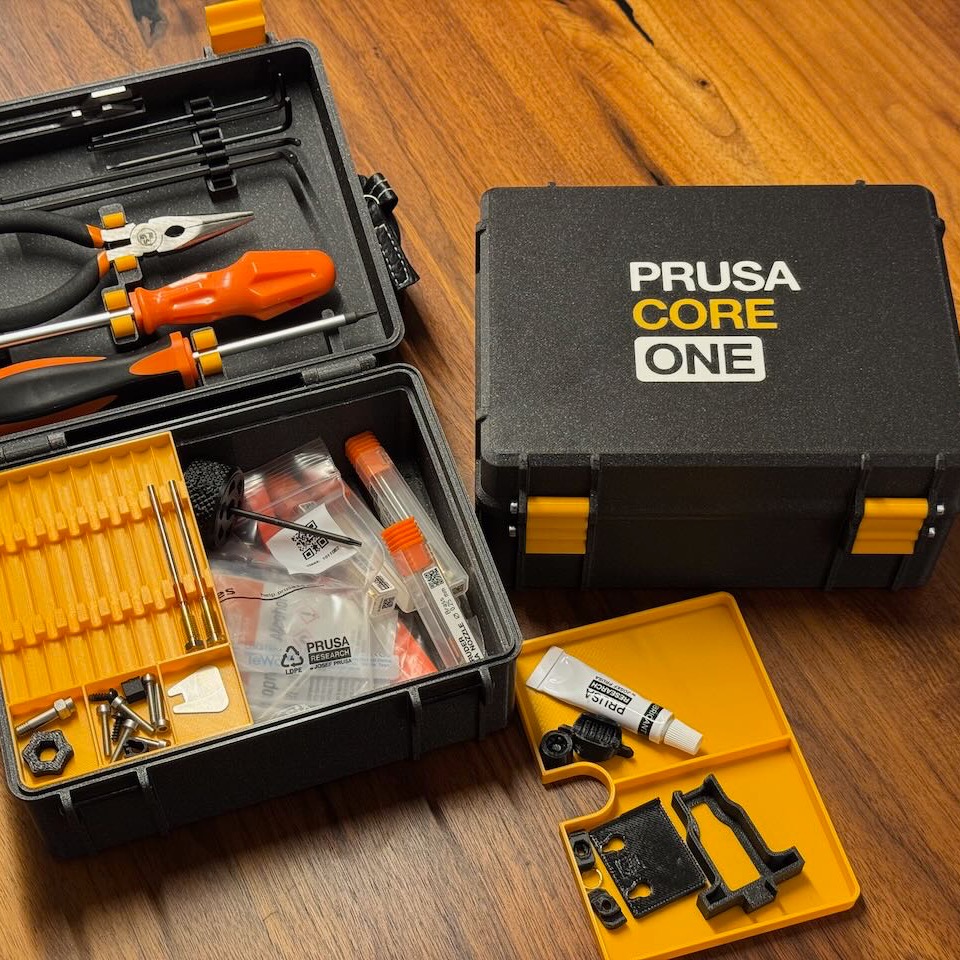
Prusa CORE ONE BedLevel Correction & Dust Cover
- Ocena
- 4,967 / 5
- Polubienia
- 671
- Pobrania
- 1777
- Wydruki
- 87
- Wyświetlenia
- 11 213
- Oceny
- 91
Aktualizacja u źródła:
Informacje o modelu
- Źródło
- Printables
- Kategoria
- Prusa Parts & Upgrades
- Licencja
- Creative Commons — Attribution — Noncommercial
SzczegółyPliki (11)Wydruki i komentarze (Wydruki: 87) (Komentarze: 154)Remiksy (3)Kolekcje (1347)Powiązane
I noticed that left front corner of the bed was by ca. 0.8mm lower than the right corner.
Since the bed levels mechanically against the bottom of the printer, there is an easy solution. :)
How do you figure it out if the bed is lower on one side?
- Calibration and Tests → run Z alignment calibration
- Auto home the printer & set Z to 0mm
- Turn off the stepper motors
- Move the head around the bed and see if there is a lower corner (mostly it is the left front)
- Measure/estimate how much the bed is lower
- Print the BedLevel Correction with the measured/estimated correction
- Place it onto the stepper mount where the correction is needed

- Repeat the process until you are happy with the outcome/result.
- Print the Dust Cover Neutral for those leadscrews which don't need a correction.
Lead Screw movement after the correction

First Layer improvement before & after correction


Print settings: I recommend PETG, tolerances are tested with PETG
- 3 Perimeters/Walls
- 5 Bottom/Top layers
- 100% infill
- 0.2mm layer height
- Supports: none
Please leave a like & a make. :)