
Prusa XL tool holder profile stripped thread fix
Obliczymy ostateczną cenę na podstawie wybranego pliku. Sprawdzisz ją i zaakceptujesz przed płatnością.
Zapisane na tym urządzeniu.
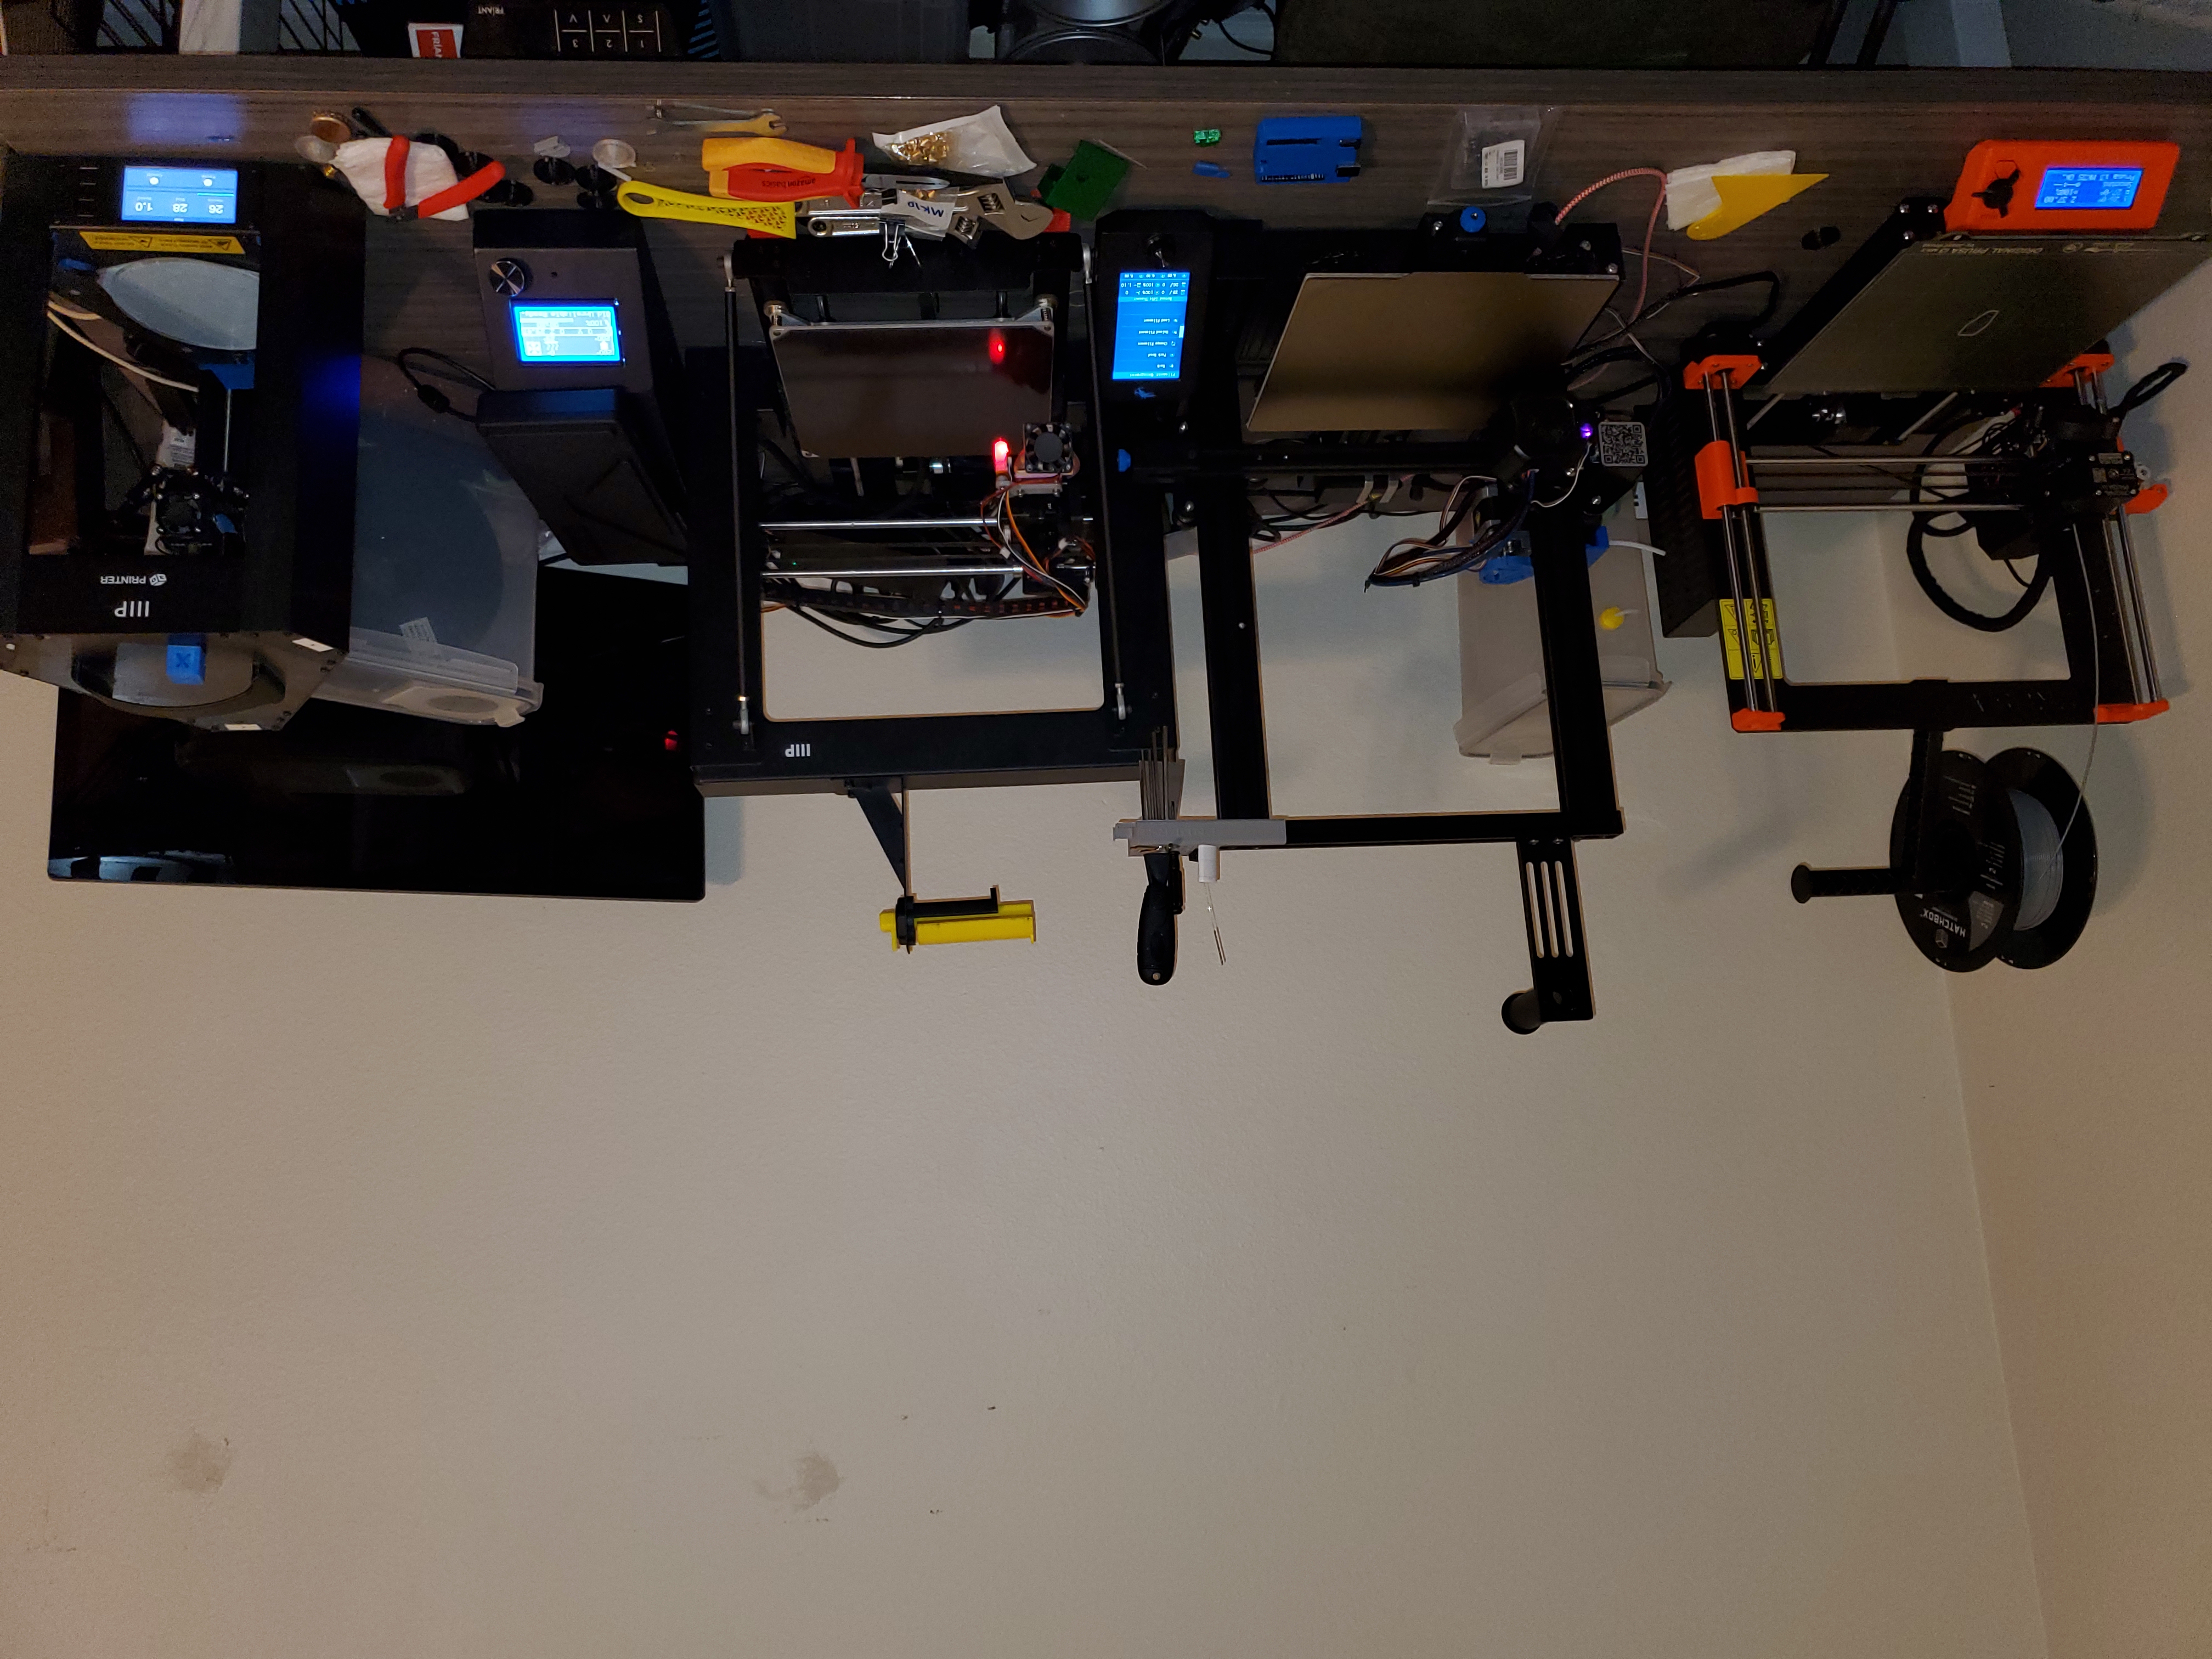
Workaround for stripped threads in tool holder profile
- Ocena
- 0 / 5
- Polubienia
- 3
- Pobrania
- 12
- Wydruki
- 0
- Wyświetlenia
- 145
- Oceny
- 0
Aktualizacja u źródła:
Informacje o modelu
- Źródło
- Printables
- Kategoria
- Prusa Parts & Upgrades
- Licencja
- Creative Commons — Attribution — Noncommercial — Share Alike
So I was almost done assembling my new Prusa XL and stripped out the threads in the profile that holds the toolheads. Bummer, looks like I'm going to have to wait for weeks to get a replacement part and probably have to disassemble the whole thing to replace it.
So, I stared at it for a while and came up with this workaround.
EDIT: I have a newer design that is all one piece and should be much simpler to use - just put a nut in and push it into the extrusion - note that the flaps go towards you (up against the sliding profile, not the back of the extrusion well). I have not tested the new one yet other than to see that I can push it into the extrusion with the flaps intact.
=== old instructions below
Please leave a comment if these instructions are not clear. It's hard to explain how it all fits together.
Print these pieces. The larger “center” piece takes an M3 nut. The two other “end” pieces hold it up so the nut is centered vertically in the extrusion behind the holes. Hopefully it's obvious how these fit together inside the extrusion.
The small holes in the pieces are used to stick a short length of filament into, to make it easier to get them in place.
They are very loose fit. I tried making them tighter but I realized it was easier to just get them sort of in place as the tiny pieces liked to pop out when fitting them together. It's very finicky to get this in but the gap between the profile and extrusion is small enough that everything is held in place once you get it back there.
So, the way to do it is to insert an “end” piece into the extrusion, rotate it so it is vertical. Note that the flat side faces towards you, up against the metal profile and not towards the back of the extrusion. Then insert the “center” piece with the nut. Slide this back behind the profile a bit, it will hold them together. Then add the other “end” piece with a longer piece of filament in the side hole. It's a bit tricky to get it in, but once you do, you can slide the whole thing behind the profile, and use the long piece of filament to position it behind the stripped hole. This should keep it perfectly centered behind the hole.
I find it worked best to remove the honeycomb back plate first and disassemble the tool holder so you are only attaching the aluminum part with maximum access and visibility. Replace the M3x14 screw with an M3x16 screw. I have not tried with the original M3x14 screw, maybe it is long enough but I'm not sure, and it worked with M3x16.
Screw it in and make sure it has engaged the nut behind the profile, then you can pull out the filament piece and everything will stay in place.
Print in some sort of engineering-worthy material (PETG, ASA, ABS, etc). I used ASA. I recommend white so you can easily see what's going on. I tried black first and it was hard to see.
Don't worry too much if you mess it up, at least nuts are easily replaceable. Worst case you have to take all the toolheads off, then just use a long piece of filament to push everything out and try again…
Sorry for not having better pictures etc. I ordered the 5 toolhead version and the other three are still in the mail, so hopefully I can take better pictures and maybe make a video because I'm going to have to do this all over again when they arrive.