
Everything Presence One Downlight Enclosure
Obliczymy ostateczną cenę na podstawie wybranego pliku. Sprawdzisz ją i zaakceptujesz przed płatnością.
Zapisane na tym urządzeniu.

A 3D printed replacement enclosure for the fantastic Everything Presence One Sensor from Everything Smart Technology
- Ocena
- 5 / 5
- Polubienia
- 160
- Pobrania
- 552
- Wydruki
- 1
- Wyświetlenia
- 4918
- Oceny
- 1
Aktualizacja u źródła:
Informacje o modelu
- Źródło
- Printables
- Kategoria
- Electronics
- Licencja
- Creative Commons — Attribution — Noncommercial
–- UPDATE --
This design has some issues with the spring geometry. The unit is not held in the ceiling with enough force, and mine have started to drop a little. Not awesome!
There's a redesign on the way that will accommodate all revisions of the sensor and utilises a new fixing mechanism that's significantly more solid.
---------------
My downlight enclosure for the Everything Presence One sensor! Watch the video for more!
- Repackages the Everything Presence One as a ceiling-mounted sensor
- Includes mounting for a POE power adapter
- Fits a 90mm or 92mm downlight hole
Parts
- Everything Presence One Sensor
- Anvision POE adapter
- Downlight springs (anything up to 18mm wide should work)
- 6 x M3x12mm
- 1 x M3x6mm
- 2 x M3x25mm
- Female dupont connector wires (I just cut the F to F wires in half for 10cm in length)
Printing
Print each component flat side down, I used a textured print bed. Matte filaments blended into my ceiling best.
Some support required for the Back_Cover component. Tree supports worked well for me!
In the video, I used Bambulab Matte Ivory White (11100)
Assembly
Disassemble the EP1 sensor and POE module. Solder your new wires to the +5v and G pins on the POE PCB. Mount the POE PCB on the POE_Mount print with an M3x6 screw.
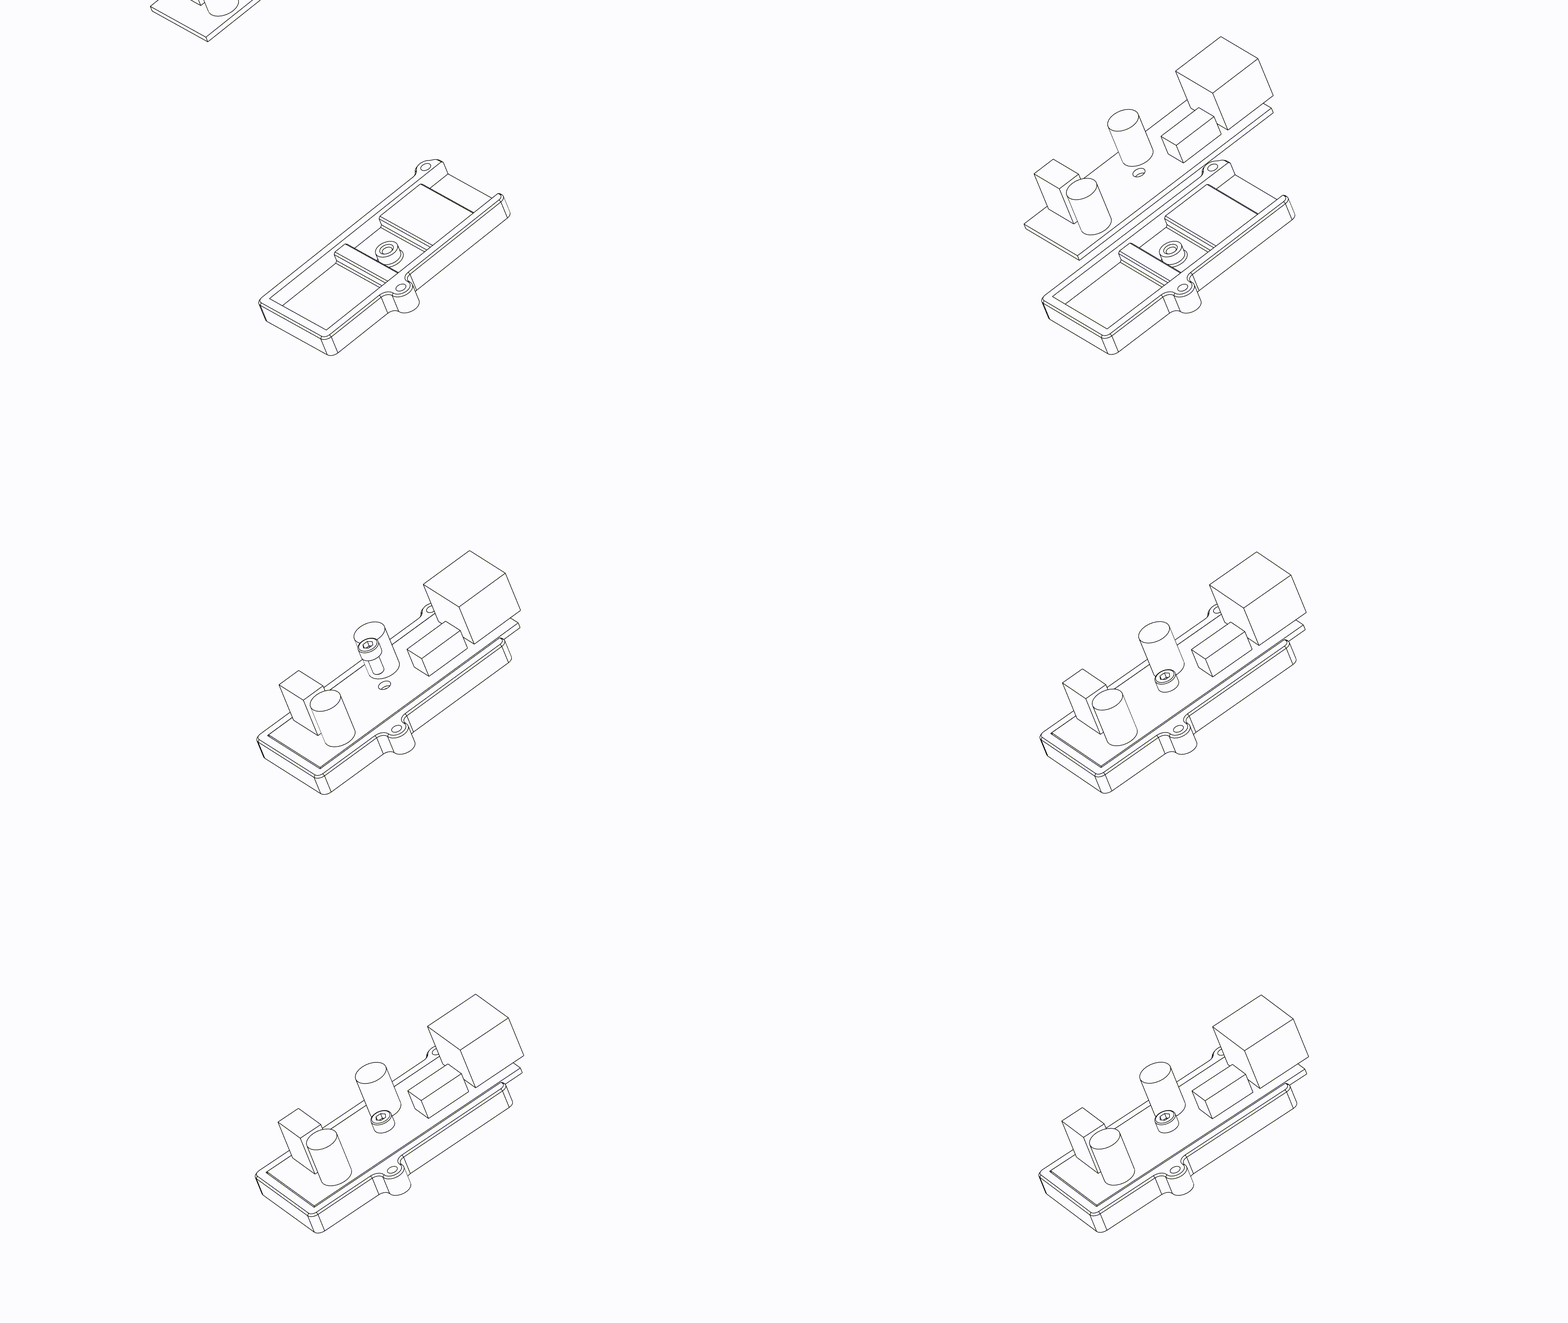
Remove the MMwave and PIR sensor from the EP1. Attach the EP1 to the PCB_Mount component in the labelled position using 2 M3x12 screws. Pass the wires through the hole in the PCB_Mount and connect them to the 5V headers. Now you can reattach your sensors.
The M3 screws pass through the PCB_Mount and into the POE_Mount, sandwiching the POE_Mount in place.
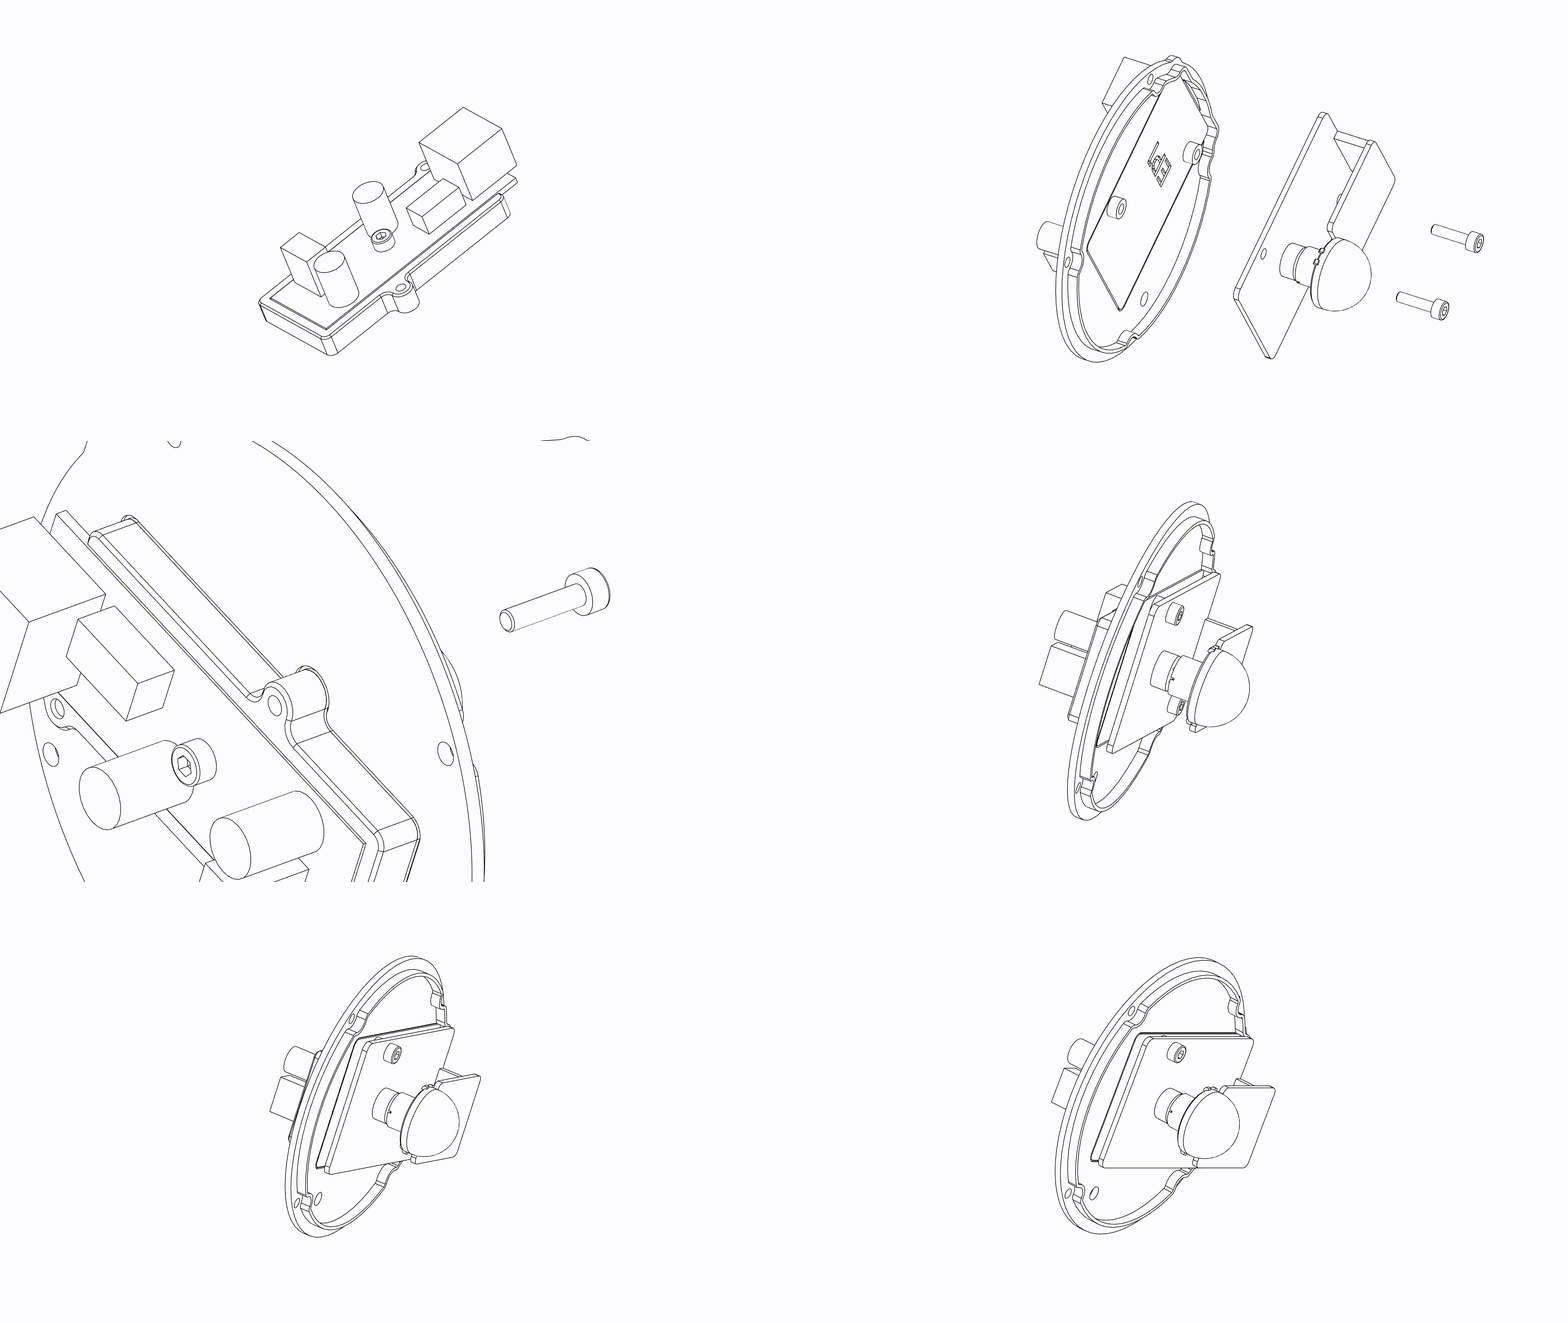
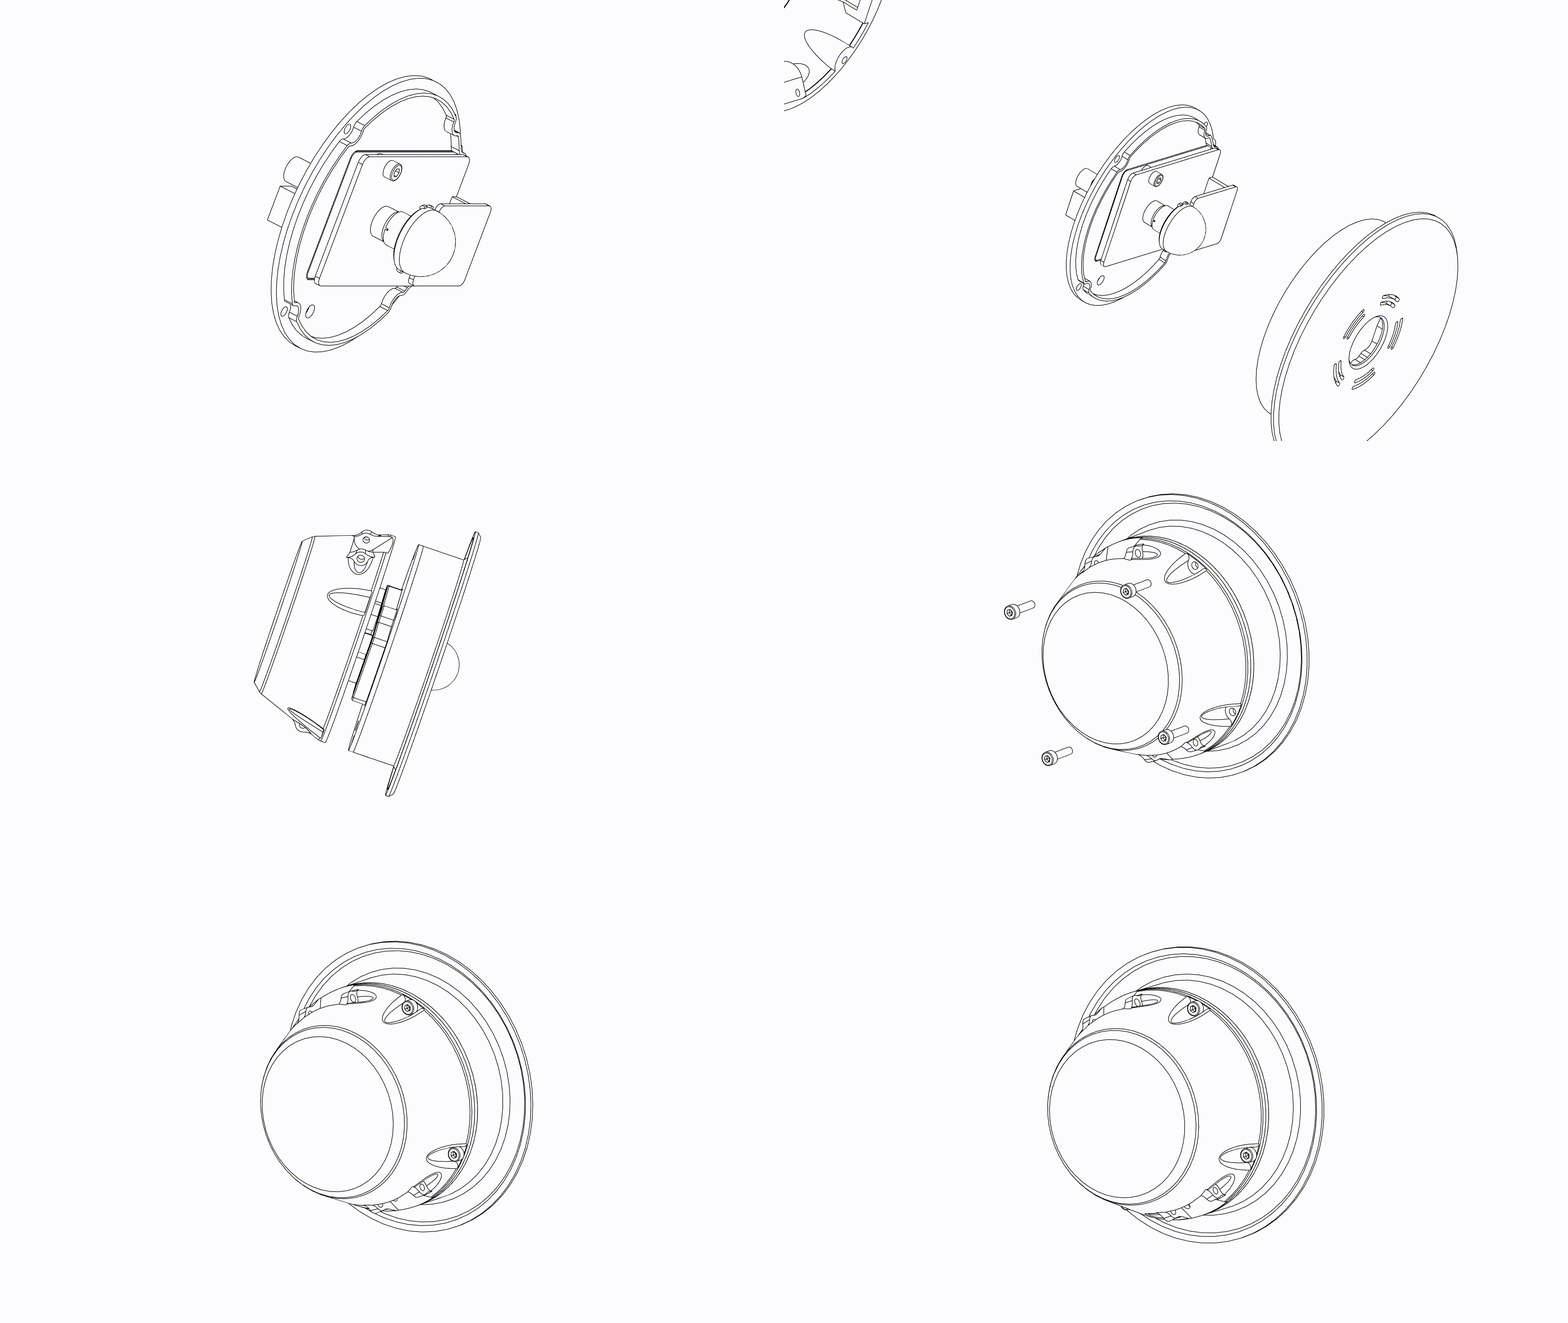
The PCB_Mount is then sandwiched between the Face_Plate and Back_Cover which are held in place with 4 x M3x12 screws.
Lastly, install your downlight springs, ensuring the ‘tail’ of the spring is inserted into the retaining hole in the Back_Cover, and holding it in place with an M3x25mm screw through the spring's coil.
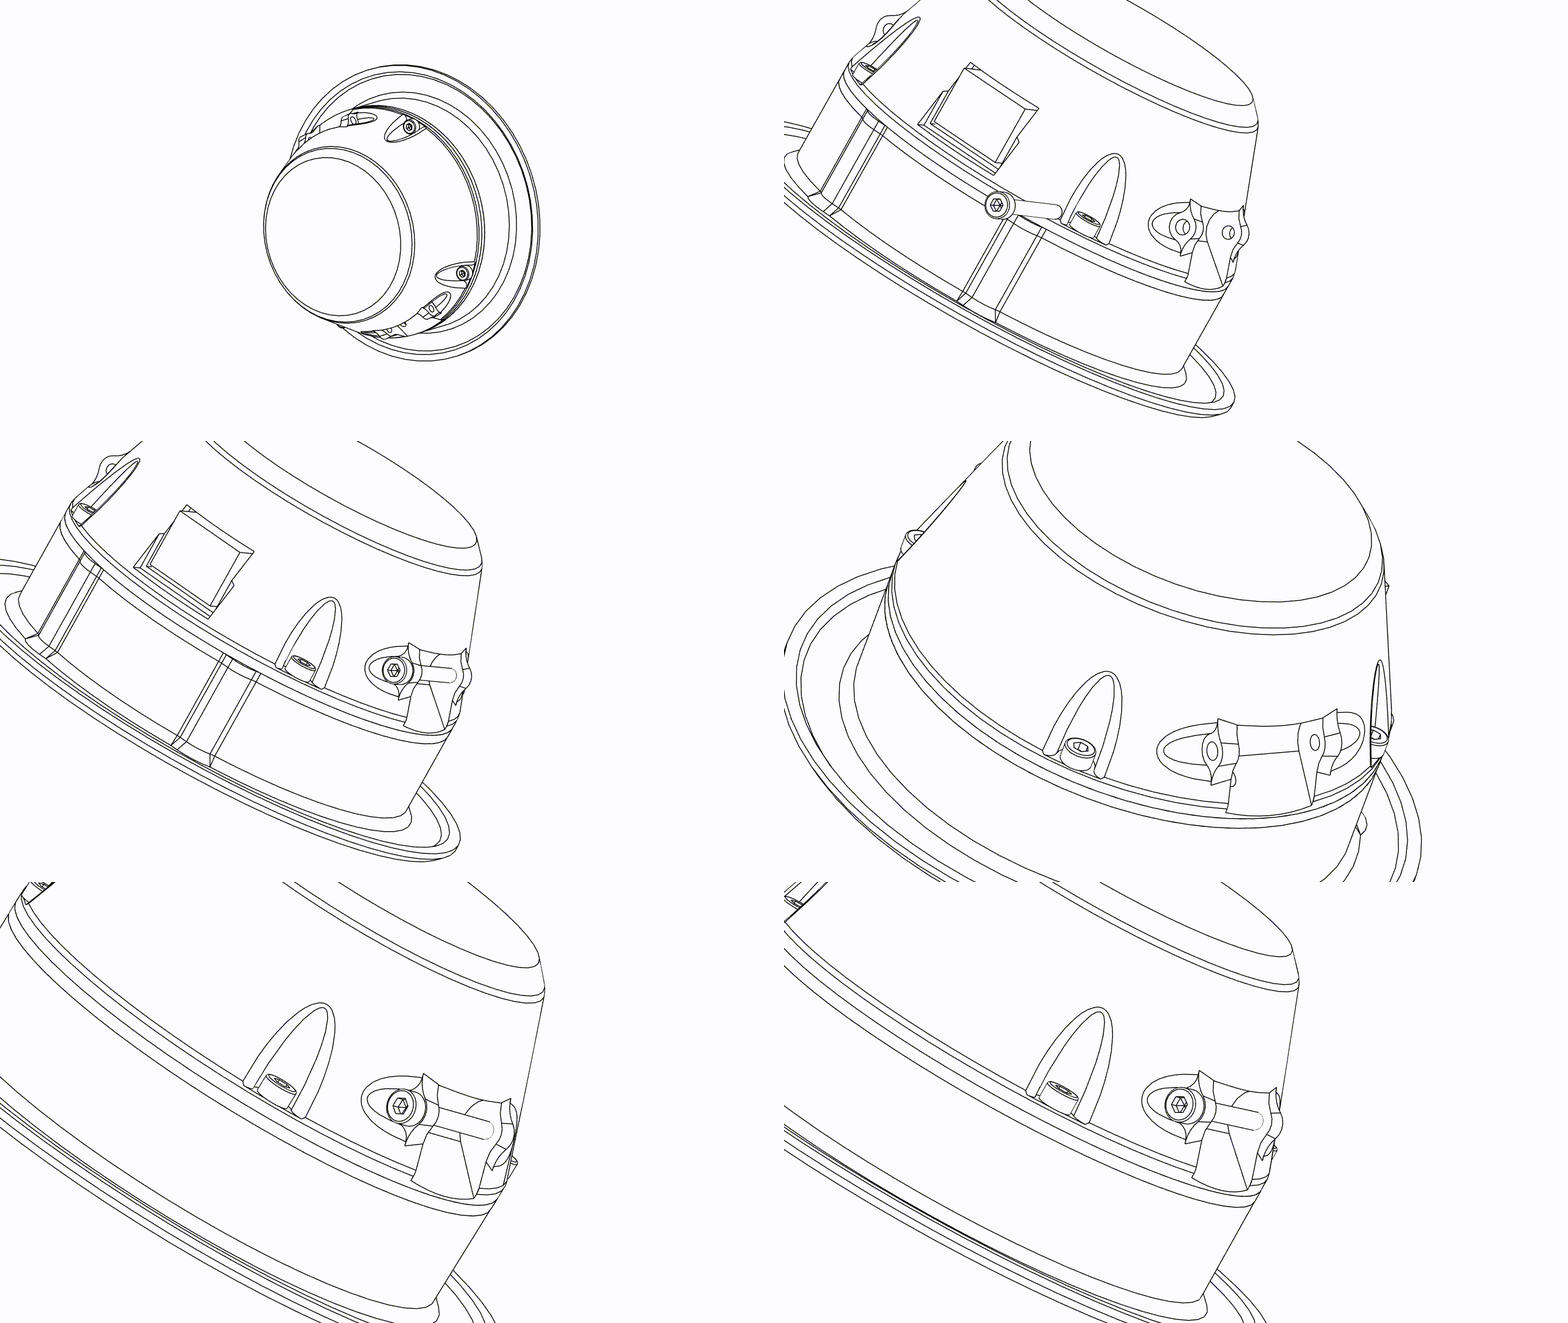
You're done!