
Spherical port for filament dryers - Open source and parametised
Obliczymy ostateczną cenę na podstawie wybranego pliku. Sprawdzisz ją i zaakceptujesz przed płatnością.
Zapisane na tym urządzeniu.

A simple printed replacement for the exit ports of filament dryers. Has 20 degrees of swivel for less friction/jams.
- Ocena
- 4,75 / 5
- Polubienia
- 772
- Pobrania
- 2744
- Wydruki
- 14
- Wyświetlenia
- 13 784
- Oceny
- 16
Aktualizacja u źródła:
Informacje o modelu
- Źródło
- Printables
- Kategoria
- Other Printer Parts & Upgrades
- Licencja
- Creative Commons — Attribution — Share Alike
Overview
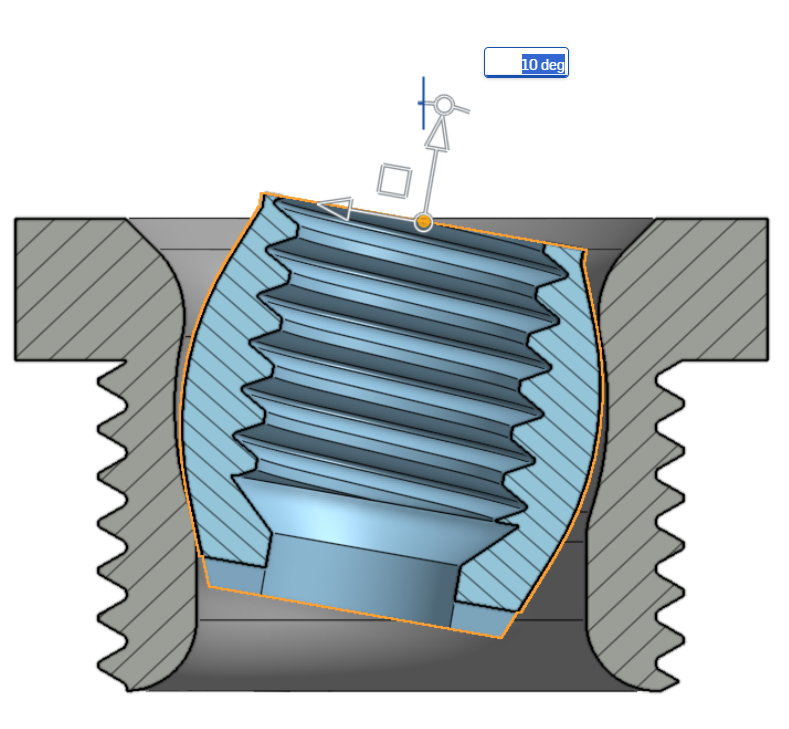
Filament dryers have exit ports in less than ideal places. The filament often has to bend sharply to line up with the port, which is exaggerated depending on hoe much filamnt is left on the spool. This simple design prints in place, accepts a PTFE fitting and then PTFE tube passes through the middle. The filament exit can now swivel 10 degrees away from centre to better line up with the filament inside.
The design is showcased in this video: TBA
Required Hardware
The only hardware required is a PC4-M6 PTFE/pnuematic fitting per port. These need to be pass through, which means the PTFE tube can pass through the fitting and out the other end.
An example of a suitable part is here (affiliate): https://s.click.aliexpress.com/e/_oFFJ2yw
Most PC4-M6 fittings are not pass through. You can drill out the threaded end with a 4mm drill bit if you prefer not to buy new fittings.
To fit the part, you will likely need to open up the existing port hole in the dryer. The required size is 13mm or ½" (12.7mm). Steps drills are an effective way to do this.
Imperial (affiliate): https://amzn.to/3HzEh0p
Metric (affiliate): https://amzn.to/4jMCUbY
Remixing and Customisation
A STEP file is included for remixing, however the source CAD is available free on Onshape: https://cad.onshape.com/documents/ce8ce37f1864ab3fdc991edf/w/23cd47e681d508d6a9a1d974/e/1ecaf9ae37081d75fd07518c?renderMode=0&uiState=68490e80c7eeec3f4f22d794
Make a copy of the document and then change the eight variables as required to update the mode to you specifications. Check the model for errors.
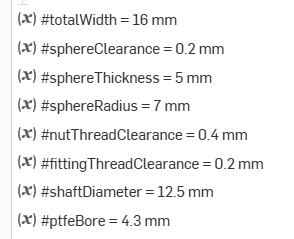
Switch to ‘Assembly 2’ to click and rotate the inner section to test the available movement before a collision.
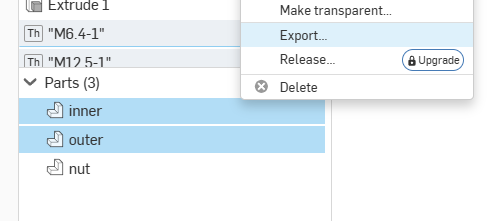
When exporting, click on the inner and outer to export them as one part. They are print in place. The nut can be exported by itself.
The following settings are recommended:
- 0.12mm or similar layer height to increase the resolution of the printed threads
- Arachne mode for perimeters
- 4 perimeters
- No support
- A paint on brim for the inner section (only if the print dislodges)
- A filament such as PETG/ASA/PA to cope with the heat of the filament dryer
- TPU filament for the optional sealing grommet
Assembly
The assembly process is covered in the video above. In summary:
- Expand the existing dryer exit port hole to ½" or 13mm.
- Screw the PC4-M6 fitting into the inner piece. Use a flat head screwdriver on the other side of the inner piece to stop it from rotating.
- Insert the PTFE tube through the fitting.
- Place the assembly through the bore in the dryer, and secure it with the nut.
- Feed filament through as before.