
Equinox — The universal smartphone camera rig
Obliczymy ostateczną cenę na podstawie wybranego pliku. Sprawdzisz ją i zaakceptujesz przed płatnością.
Zapisane na tym urządzeniu.

Equinox is the precision-built smartphone rig that blurs the line between instinct and action.
- Ocena
- 0 / 5
- Polubienia
- 15
- Pobrania
- 31
- Wydruki
- 0
- Wyświetlenia
- 336
- Oceny
- 0
Aktualizacja u źródła:
Informacje o modelu
- Źródło
- Printables
- Kategoria
- Photo & Video
- Licencja
- Creative Commons — Attribution — Noncommercial — Share Alike
Equinox is the precision-built universal smartphone rig that blurs the line between instinct and action. Designed to disappear in your grip and capture whatever you throw its way, Equinox becomes an extension of you—made for creators who think fast, move faster, and shoot with intent. Whether you’re chasing light through the trees or framing a sunset on the go, Equinox lets you focus on the moment, not the mechanics. This is mobile filmmaking, refined.
Built for the field, Equinox locks any phone into filming position in seconds using a quick-twist clamp. It includes a cold shoe mount for your favorite mic or light, and modular grips that make it easy to personalize. It’s rugged, lightweight, and ready for anything.
Prints in just 3.5 hours, no supports!
Printing
Print with PETG and your favorite infill (I used Adaptive Cubic). All parts are pre-oriented for your convenience.
Notes on specific parts:
- Use three perimeters on the Core.
- Print two grips, opposite faces on the build plate. It will look better assembled.
- Pick the Top Rail with or without a cold shoe.
Post your make!
Assembly
Required hardware and tools:
(2x) M3nS nuts
(4x) M3x8 screws
(1x) 9mm piece of filament
2.5mm hex key
Superglue
Step 1:
Gather all materials and tools (filament not pictured)

Step 2
Insert nuts into Core
Insert all four M3nS nuts into the Core, two on each end. Use a tabletop and/or small screwdriver to push them all the way down, so they line up with the holes.

Step 3
Prepare the grips
Partially thread all four M3x8 screws into the grips, two each. You may have to use the hex key. Stop when the ends are flush with the other side.
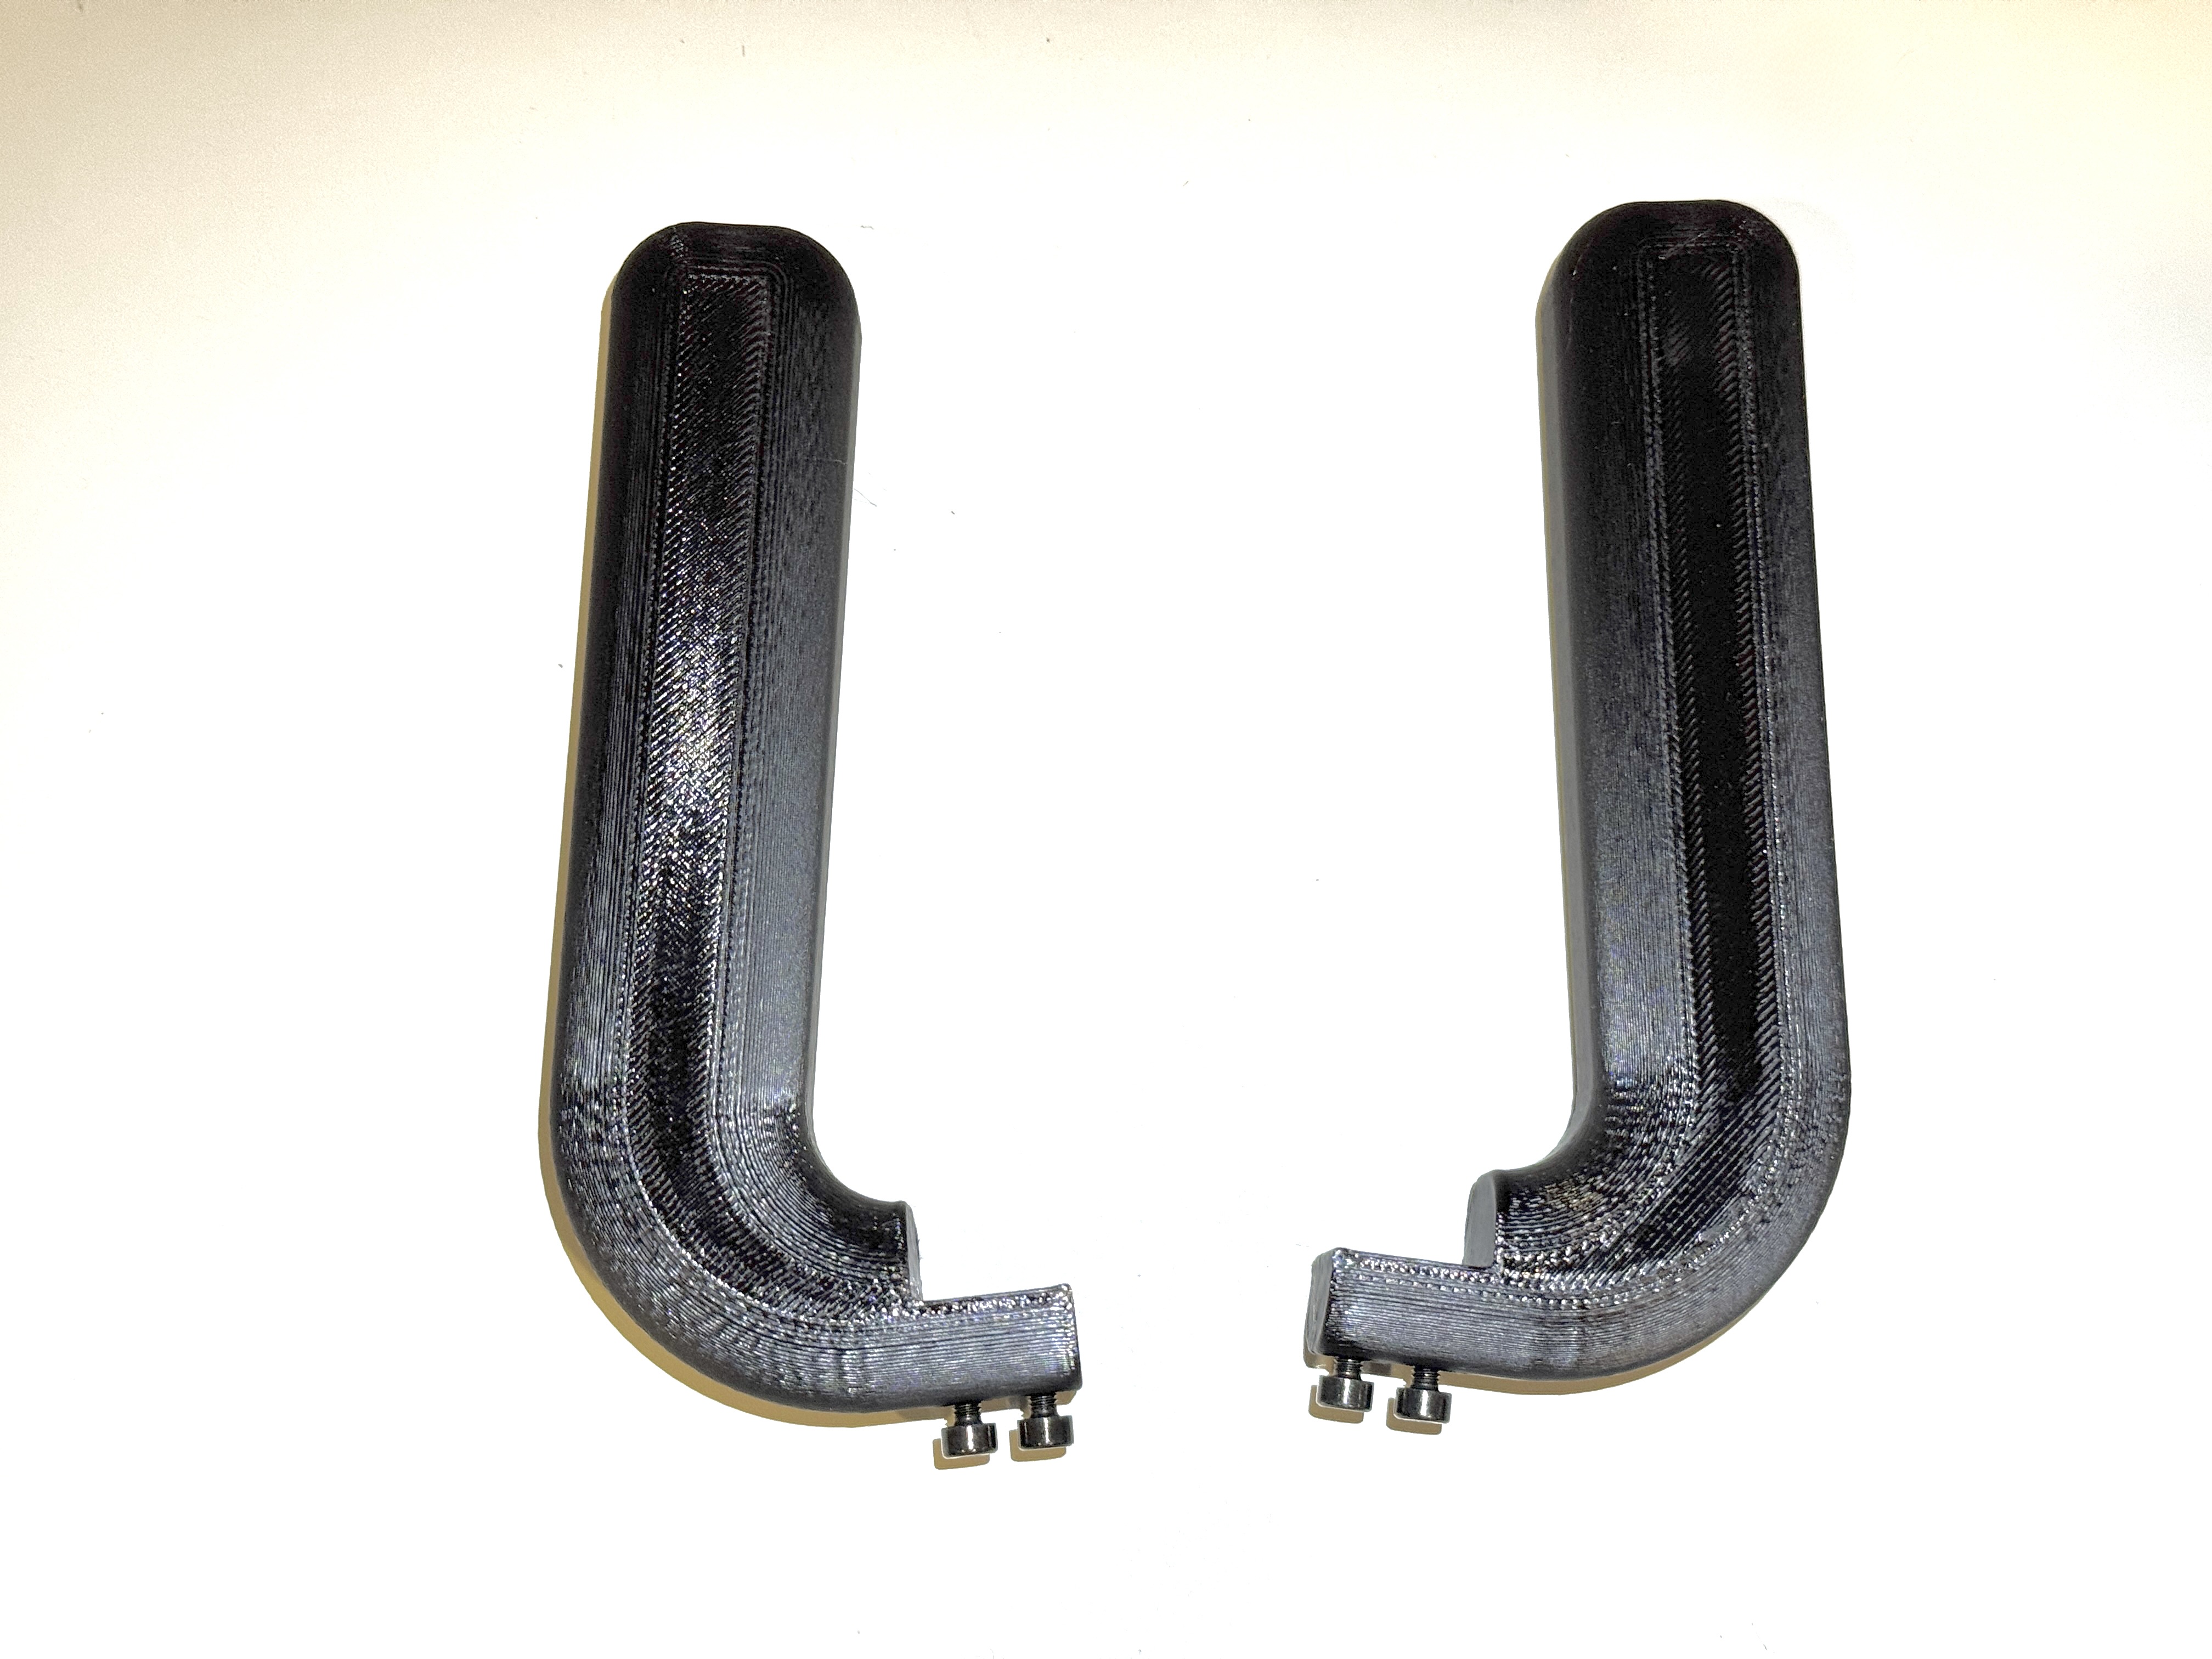
Step 4
Attach the handles
Put the grips on the Core and tighten all four screws. Turn the grips are secure, but not tight enough to crush the plastic.
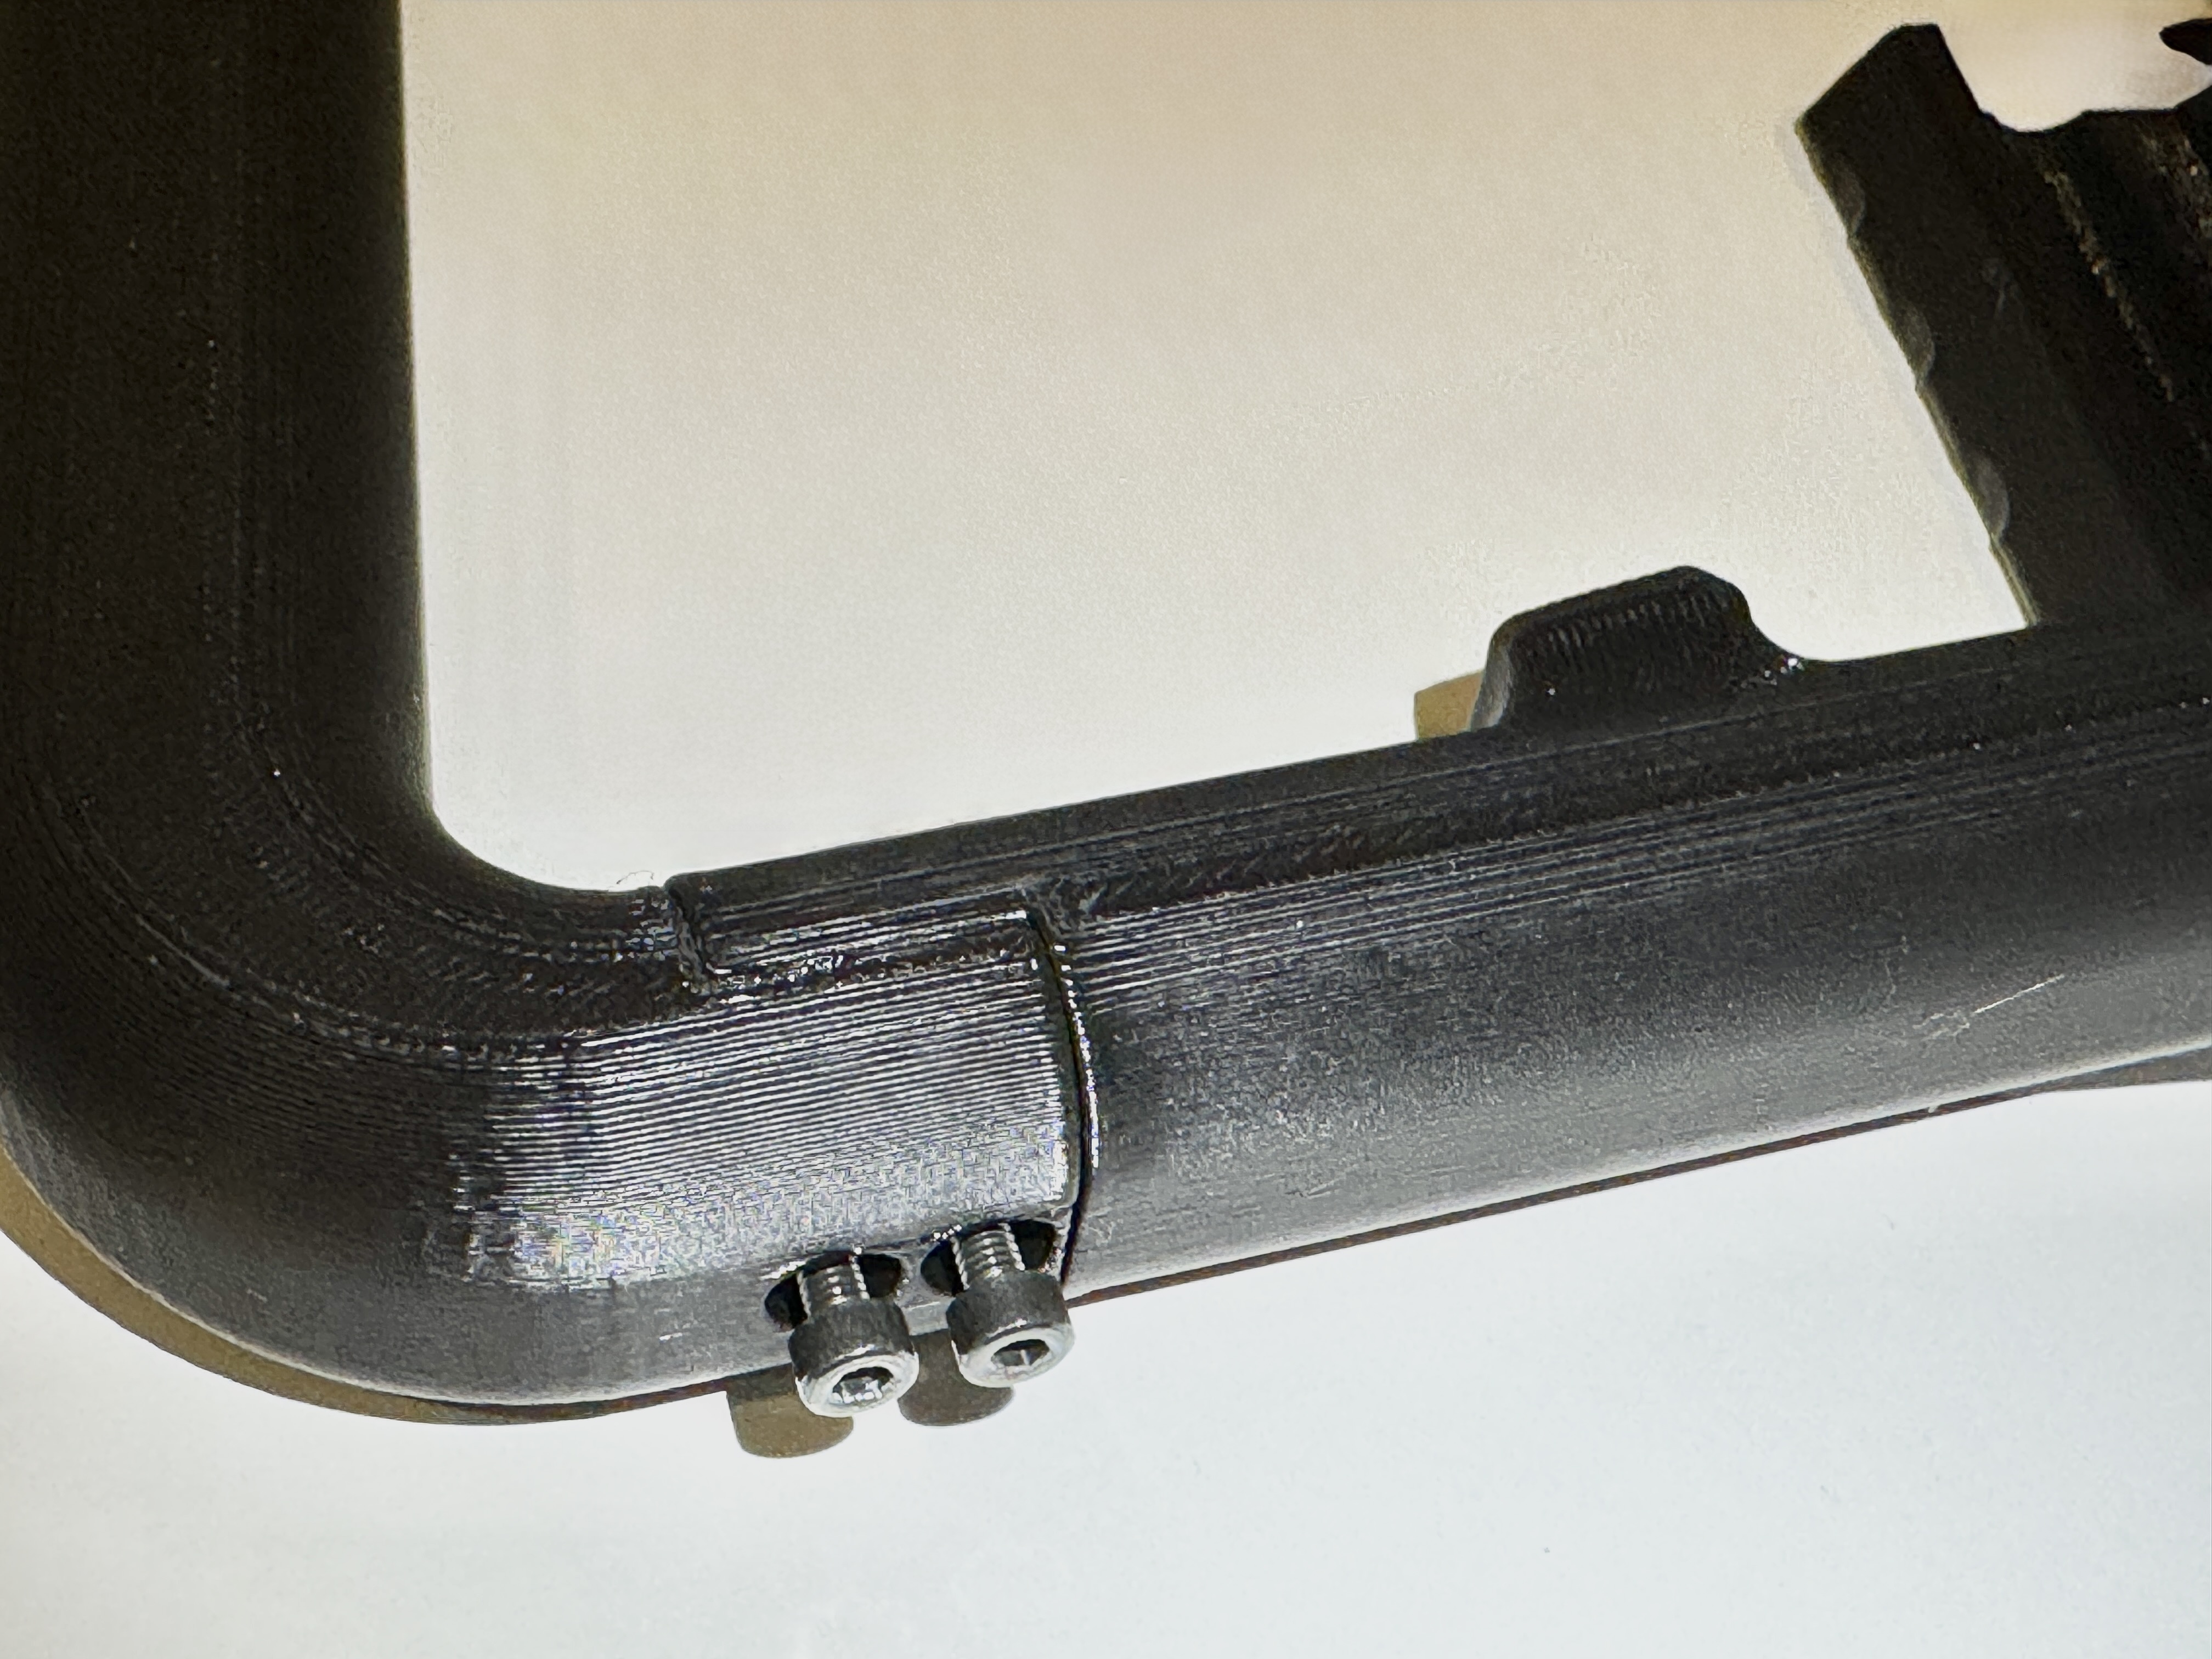
Step 5
Assemble the screw
Glue the two halves of the screw together. Use a small screwdriver or filament to align them. Press them together as much as you can, then let dry before continuing to the next step.

Step 6
Insert the screw into the Top Rail
Don't put the screw in very much. The hexagonal part must be sticking out for the next step. Position the hole in the end so it faces up/down.
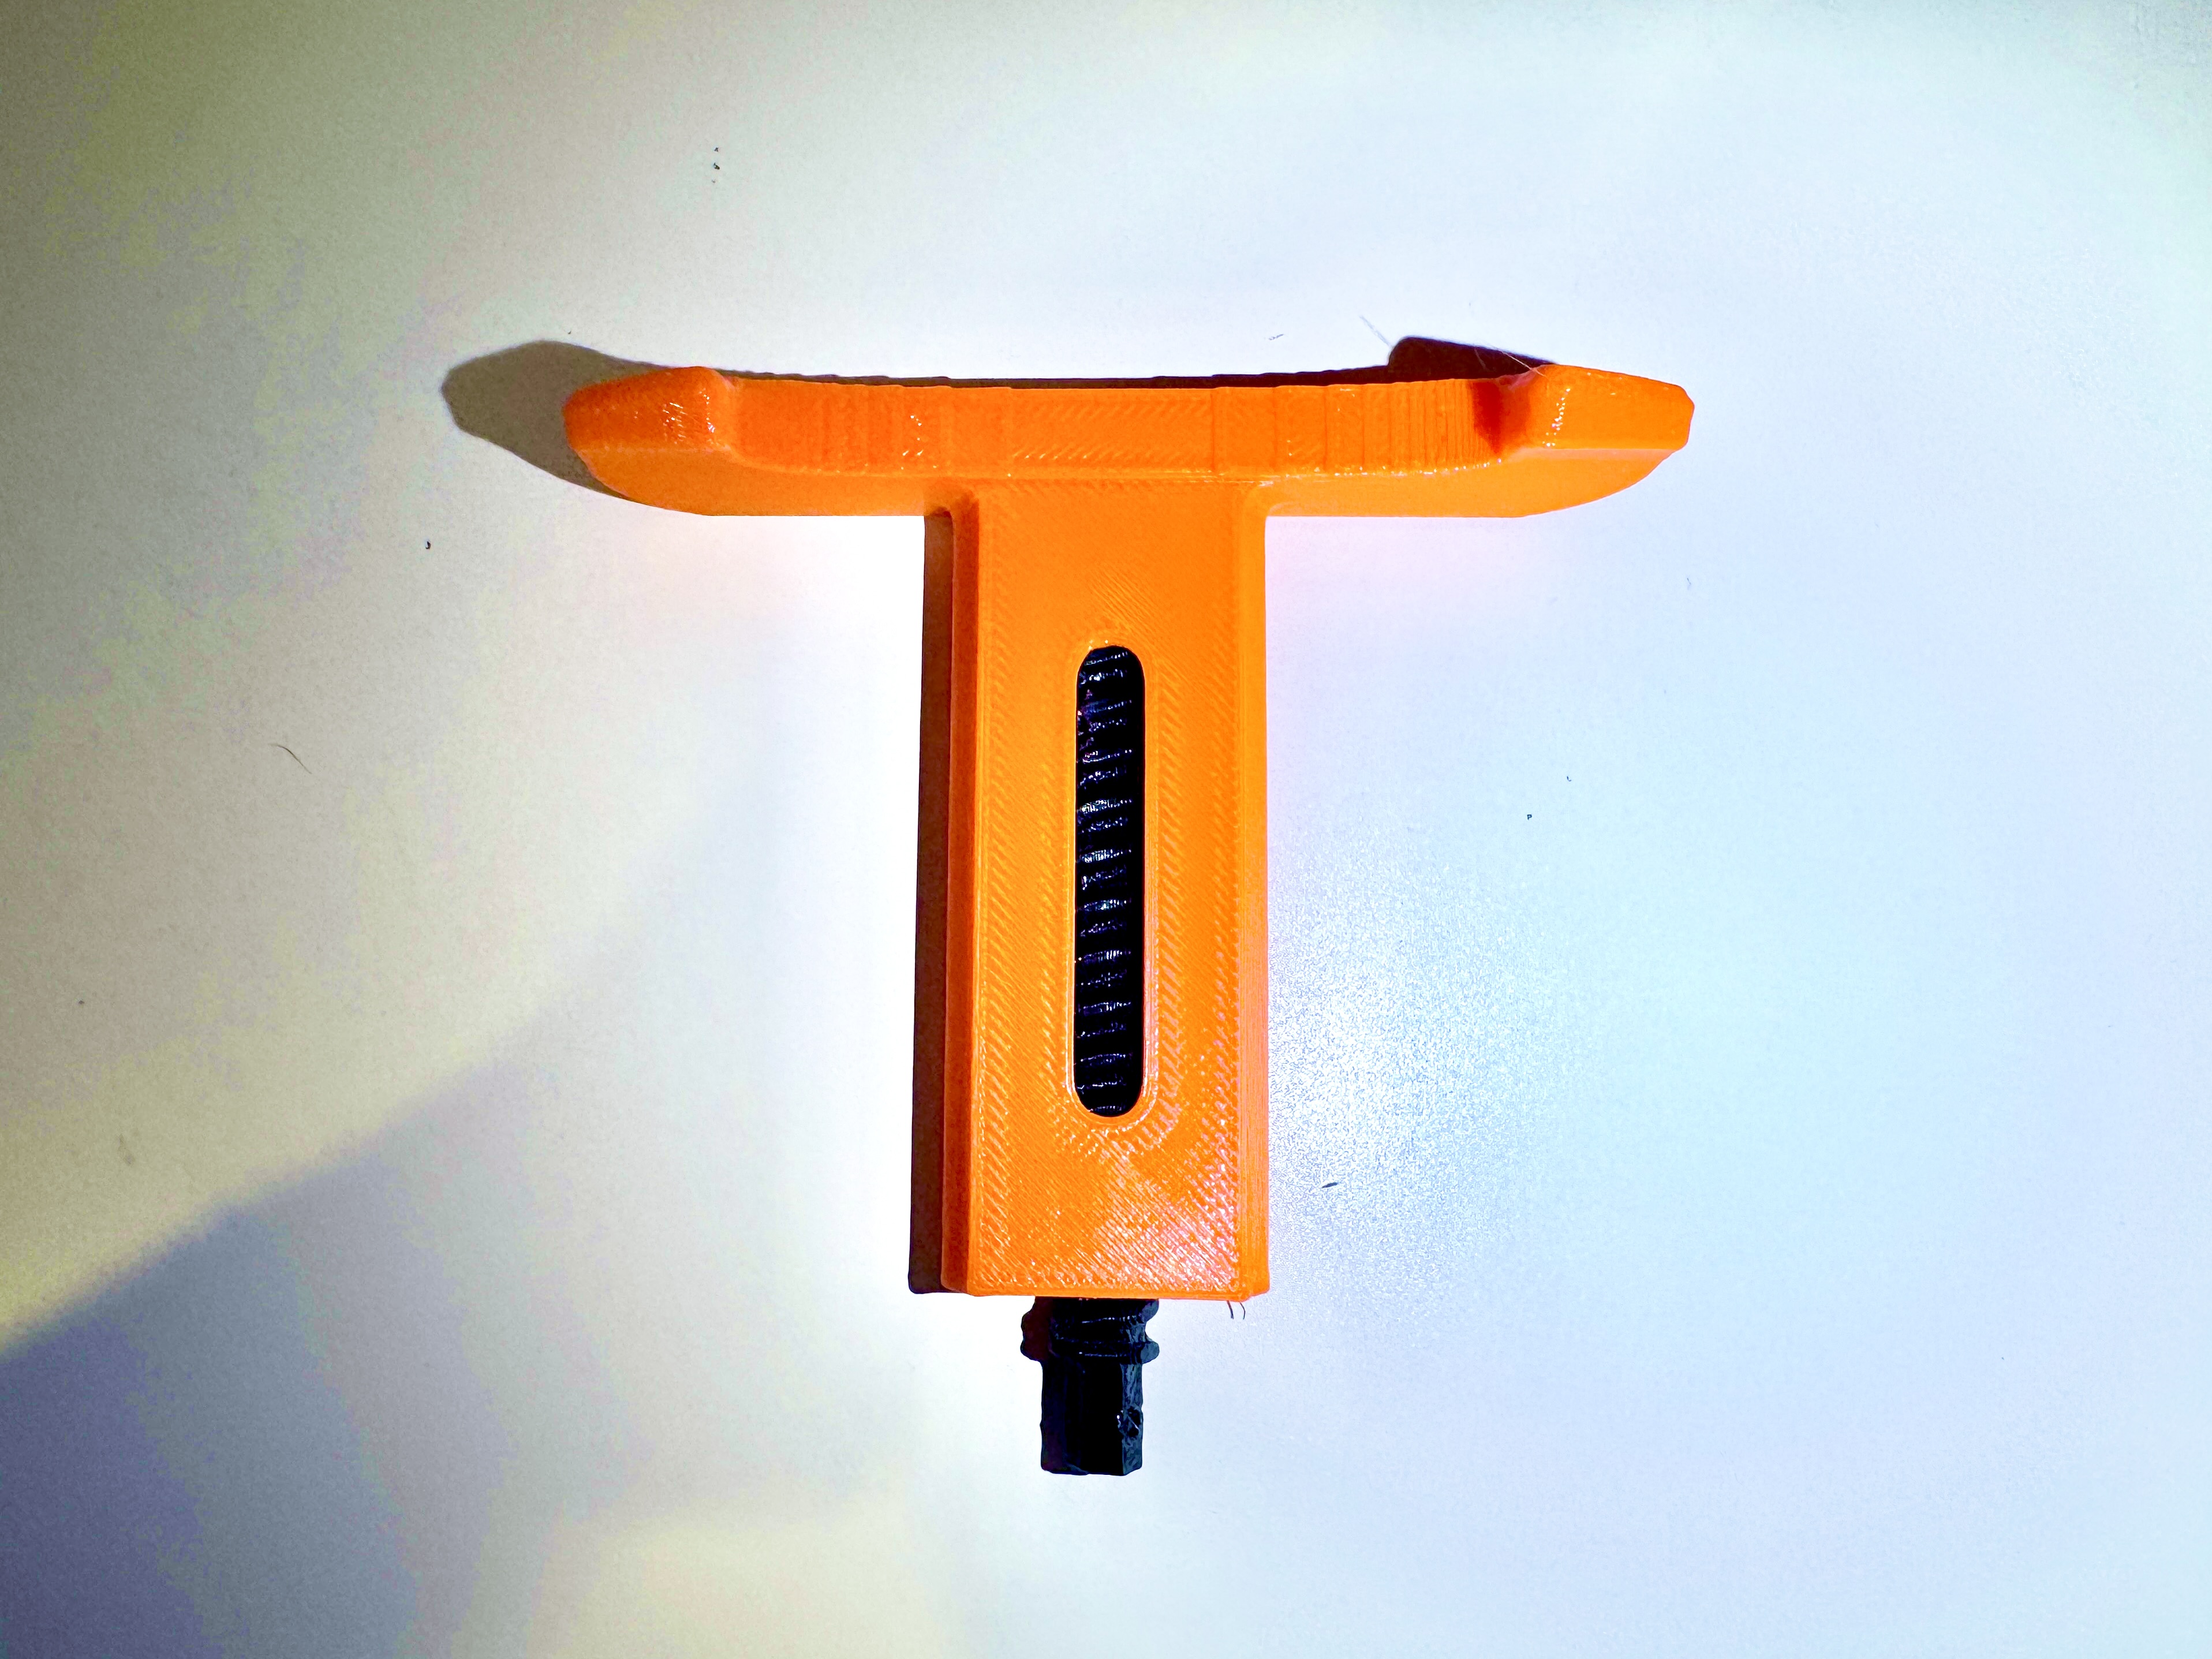
Step 7
Attach the knob
Flip the model over and snap the knob into place. Position the small holes near the end up/down.

Step 8
Attach the screw to the knob
Put a dot of superglue on the hexagonal part of the screw, then insert the Top Rail into the Core. Make sure the phone holder feet are on the correct side!
Once you're confident on the orientation, push the Top Rail all the way down so the screw slides into the knob. The small vertical holes should all line up.

Step 9
Secure the screw in the knob
Insert the 9mm length of filament into the hole in the screw and knob. No need to glue it.
Step 10
Enjoy your Equinox!
Post a make, leave a like, share your new favorite tool! I'm here to improve my designs, so feel free to drop a comment if you have a question or idea!