
Makeup Organizer
Obliczymy ostateczną cenę na podstawie wybranego pliku. Sprawdzisz ją i zaakceptujesz przed płatnością.
Zapisane na tym urządzeniu.
Informacje o modelu
- Źródło
- Printables
- Kategoria
- Organizers
- Licencja
- Creative Commons — Attribution — Noncommercial
Summary Continued:
This organizer features both drawers and floating shelves to easily and accessibly hold various-sized items, dimensioned 24cm x 4.2cm x 14.5cm. My product was created alongside my accountabillibuddies, Anya Yarlagadda and Reagan Wray. Although my partners created separate designs, we were responsible for providing insightful comments on questions we might have about our product.
Lesson Plan and Activity:
This Final Project has no specific constraints, as we were to create a product that interested us and was within our skill level. We had free control over what we were to design, so I chose to create this makeup organizer for my older sister.
Assembly:
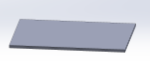
We started off by extruding a rectangle 0.2cm on the top plane. For reference, all the extrudes in this project was 0.2cm.
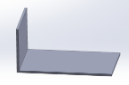
Then, we sketched and extruded a similar rectangle perpendicular to this above shape, to look like this:
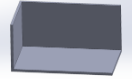
Then, I sketched another rectangle and extruded it to be on the back of this “L” shape so that the new shape would be perpendicular to the base as well as to the new shape created in the previous step.
After that, I created a shape on top of this to be the covering top, over the shape.
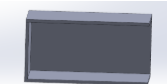
Now, we did the exact same steps to create 2 more figures like the one above.
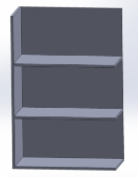
Then, I used the fillet tool to enhance the creation of a face on the other side of this open figure, so then it would look rounded at the sharp edges.

Once this section of the full shape was created, I created more compartments alongside this to the right. I used the tool of extrude and did the same methods for the past compartments, simply with different dimensions.
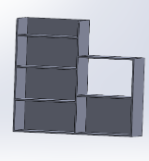
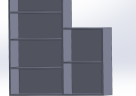
Now, it was time to create the floating shelves by sketching a shape and extruding it outwards so then it was perpendicular to the shape of the walls. I also used the fillet tool to curve the pointy side that stuck out of the design. We created 3 of these, equal distance from each other vertically.
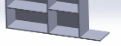
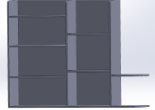
Now, it was time to create the drawers! This was made by extruding a shape inside the first row of compartments on the left, with an x and y padding equal to 0.1cm. This way, the drawer would have the ability to come inwards and outwards, without getting stuck or jammed. Then, we used cut extrude inwards from the top of the shape, so then it would have something to actually hold.
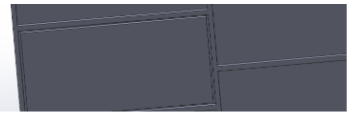
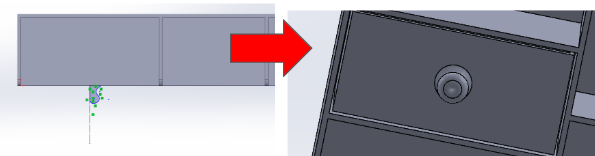
Then, we used the revolve tool by creating a sketch of a knob (2D) so then it would be perpendicular to the drawer coming out.
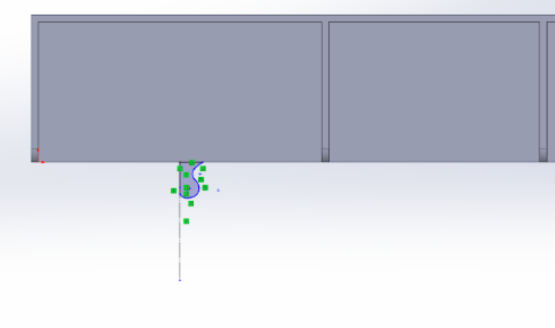
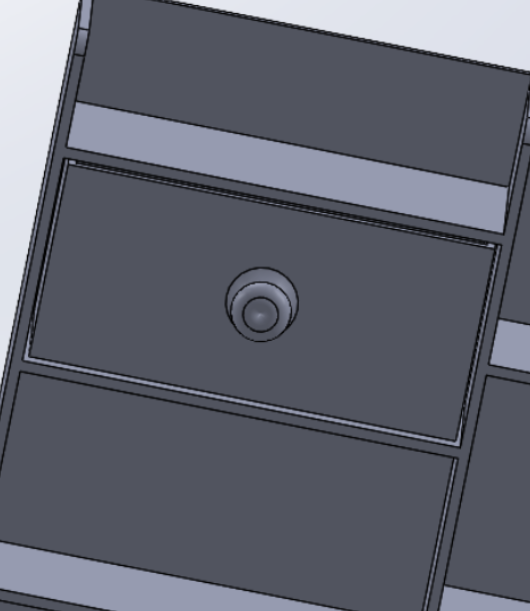
And there you have it! A functional makeup organizer just for you!
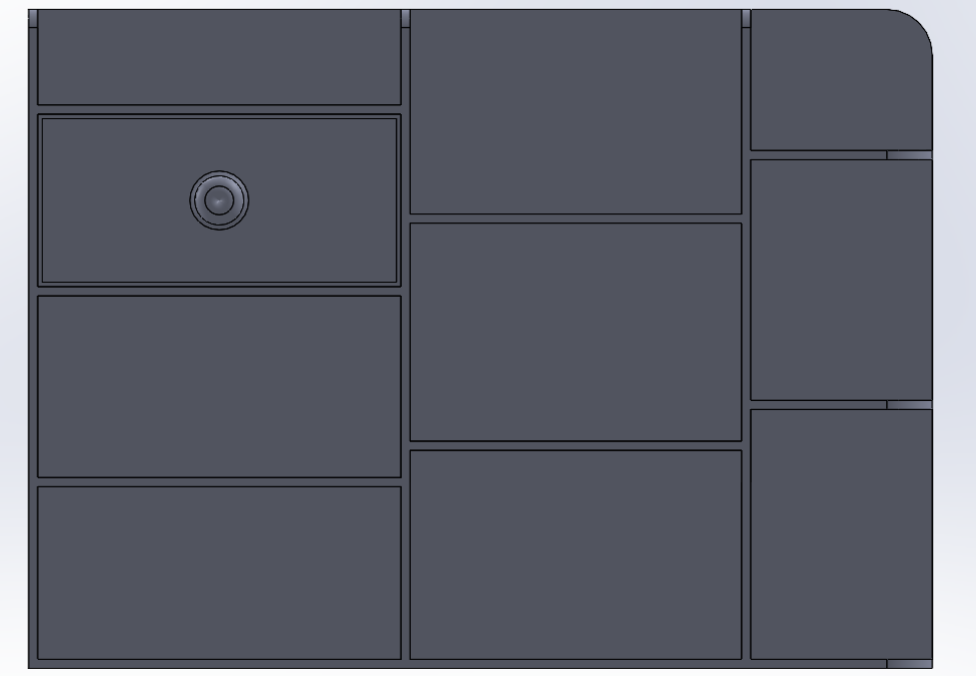
After everything is printed, the only aspect of assembly is to place the separately printed drawers into their respective slots as defined in the SolidWorks model.
Design Choices:
A major change that I had to fix quite a few times in my design was not properly putting the new dimensions over the old ones. For example, in the final image above, you can see there are vertical compartments, but I made a few mistakes lining them up perfectly with no overlaps.
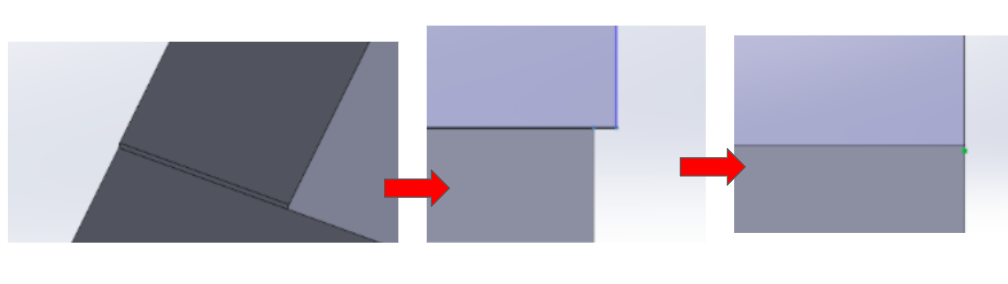
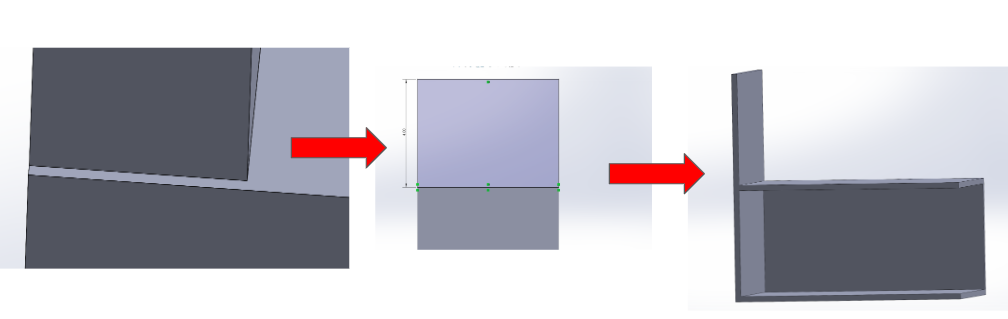
The first image set shows how the dimensions were a little too big to match up perfectly, while the second image set shows how the dimensions were too long so we had to extend it. I used the coincident feature to fix this error. It was minimal but I noticed it as I was zooming into the shape.
Another important change I made to my design was the handle of the drawers. I originally intended to use the loft feature, but I didn't like how the shape was turning our, so I shifted to another approach of using the revolve feature, giving it more of a rounded edge. This was for aesthetic purposes as it just looked better rather than using loft.
The first set of images shows the loft:
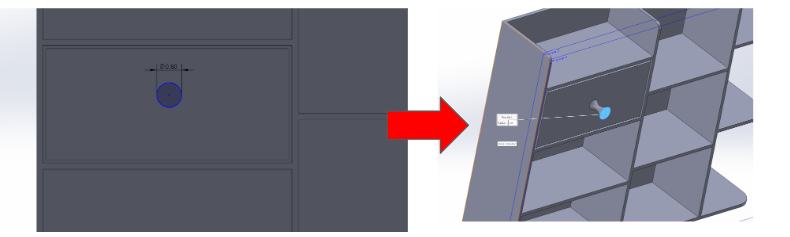
The second set of images shows the revolve:
Overall, I had a lot of fun creating and designing this product, and I hope you will enjoy reading this!
Thank You!