
The Bawkmobile - Chicken Wheelchair
Obliczymy ostateczną cenę na podstawie wybranego pliku. Sprawdzisz ją i zaakceptujesz przed płatnością.
Zapisane na tym urządzeniu.

Parametric wheelchair for birds.
- Ocena
- 0 / 5
- Polubienia
- 54
- Pobrania
- 184
- Wydruki
- 0
- Wyświetlenia
- 2750
- Oceny
- 0
Aktualizacja u źródła:
Informacje o modelu
- Źródło
- Printables
- Kategoria
- Home Medical Tools
- Licencja
- Creative Commons — Attribution — Share Alike
About
This project is dedicated to our late friend Dafgårds Fläskschnitzel, pictured above. (In case you speak Swedish, yes, our chickens have somewhat unorthodox names.)
Know a bird with special needs but can't print this yourself? I'll gladly send parts if you pay production cost and shipping etc if you can't find a cheaper way to have them manufactured.
I don't plan on spending much time improving it unless we need it again but don't hesitate to report issues, suggest improvements or ask questions. Better yet - improve it and upload a remix!
BOM
- 6 M4x20mm bolts
- 4 M4 washers
- 6 M4 threaded inserts
- ~1.5kg PETG
- ~150g TPU
Tools
- 3D printer that understands pause commands
- Soldering iron
- Screwdriver/Allen key
Printed Parts
- 1 Frame
- 1 Stretcher
- 2 Bars
- 2 Side Plates (left and right are identical)
- 4 Wheels
- 4 Axles
The default parameters require a relatively large build volume (290*260*260mm^3). No support needed (I've already added it in CAD). My TPU is 60D or about 100A so you may want to change some parameters if yours differs a lot in hardness. Other than Tires and Hubs, it doesn't matter which order you print things in.
Frame and Side Plates (PETG)
At least 1.2mm walls, 10% infill. I used a .6mm nozzle but you can probably go bigger. For the side plates, I'd recommend printing the feather and lines in a separate color from the main part. They are supposed to be only one layer thick, so this will work on a single color printer as well, using a manual color change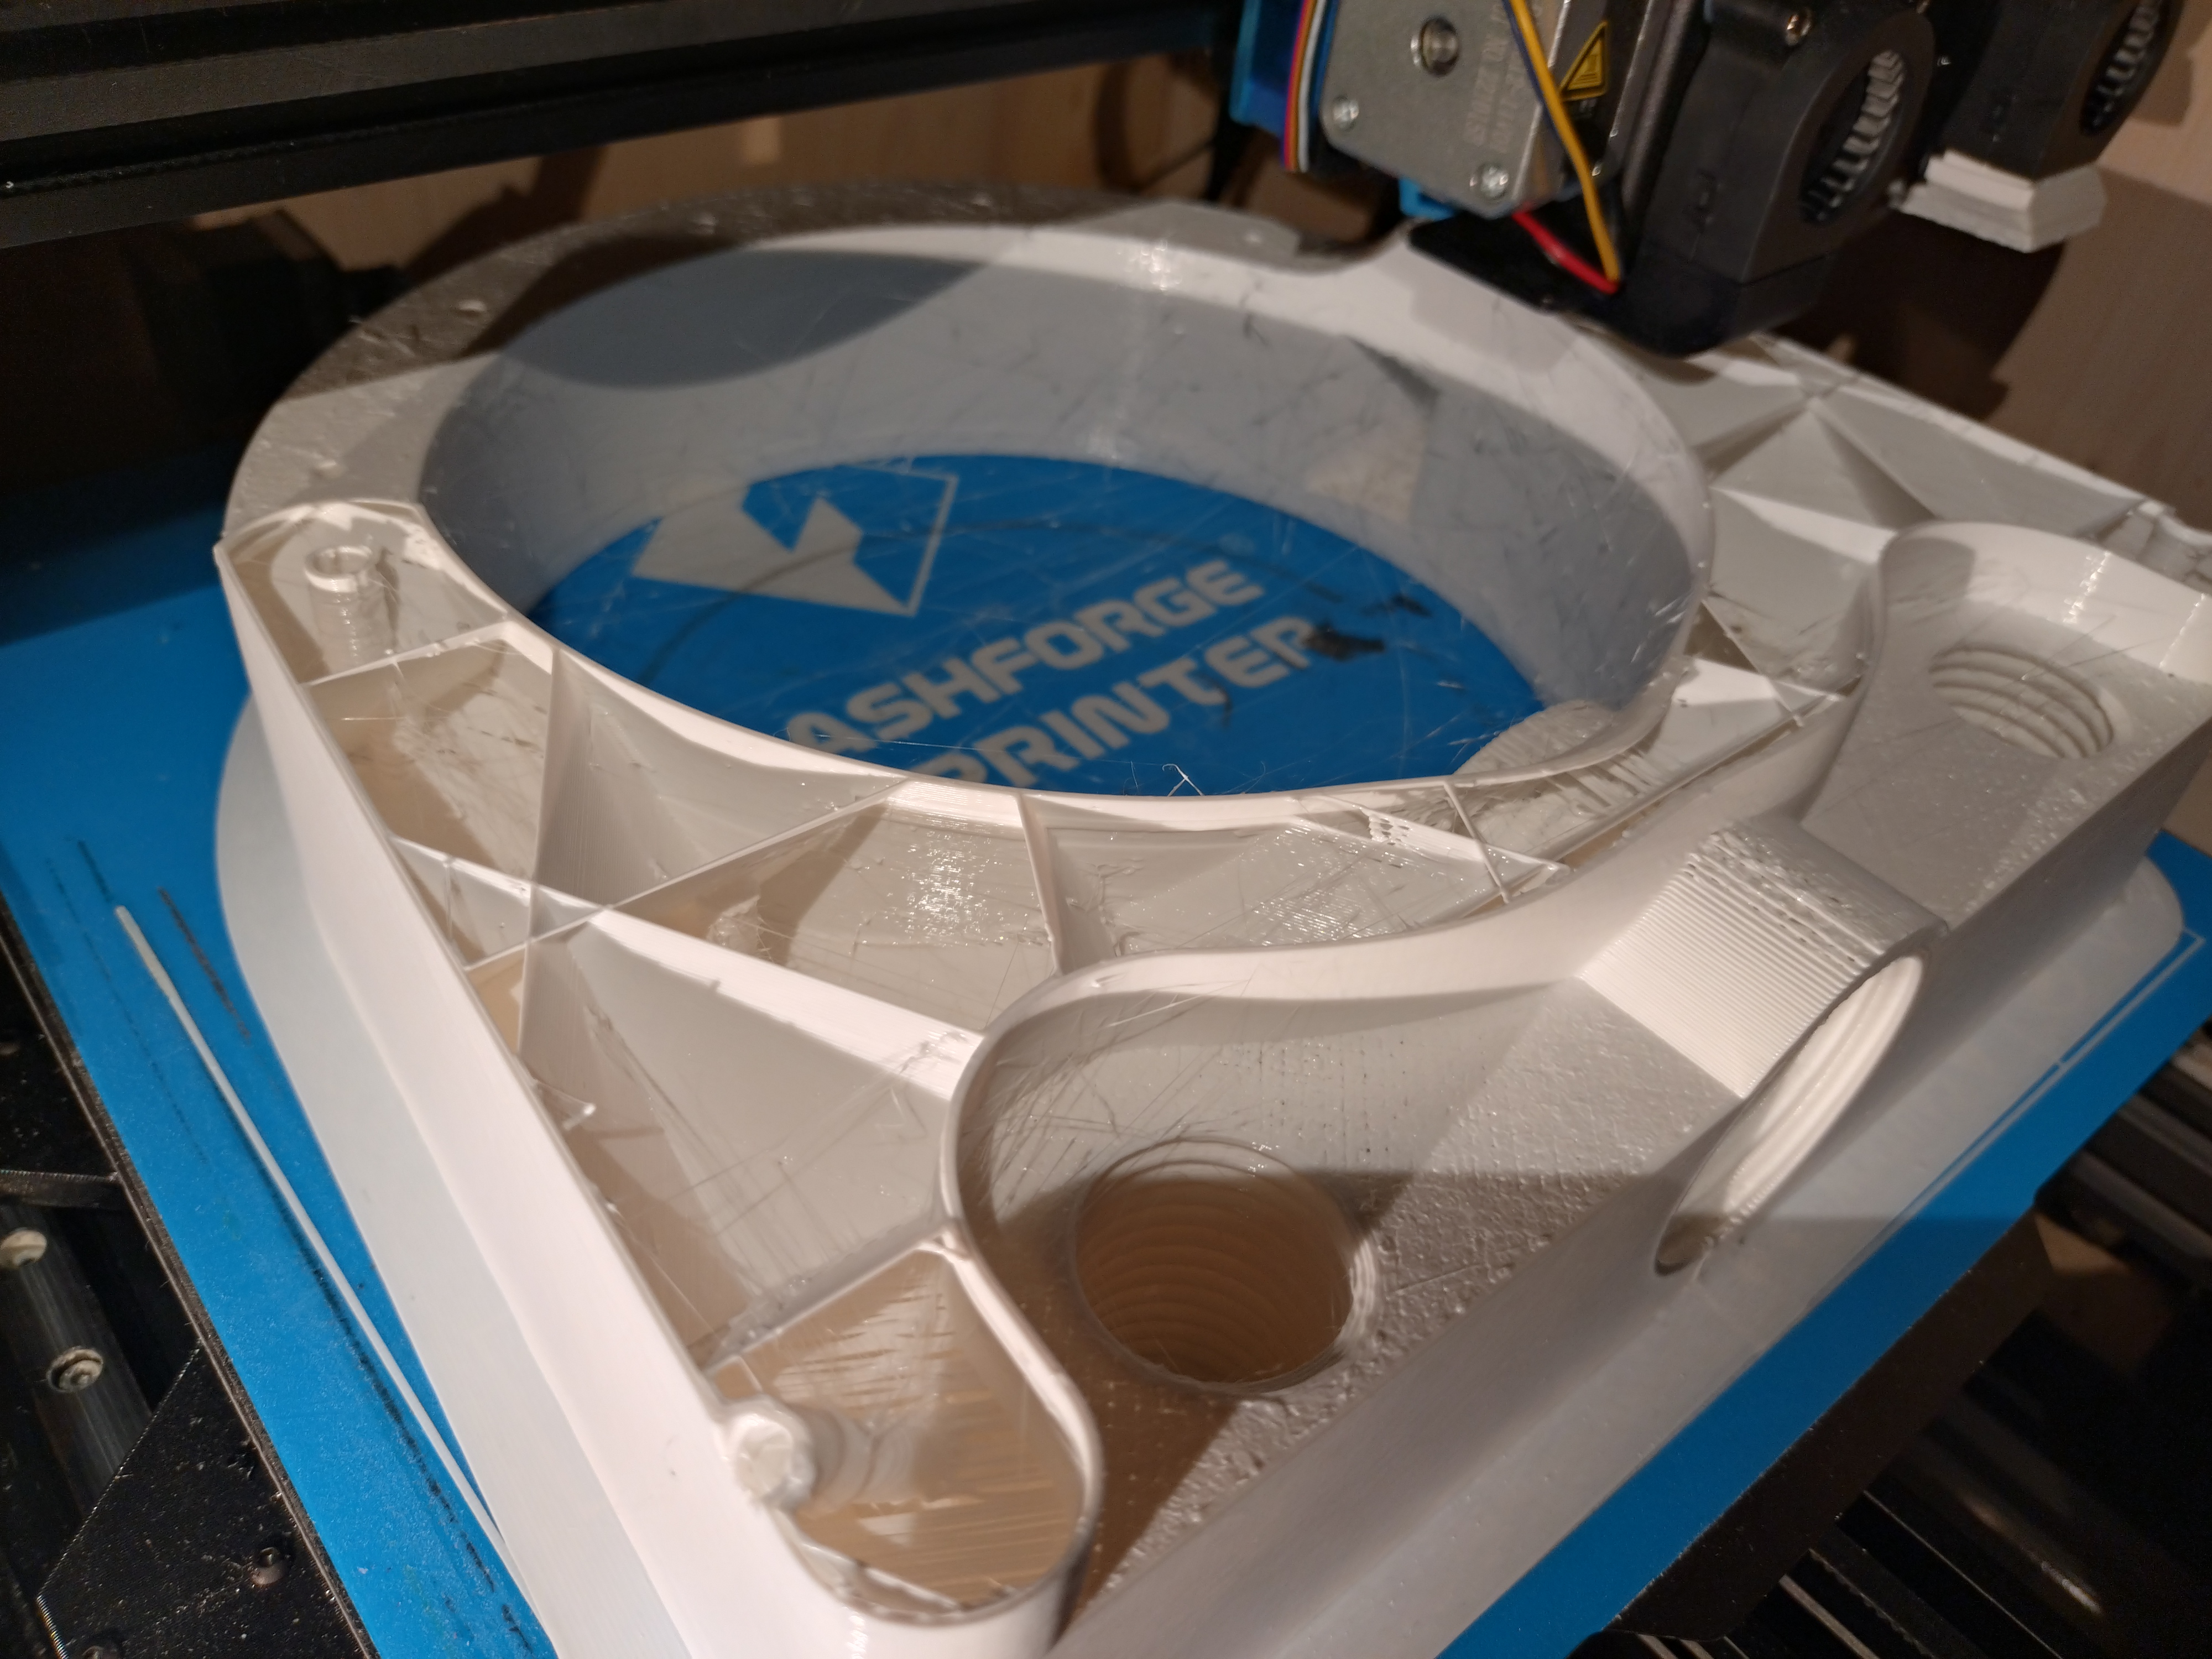
Stretcher (TPU)
In PrusaSlicer, right click the object → Split → To parts. Select the middle part in the tree, right click → Layers and Perimeters. Remove the Perimeters option and set both solid layers options to 0.
Bars and Axles (PETG)
Print solid.
Tires (TPU)
10% infill, 2 perimeters, no solid layers. They turned out pretty soft, which I suppose is good for outdoor use and shouldn't be too bad indoors.
Hubs (PETG)
5 perimeters, 10% infill. Add a pause right before the caps to attach tires.
Build
It doesn't matter which part you build first.
Frame
- Remove support material from the track and the leg hole.

- Add threaded inserts.
Side Plates
- Cut through the support floors so you can reach the insert holes. Use an axle as a guide if you're not sure where the hole is. As you can see, it doesn't have to be pretty as long as the Axles fit.

- Add inserts.

- Insert axles into their holes. Attach wheels to axles using M4x20mm bolts and washers.

- Slide Plates in place on the Frame and lock them at the same height using one m4x20mm bolt each..
Stretcher
- Stick the tabs on the Stretcher into the mounting holes in the Frame. Lock the Stretcher in place using the Bars.

Untested Improvements
I've changed a few things after printing but I feel confident that they are unambiguously better.
- Two Leg Holes - The new Stretcher should support your bird better.
- Slightly Wider Stretcher - This is just a parameter.
- Increased Tab Spacing on Stretcher - It barely reached all the way so I've adjusted it ever so slightly.
- Height Markers - Should make adjustment more convenient.
- Feather - I scanned one of Fläskschnitzel's feathers and added it to the side plates.
Issues/Requests
Want to help? These are a great place to start.
- Clean Fusion File - I made it in a bit of a rush and have cleaned it up a bunch but it could certainly use some more love.
- Parameters - The stretcher could use some more parameters so you don't have to open the sketch.
- Seat Belt - Maybe an attachment for the threaded holes in the Side Plates to help keep energetic birds in place?
- Better Height Lock - The height adjustment mechanism is pretty inconvenient. Not a big deal unless you change height a lot.
Design Guidelines
They are just suggestions so I won't be mad if you ignore them.
- Keep it parametric. Accessories will be more useful if they can adapt to different sizes and so on.
- Preserve Fläskschnitzel's feather, as long as it doesn't compromise functionality or printability. Add it wherever it looks good. Feel free to transform it as long as you preserve its shape and aspect ratio.