
Model of Marcel Duchamp's With Hidden Noise by williamCromar
Obliczymy ostateczną cenę na podstawie wybranego pliku. Sprawdzisz ją i zaakceptujesz przed płatnością.
Zapisane na tym urządzeniu.
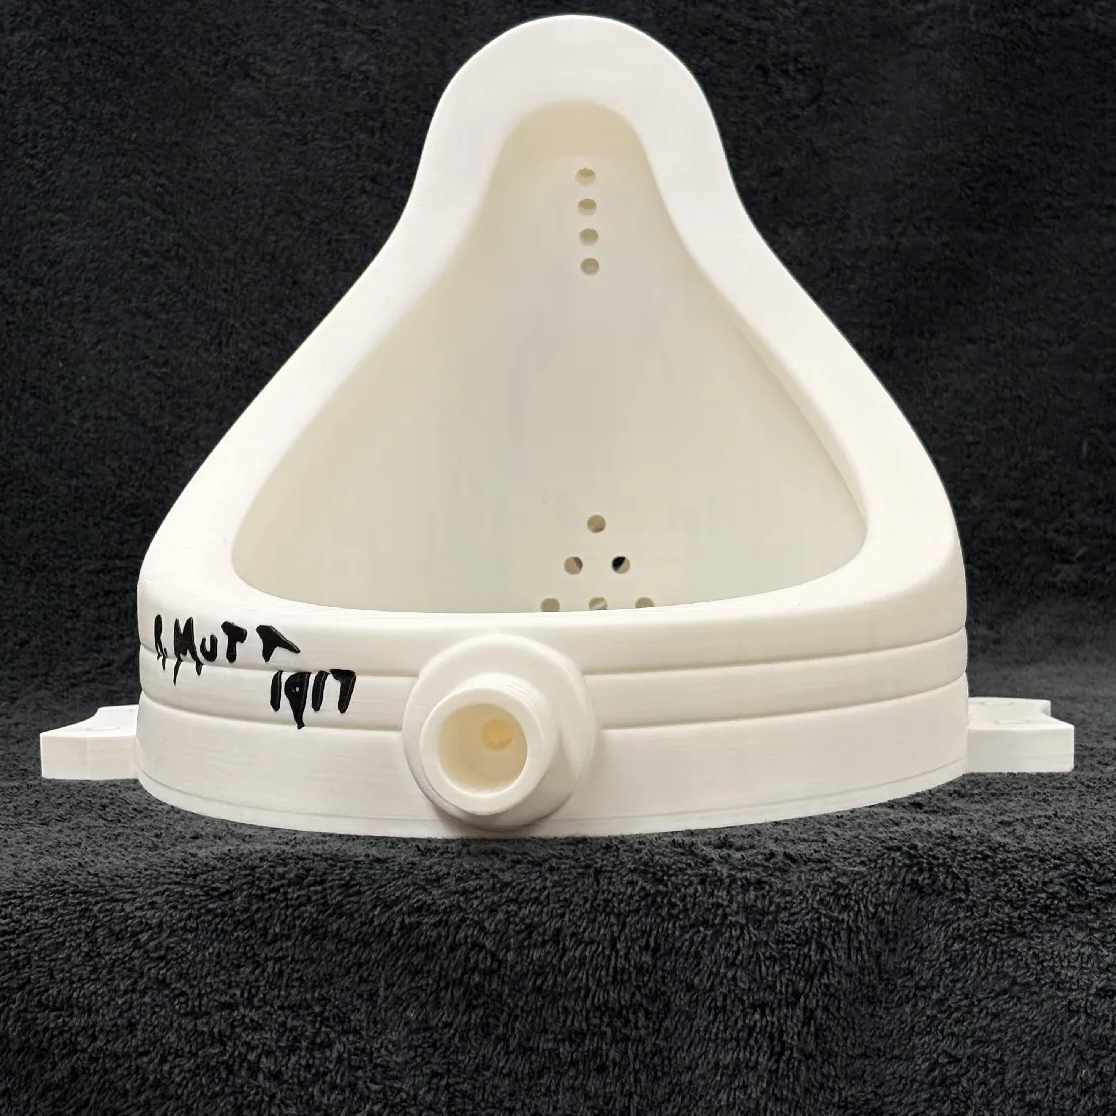
Part of Prêt à Faire, an independent transformative performance supported by Penn State Abington. CC BY-NC-SA 4.0.
- Ocena
- 0 / 5
- Polubienia
- 2
- Pobrania
- 8
- Wydruki
- 0
- Wyświetlenia
- 81
- Oceny
- 0
Aktualizacja u źródła:
Informacje o modelu
- Źródło
- Printables
- Kategoria
- Sculptures
- Licencja
- Creative Commons — Attribution — Share Alike
This open-access reference model is one of the collection Prêt à Faire: Printable Readymade Models. As a small object already at full-scale, there is no premium version available, but to explore full-scale geometric variations or untextured component archives operating under a separate commercial license framework as part of this broader marketplace critique, view the premium tiers associated with this collection.
1 | Concept & Provenance
This asset is an independent, transformative performance by williamCromar exploring distributed culture through the lens of public-domain source geometry. The historical referent—the 1916 assisted Readymade With Hidden Noise (originally titled À bruit secret)—was built as an intentional collaboration. Duchamp invited his close friend and patron Walter Arensberg to secretly place an unknown object inside a ball of twine before it was securely bolted between two engraved brass plates. Even Duchamp did not know what was inside. The object rattled when picked up, inviting spectators to rattle the enclosure while attempting to untangle the nonsense word puzzles stamped into the upper and lower surfaces.
Explore the historical research context of this study at:
To support an instructional research initiative funded by a faculty grant from Penn State Abington, I modeled this geometry from the ground up using public historical data. Rather than copying any proprietary museum scans, this digital study cross-references the public dimensional layouts of the 1916 original (housed at the Philadelphia Museum of Art) and the 1964 Galerie Schwarz variant (housed at LACMA):
 Philadelphia Art Museum, |  LACMA, |
In the spirit of the original work's collaborative DNA, this digital asset intentionally incorporates open-source models generated by other creators in the maker community, operating natively as a platform remix. The baseline mechanical fasteners are adapted from Ben's parametric hardware files, while the underlying twine structure is developed from a spatial scan by ptira. See the remix attribution notes for direct creator links.
Other contemporary practitioners and scholars who have engaged with this specific visual motif include Elliot Hundley, who incorporated the icon into his multi-media canvas, and researchers Kurt von Meier and Tamara Blanken, who executed physical reconstructions to analyze the acoustics of the hidden chamber.
 Elliott Hundley, the lightning bride, |  Kurt von Meier and Tamara Blanke unveil the reproduction at an event, 2018 |
|---|
2 | Fabrication & Slicing Notes
Printing this model at full size is straightforward and can be completed on most multi-material or tool-changing systems.
The Plates & Inscription Lettering: The raised lettering lines can be easily selected using your slicer's paint-on tool. For an authentic look, paint the text paths using a clean white or ivory filament against a dark, aged-brass colored polymer body. The plates are drawn slightly thicker than the historical referent; early testing revealed that thinner plates lacked the structural stiffness required to compress the assembly without bowing, even at high infill densities. Slicing with 100% infill is highly effective, though a standard 15% infill configuration works fine. For the best surface finish, set your slicer to a single top and bottom perimeter and use the Hilbert Curve infill pattern. It increases print times but produces a stunning, high-density metallic look right off the bed. The plates include a recessed channel to receive the internal stabilizers; apply localized paint-on support blocks inside these recesses, which can be easily pried clear in post-production.
The Mechanical Fasteners: The nuts and bolts are customized adaptations of Ben's open-source hardware models. While harder polymers like PETG are typically recommended for printed threads, finding specialized metallic silk tones in those materials can be difficult. For our prototypes, an aged brass silk PLA worked beautifully; because the structural load on these components is light, the silk PLA holds up perfectly. To ensure the nuts turn freely without binding or over-stressing the plastic, slice the Nut with a non-uniform scaling factor of 105% in the X and Y directions, while keeping the Z height locked at 100%. Because exact machine tolerances vary, you may want to run a quick test slice between 102% and 108%. The nuts may require a localized brim depending on your bed adhesion. The long bolts print smoothly vertically; use a generous brim and apply selective paint-on supports along the unthreaded sections where they won't interfere with the travel of the nut. A well-calibrated machine and dry filament are essential.
The Twine Ball: Developed as a modified adaptation of ptira's open-access model, scaled and flattened along the upper and lower contact boundaries. To interpret the rough, organic feel of fiber cordage, apply an aggressive Fuzzy Skin modifier in your slicer. Slicing a matte-finish wood-infused PLA with these settings produces a remarkably lifelike surface.
Print assembly parts in the following quantities:
Nuts and bolts: Print 4 each
Bumpers: Print 2 each
All other parts: Print 1 each
Recommended materials I used:
Amolen aged brass silk PLA for all metallic parts
Prusament Pearl White PLA blend for the lettering
Sunlu maple color wood PLA for twine
My general settings:
Print Settings: 0.15mm Structural for a smooth perimeter finish on the metallic parts, 0.2mm Structural for the twine
Filament: Prusament PLA, Generic PLA, and Generic Silk PLA as appropriate
Printer: Prusa MK3/MMU2
Supports: Paint-on as seen in the illustration
Infill: 100% for metallic parts, 15% for twine
Brim: None, though I recommend adding a custom brim to the outside of the nuts
Advanced settings:
Layers and perimeters: all defaults
Infill: Gyroid fill pattern, Hilber Curve top and bottom fill pattern for the plates.
Support material: Organic
Stats for the print:
Total material used:
~138 grams aged brass
~0.3 grams white
~98 grams maple wood
Total time: ~17 hours 45 minutes
Total number of build plates: 4 (1 for fasteners, 1 each for plates, 1 for twine ball)
ASSEMBLY NOTES
Mechanically speaking, assembly should be straightforward to understand.
There is an optional “bumper” piece that should hold the twine ball in place if you 1) can't get a tight fit and 2) don't want to use glue to hold it in. This bumper ensures the ball doesn't slip out. Super-glue each bumper into the recess provided on each plate.
Place the bolts in the top plate as seen in the images.
Place the bottom plate on the bolts as seen in the images. Be mindful of orientation.
Work the screws onto the bolts:
I successfully tested Ben's threads with his specific instructions, and they work well enough, but see PRINTING NOTES regarding non-uniform scaling of the nuts.
When first attaching the nut to the threads, there is some resistance, but I found working the nut up and back down a few times right at the beginning of the bolt threads worked well to prime the nut for its ultimate journey up the bolt.
Bring the nuts up the first inch or so of each bolt, leaving enough room for the twine ball.
The most rewarding part of this build is finding a friend or collaborator to select the secret hidden object to place inside the twine cavity before you tighten the enclosure. To preserve the spirit of Duchamp's original performance, have them place the object inside while you look away. Only that person should know what is hidden inside the chamber. The object should be small enough to rattle freely, but substantial enough to make a clear sound when shaken.
Tighten the nuts so that the twine is secure, but not so tight that the plates visibly deflect. There should be no need for an adhesive to secure the nuts.
4 | Presentation Notes
Duchamp was deeply critical of artwork that was purely "retinal"—meant only to be looked at from a distance. With Hidden Noise was explicitly designed to prompt a haptic and acoustic performance, inviting the spectator to lift it, shake it, and turn it over to read the text. Modern museums lock this experience away behind heavy glass cases. Printing this reference model restores that interactive framework. Place your completed fabrication on a table or pedestal that actively invites visitors to pick it up, turn it over, and shake it.
5 | Change Log
DEC 9 2025: Integrated documented historical artist precedents, added universal STEP files, and uploaded an exploded-view assembly layout.
27 NOV 2025: Revised project documentation for layout clarity and consistent formatting across the Prêt à Faire collection. Uploaded photographic documentation of the completed multi-material reference fabrication.
2 OCT 2025: Executed initial structural prototyping loops in white PETG to validate mechanical fits. All thread clearances and component joints aligned smoothly without requiring model revisions. Integrated recommended bed orientations and updated technical text.
Disclaimer
Prêt à Faire is an autonomous artistic project, scholarly reference work, and institutional critique by williamCromar, supported by a faculty grant from Penn State Abington with fabrication assistance from the Abington MakerSpace. This project is entirely independent and maintains no formal affiliation, endorsement, or sponsorship with Association Marcel Duchamp, the Estate of Marcel Duchamp, ARS, ADAGP, or any curating museum. When referencing or sharing this work, users must maintain a clear distinction in authorship and nomenclature from the historical referent. Cite this asset as: Model of Marcel Duchamp’s [Object Name] by williamCromar. Basic models are available under a CC BY-NC-SA 4.0 license; premium tiers operate under a separate commercial framework. For full conceptual and legal text, visit https://sites.psu.edu/pretafaire/disclaimer-and-licensing/