
Rails on Creality Ender-3 V3 SE & KE
Obliczymy ostateczną cenę na podstawie wybranego pliku. Sprawdzisz ją i zaakceptujesz przed płatnością.
Zapisane na tym urządzeniu.

Mounting the rails on the Creality Ender-3 V3 SE & KE
- Ocena
- 5 / 5
- Polubienia
- 111
- Pobrania
- 298
- Wydruki
- 3
- Wyświetlenia
- 3083
- Oceny
- 3
Aktualizacja u źródła:
Informacje o modelu
- Źródło
- Printables
- Kategoria
- Creality Parts & Upgrades
- Licencja
- Creative Commons — Attribution — Noncommercial
For the conversion you will need:
| Size | How many | What to replace it with |
Screw (DIN 912)  | M3x25mm | 4 pieces |   |
Screw (DIN 7991)  | M3x8mm | 8 pieces |  |
Hexagon nut (DIN 934)  | M3 | 8 pieces |
 |
Rail with block assembled (MGN12H)  | 300mm length | 2 pieces | |
Front and rear mount  |
| ||
Adapters for mounting the bed frame  |
| ||
Before assembly, remove sharp edges and corners from the ends of the rails. Use sandpaper or a grinder.

_______________________________________________________________________________________________________________________________

Insert the rails into the slots on the front and rear mounts. They should fit very tightly.

Insert the nuts into the adapters. If they fall out, you can glue them on.

Install the adapters onto the blocks using M3x8mm screws. The adapters are the same (there is no difference between left and right).


Remove bed. There is no need to remove the belt.
Remove linear rods. Two screws in the rear.
Remove the two front screws on the motor.

Install the rear mount first.

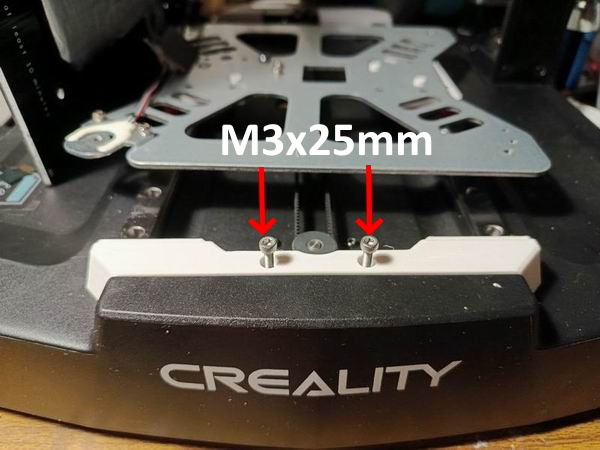
Then install the front mount and secure with M3x25mm screws.
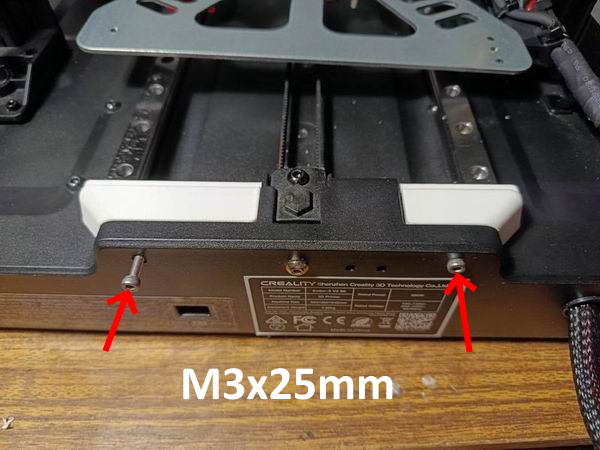
Secure rear mount with M3x25mm screws.
Install the bed frame and use the factory M3x6mm screws. Do not tighten the screws completely!
Move the bed forward until both blocks rest against the front mount. Tighten the screws in order, according to the numbers in the photo.

Mount the prtouch PCB, use the factory 2mm self tappers.
Install the bed.
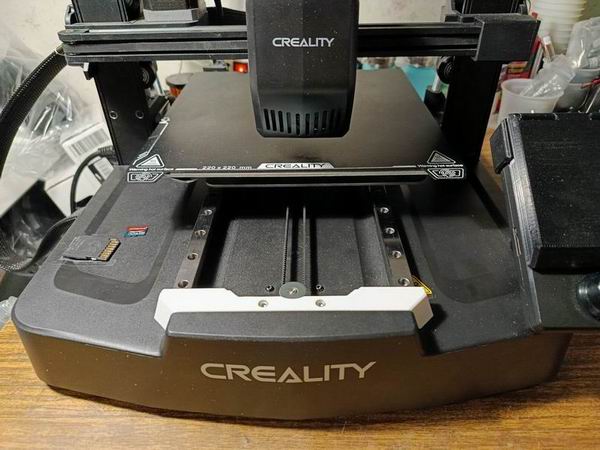
https://3dtoday.ru/blogs/chiaka/perevod-stola-creality-ender-3-v3-seke-na-relsy