
Apartment Number Plate Customizable OPENSCAD
Obliczymy ostateczną cenę na podstawie wybranego pliku. Sprawdzisz ją i zaakceptujesz przed płatnością.
Zapisane na tym urządzeniu.

Apartment Number Plate Customizable in open and edit in OPENSCAD, export to STL for 3D printing
- Ocena
- 0 / 5
- Polubienia
- 1
- Pobrania
- 8
- Wydruki
- 0
- Wyświetlenia
- 41
- Oceny
- 0
Aktualizacja u źródła:
Informacje o modelu
- Źródło
- Printables
- Kategoria
- Home Decor
- Licencja
- Creative Commons — Public Domain
Apartment Number Plate Customizable OPENSCAD
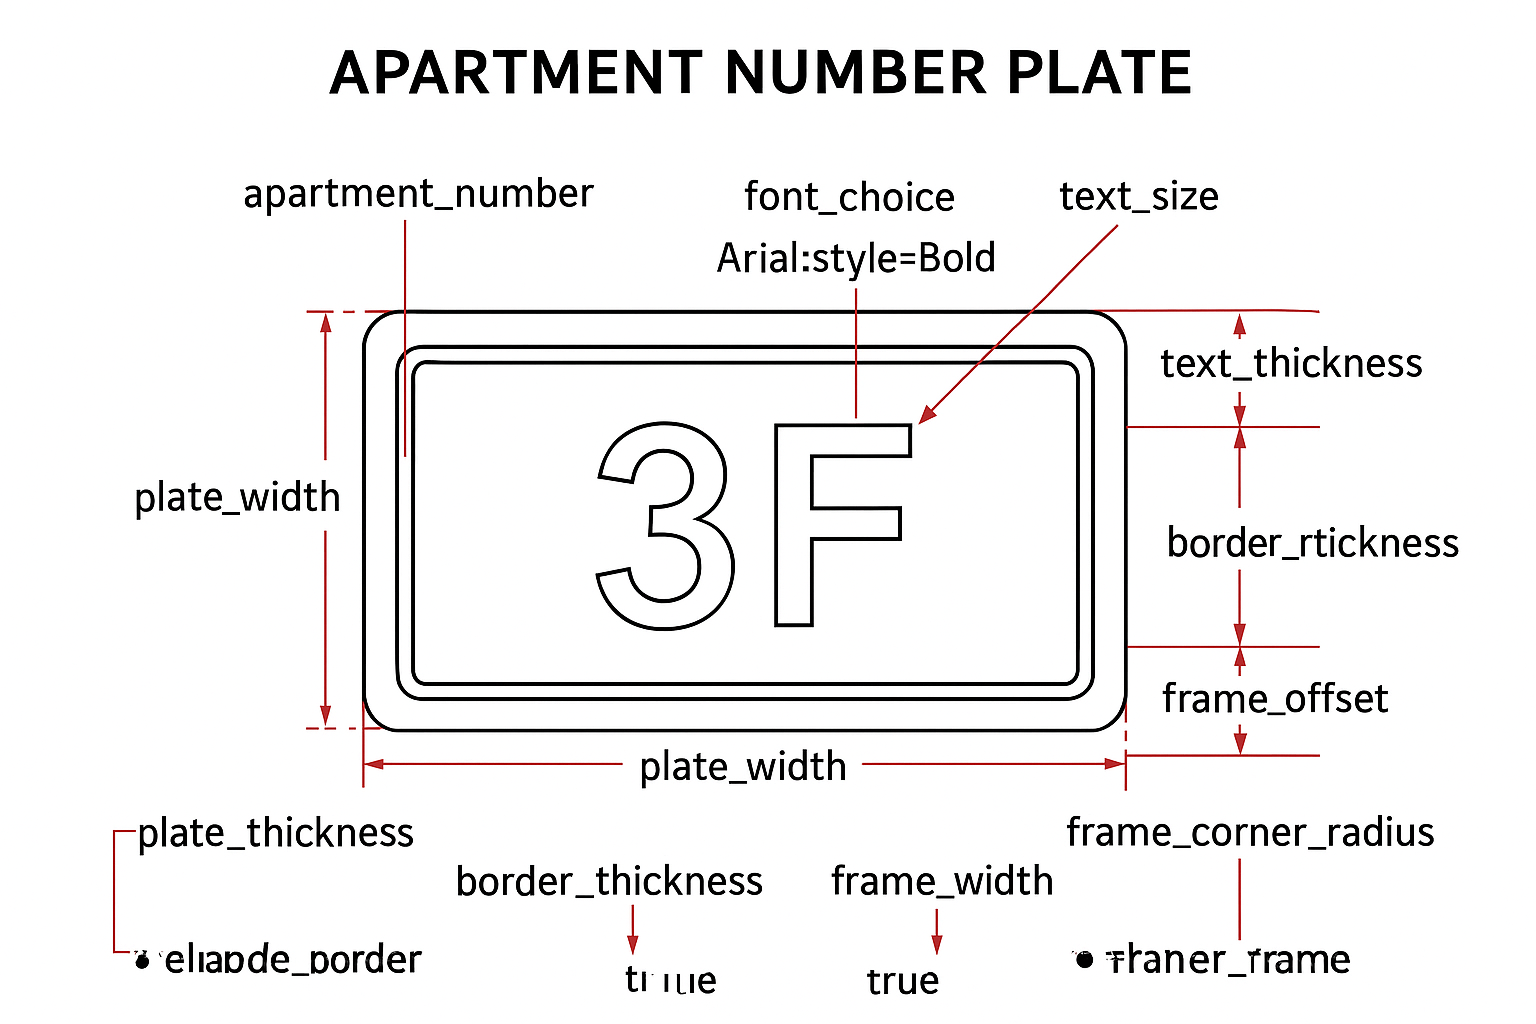
This OpenSCAD script generates a customizable apartment number plate with the following features:
- Base Plate
- Rectangular or square plate with rounded corners.
- Thickness, width, height, and corner radius are customizable.
- Rectangular or square plate with rounded corners.
- Embossed Apartment Number
- Customizable font, size, and extrusion height.
- Centered automatically on the plate.
- Customizable font, size, and extrusion height.
- Optional Embossed Border
- Thin raised line border around the plate.
- Fully customizable: toggle on/off, thickness, width, distance from plate edge, and corner radius.
- Thin raised line border around the plate.
- Optional Embossed Frame
- Another raised frame line around the plate.
- Fully customizable: toggle on/off, thickness, width, distance from edge, and corner radius.
- Another raised frame line around the plate.
- Rounded Corners
- Both border and frame can have rounded corners to match the plate, giving a professional 3D-print-ready appearance.
- Both border and frame can have rounded corners to match the plate, giving a professional 3D-print-ready appearance.
How to Use the Script
1. Open OpenSCAD
- Make sure you have OpenSCAD installed (https://www.openscad.org).
- Open a new file and paste the full script.
2. Set Your Apartment Number
apartment_number = "3F"; // Replace with your number
3. Adjust Plate Settings
plate_width = 40; // Width of the plate
plate_height = 25; // Height of the plate
plate_thickness = 3; // Thickness of the plate
corner_radius = 3; // Rounded corner radius
4. Adjust Text Settings
font_choice = "Arial:style=Bold"; // Font type
text_size = 12; // Text height
text_thickness = 2; // Text extrusion
5. Optional Border Settings
enable_border = true; // Set false to remove border
border_thickness = 1; // Height of border above plate
border_offset = 1.5; // Distance from plate edge
border_width = 0.8; // Thickness of border line
border_corner_radius = 2; // Rounded corners of border
6. Optional Frame Settings
enable_frame = true; // Set false to remove frame
frame_thickness = 1; // Height of frame above plate
frame_offset = 0.5; // Distance from plate edge
frame_width = 2; // Thickness of frame line
frame_corner_radius = 2; // Rounded corners of frame
7. Render the Model
- Press F5 to preview.
- Press F6 to perform a full render.
8. Export for 3D Printing
- After rendering, go to File → Export → Export as STL.
- Use the STL file for 3D printing.
Notes
- The border and frame are independent; you can enable either or both.
- All dimensions are fully parametric, so you can scale for different sizes of plates.
- Corner radius should be smaller than half of plate height/width to avoid geometry errors.
Created by CandiMods Development with the help of CHATGPT