
Apartment Number Plate Customizable OPENSCAD
We calculate the final price from your selected file. You review and accept it before payment.
Saved on this device.

Apartment Number Plate Customizable in open and edit in OPENSCAD, export to STL for 3D printing
- Rating
- 0 / 5
- Likes
- 1
- Downloads
- 8
- Makes
- 0
- Views
- 41
- Reviews
- 0
Updated at source:
Model information
- Source
- Printables
- Category
- Home Decor
- License
- Creative Commons — Public Domain
Apartment Number Plate Customizable OPENSCAD
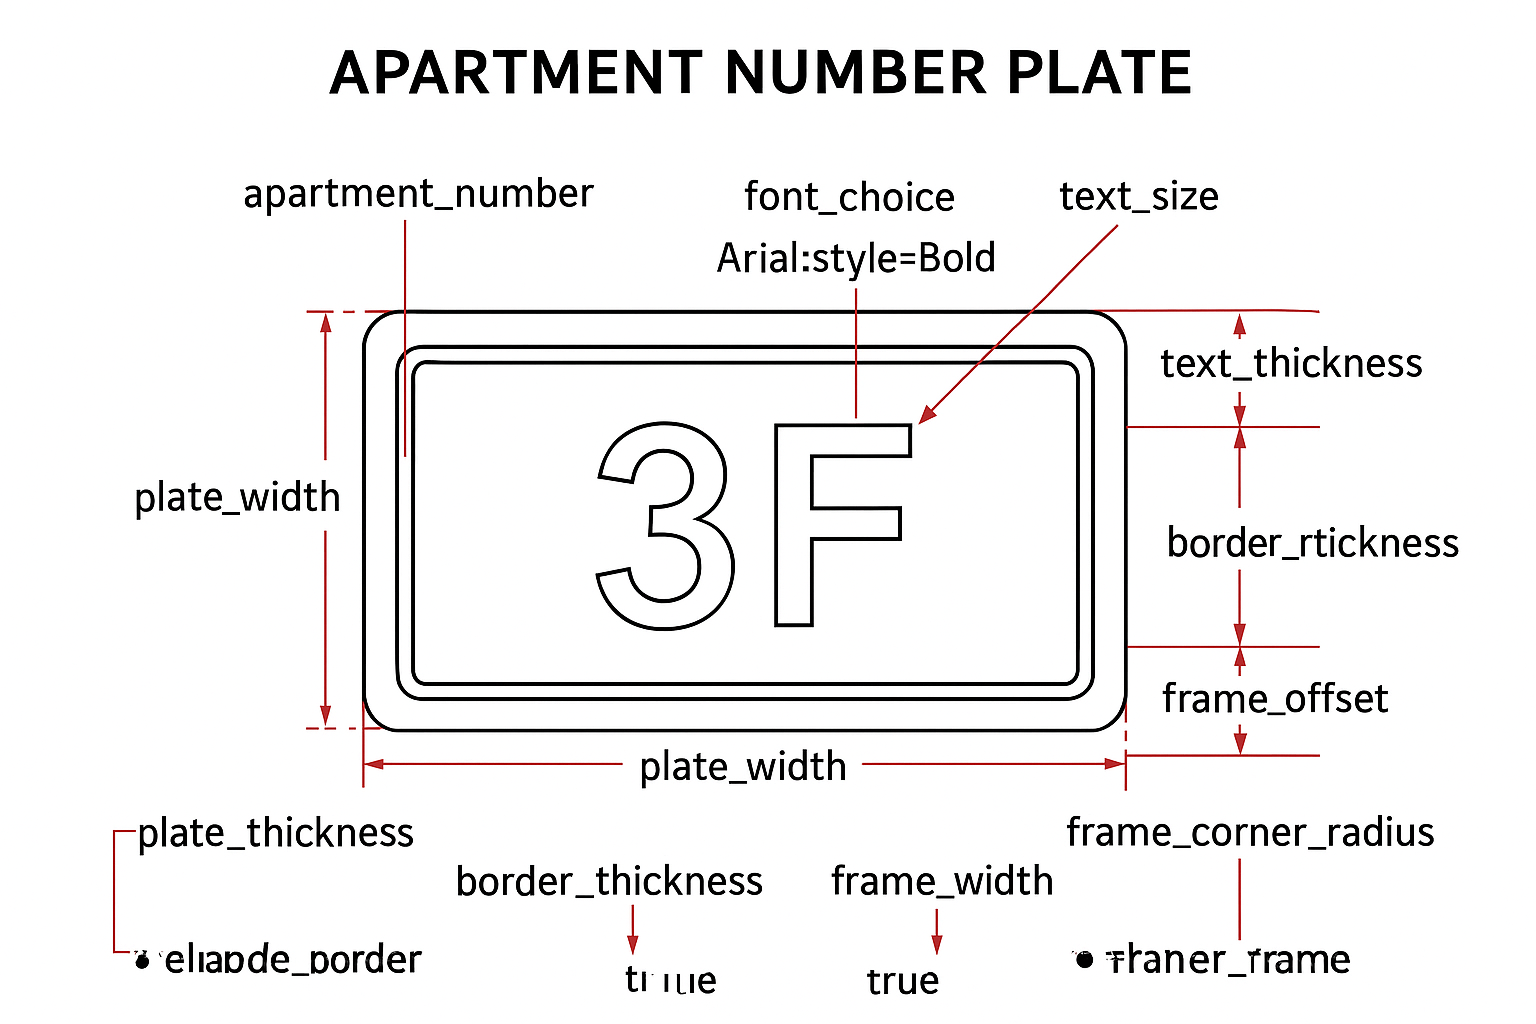
This OpenSCAD script generates a customizable apartment number plate with the following features:
- Base Plate
- Rectangular or square plate with rounded corners.
- Thickness, width, height, and corner radius are customizable.
- Rectangular or square plate with rounded corners.
- Embossed Apartment Number
- Customizable font, size, and extrusion height.
- Centered automatically on the plate.
- Customizable font, size, and extrusion height.
- Optional Embossed Border
- Thin raised line border around the plate.
- Fully customizable: toggle on/off, thickness, width, distance from plate edge, and corner radius.
- Thin raised line border around the plate.
- Optional Embossed Frame
- Another raised frame line around the plate.
- Fully customizable: toggle on/off, thickness, width, distance from edge, and corner radius.
- Another raised frame line around the plate.
- Rounded Corners
- Both border and frame can have rounded corners to match the plate, giving a professional 3D-print-ready appearance.
- Both border and frame can have rounded corners to match the plate, giving a professional 3D-print-ready appearance.
How to Use the Script
1. Open OpenSCAD
- Make sure you have OpenSCAD installed (https://www.openscad.org).
- Open a new file and paste the full script.
2. Set Your Apartment Number
apartment_number = "3F"; // Replace with your number
3. Adjust Plate Settings
plate_width = 40; // Width of the plate
plate_height = 25; // Height of the plate
plate_thickness = 3; // Thickness of the plate
corner_radius = 3; // Rounded corner radius
4. Adjust Text Settings
font_choice = "Arial:style=Bold"; // Font type
text_size = 12; // Text height
text_thickness = 2; // Text extrusion
5. Optional Border Settings
enable_border = true; // Set false to remove border
border_thickness = 1; // Height of border above plate
border_offset = 1.5; // Distance from plate edge
border_width = 0.8; // Thickness of border line
border_corner_radius = 2; // Rounded corners of border
6. Optional Frame Settings
enable_frame = true; // Set false to remove frame
frame_thickness = 1; // Height of frame above plate
frame_offset = 0.5; // Distance from plate edge
frame_width = 2; // Thickness of frame line
frame_corner_radius = 2; // Rounded corners of frame
7. Render the Model
- Press F5 to preview.
- Press F6 to perform a full render.
8. Export for 3D Printing
- After rendering, go to File → Export → Export as STL.
- Use the STL file for 3D printing.
Notes
- The border and frame are independent; you can enable either or both.
- All dimensions are fully parametric, so you can scale for different sizes of plates.
- Corner radius should be smaller than half of plate height/width to avoid geometry errors.
Created by CandiMods Development with the help of CHATGPT