
WAGO (221-415) “city” – WAGO boxes, connectors, rails – for more organized, easier, and clearer use + plastic bag
Obliczymy ostateczną cenę na podstawie wybranego pliku. Sprawdzisz ją i zaakceptujesz przed płatnością.
Zapisane na tym urządzeniu.
Build a transparent system from WAGO 221-415 compatible parts according to your preference!
- Ocena
- 0 / 5
- Polubienia
- 6
- Pobrania
- 11
- Wydruki
- 0
- Wyświetlenia
- 209
- Oceny
- 0
Aktualizacja u źródła:
Informacje o modelu
- Źródło
- Printables
- Kategoria
- Electronics
- Licencja
- Creative Commons — Attribution — Noncommercial — Share Alike
If you’d like, you can join my group: https://www.printables.com/group/everything-about-3d-printing-with-friendly-contest-A5XAKWR/comments
Assembly Guide
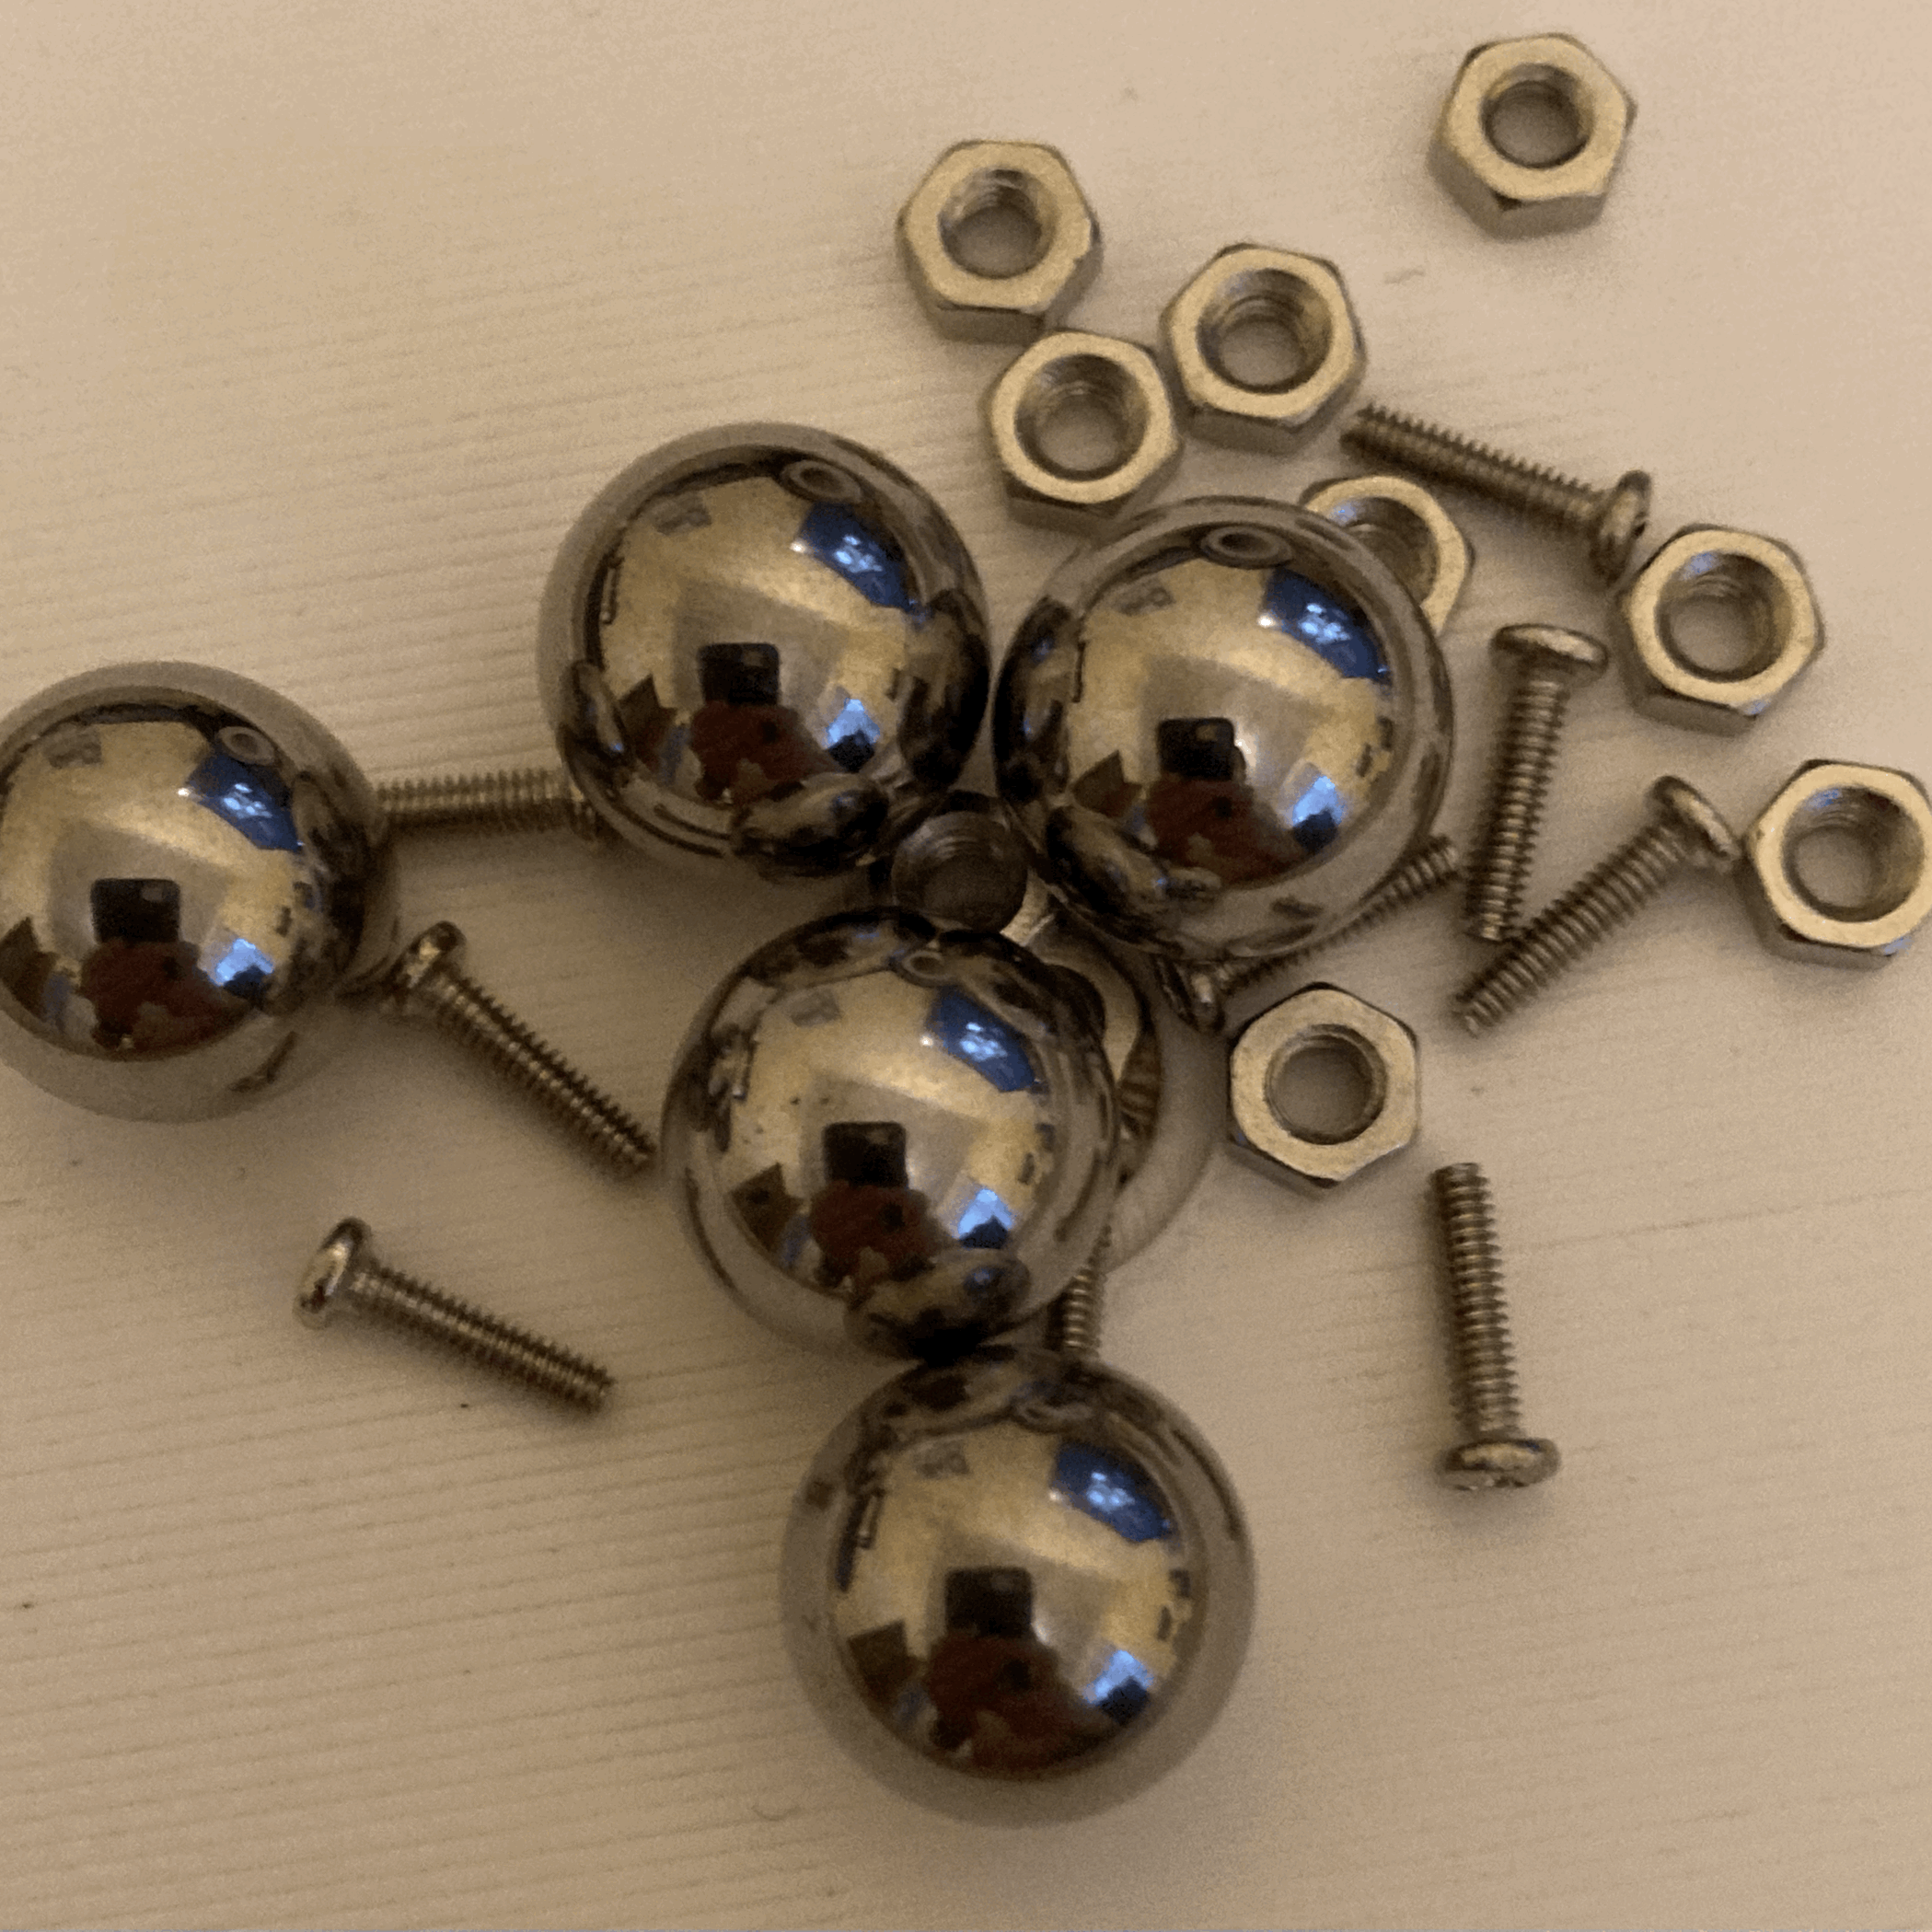
First, let’s build the “houses” of the WAGO 221-415 parts. Print 4 sphere switches, 2 house-legs, and 1 body, then assemble them according to the picture. Repeat this process several times so we can create the “city”!

Next, print as many bases as the number of “houses” you have built, and attach the “houses” to the bases!

Once this is done, print rails of different sizes and connect the bases with them! If the rail is too short or if we want to make turns or branches, we will also need the connectors.


Bag:
◦ bottom, top, sides: to assemble these parts, we will need glue. On the bottom and sides, numbers indicate where to glue them together. The top can be glued together according to the picture.
Bottom:
Sides:


Top:
◦ boxes: these also require glue.
Types of boxes:“House”-box

Rail-box

Connector-box

Base-box

These must be glued to the bottom of the bag according to the picture.
◦ bag top (Step 2): no glue is needed for this. After gluing in the boxes, place the top of the bag onto the walls! It can be removed later.


◦ handle: as the final step, print the handle and attach it to the top of the box!


Done!