
1/2 Scale Federal Signal Model 2
Obliczymy ostateczną cenę na podstawie wybranego pliku. Sprawdzisz ją i zaakceptujesz przed płatnością.
Zapisane na tym urządzeniu.
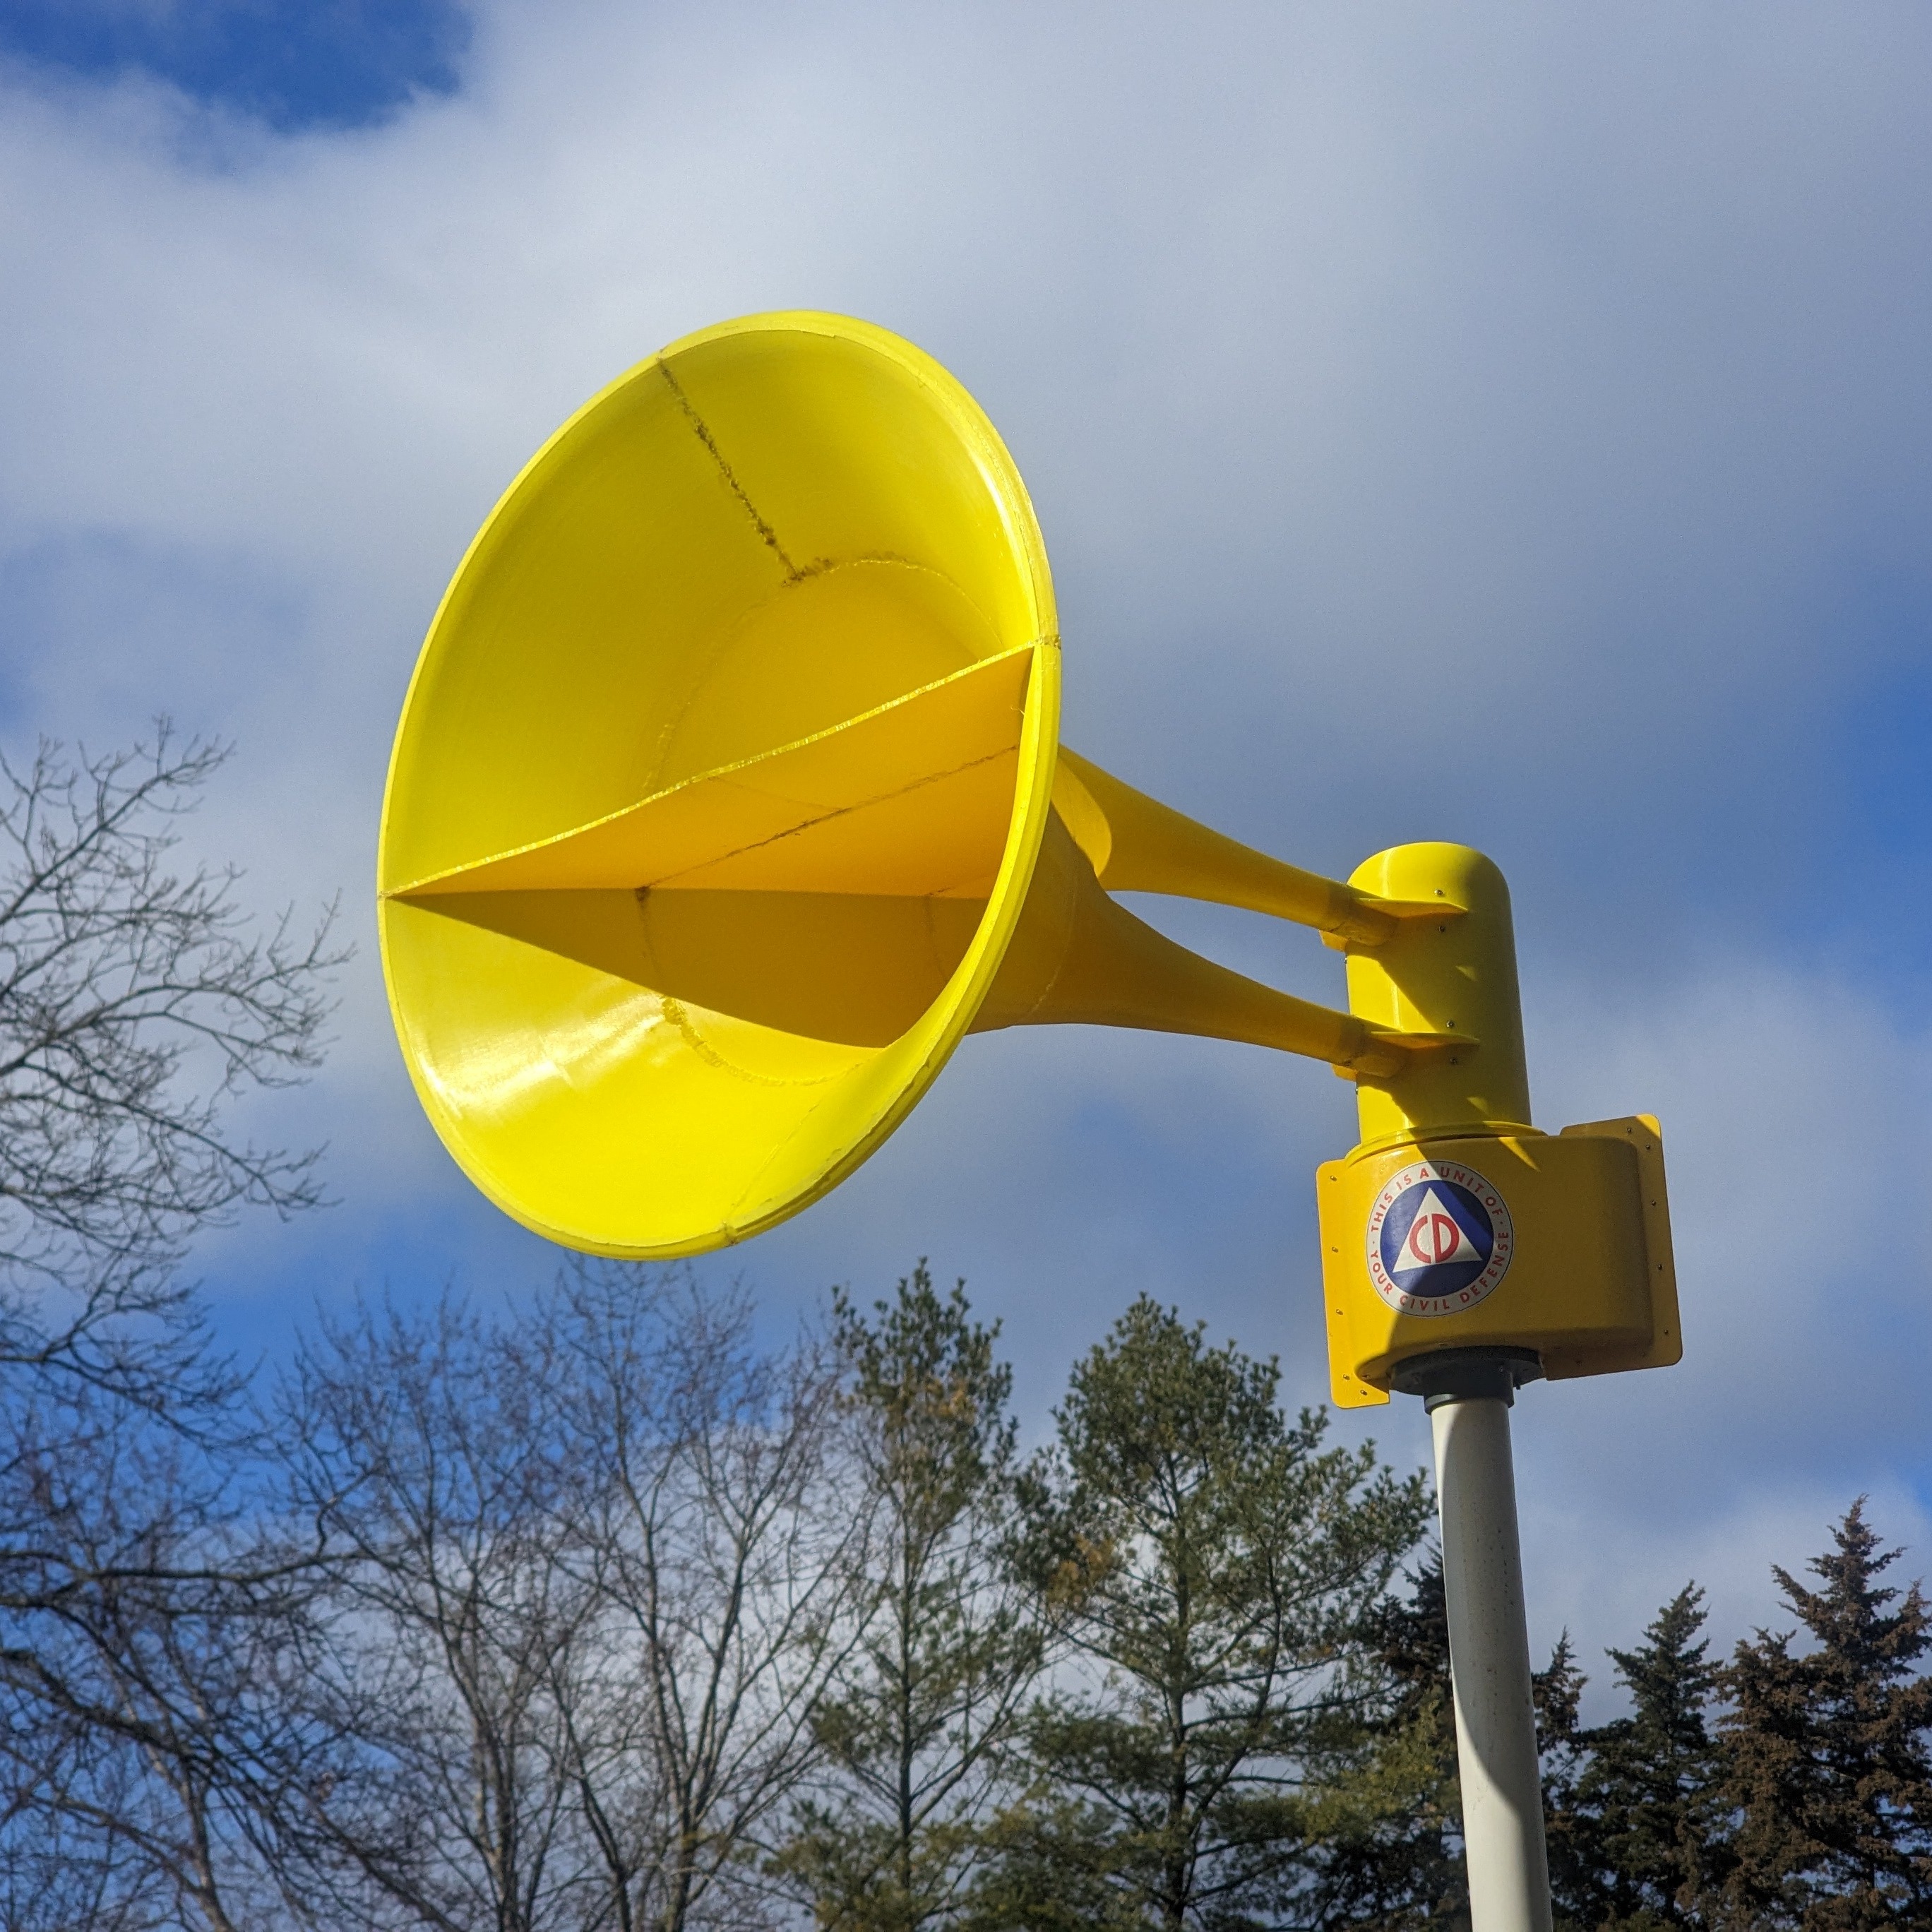
This is a 1/2 scale fully functional replica. I measured off of my real model 2 and real 3T22 hat to make this model.
- Ocena
- 5 / 5
- Polubienia
- 36
- Pobrania
- 250
- Wydruki
- 4
- Wyświetlenia
- 1314
- Oceny
- 3
Aktualizacja u źródła:
Informacje o modelu
- Źródło
- Printables
- Kategoria
- Electronics
- Licencja
- Creative Commons — Attribution — Noncommercial — Share Alike
This is a 1/2 scale fully functional replica. I measured off of my real model 2 and real 3T22 hat to make this model. I do not own a housing for my real Model 2, but Model 2's literally use a 3T22 hat for the housing top. So my 3T22's hat combined with reference images of model 2 housings are how I made the housing for this.
I will be adding dual toned, Canadian, Darley, Fedelcode (including coded!), and Grifco variants in the future!
No tolerance tool or looser tolerance rotor version, because you probably won't need to do different tolerances unless your printer really sucks or your settings need tweaked or printer has something wrong with it. Most printers these days are extremely precise and already provide amazing tolerances right from the start. These tolerances are based off my Elegoo Centauri Carbon. If any issues come up with this and you need me to provide a looser tolerance rotor variant, I will do that.
Hardware:
Motor:
This uses a 24v XD775 DC motor with a 30mm shaft. Run between 9 and 9.73 volts for the right pitch.
You need a decently strong power supply. I use a 300 Watt.
https://www.amazon.com/dp/B08DG2KXZB?ref=ppx_yo2ov_dt_b_fed_asin_title
Rotor:
5mm to 5mm brass shaft coupler. 20mm length, 9mm OD
The listing I bought from went unavailable, but these should be the same
Make sure to screw the set screws in so the head isnt sticking out the side, and make sure to align the set screws with the access holes before tapping the coupler in. Use a mallet or hammer to tap it in.
I recommend a plastic mallet or some sort of soft barrier between your hammer and the coupler. It is brass, so you want to be careful not to damage it.
Make sure to grind a small flat spot in the side of the motor shaft for one side of the set screw to sit against. The motor has so much torque that the coupler will slip on the shaft no matter how tight you turn the screws without this D shaft modification.
https://www.amazon.com/dp/B0D4TZ6KRK?th=1
For rotor weight, it uses a single LS7095 thrust washer. 70mm ID, 95mm OD, 5.25mm thickness. Super glue it to the bottom of the rotor. Don't do this until after you have pressed the shaft coupler into the rotor and verified that the rotor is good and doesnt wobble too much.
You can find these for an alright price on ebay sometimes, but if that stock runs out then you can get them on Mcmaster Carr
https://www.mcmaster.com/5909K585/
General:
3x M4x20 machine screws (hold the siren to the desktop mount. You must use button head so the heads dont stick out the bottom)
6x M4x20 fender washers (put these on the screws, then put the screws in the desktop mount from the bottom. Also use to hold the housing to the mount (optional)) https://www.amazon.com/Glarks-100Pcs-Washers-Stainless-Hardware/dp/B0B3LZNXXR?th=1
6x M4x8 or M4x10 Machine Screws (holds the legs on. I used M4x8 but you can use M4x10 if you struggle to get the nut on with M4x8)
10x M4 nuts (holds the legs on and the siren to the mount)
2x M4x8 machine screws (hold the motor to the motor holder)
3x M3x8 machine screws (optional. hold housing to the mount, along with the M4 fender washers)
6x M3x6 machine screws (hold the stator and housing ring to the motor holder)
6x M3 nuts (same as above. Optional, plastic threading works alright. These finish the cosmetic detail and also save your ass if the plastic threading strips out. )
4x M3x6 machine screws (optional cosmetic detail for the top of the stator. Imitates the screws for the top bearing holder on the real model 2)
8x m2x6 machine screws (hold intake cone to stator, and hold the hat to the housing, and cosmetic detail for the housing top's center.)
3x M3 brass threaded inserts (hold the housing to the stand)
https://www.amazon.com/Glarks-100Pcs-Washers-Stainless-Hardware/dp/B0B3LZNXXR?th=1