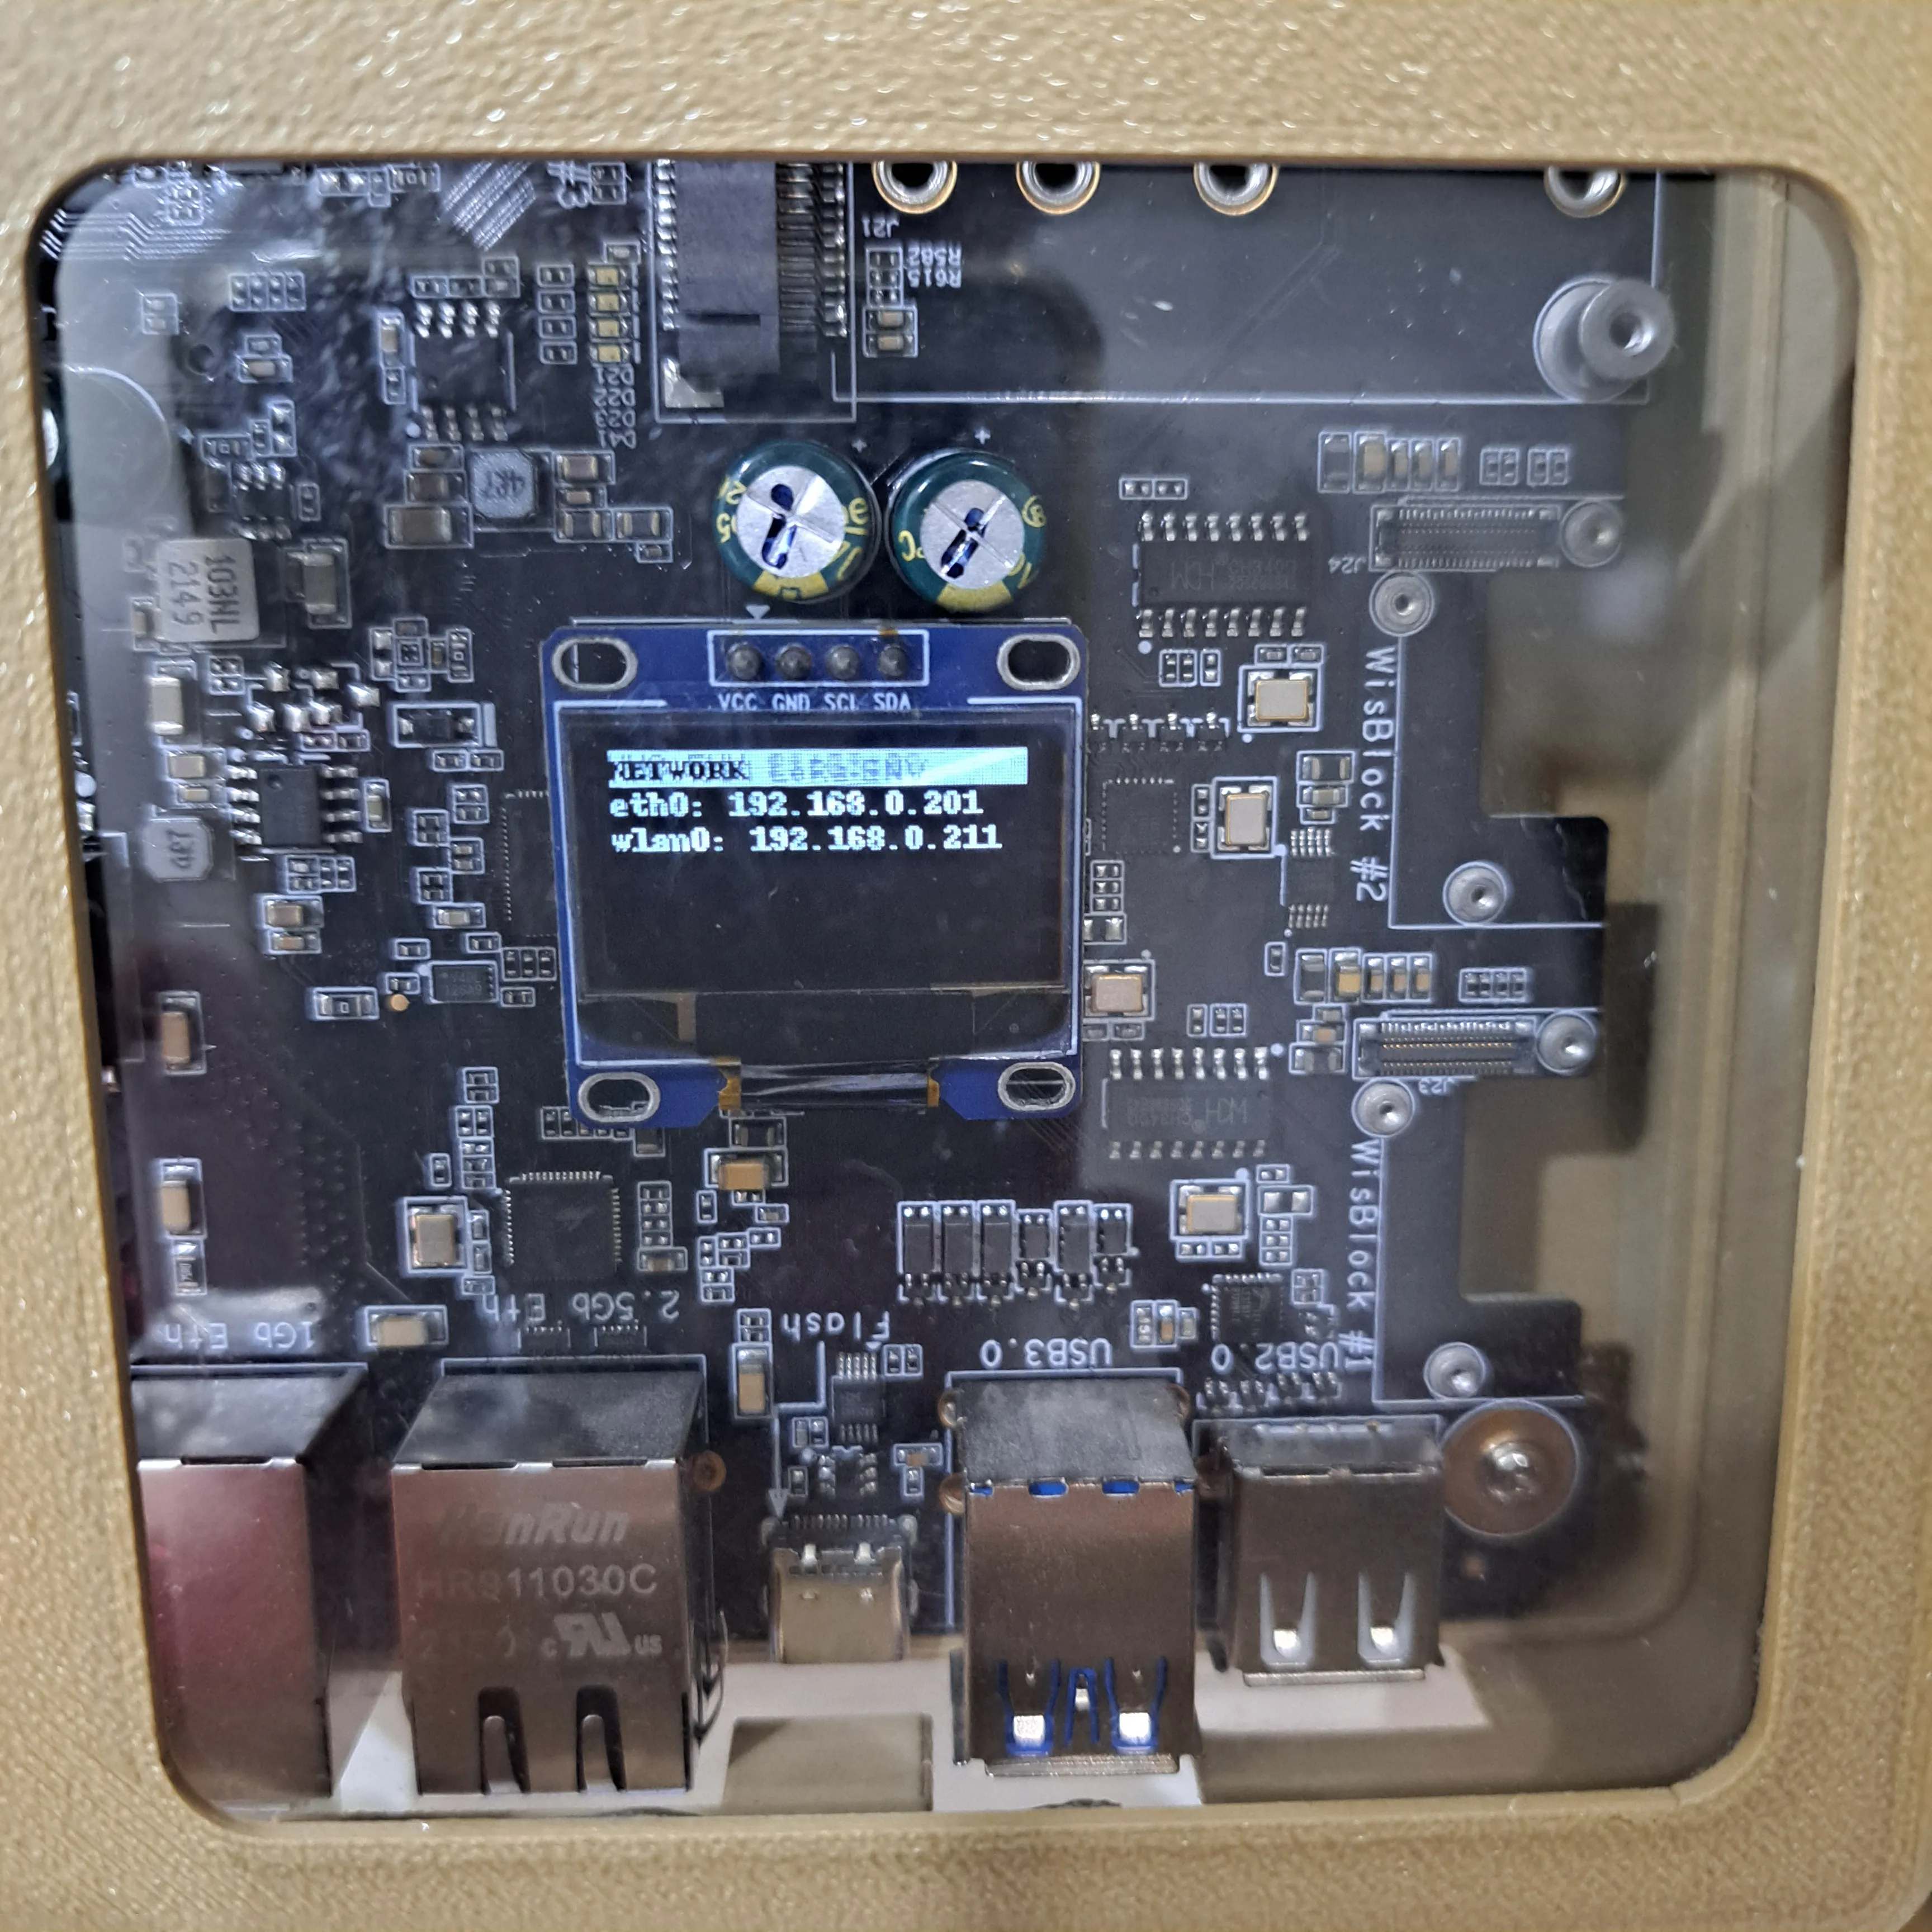
RAK7391 WisGate Connect Show (off) Case
Obliczymy ostateczną cenę na podstawie wybranego pliku. Sprawdzisz ją i zaakceptujesz przed płatnością.
Zapisane na tym urządzeniu.

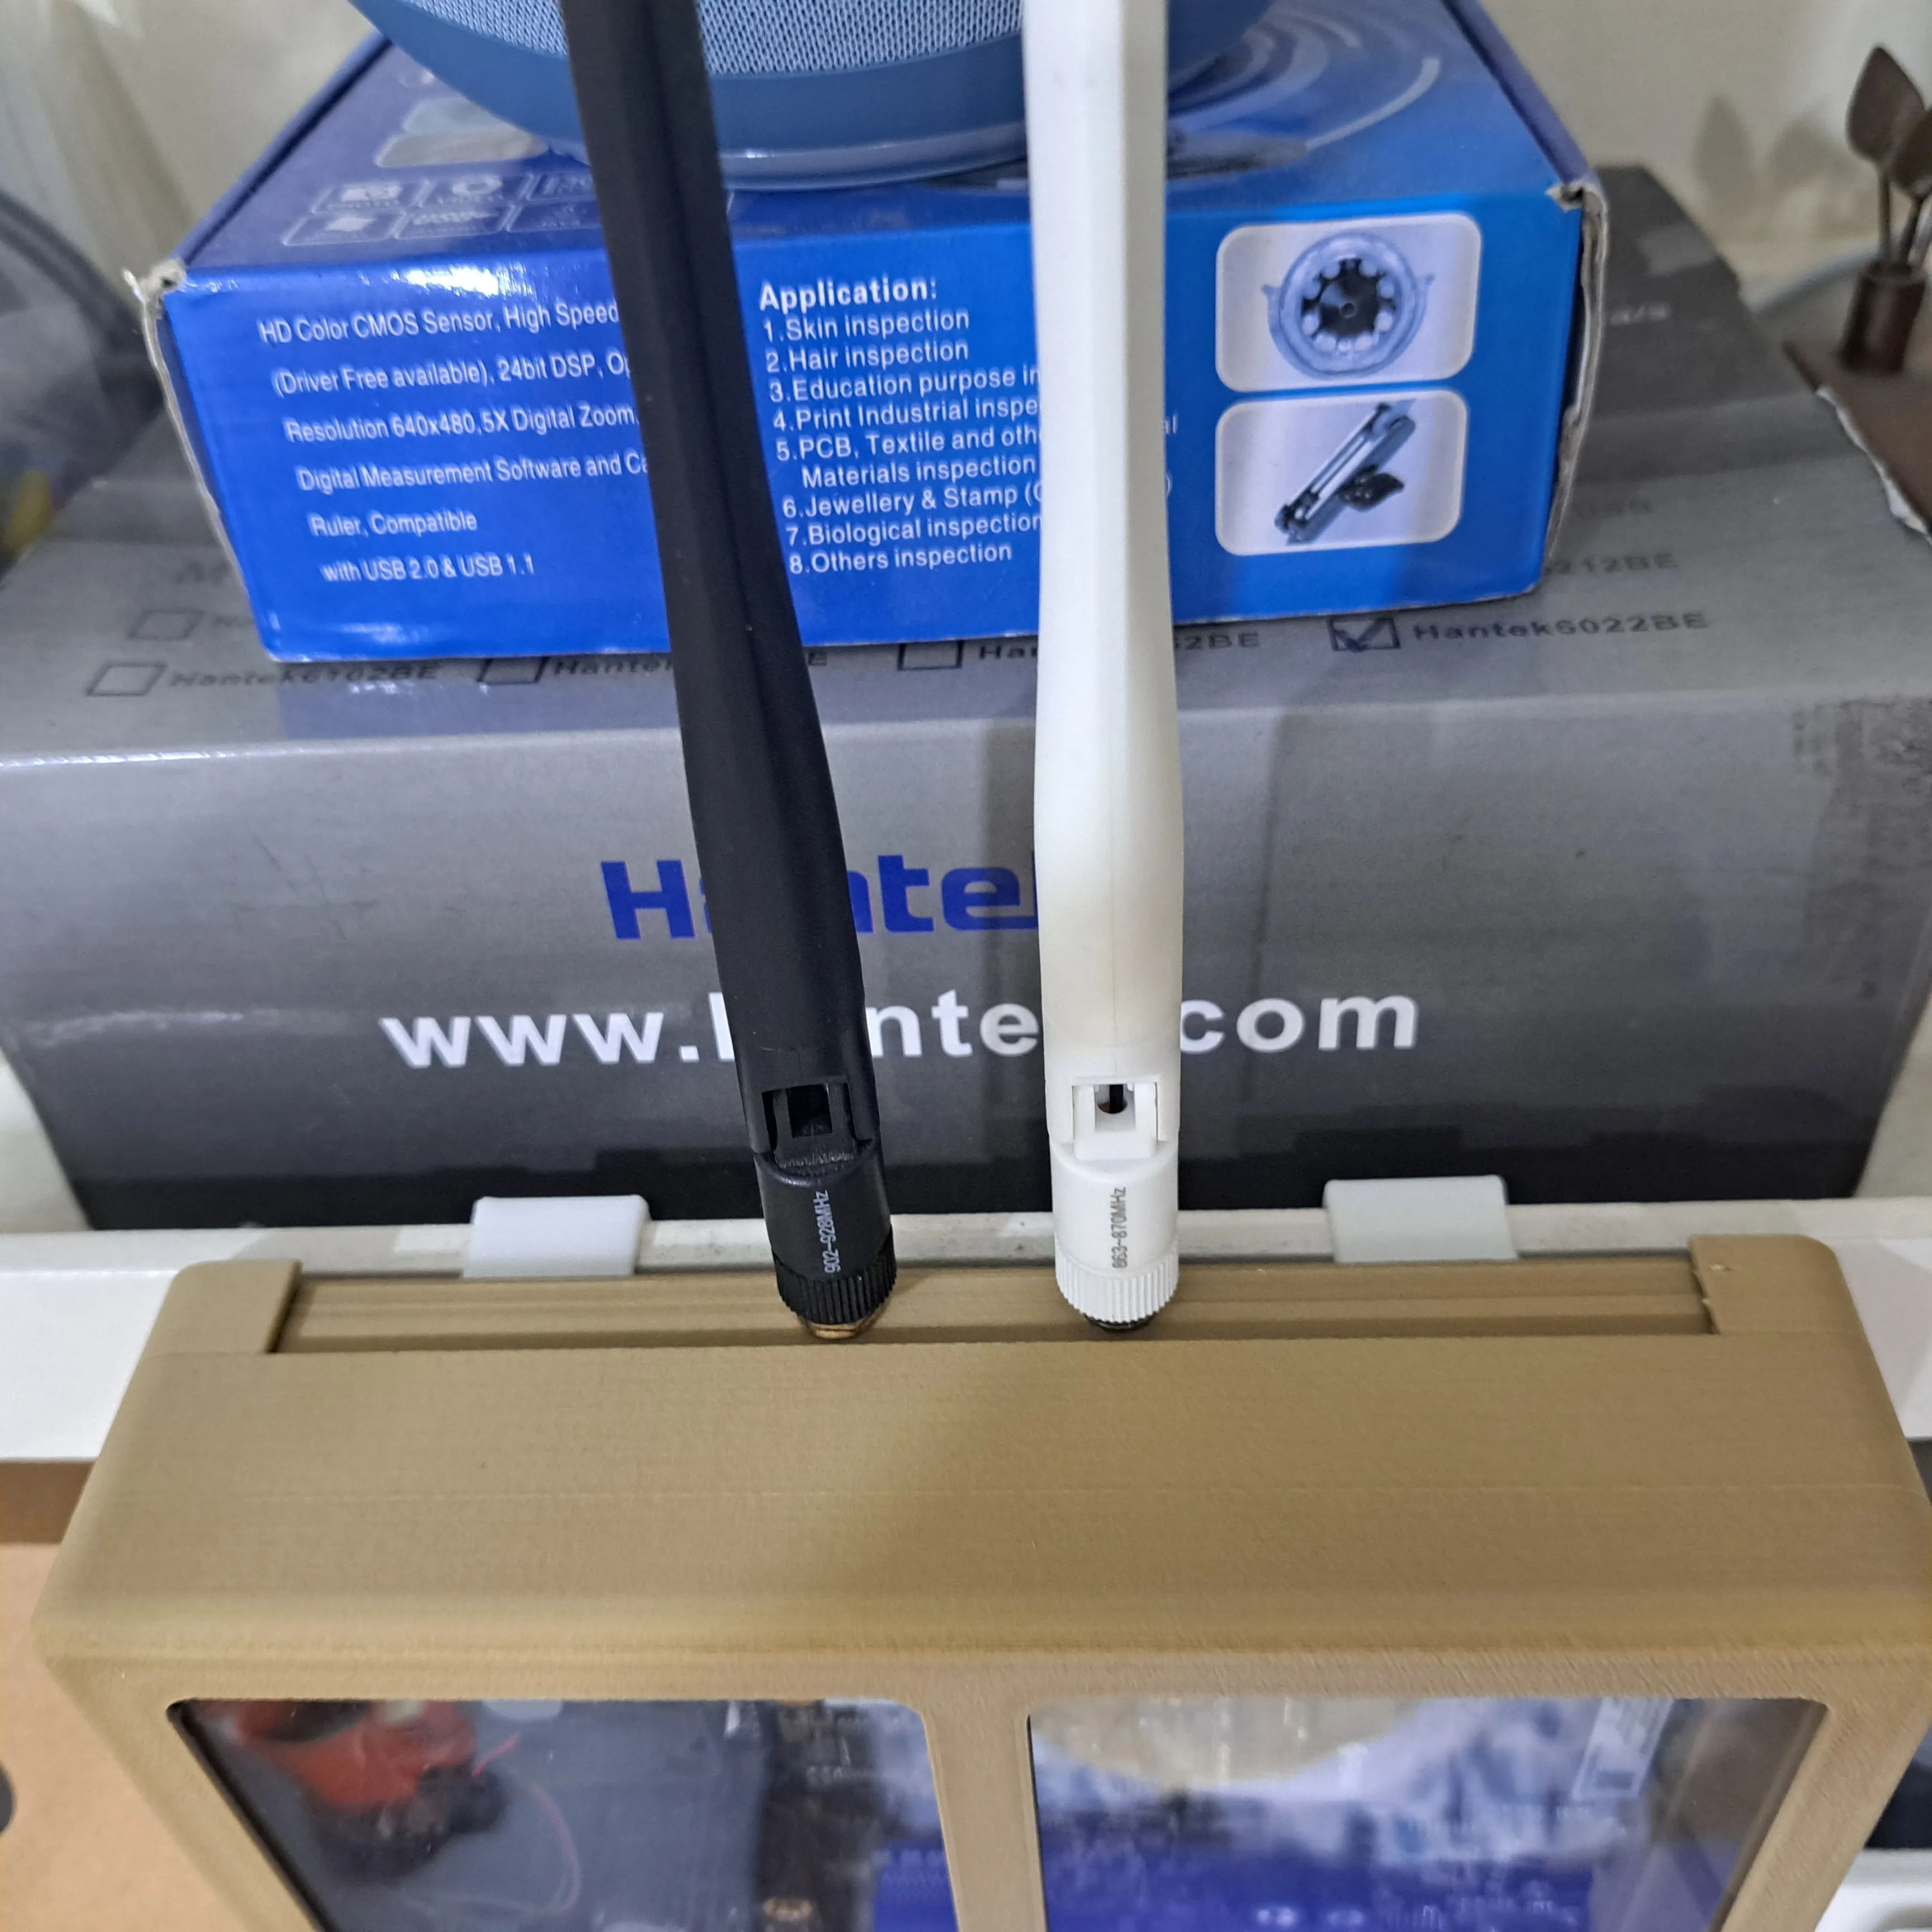
Simple 3D printable enclosure for the RAKwireless WisGate Connect Gateway
- Ocena
- 0 / 5
- Polubienia
- 1
- Pobrania
- 3
- Wydruki
- 0
- Wyświetlenia
- 50
- Oceny
- 0
Aktualizacja u źródła:
Informacje o modelu
- Źródło
- Printables
- Kategoria
- Electronics
- Licencja
- Creative Commons — Attribution — Noncommercial — Share Alike
I wanted to show-off my RAKwireless RAK7391 WisGate Connect.
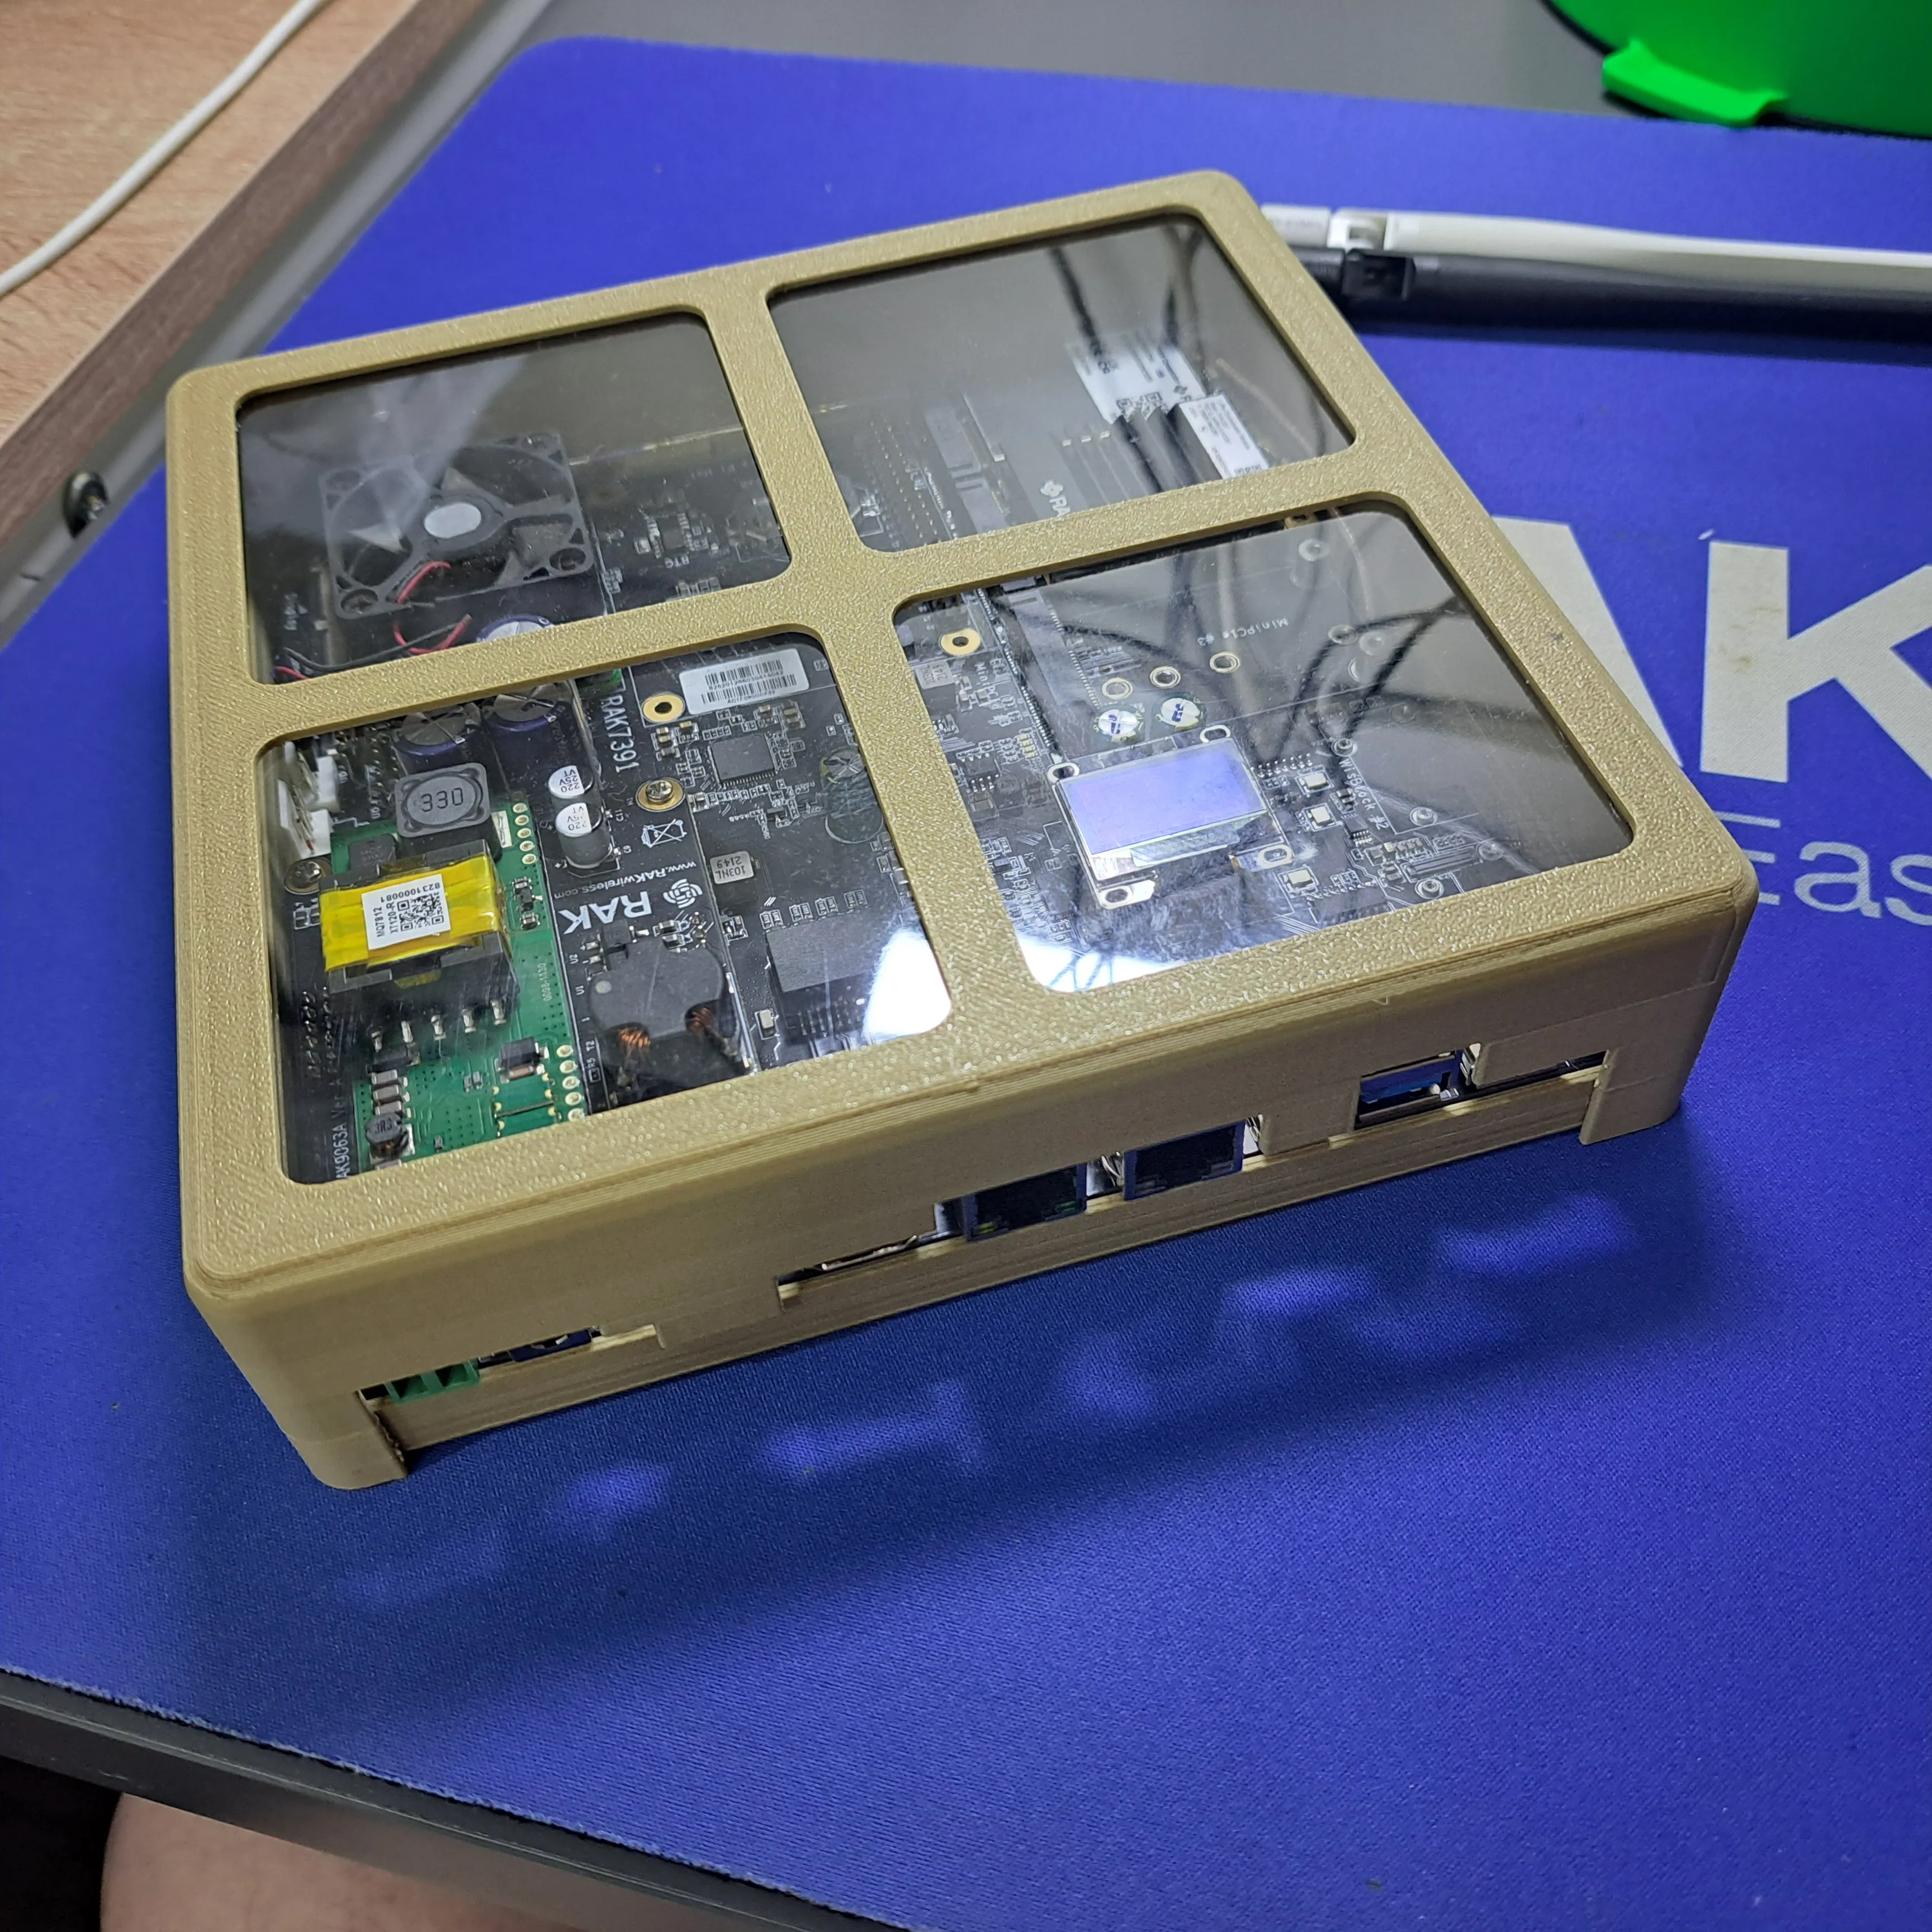
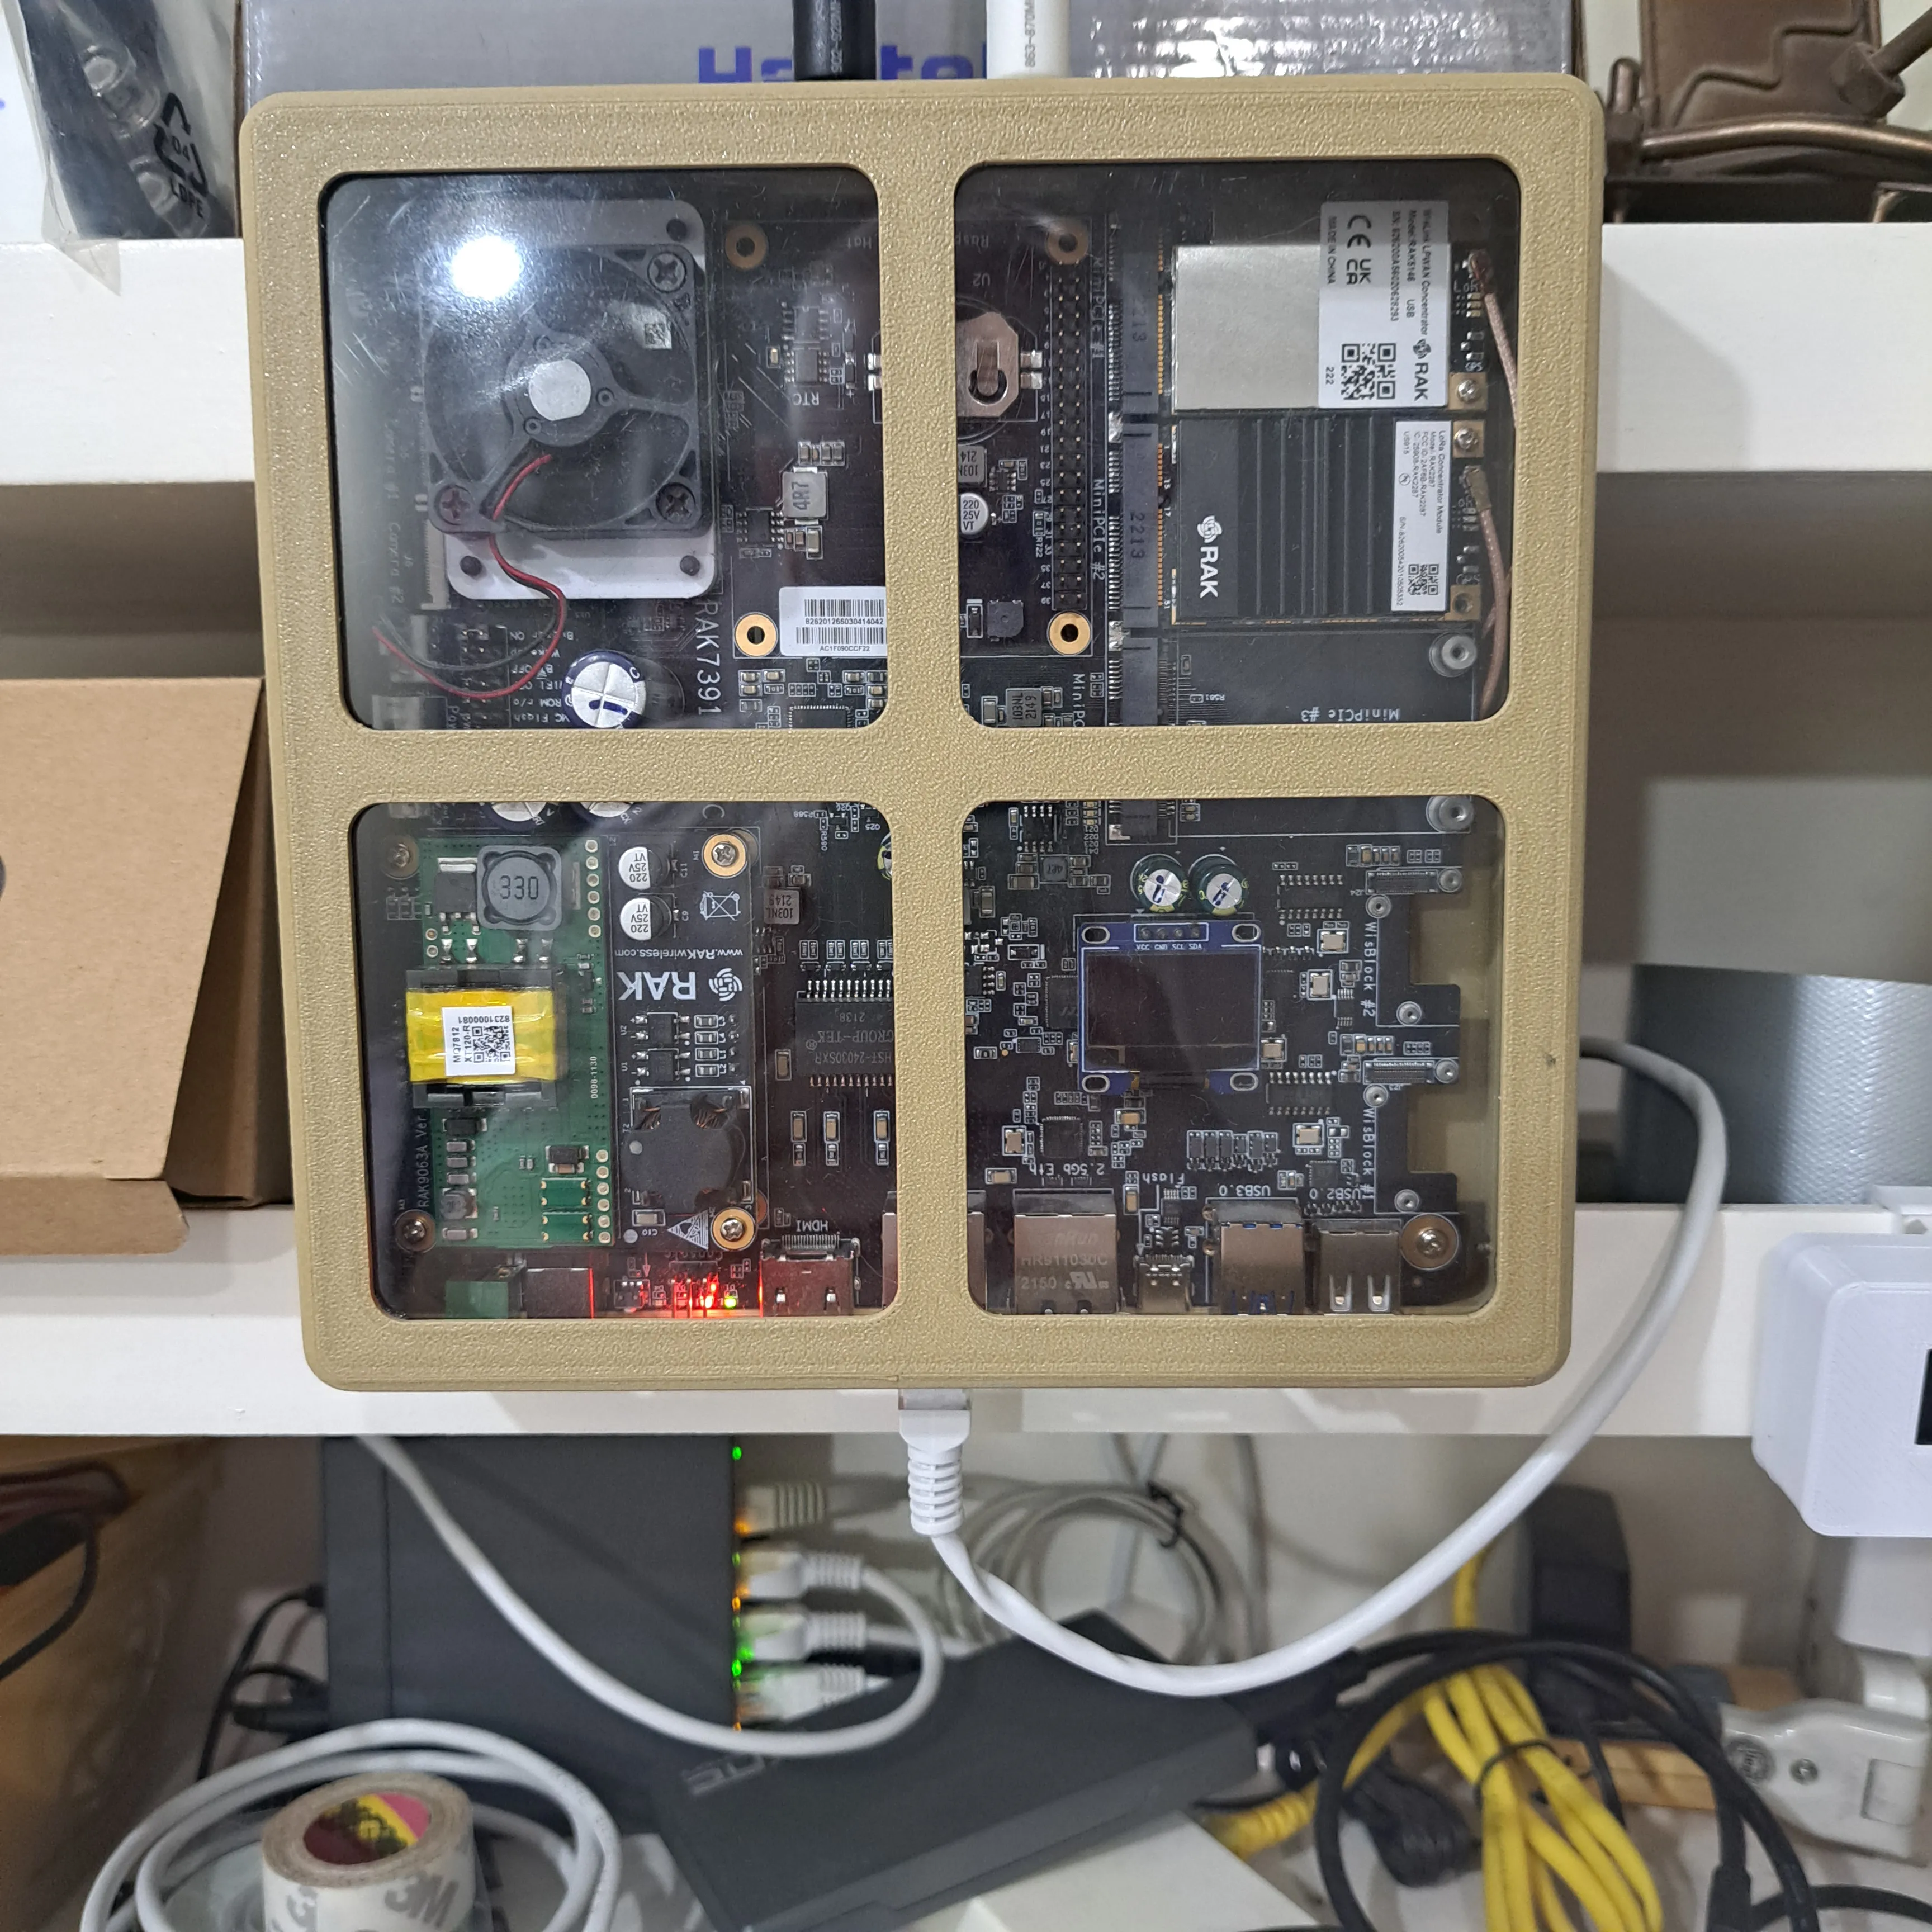
So I created this enclosure that allows to show the internals of the gateway.
There are several enclosure options in the print files, please select for yourself which one you like.
For the version with look-through front, I used a thicker foil, 4 pieces cut to 84 x 83 mm. Instead of a foil PVC glass can be used as well.
Required materials
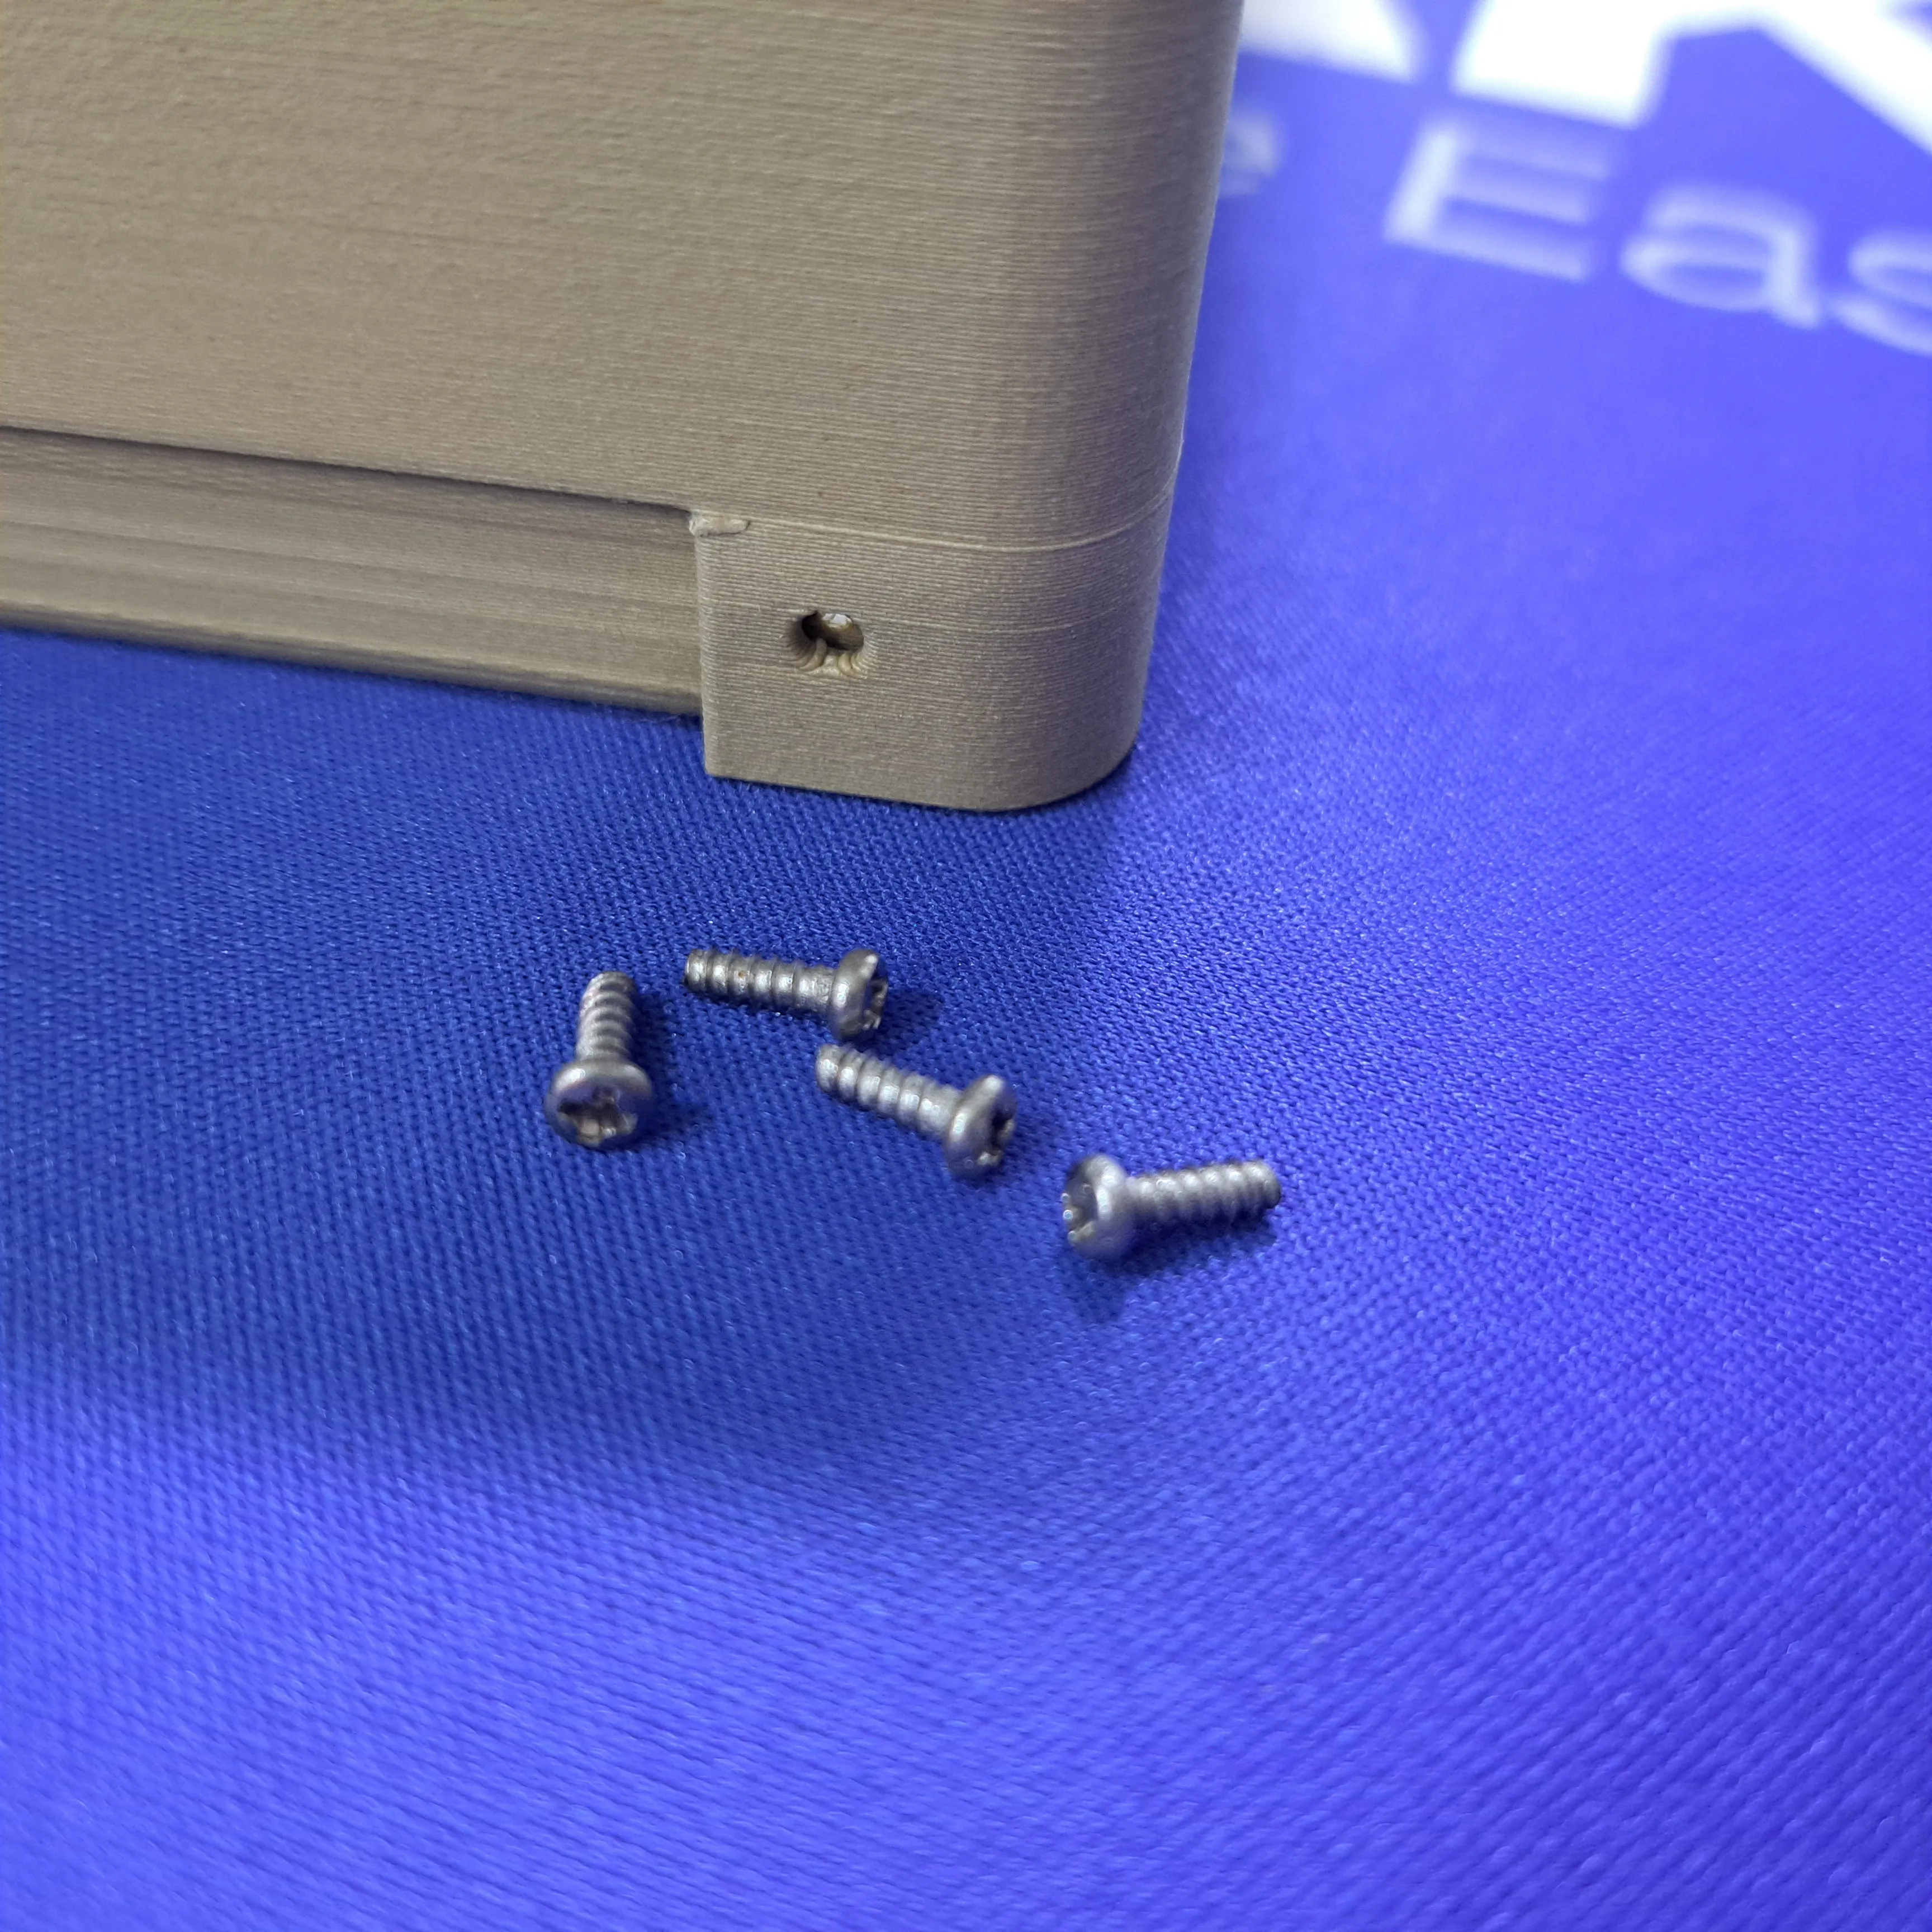
8 self tapping screws 2mm x 5mm
4 pieces of size-cute foil or PVC glass
Assembly is quite simple:
1. Print top and bottom of your choice
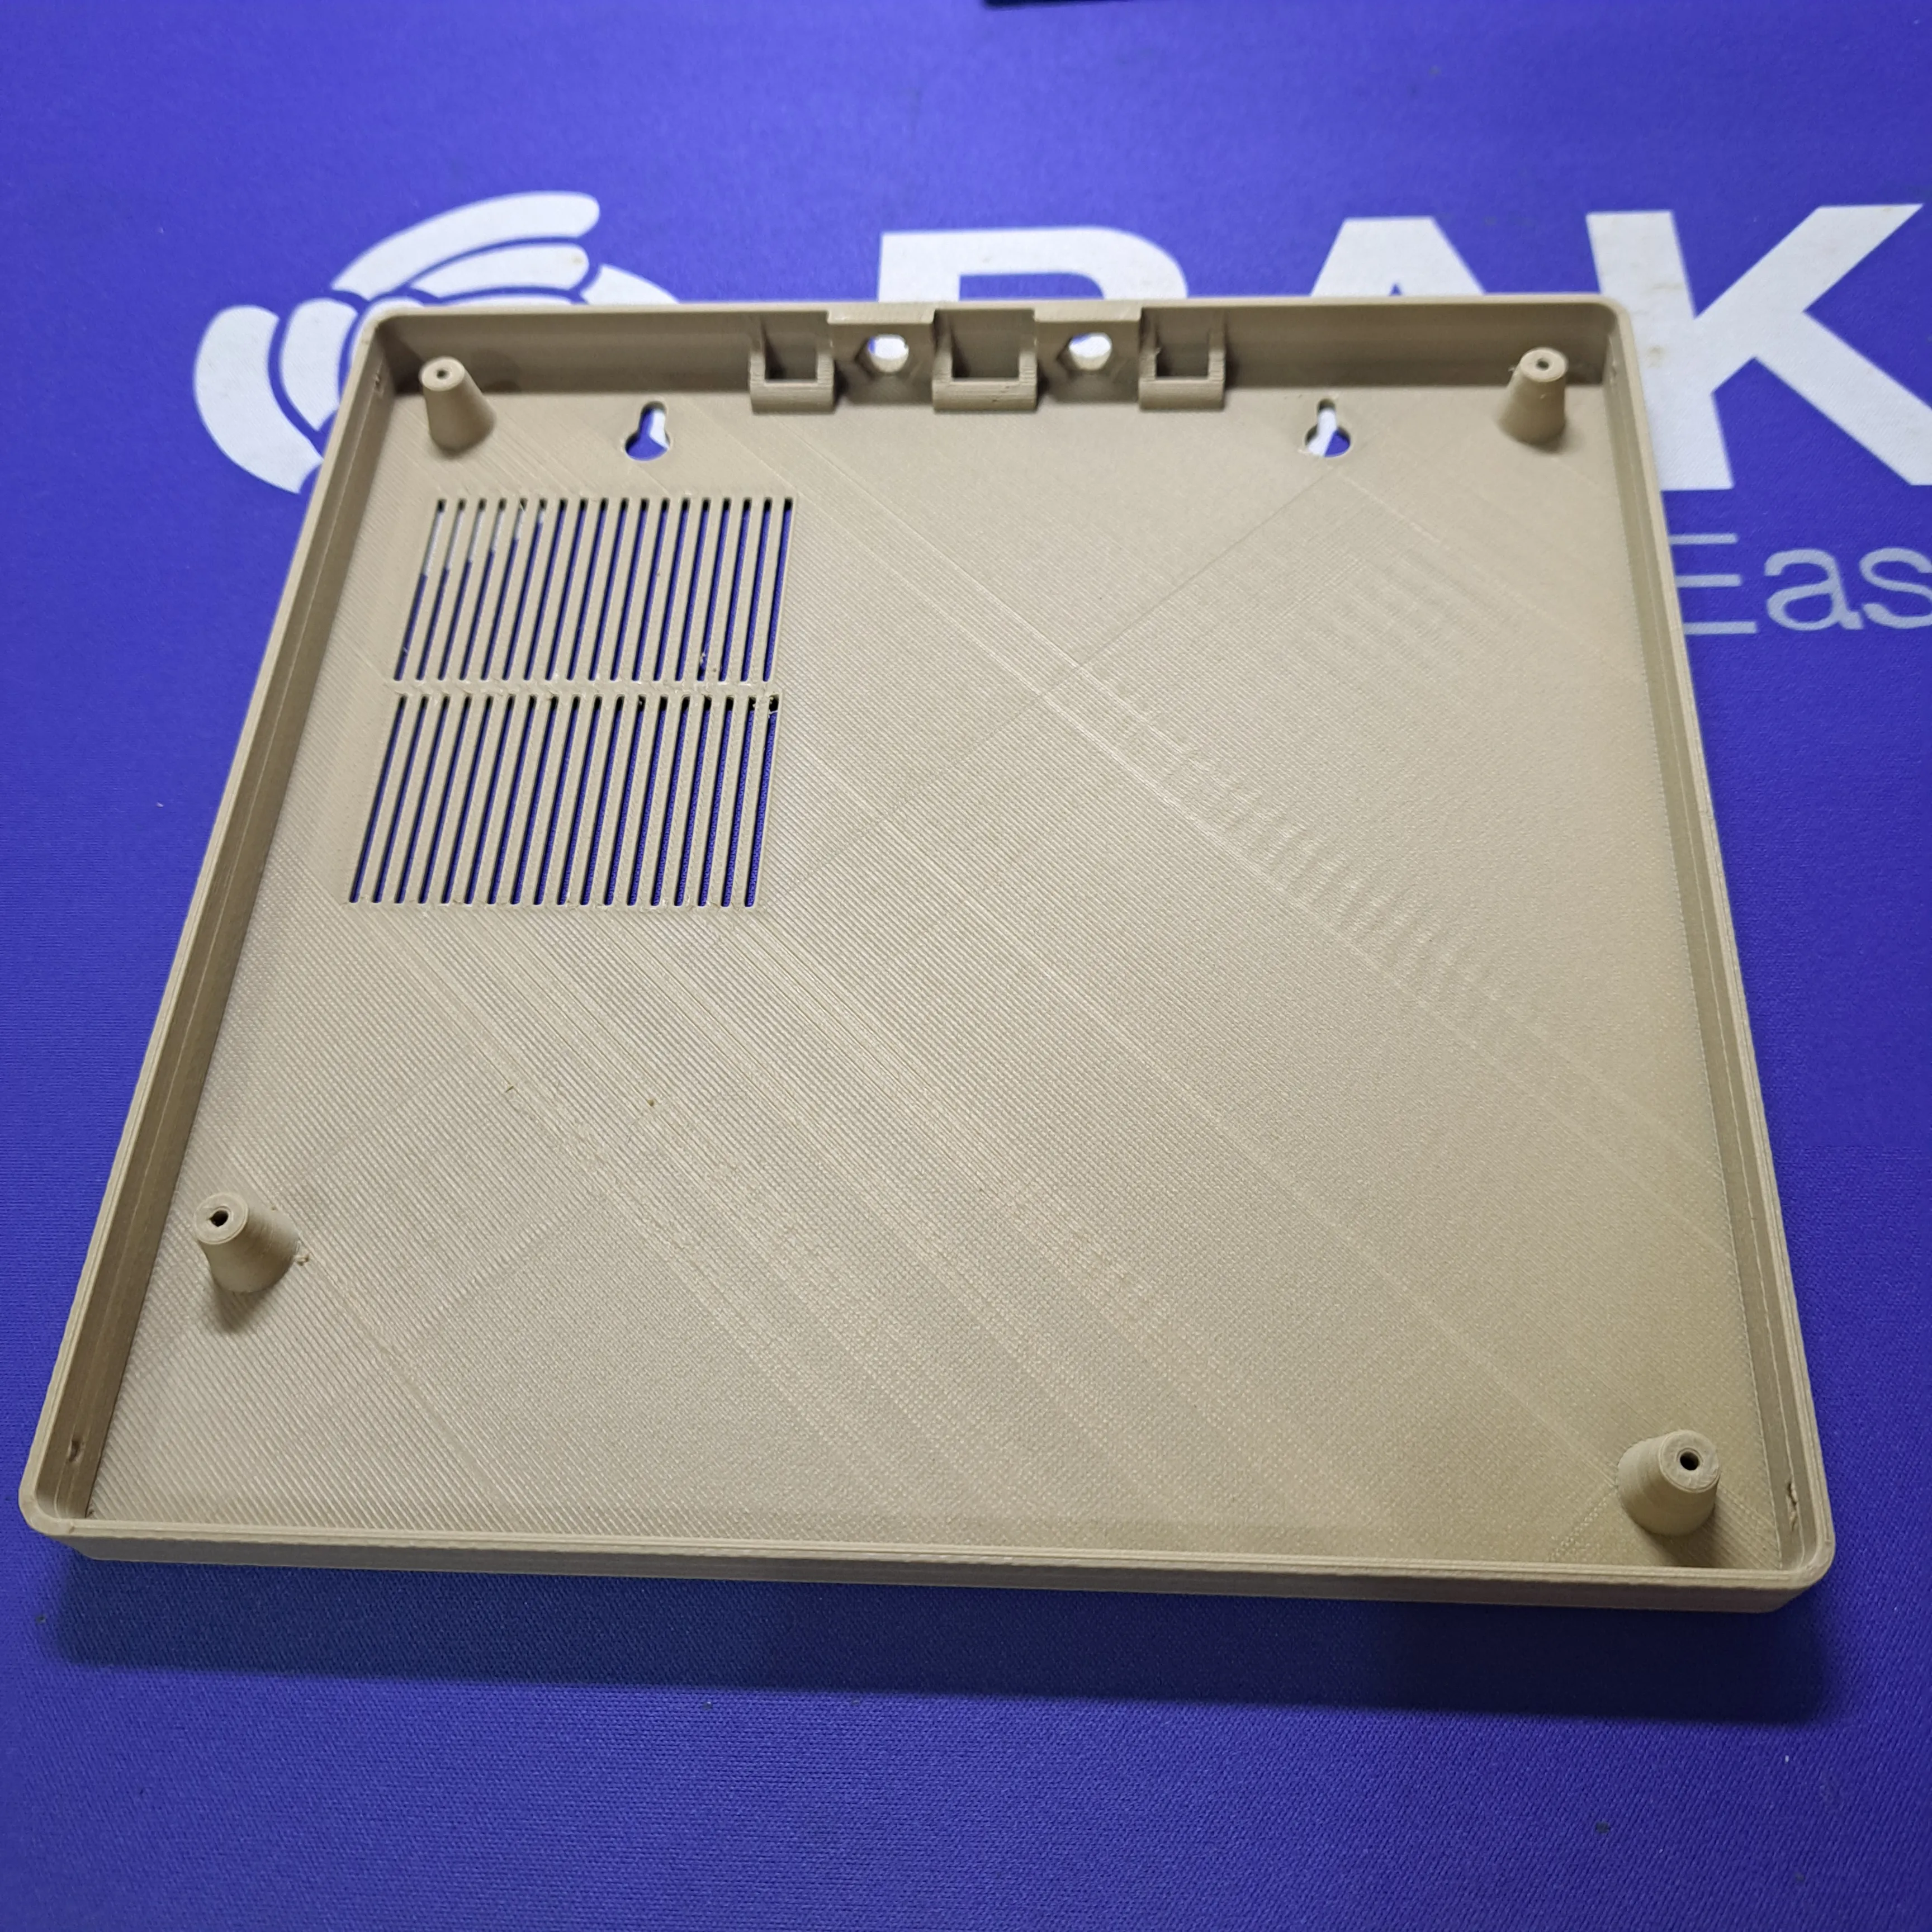
|
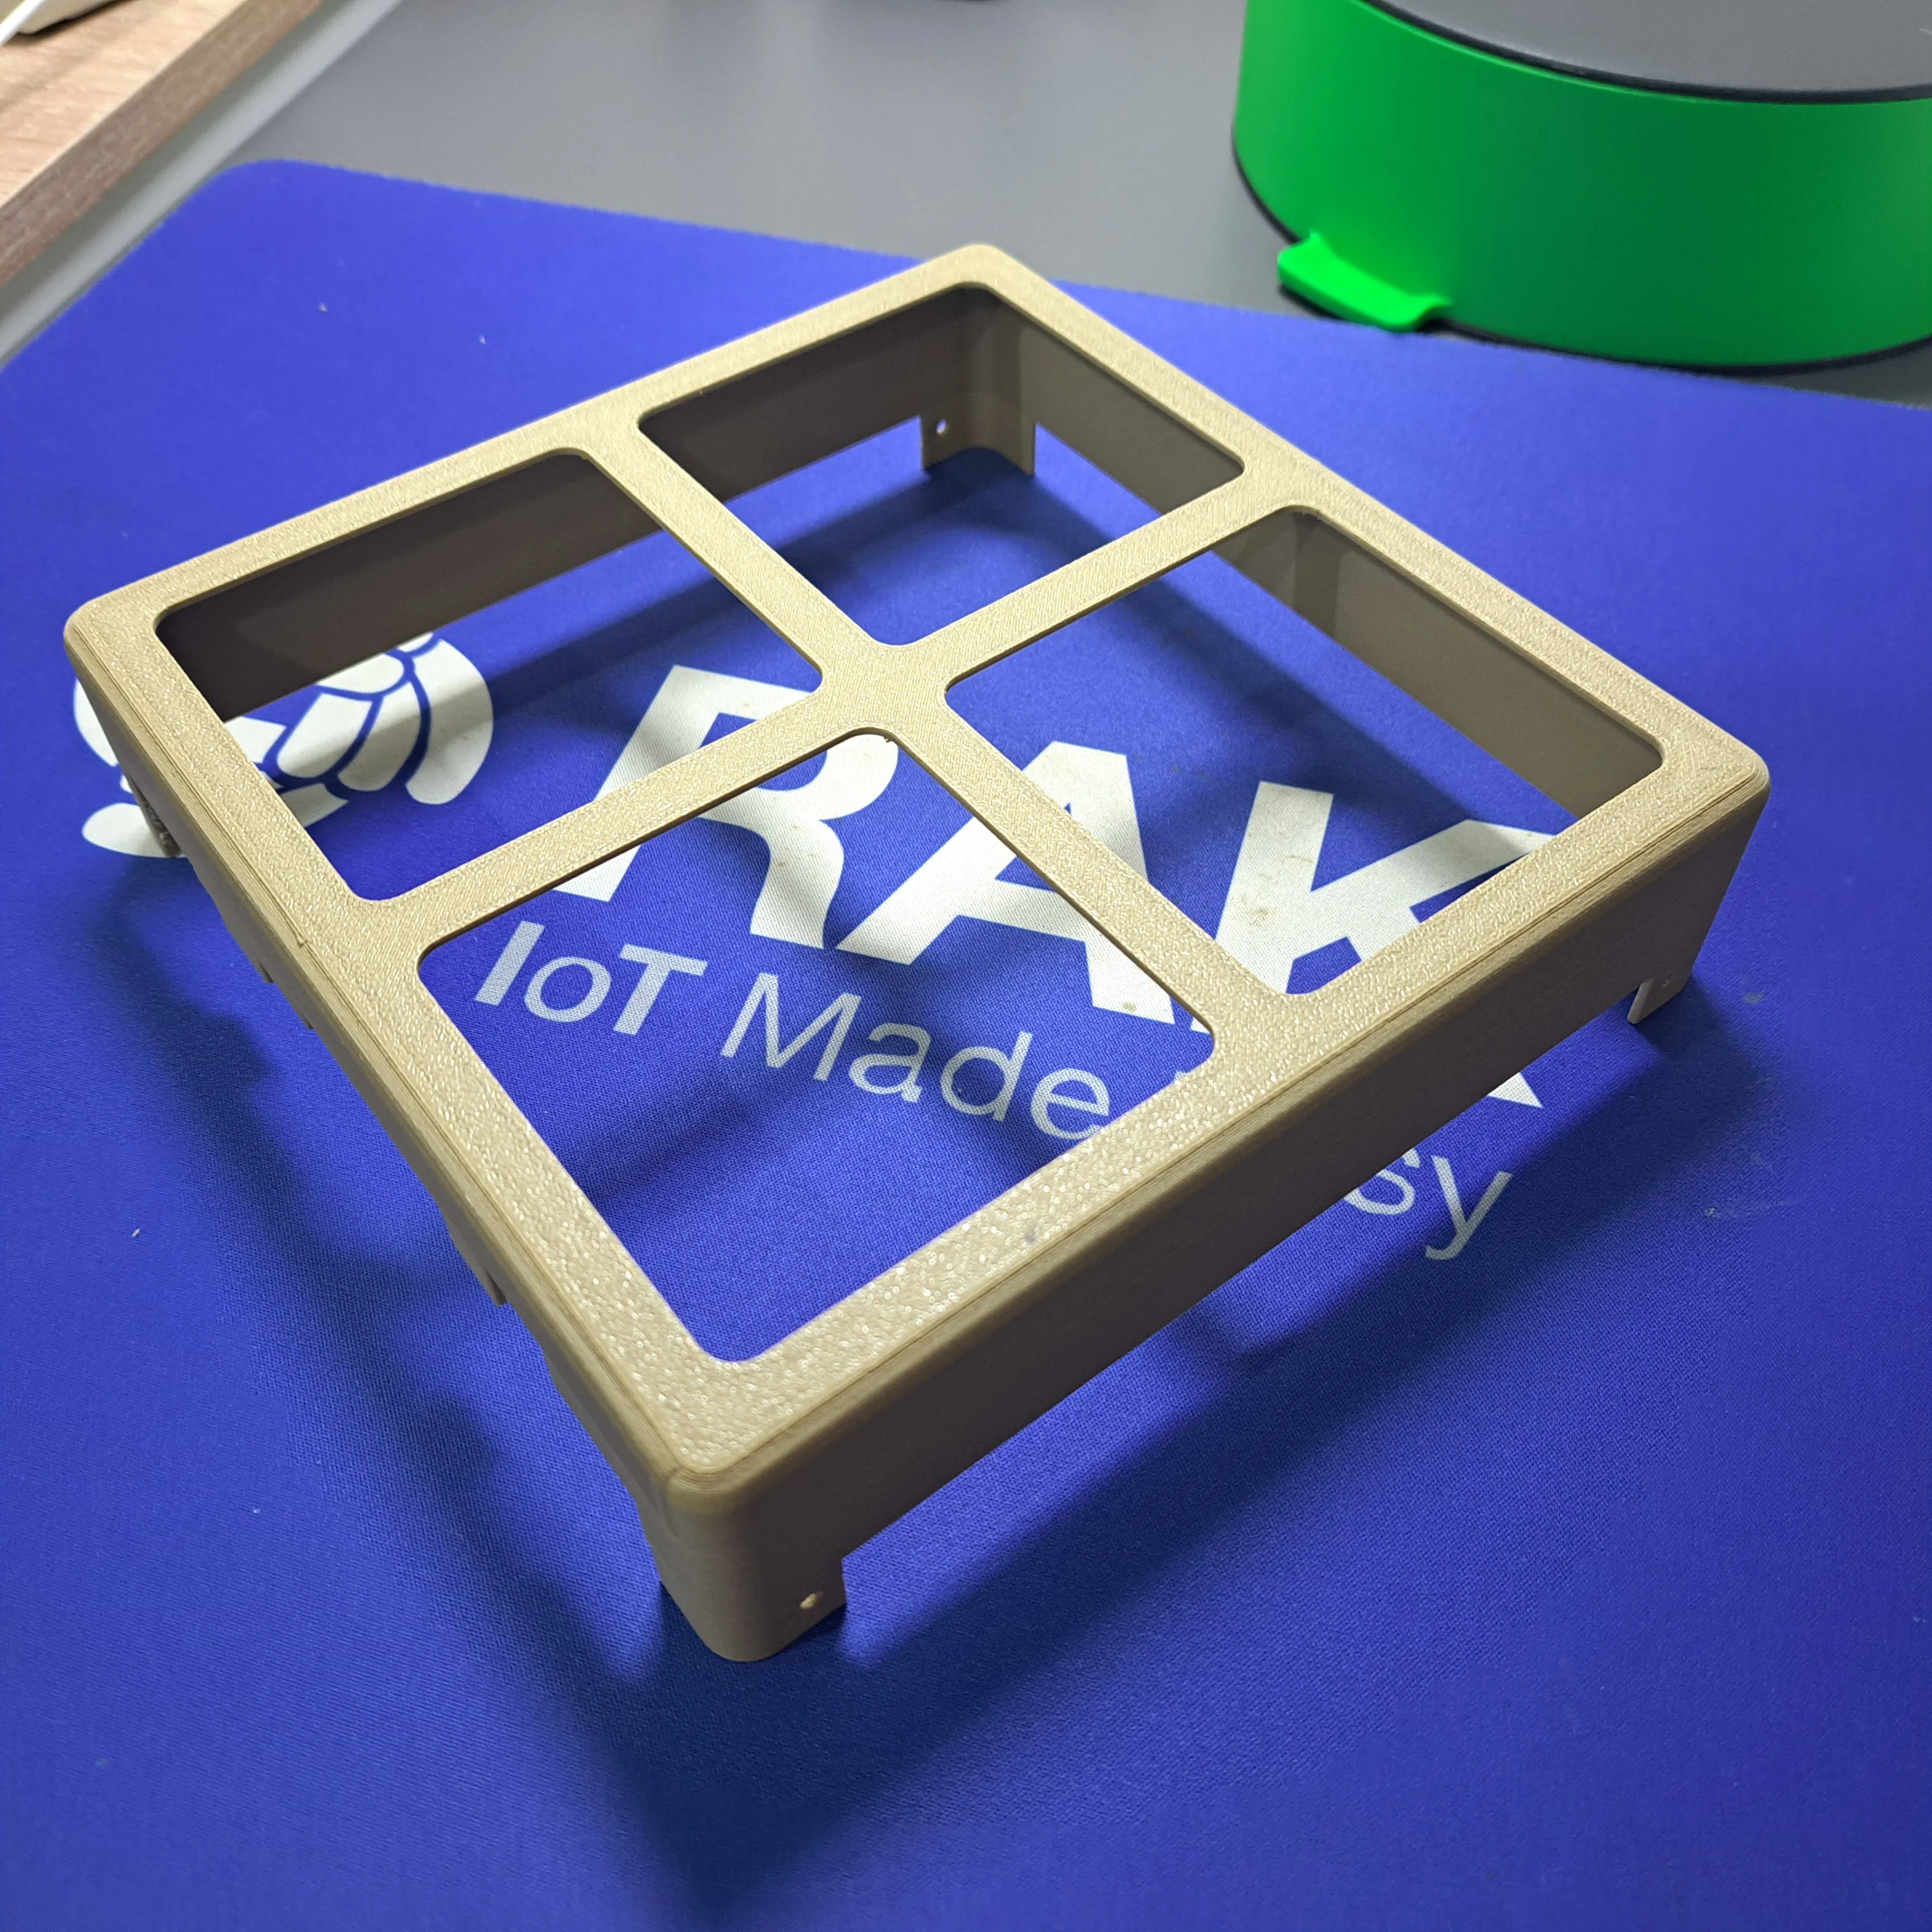 |
2. Get the components ready
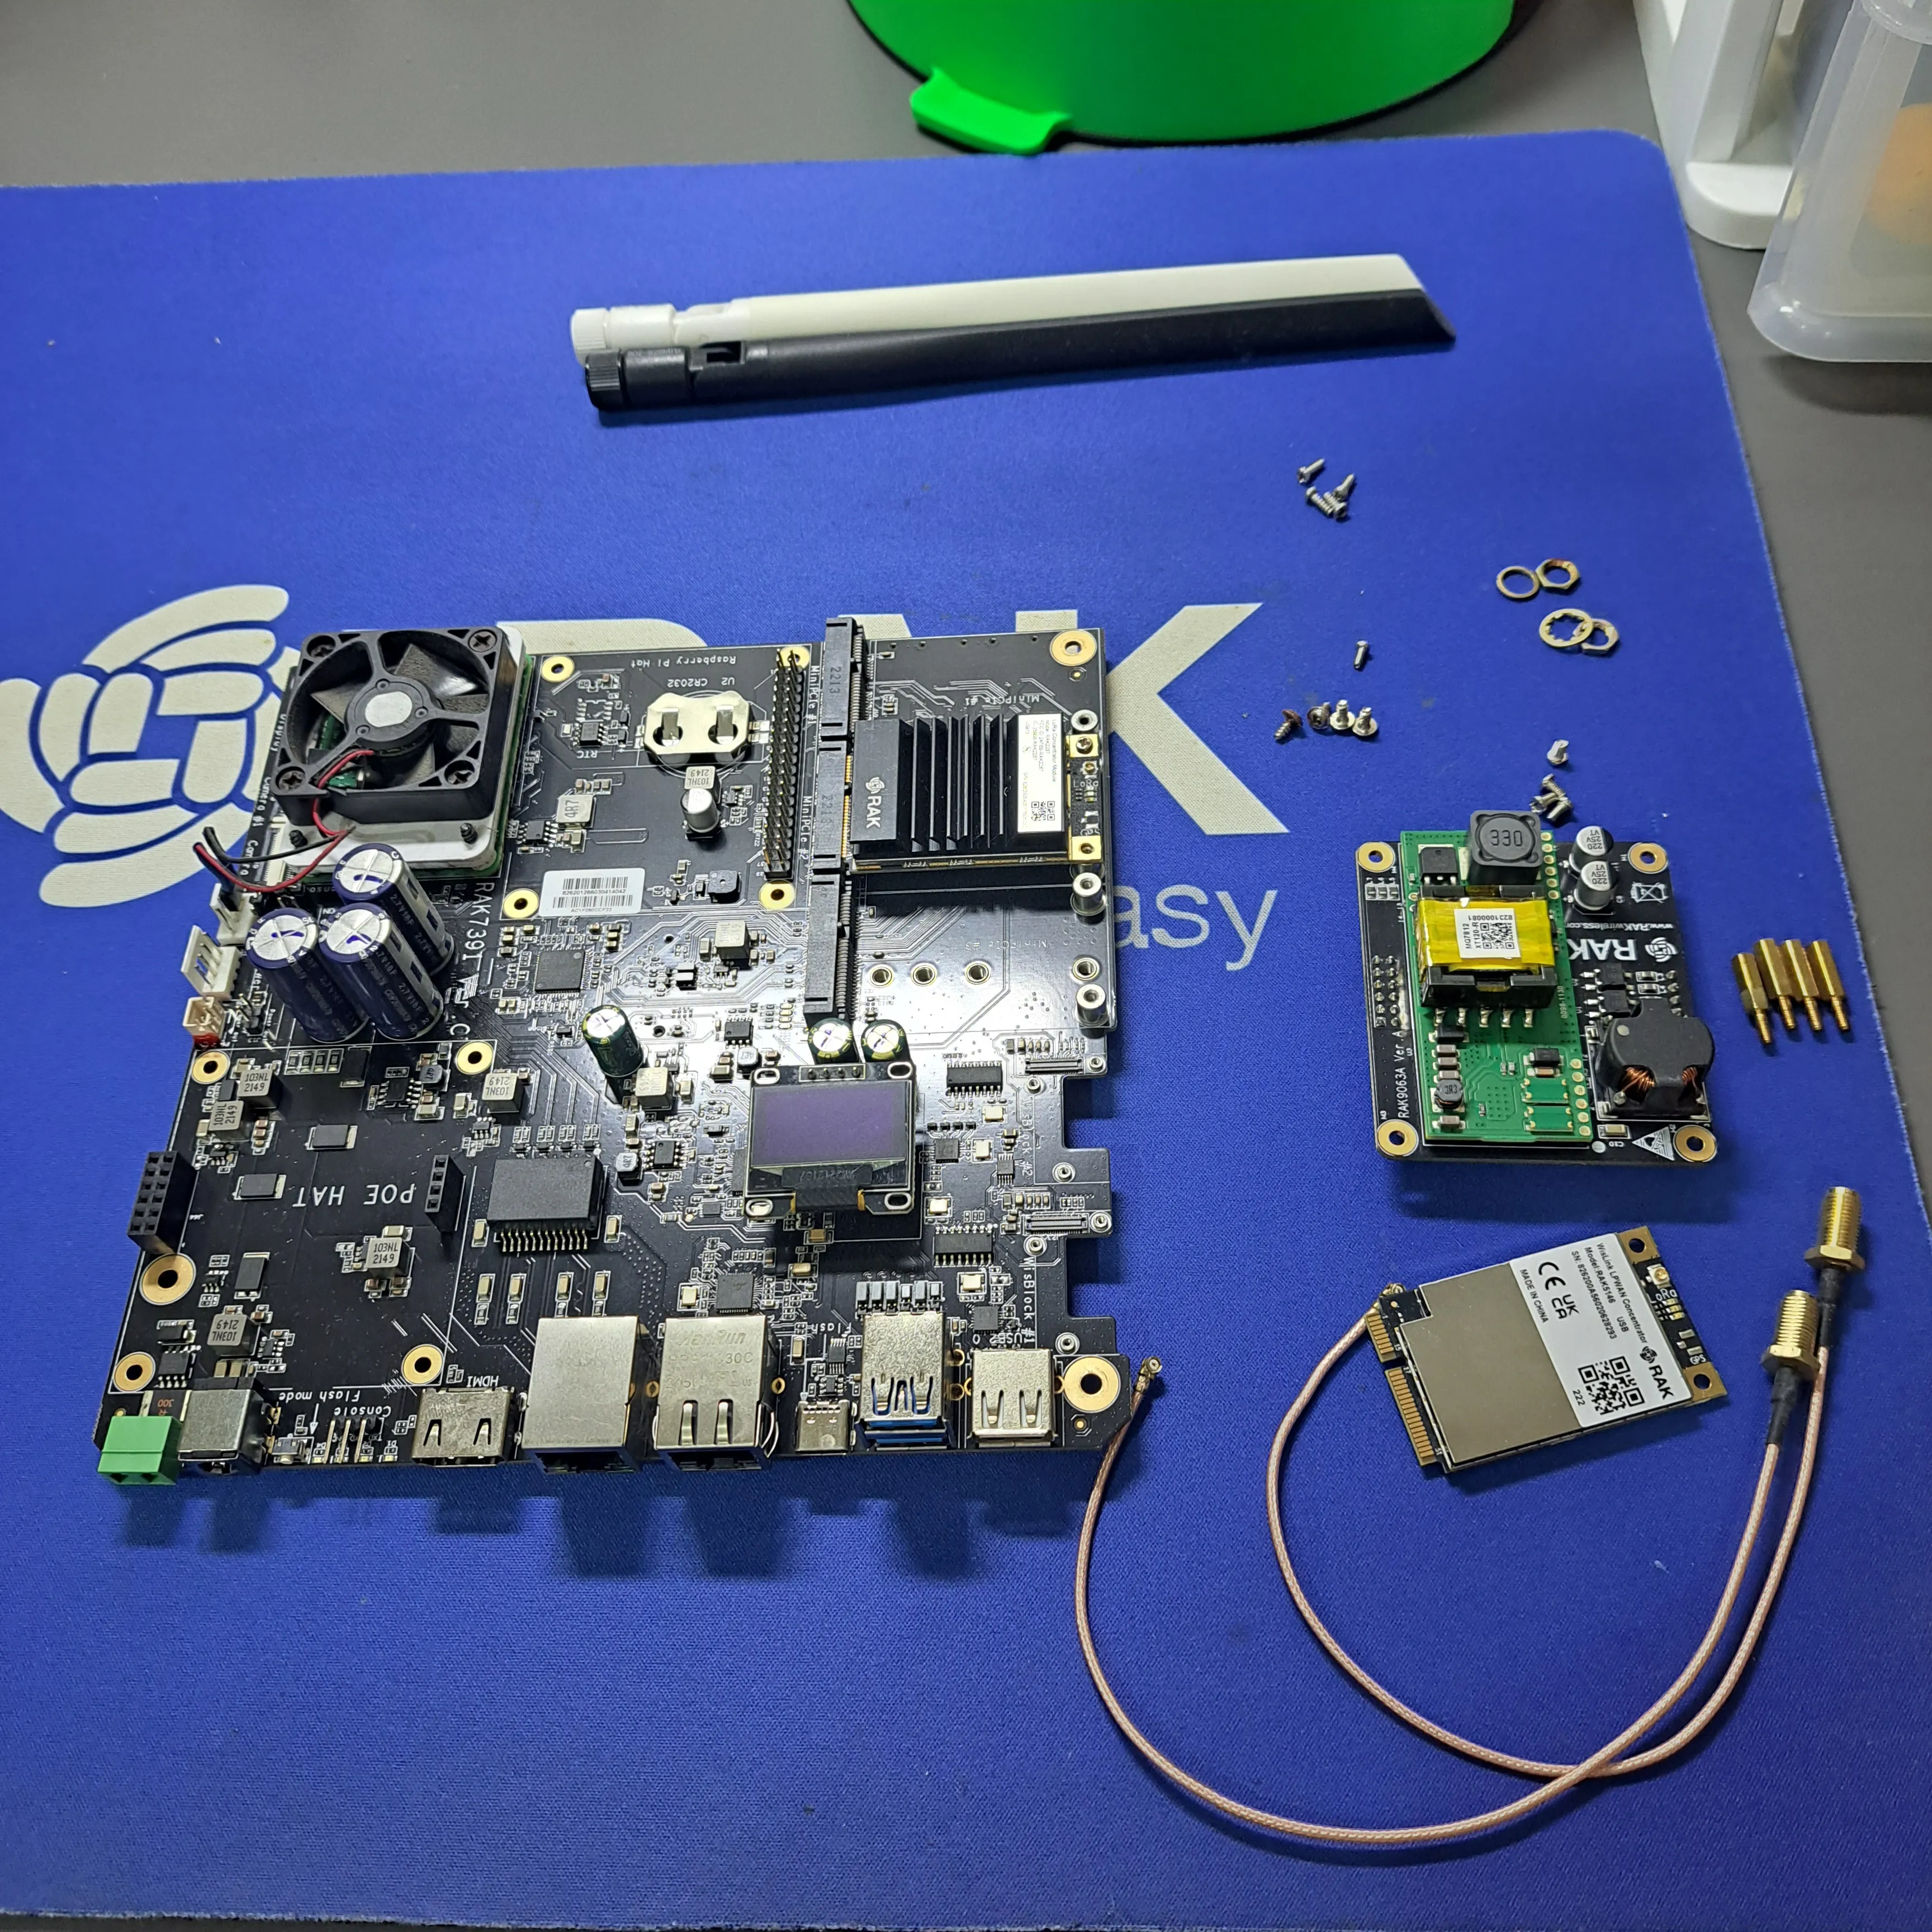
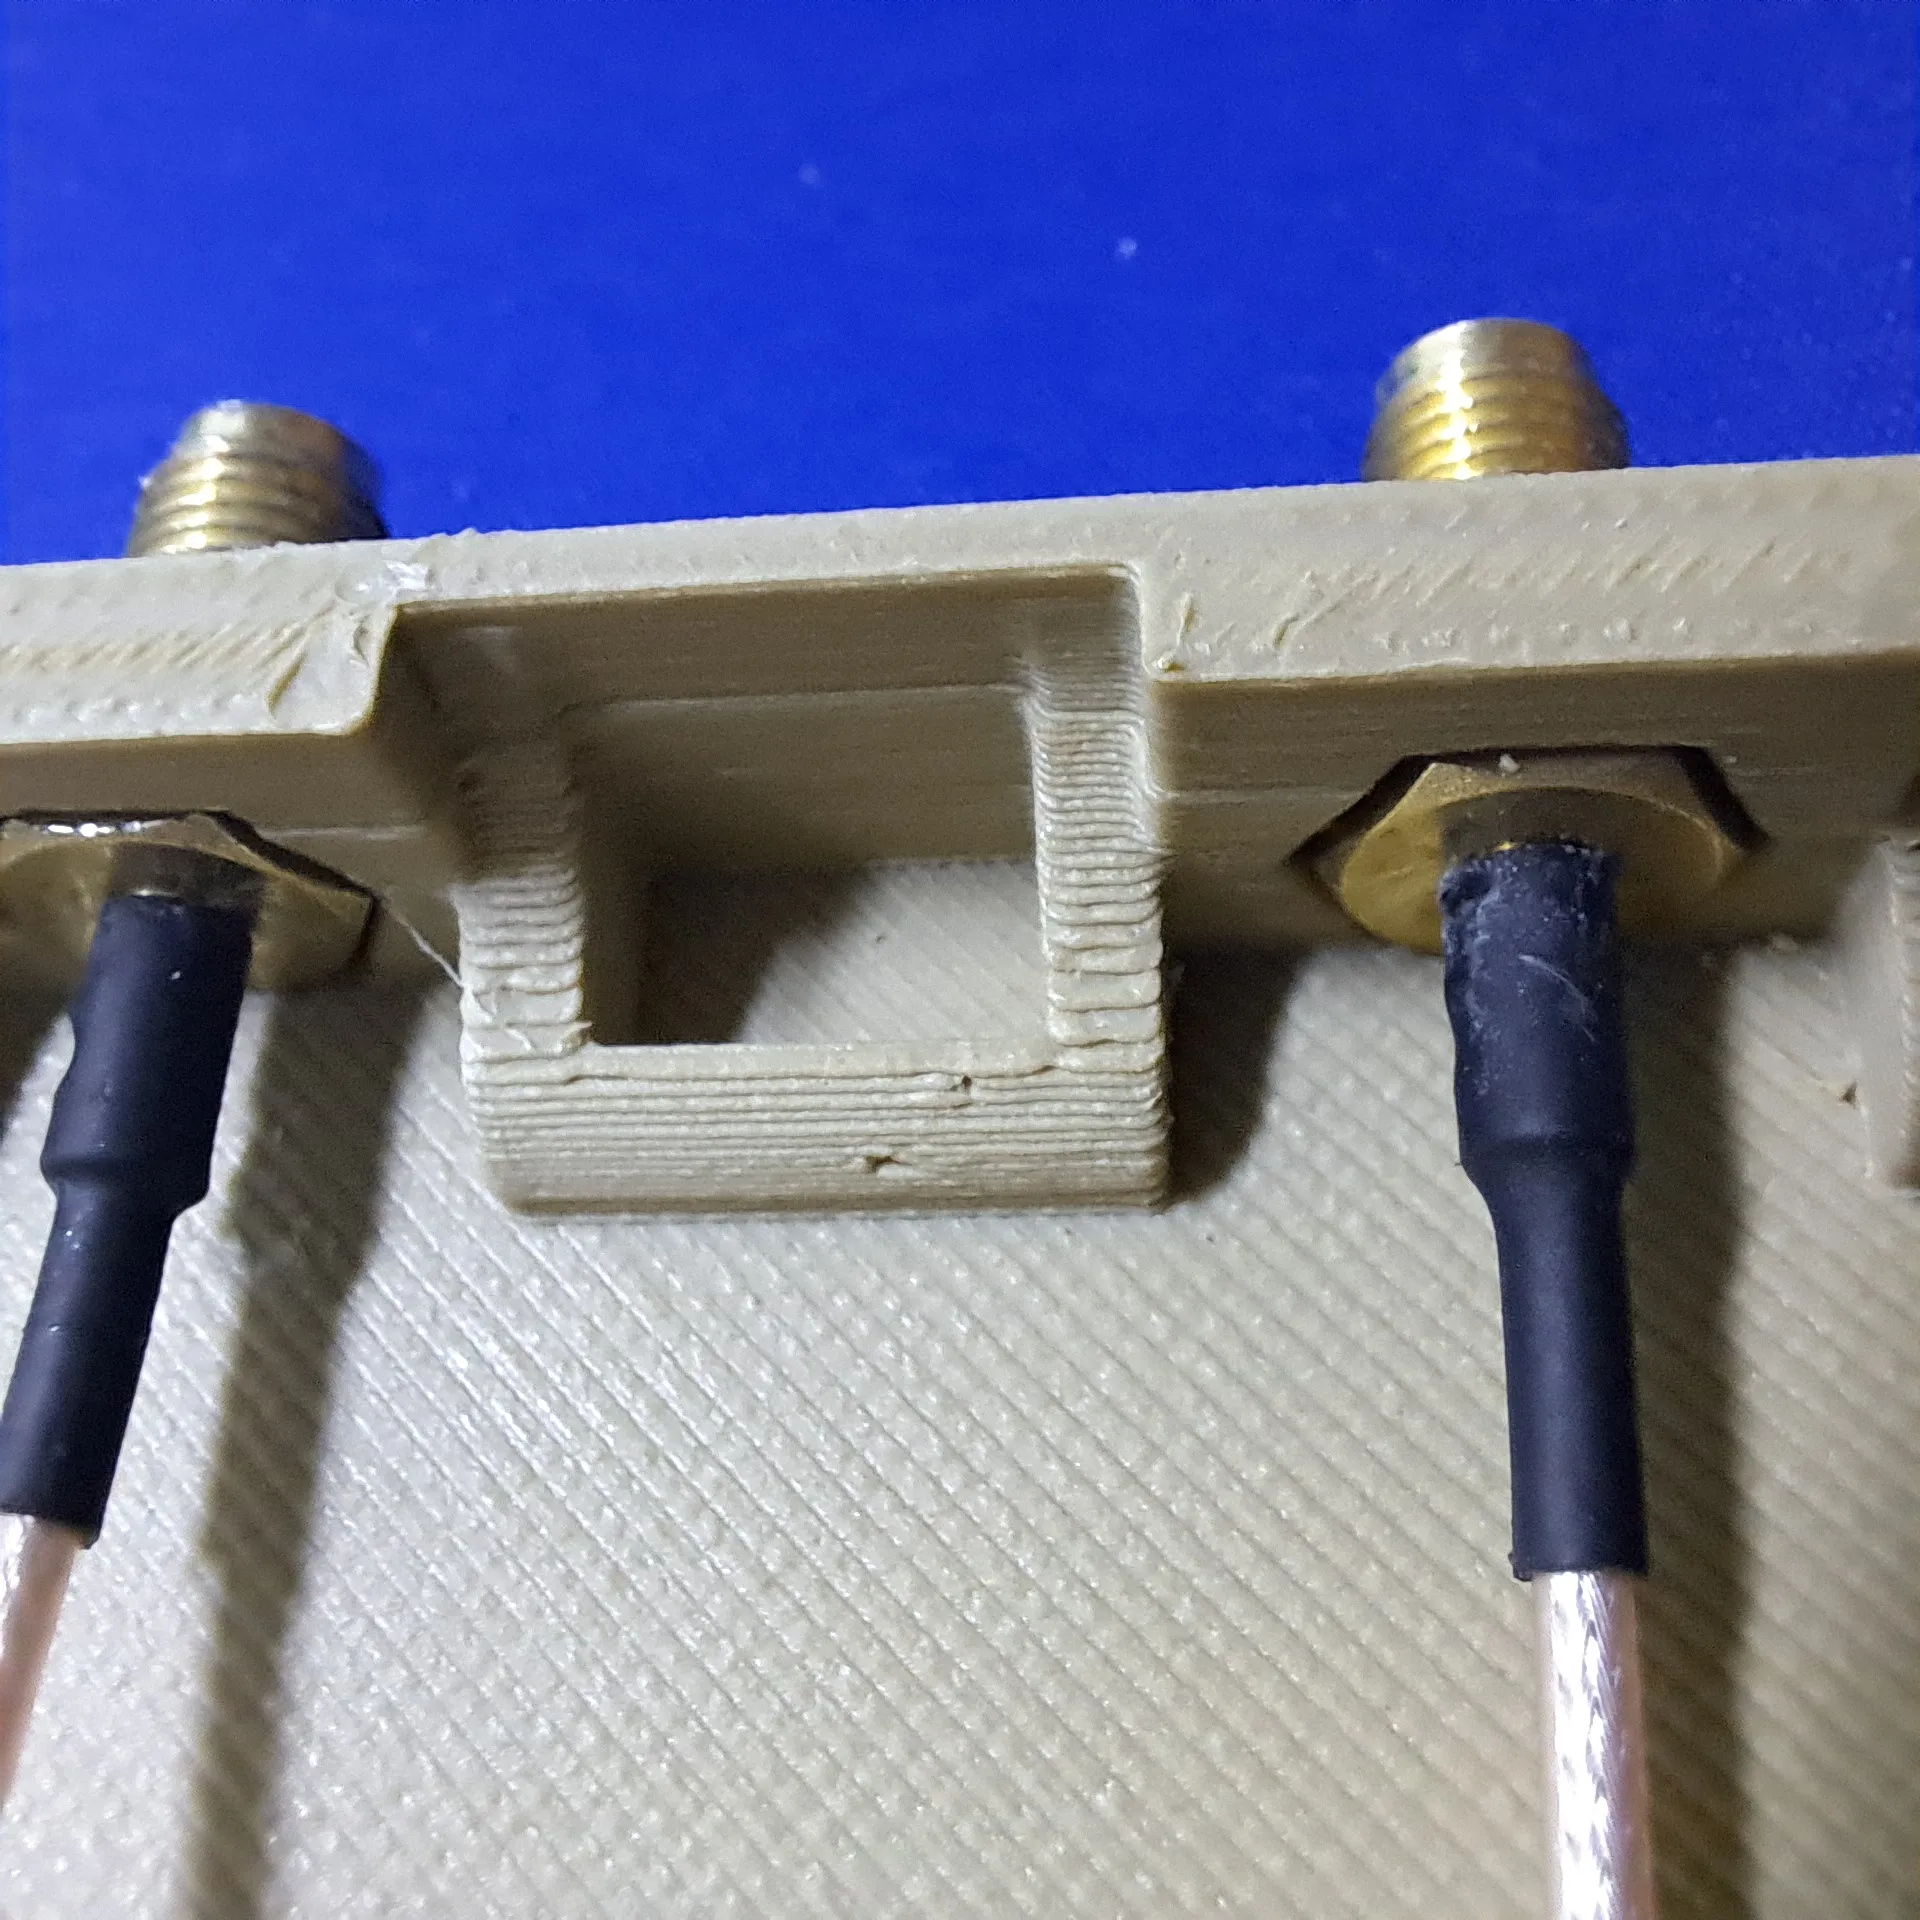
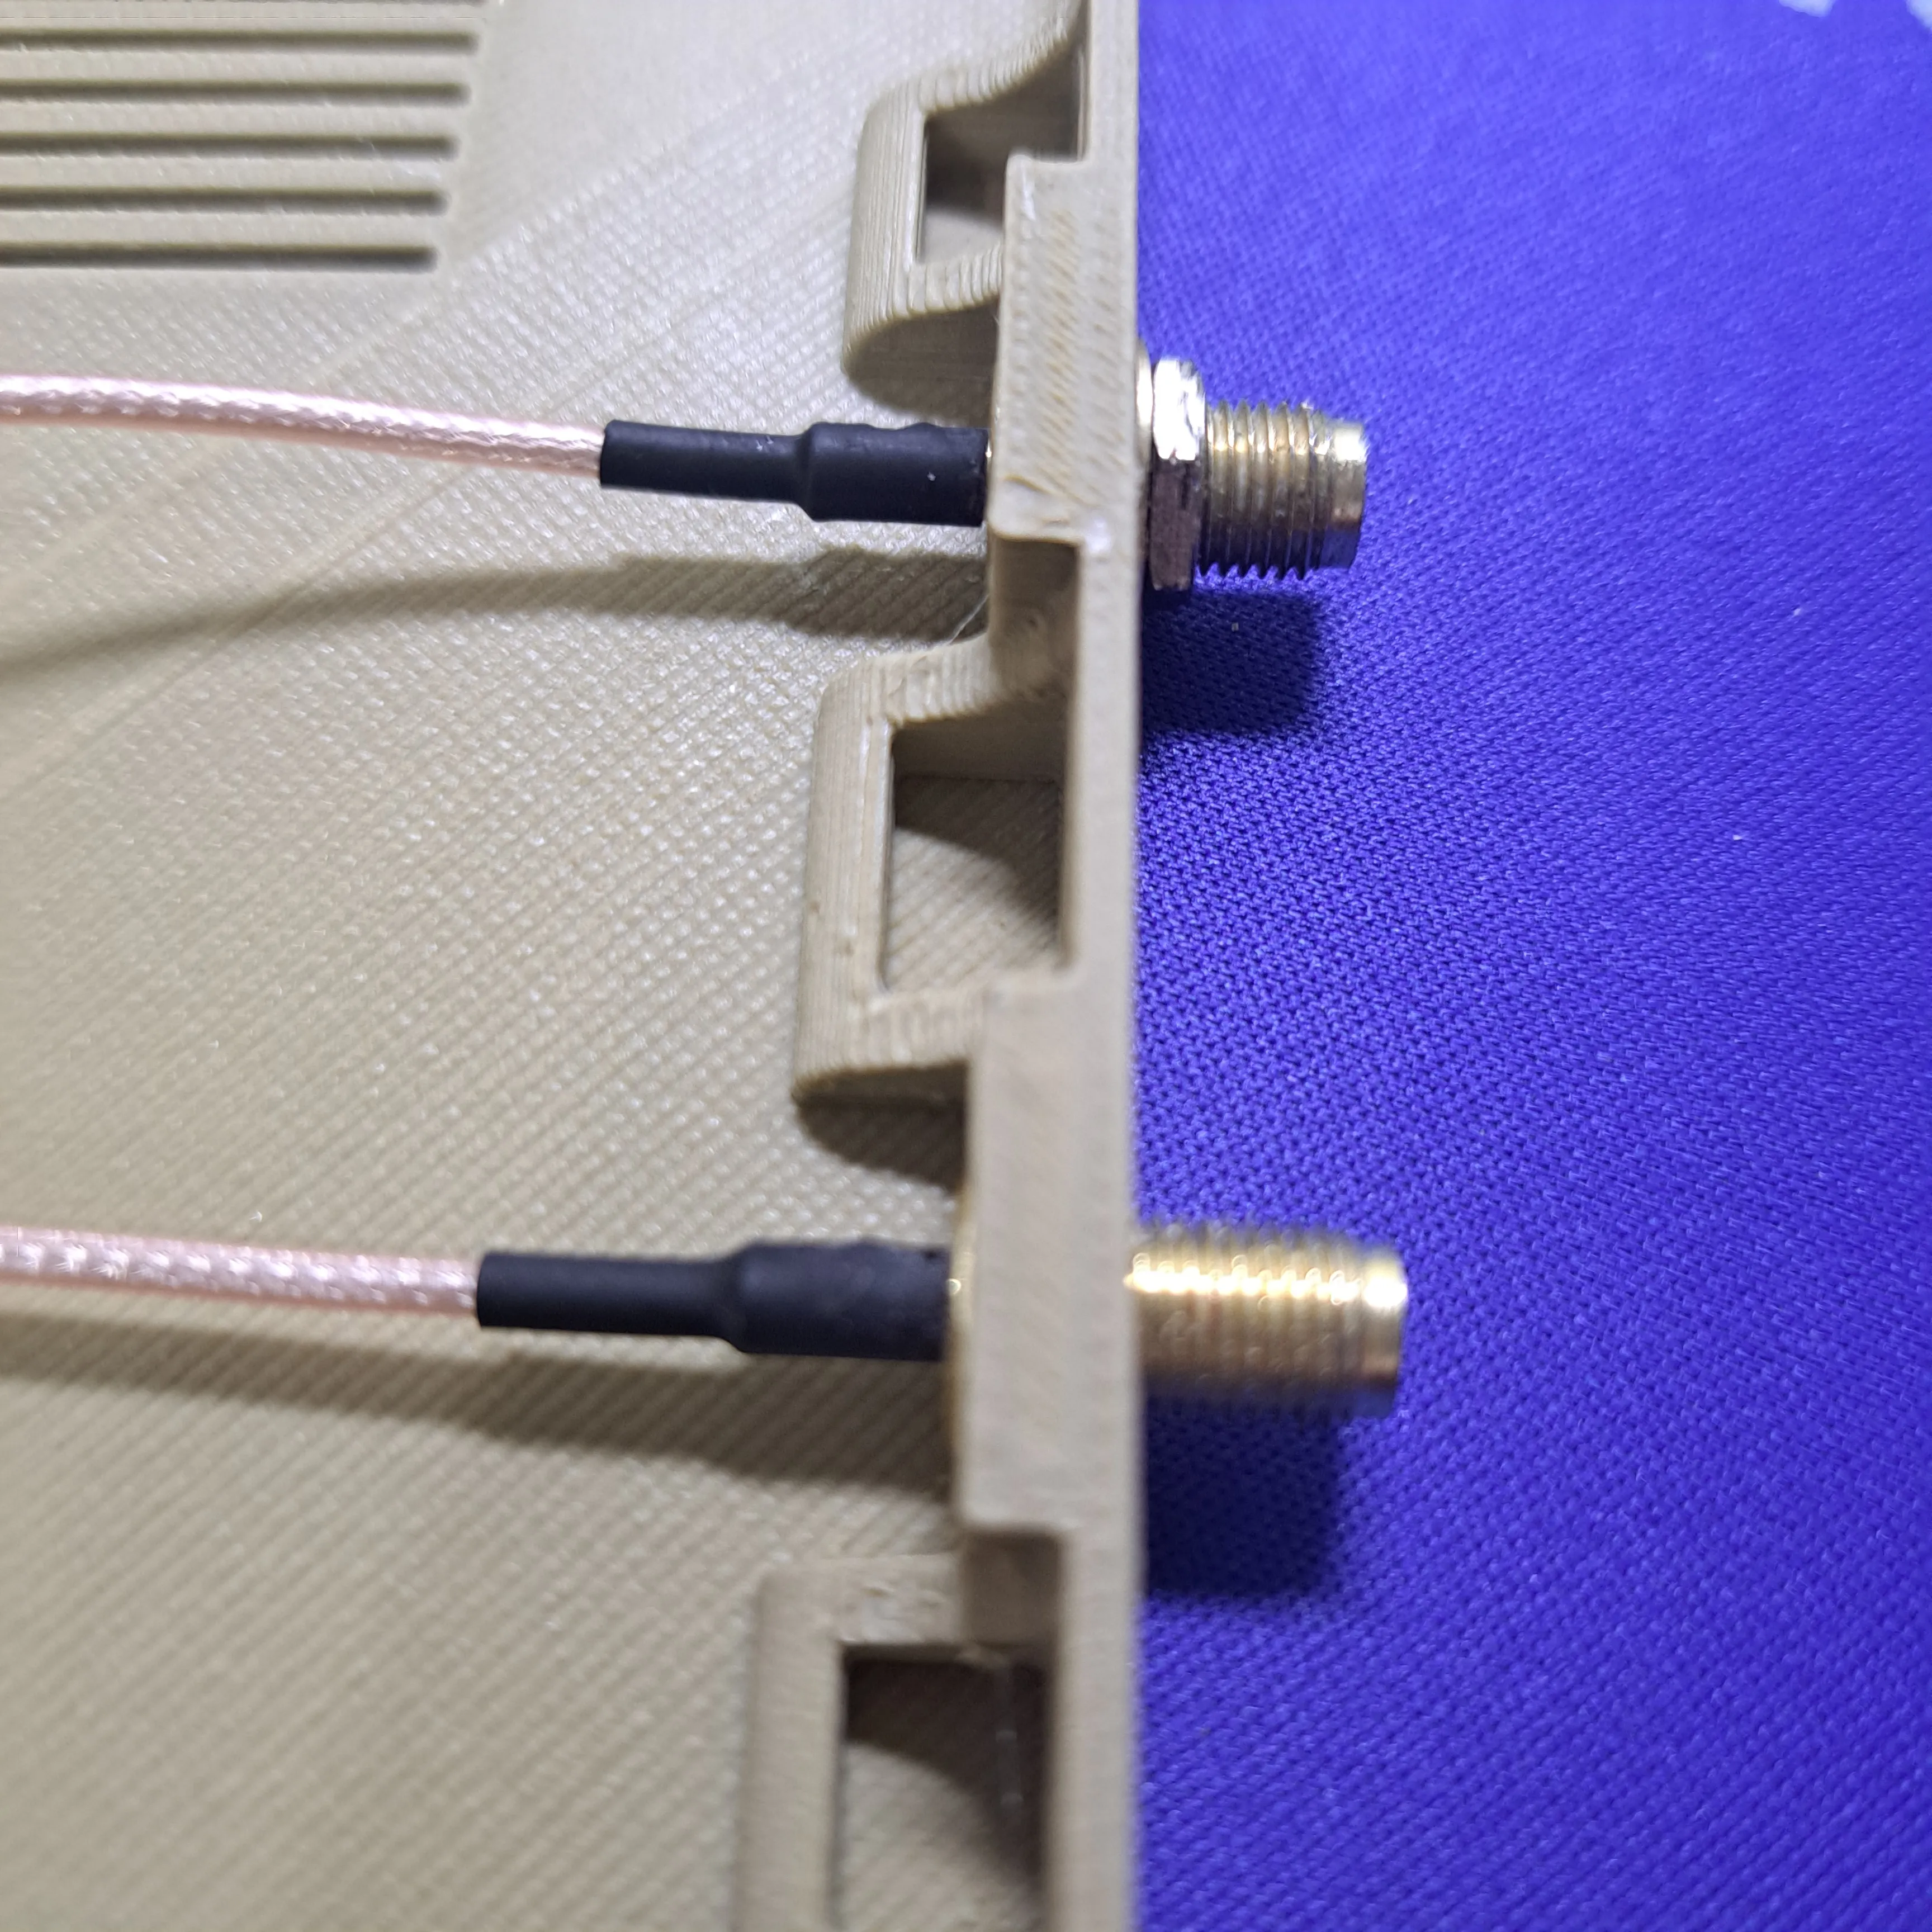
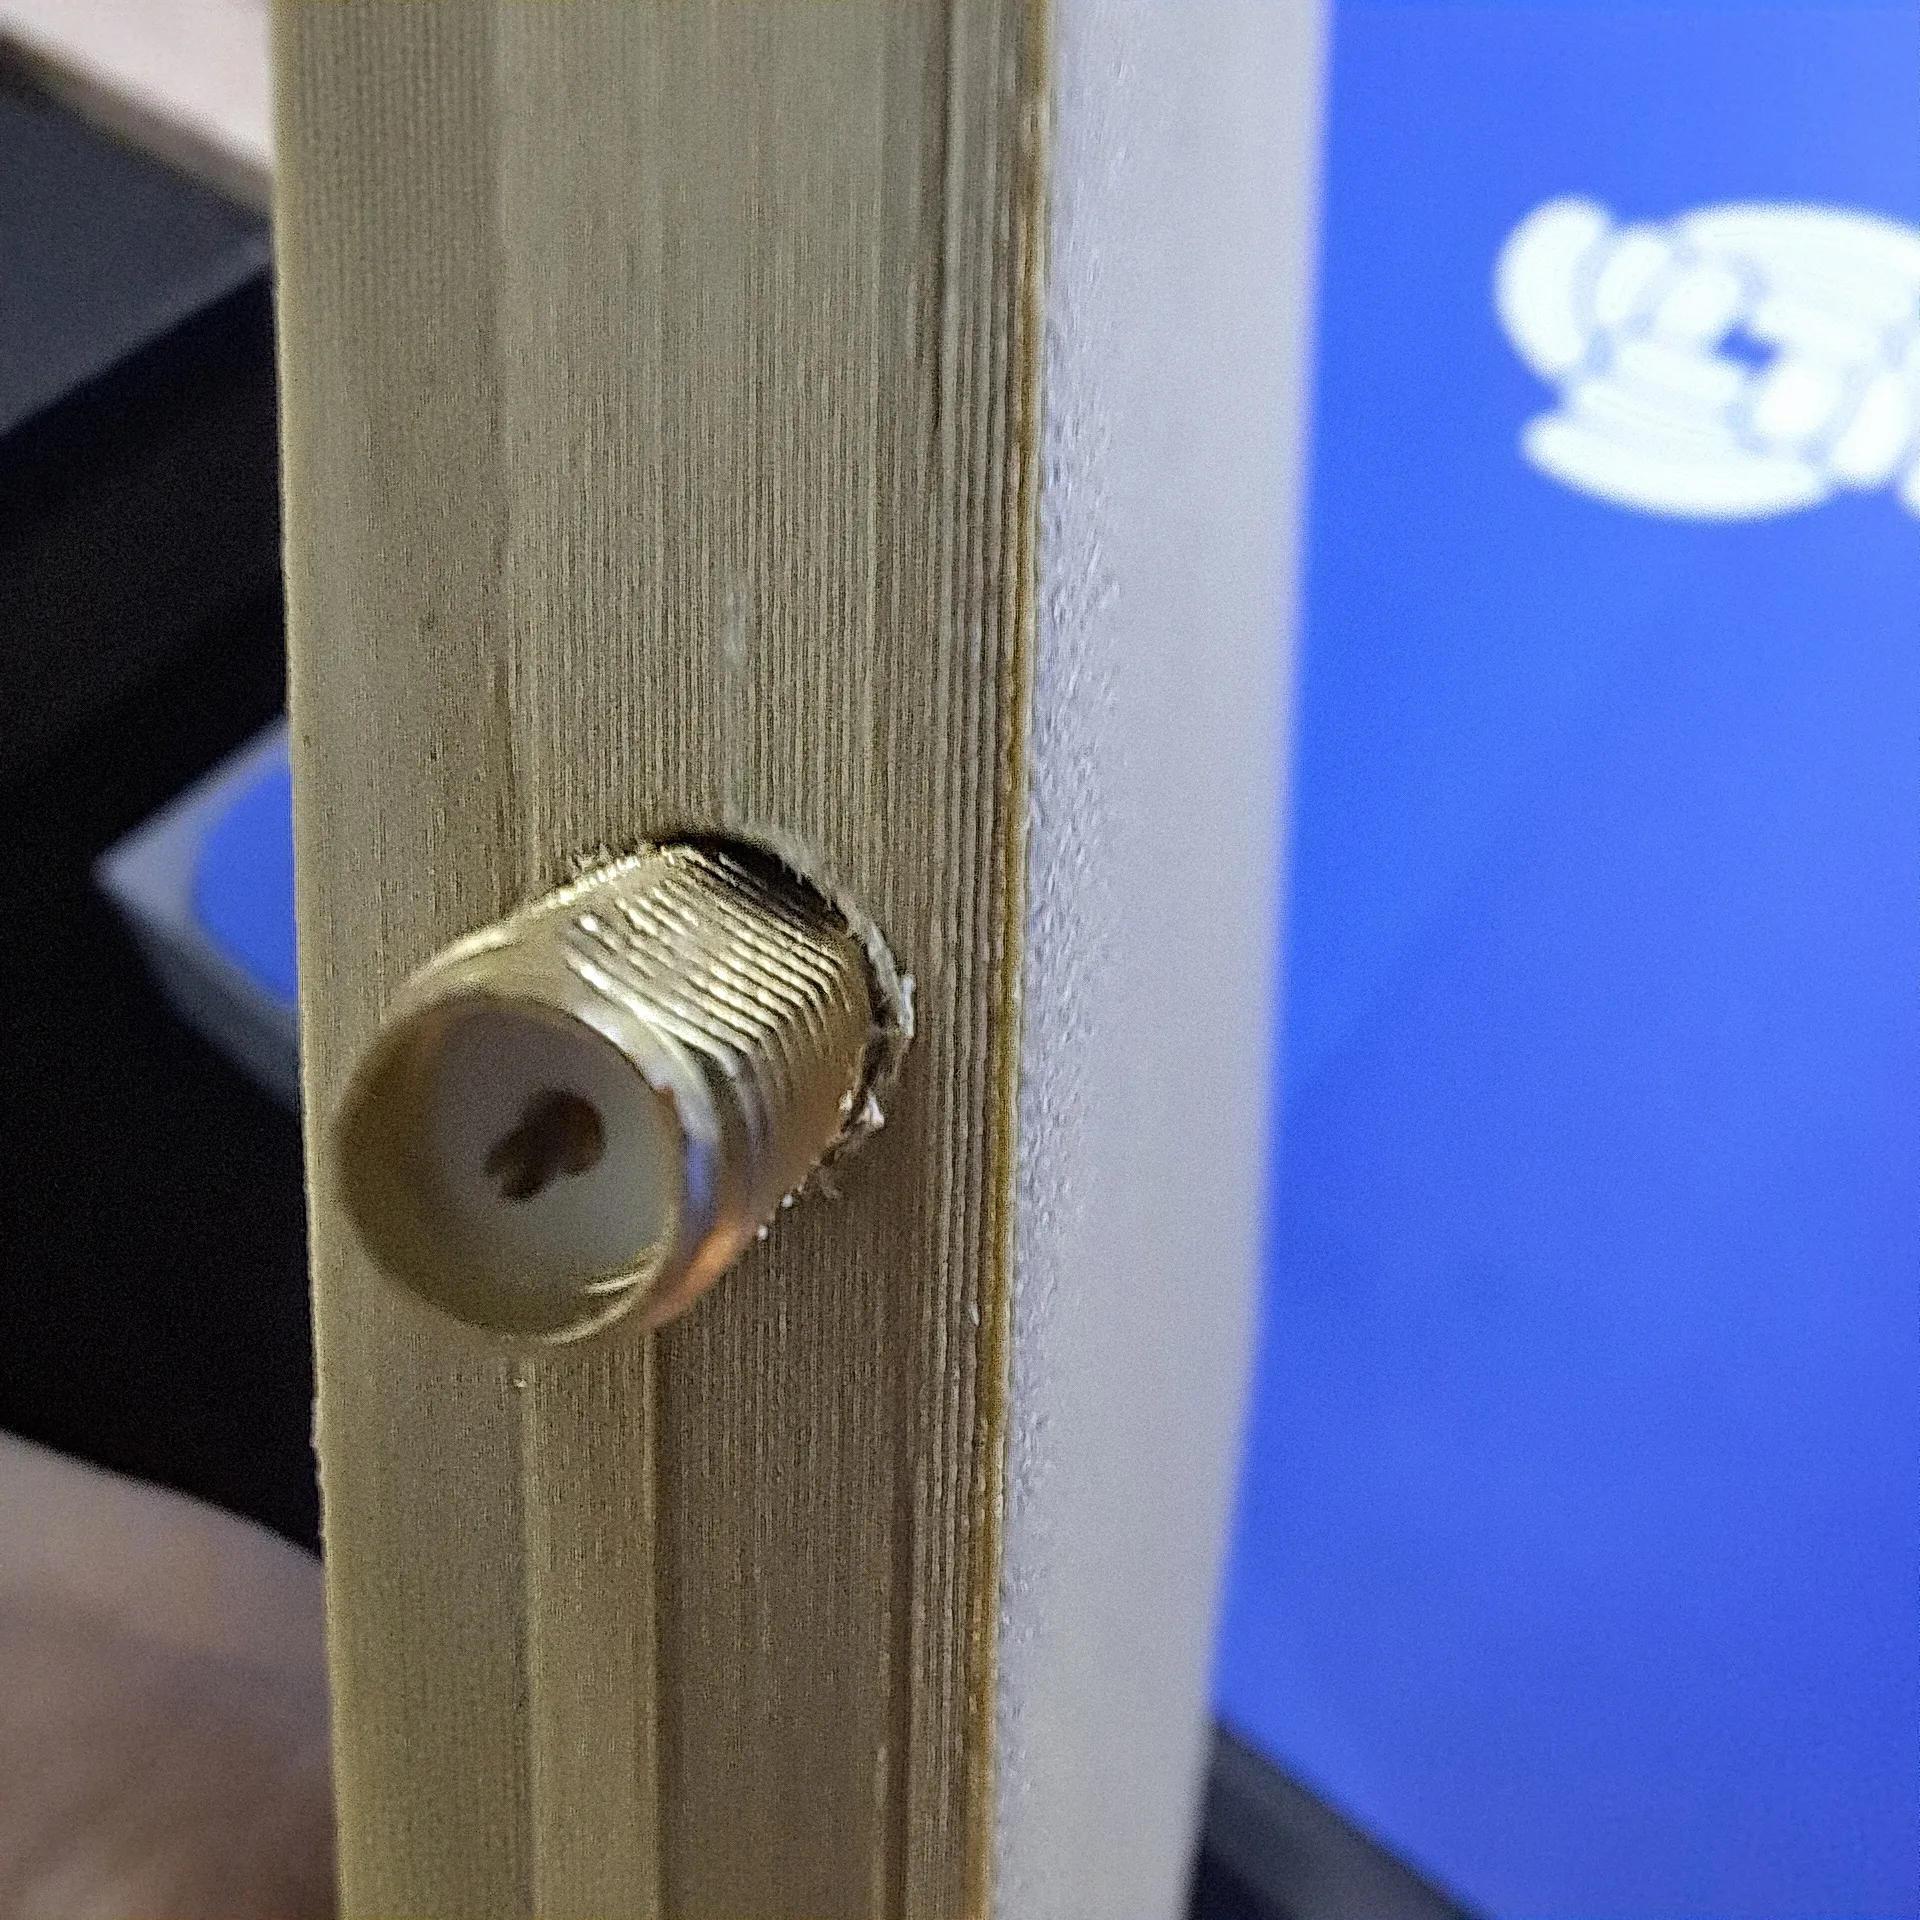
3. Mount the antenna connectors
| 
| 
|
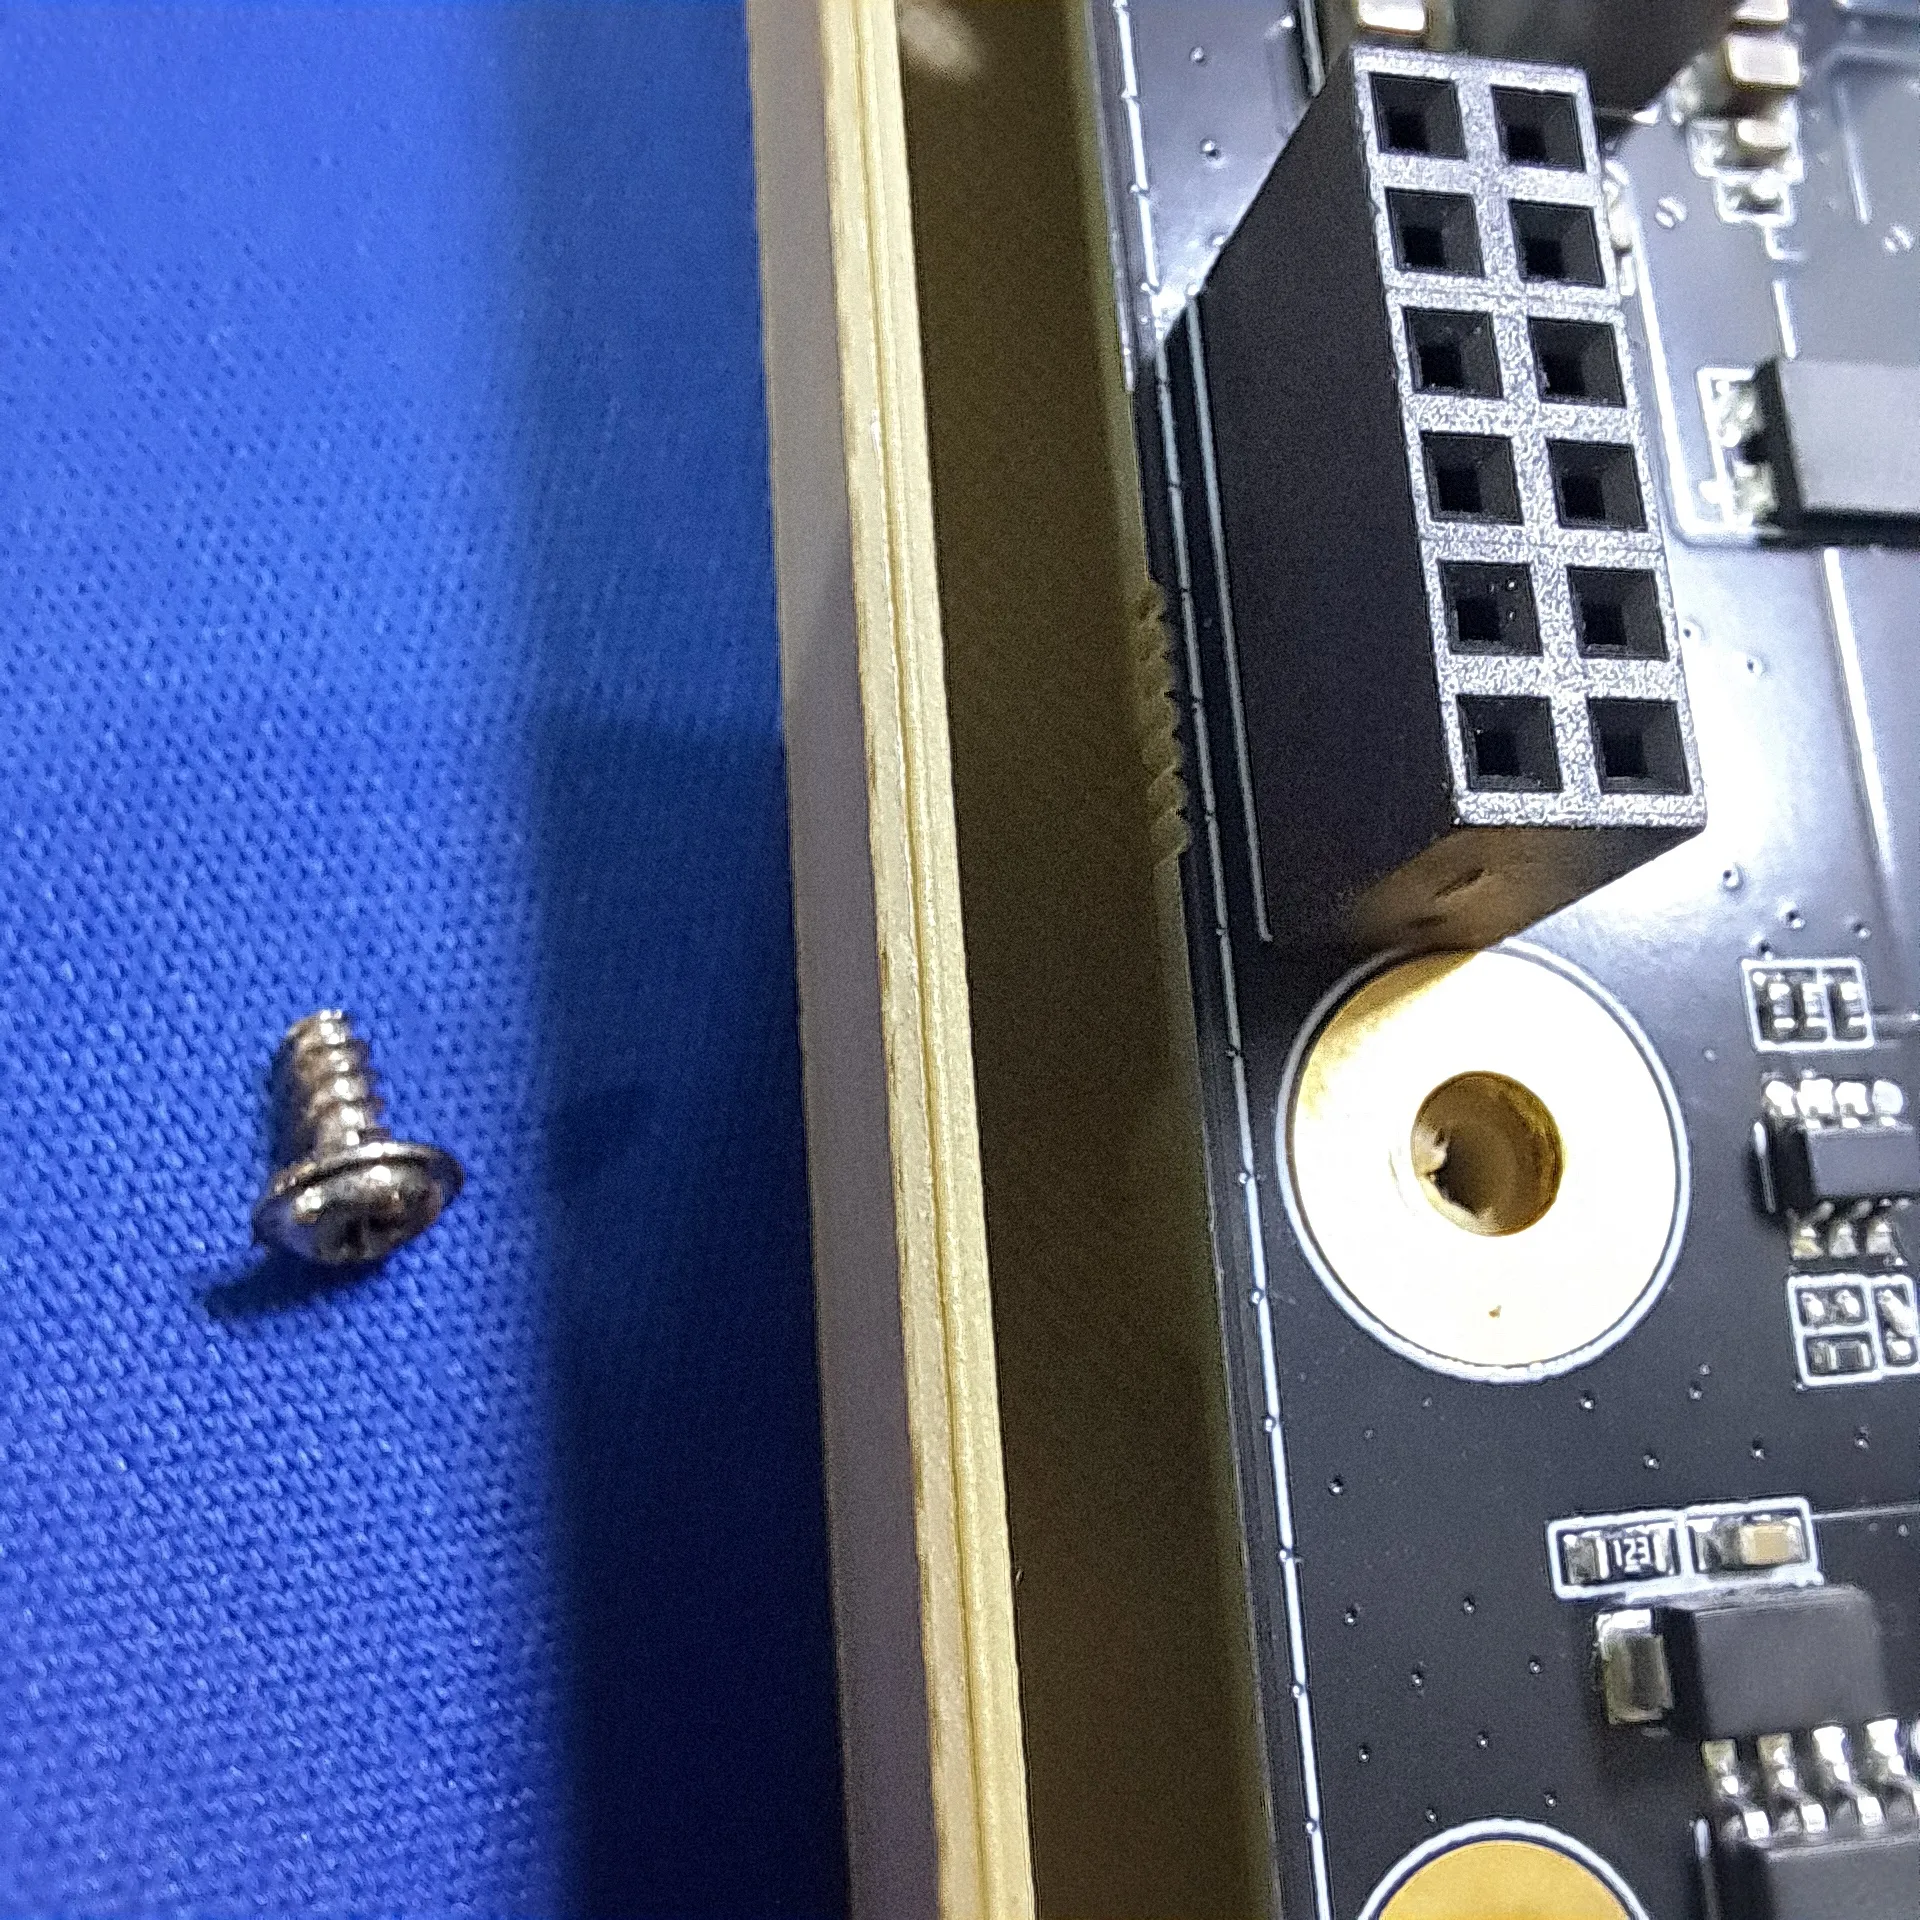
4. Mount the RAK7391 PCB into the bottom part of the enclosure. One screw is hidden below one of the concentrator slots.
5. Plug in the concentrator(s) and connect the antenna cables
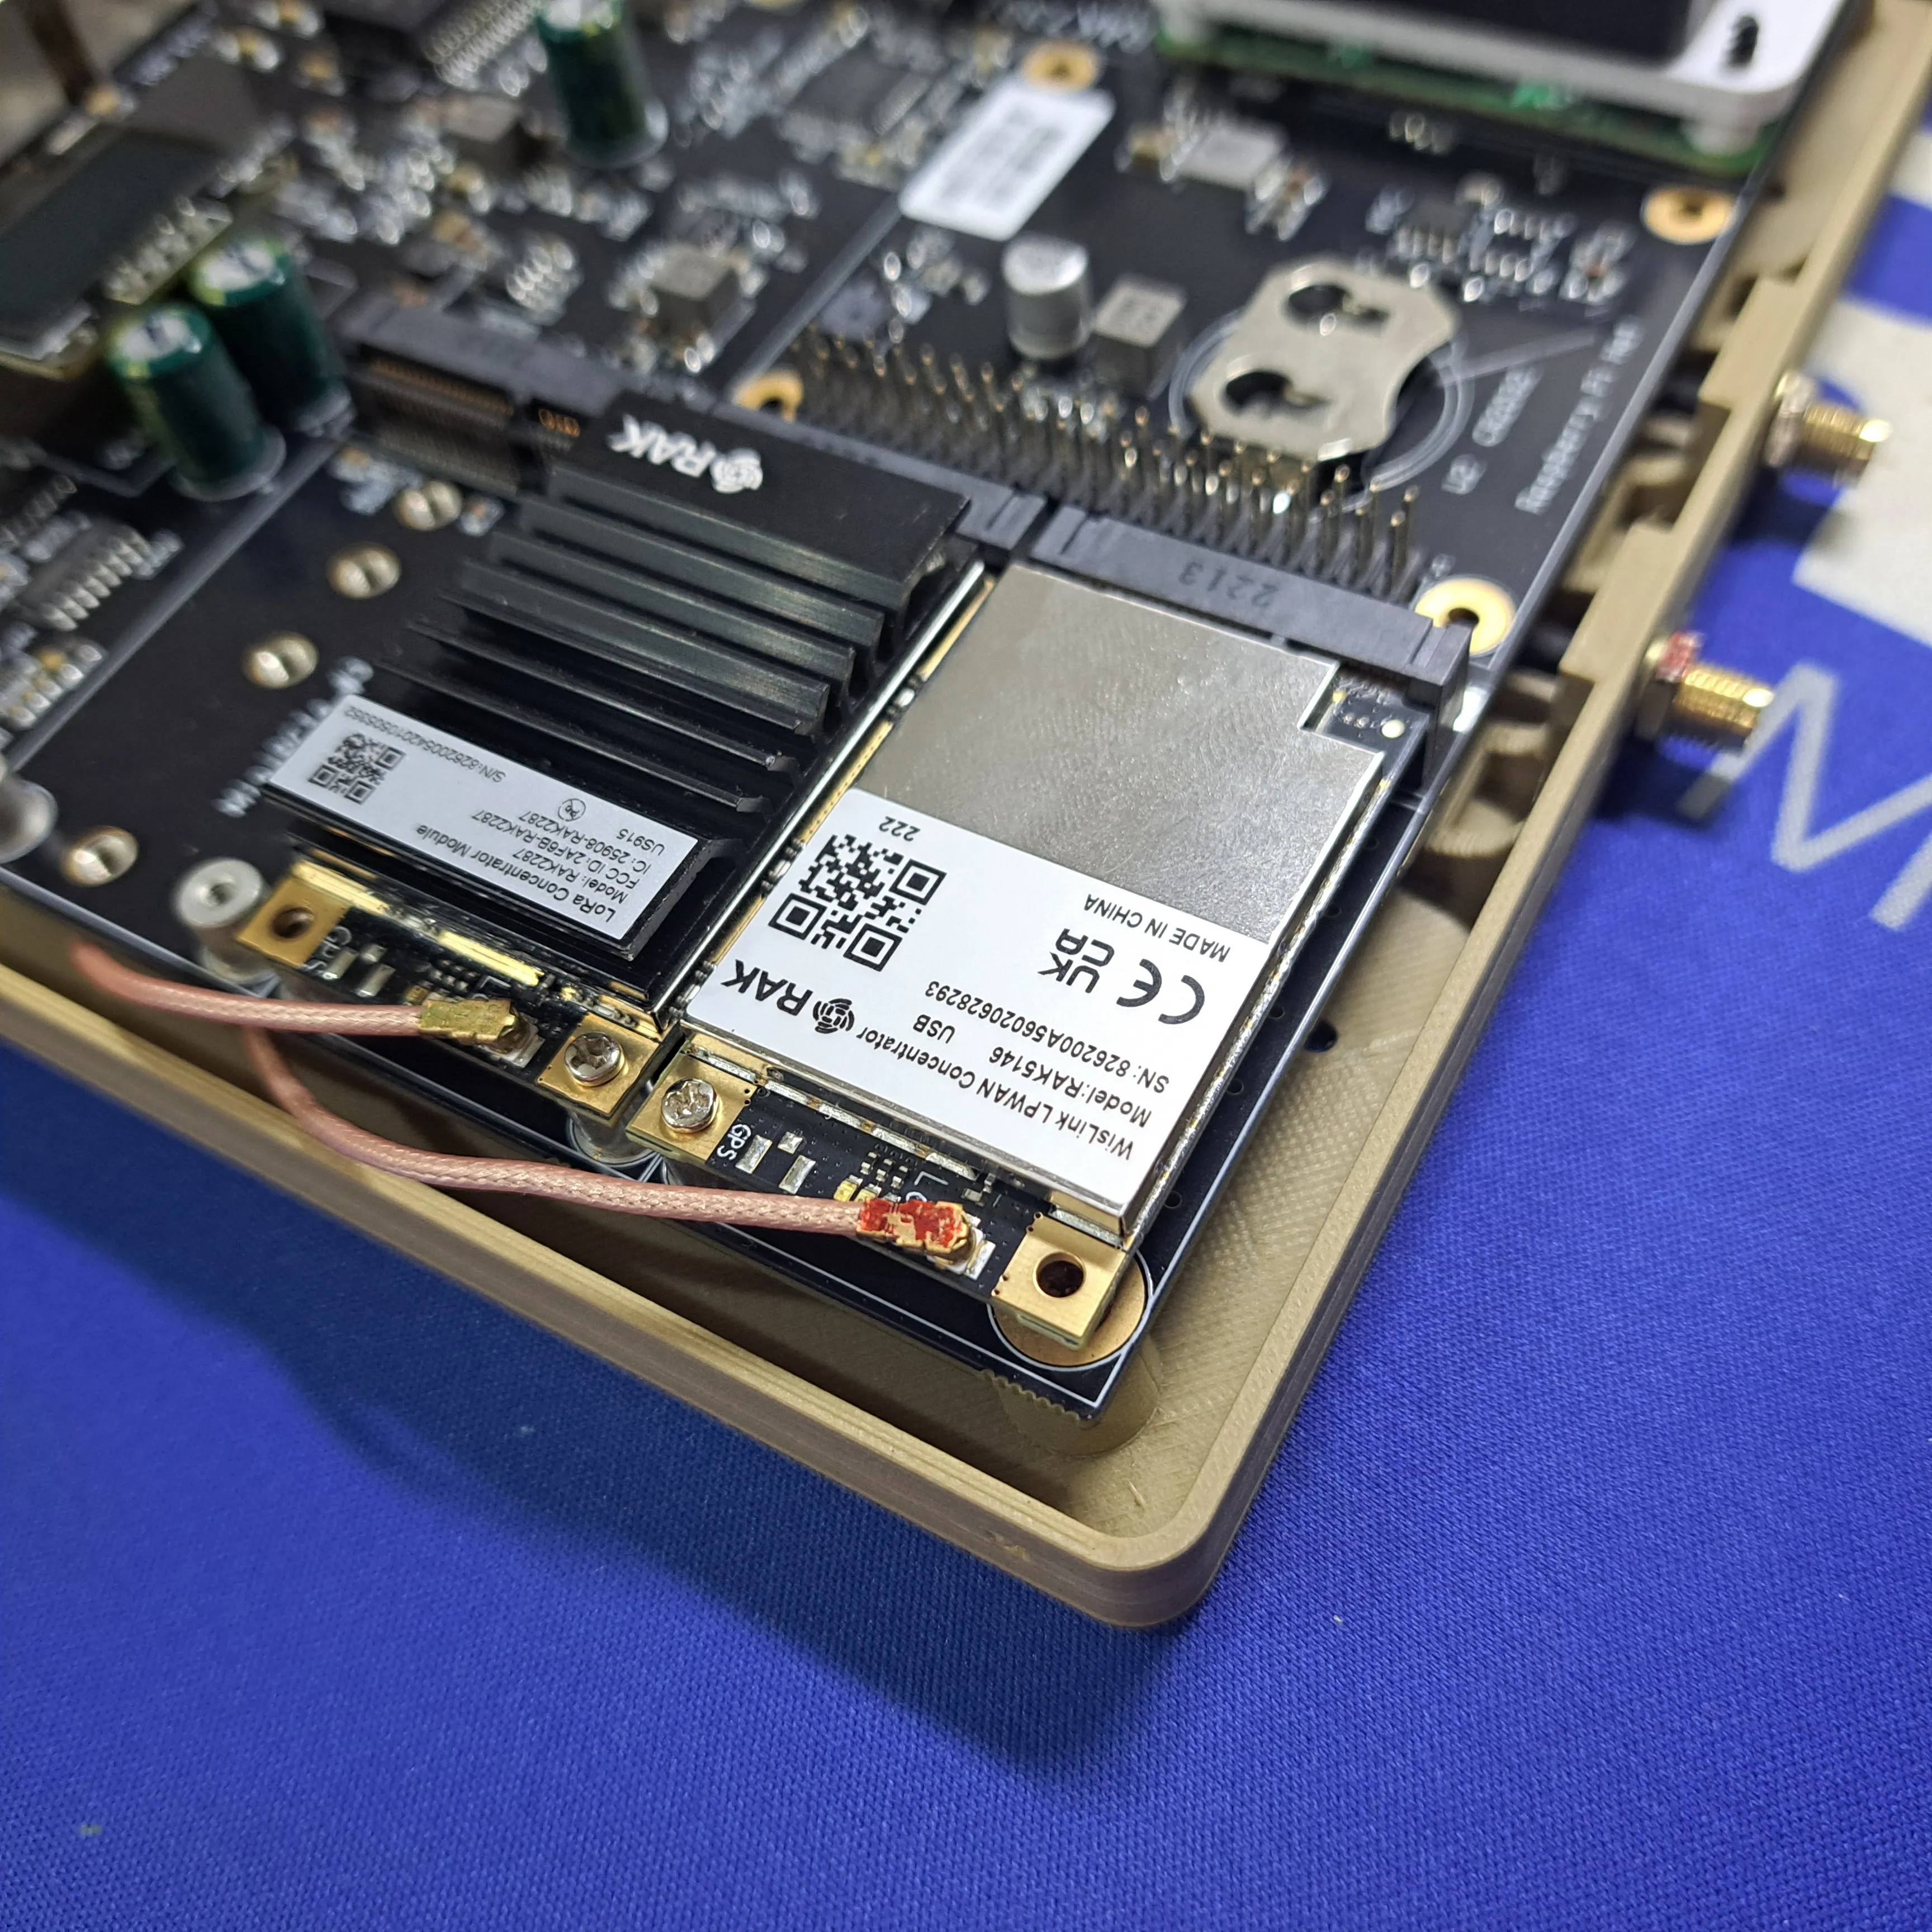
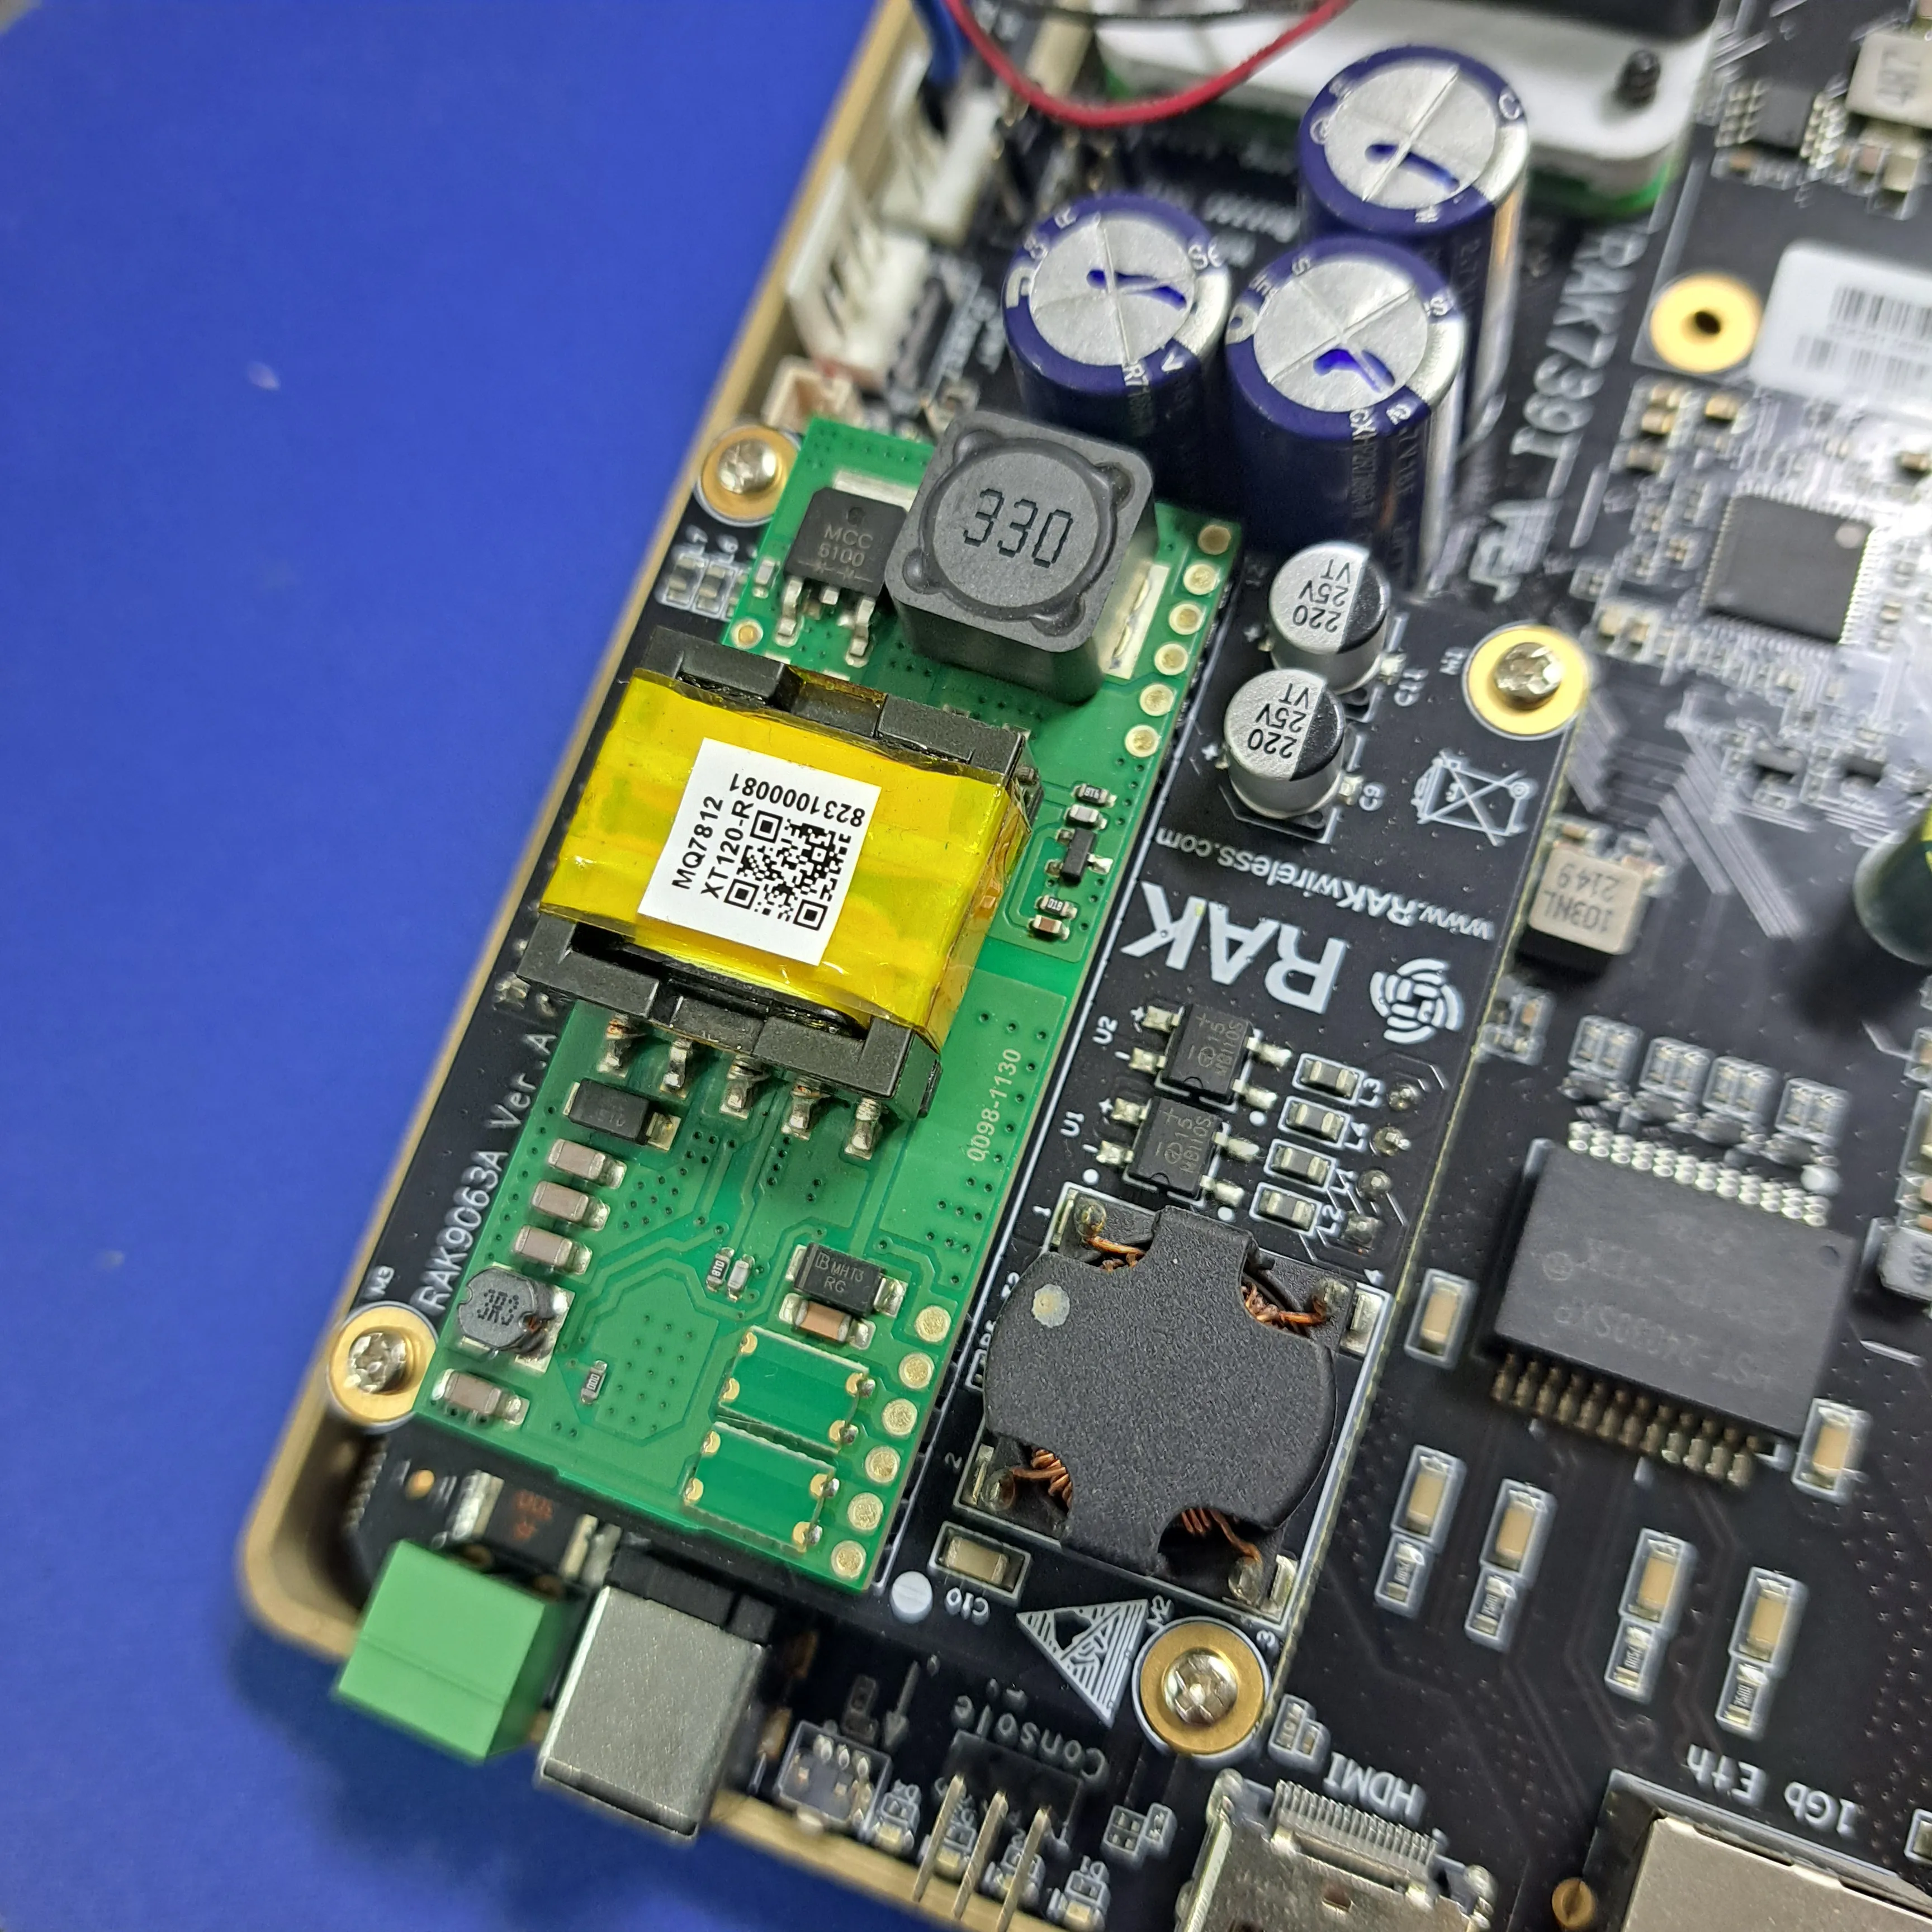
6. Optional if using the PoE module, mount the PoE module
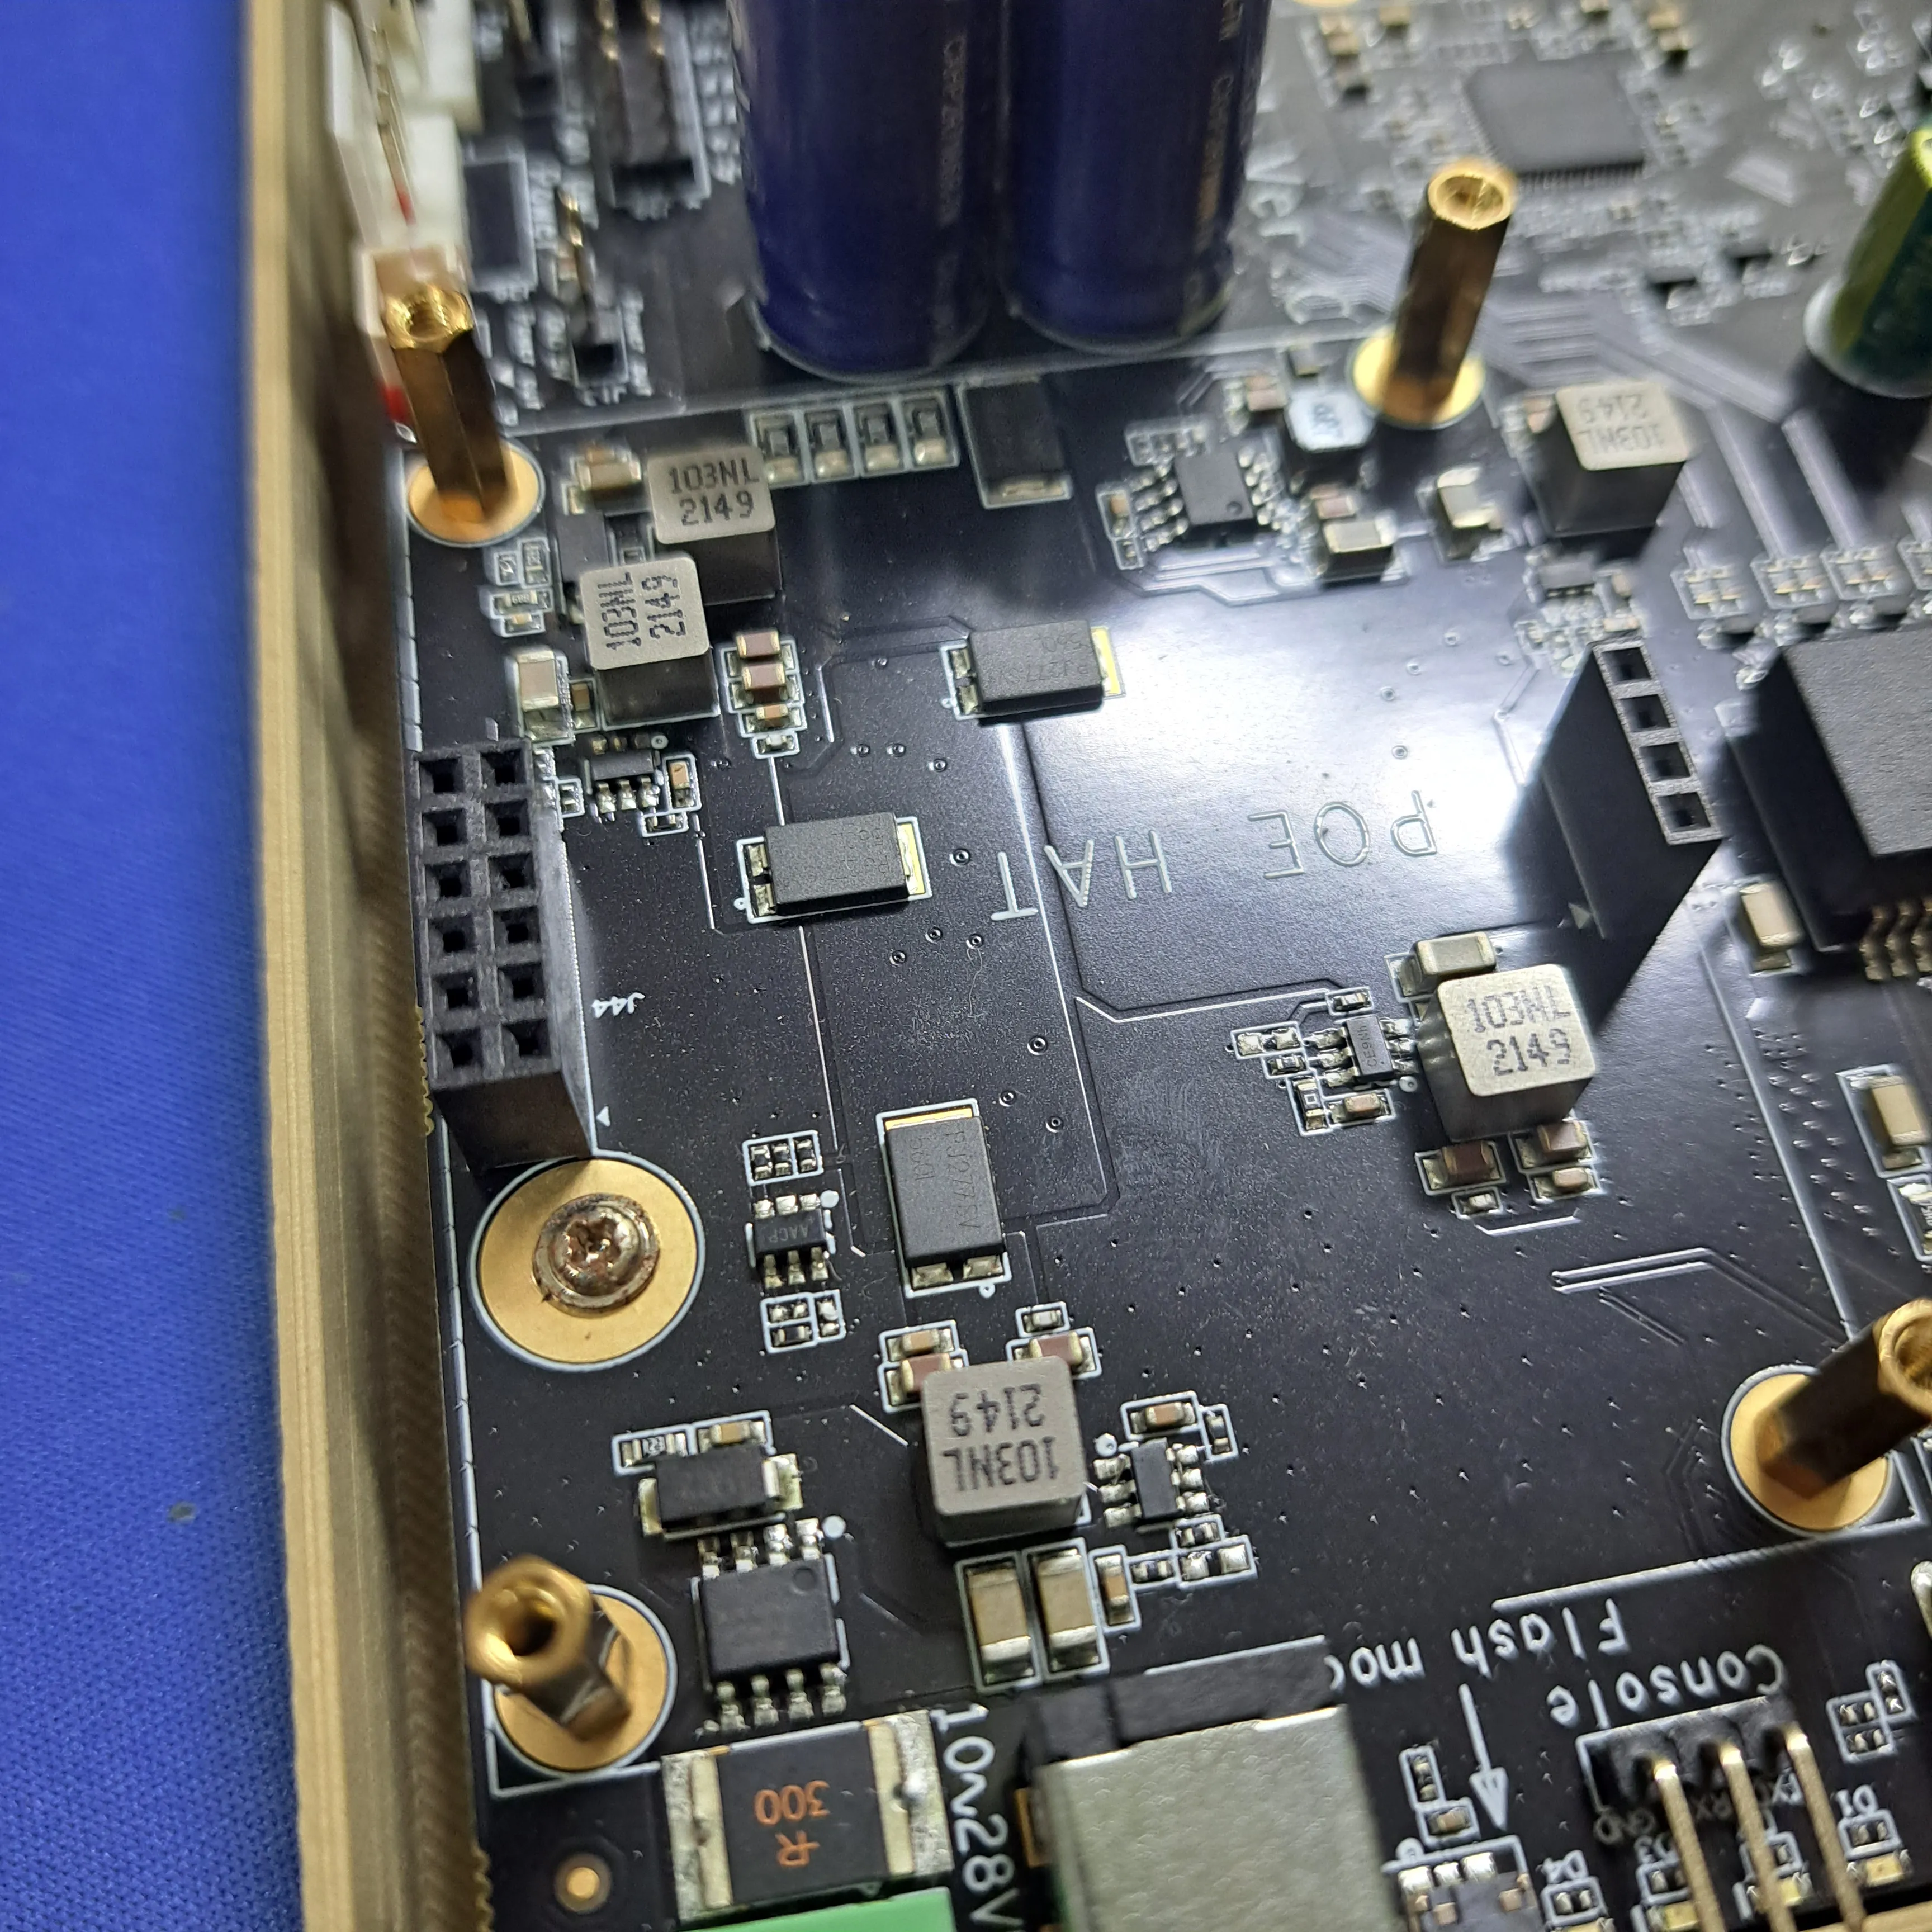 | 
|
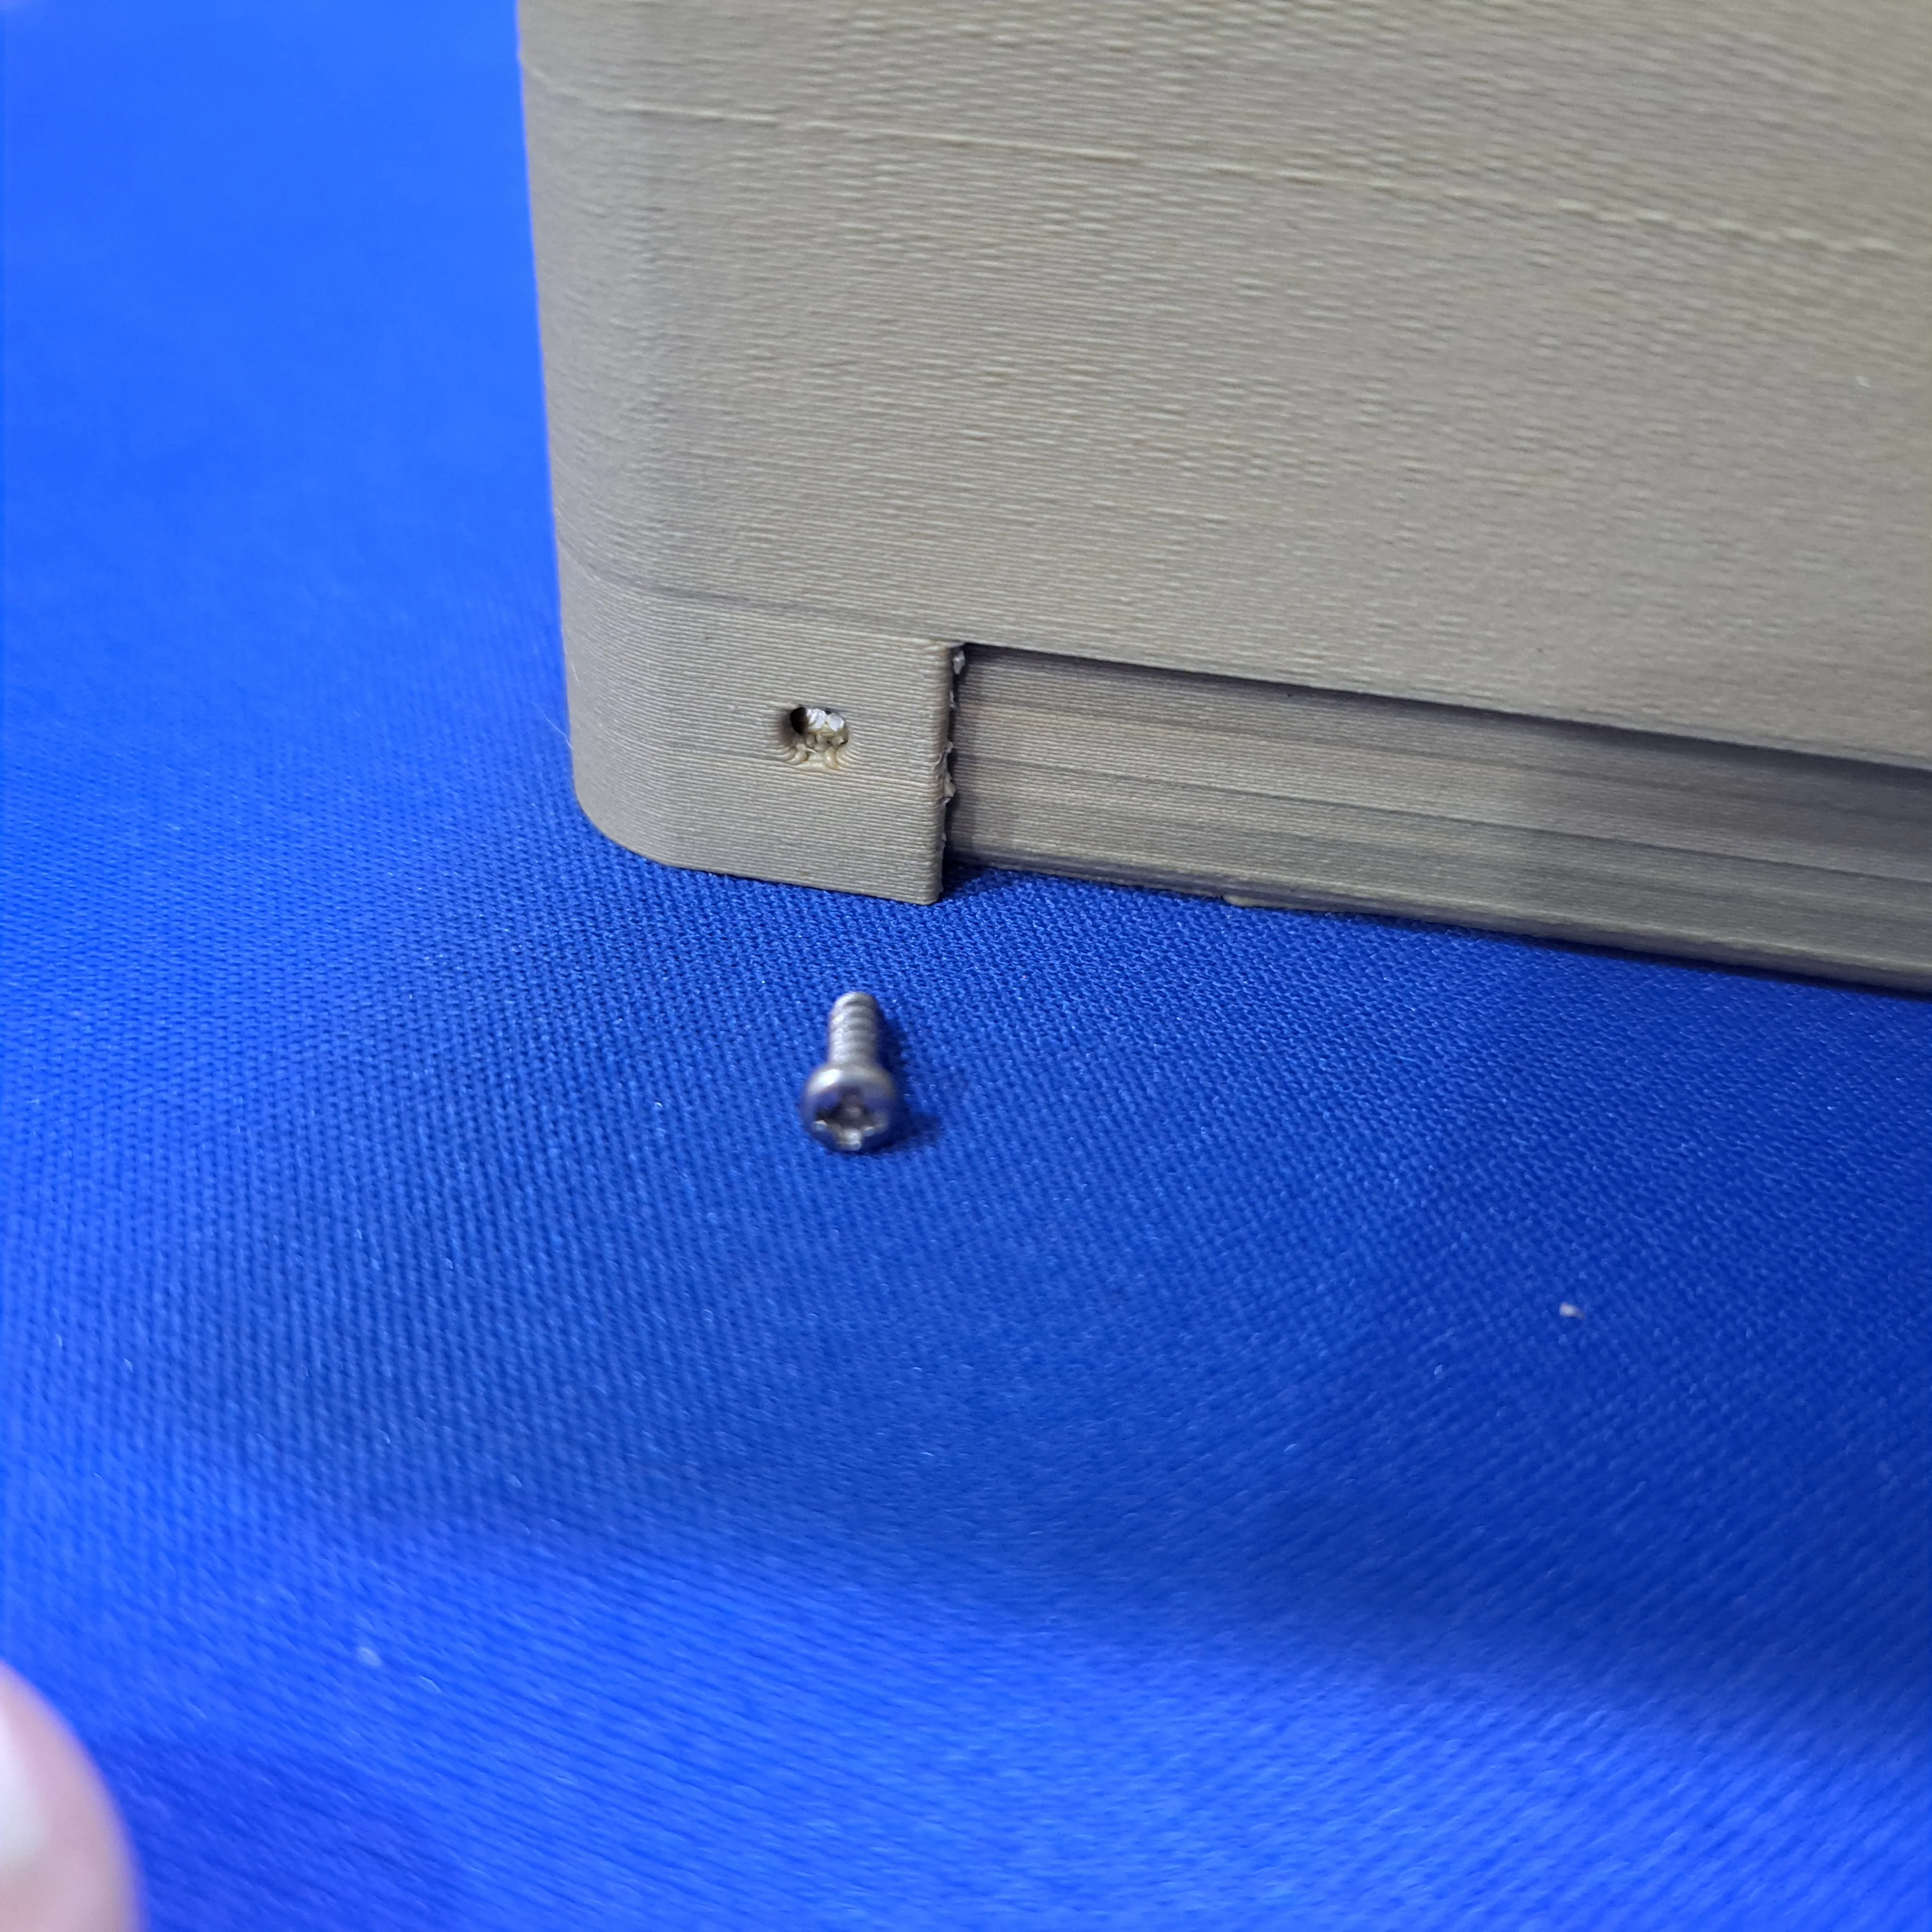
7. Fix the top of the enclosure to the bottom
 | 
|
8. Finished
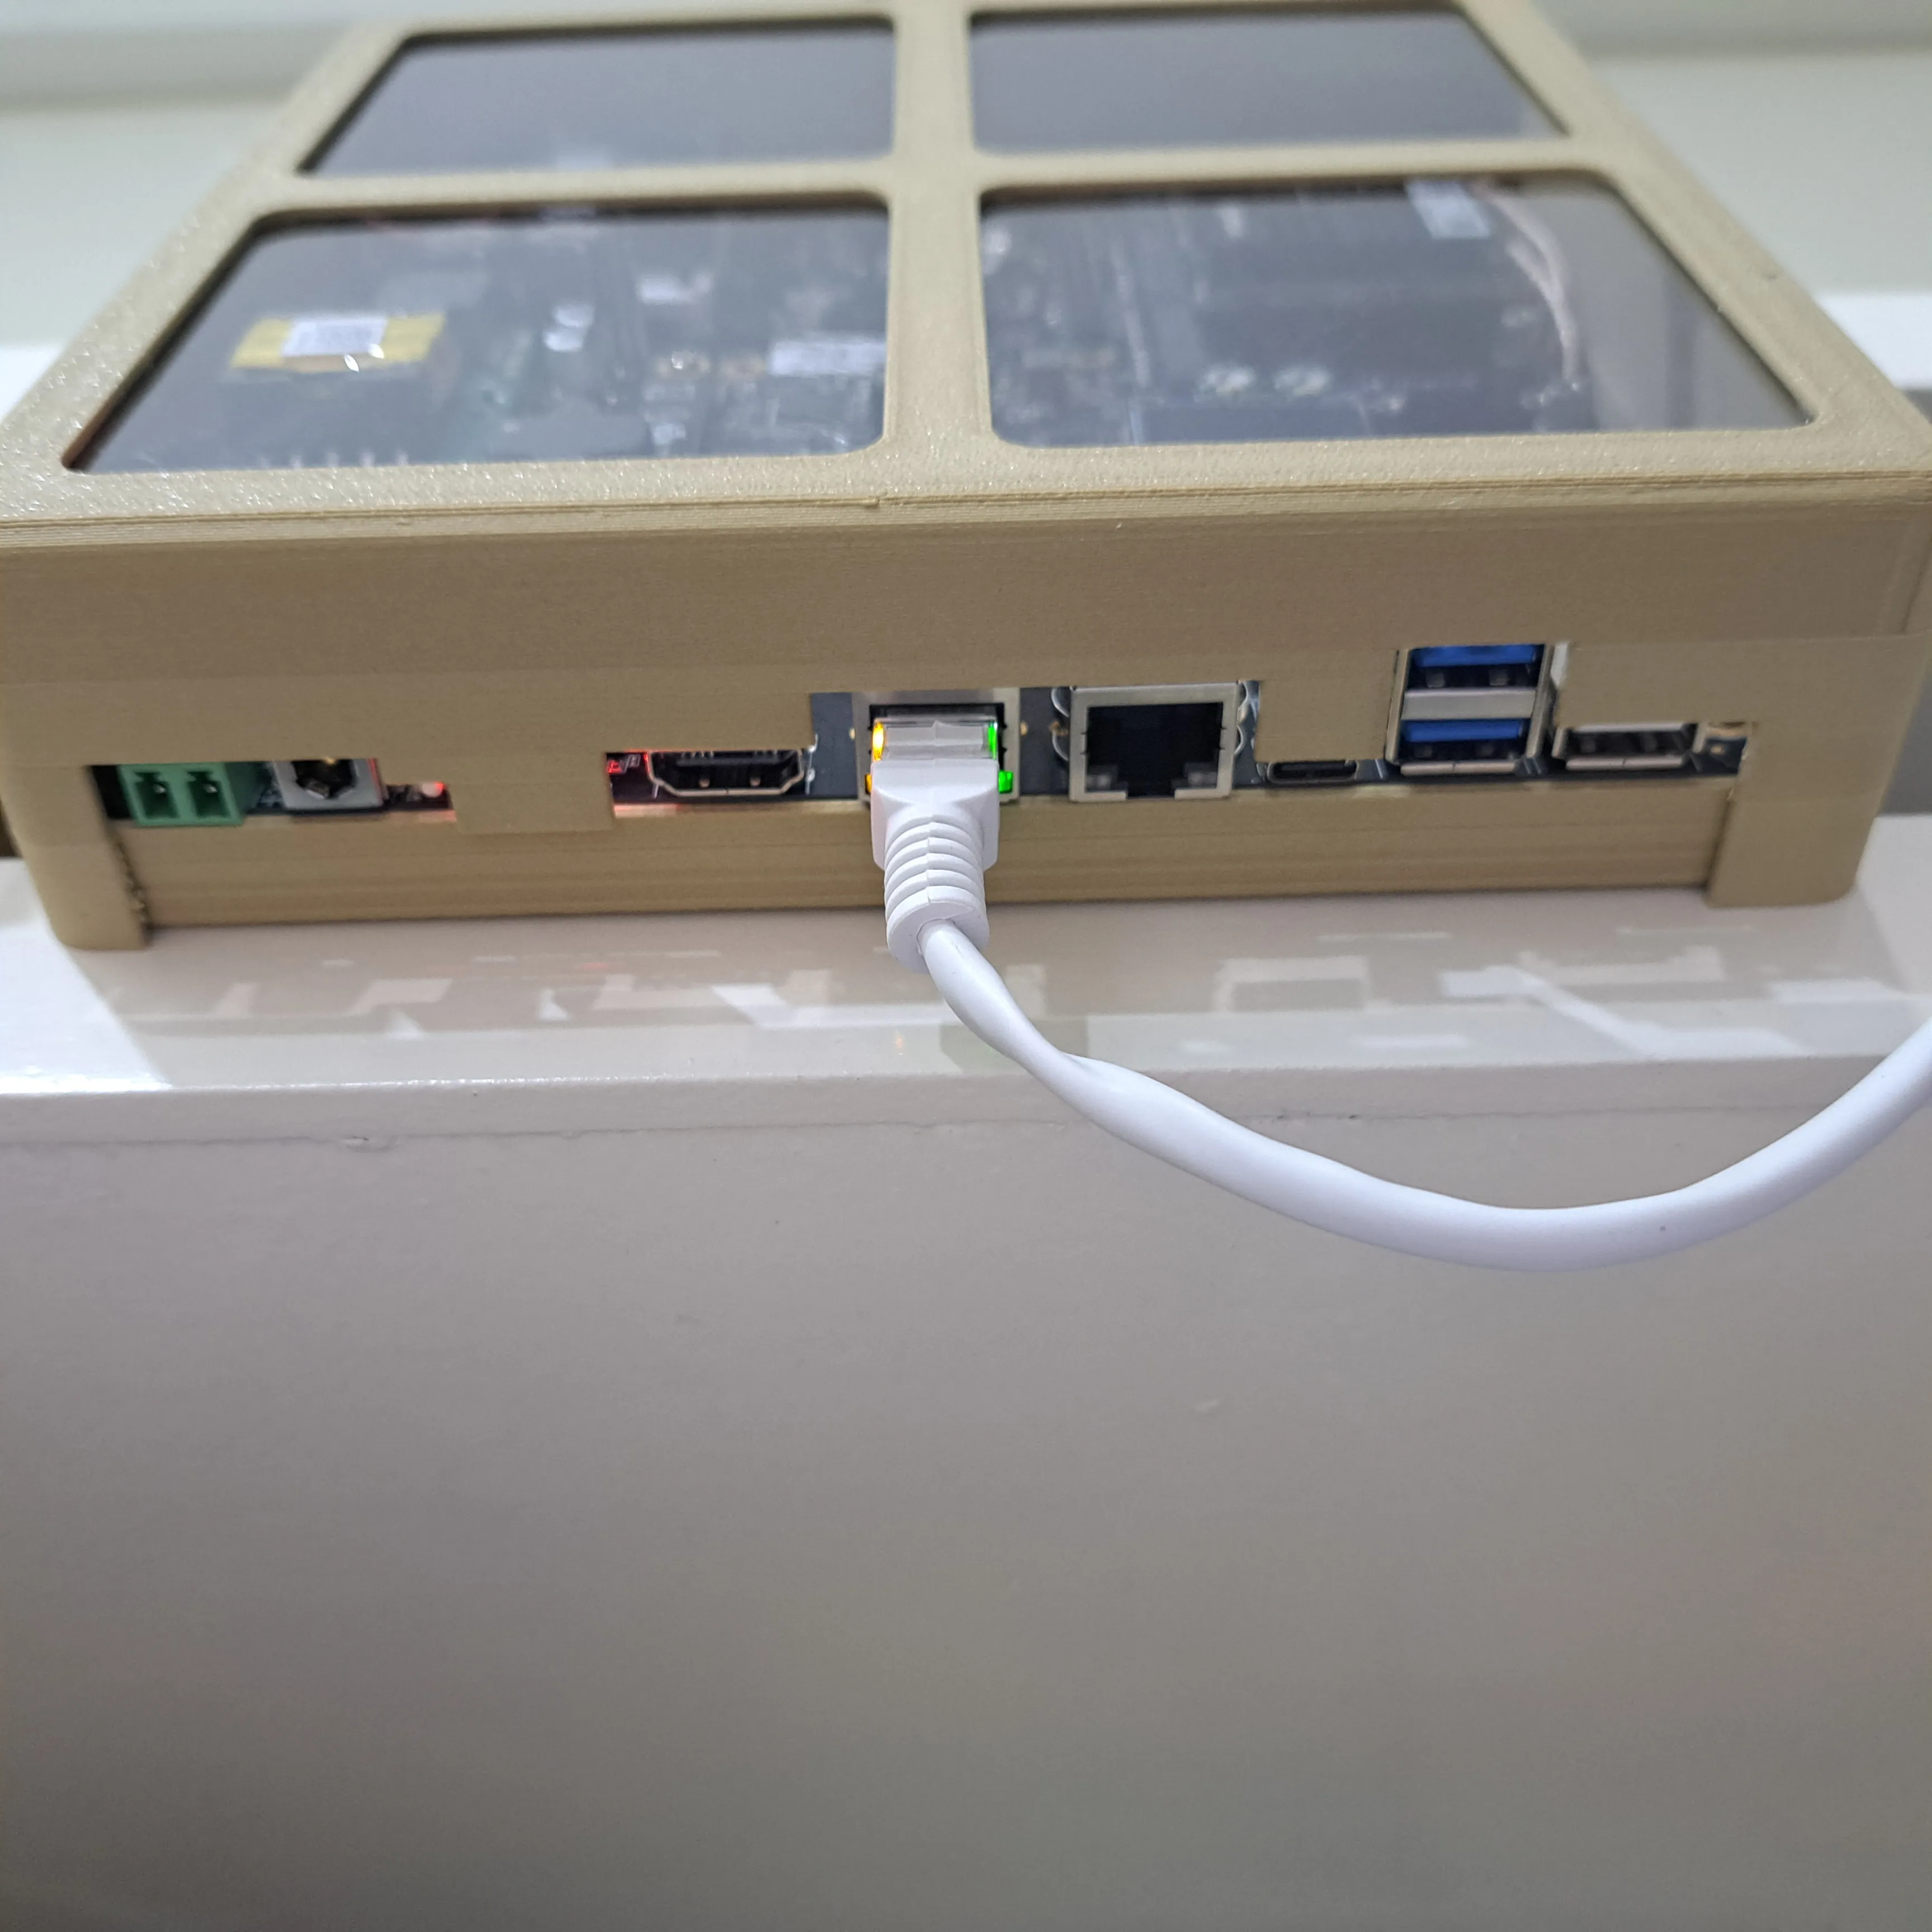
9. Mount it.
 | 
| 
|
10. Check the status on the OLED display through the transparent front.