
Modular CardKB keyboard case (versions with or without GROVE port)
Obliczymy ostateczną cenę na podstawie wybranego pliku. Sprawdzisz ją i zaakceptujesz przed płatnością.
Zapisane na tym urządzeniu.

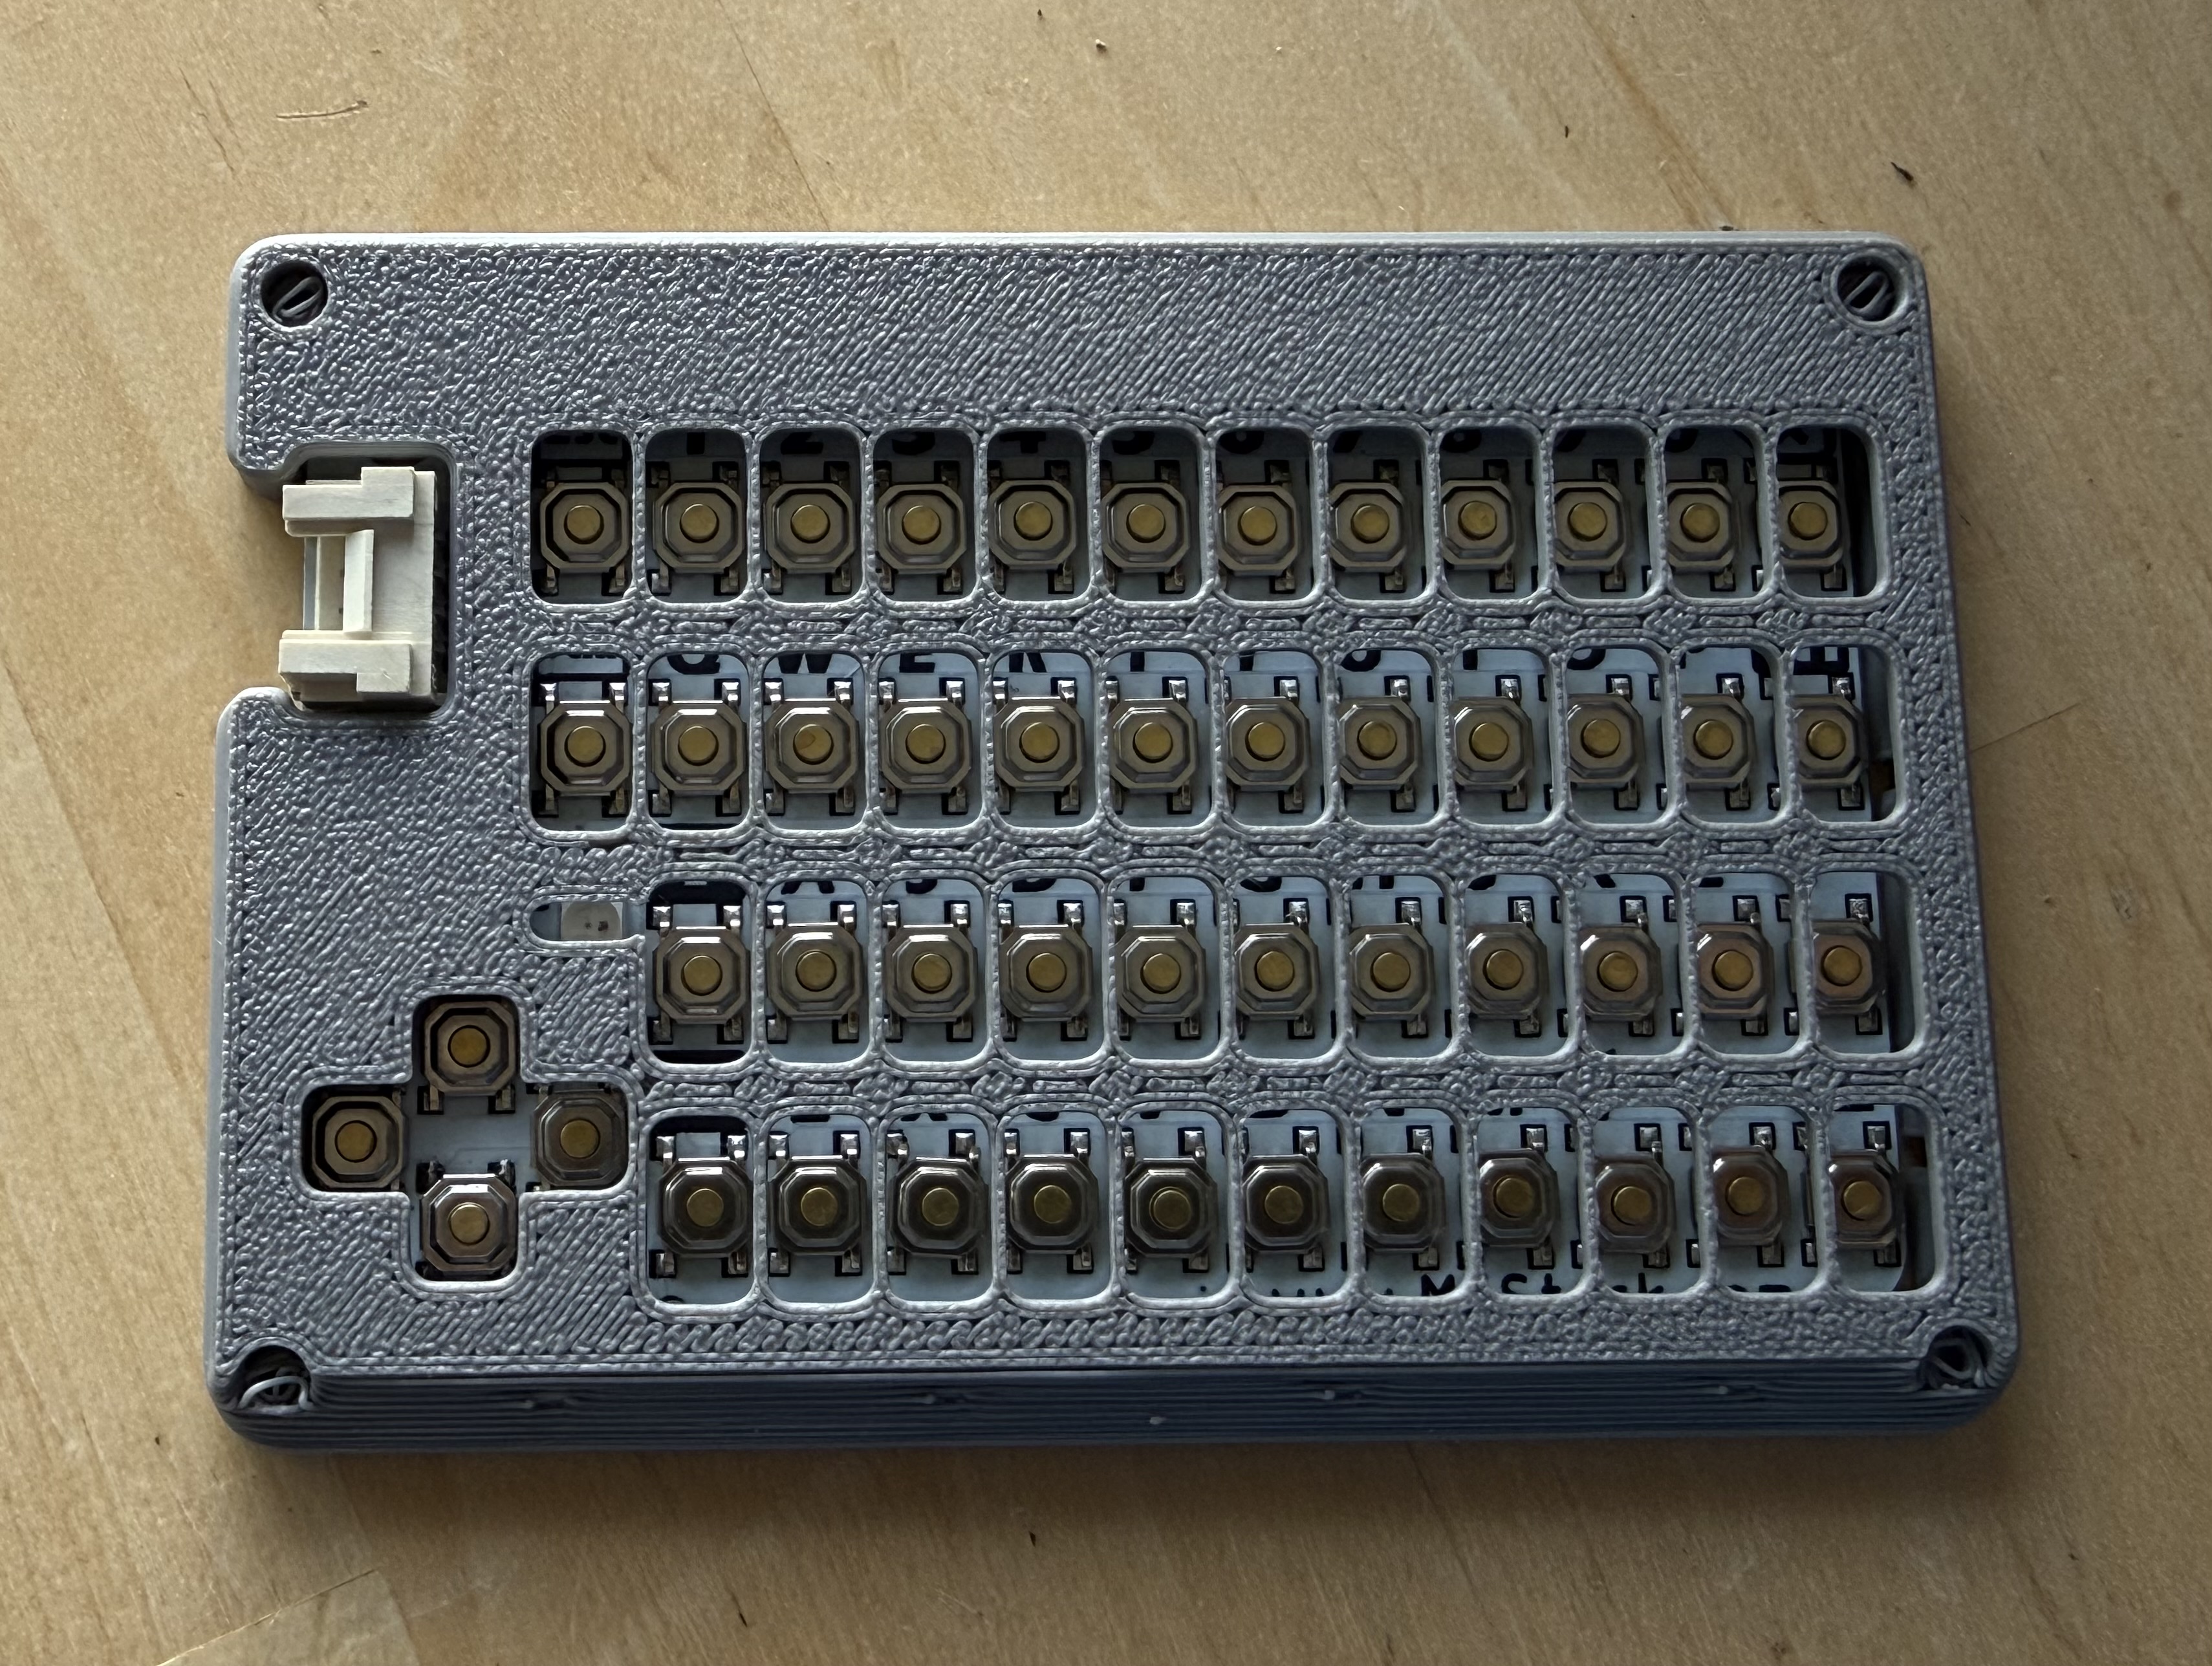
A modular slim case for M5Stack CardKB with replaceable keycaps, and large buttons for comfortable typing.
- Ocena
- 0 / 5
- Polubienia
- 19
- Pobrania
- 240
- Wydruki
- 0
- Wyświetlenia
- 1077
- Oceny
- 0
Aktualizacja u źródła:
Informacje o modelu
- Źródło
- Printables
- Kategoria
- Electronics
- Licencja
- Creative Commons — Attribution
I wanted to design a CardKB case that has:
Keys large enough to type comfortably
Satisfying clicks without a lot of noise
Most keys have the same click-feel
Compact and embeddable into larger projects
Can be used in darkness
Has backlight (not tested yet)
Glow in the dark
Replaceable keycaps
The current version ticks all the above specs.
My design borrows an excellent 3D printable snap-fastener published by @volly for the keycaps. I miniaturized it further and used it to separate the keycaps and base.
Since the caps are removable, they allow for easy future customizations. I also provide the base keycap separately such that you can design your own keycap on it.
Printing process is slightly involved, but everything can be printed with a 0.4mm nozzle. There are 3 main parts to print:
Keycaps
Use the STEP file as multi-part object and target slicer settings for each object.
Ironing on all solid layers for first 1mm will help the clips be strong but is not mandatory.
There is an embedded diffusion layer for backlighting.
AMS or tool-changer is useful, but not necessary. I'll publish alternative caps that can be printed with a manual swap.
Printable with 0.4mm nozzle perfectly, but will achieve even better quality on 0.2.
Do not add any supports.
Trigger spring
Tested working: PLA-CF/PETG/TPU for AMS
Ironing on all solid layers. This is important to ensure the clips do not break.
Calibration comes in play as the retraction during ironing has lingering effects.
Use transparent filament if you intend to add a backlight.
0.4mm nozzle is ok.
Do not add any supports.
Keyboard top
No special considerations.
I opted to desolder the GROVE connector to make the keyboard thinner, but I'll publish an alternative version with a cutout. Desoldering is very easy if you use side cutters to first (carefully) trim the connector.
I intentionally only provide a simple back-case because I let you design something adapted in your projects.
Included Files
trigger-layer.3mf: Button springs for Card KB. Insert it through the designated marks in the top cover -- it should fit and hold the springs. You can use heat to melt the studs to retain it (optional). (Wait for the print to sufficiently cool down before attaching the caps.)cardkb=caps.3mf: Keycaps, glow in the dark, as shown in pictures. Provided conf is to be used with an AMS, and is not optimized for manual color changes due to the slanted top.cardkb-top-cover--no-port.step: A low profile top case.backlitkeycaps.step: A WIP with the goal of active backlighting, diffusion, and minimal color changes. Not fully tested.cardkb-top-cover-grove-port.step: With cutouts for the Grove Port -- added 20.08.2026
Links:
Snap fastener by @volly in Public Domain : https://www.printables.com/model/49554-very-flat-snap-fastener-ie-for-wallets-or-fabric