
drill dust collector V3
Obliczymy ostateczną cenę na podstawie wybranego pliku. Sprawdzisz ją i zaakceptujesz przed płatnością.
Zapisane na tym urządzeniu.
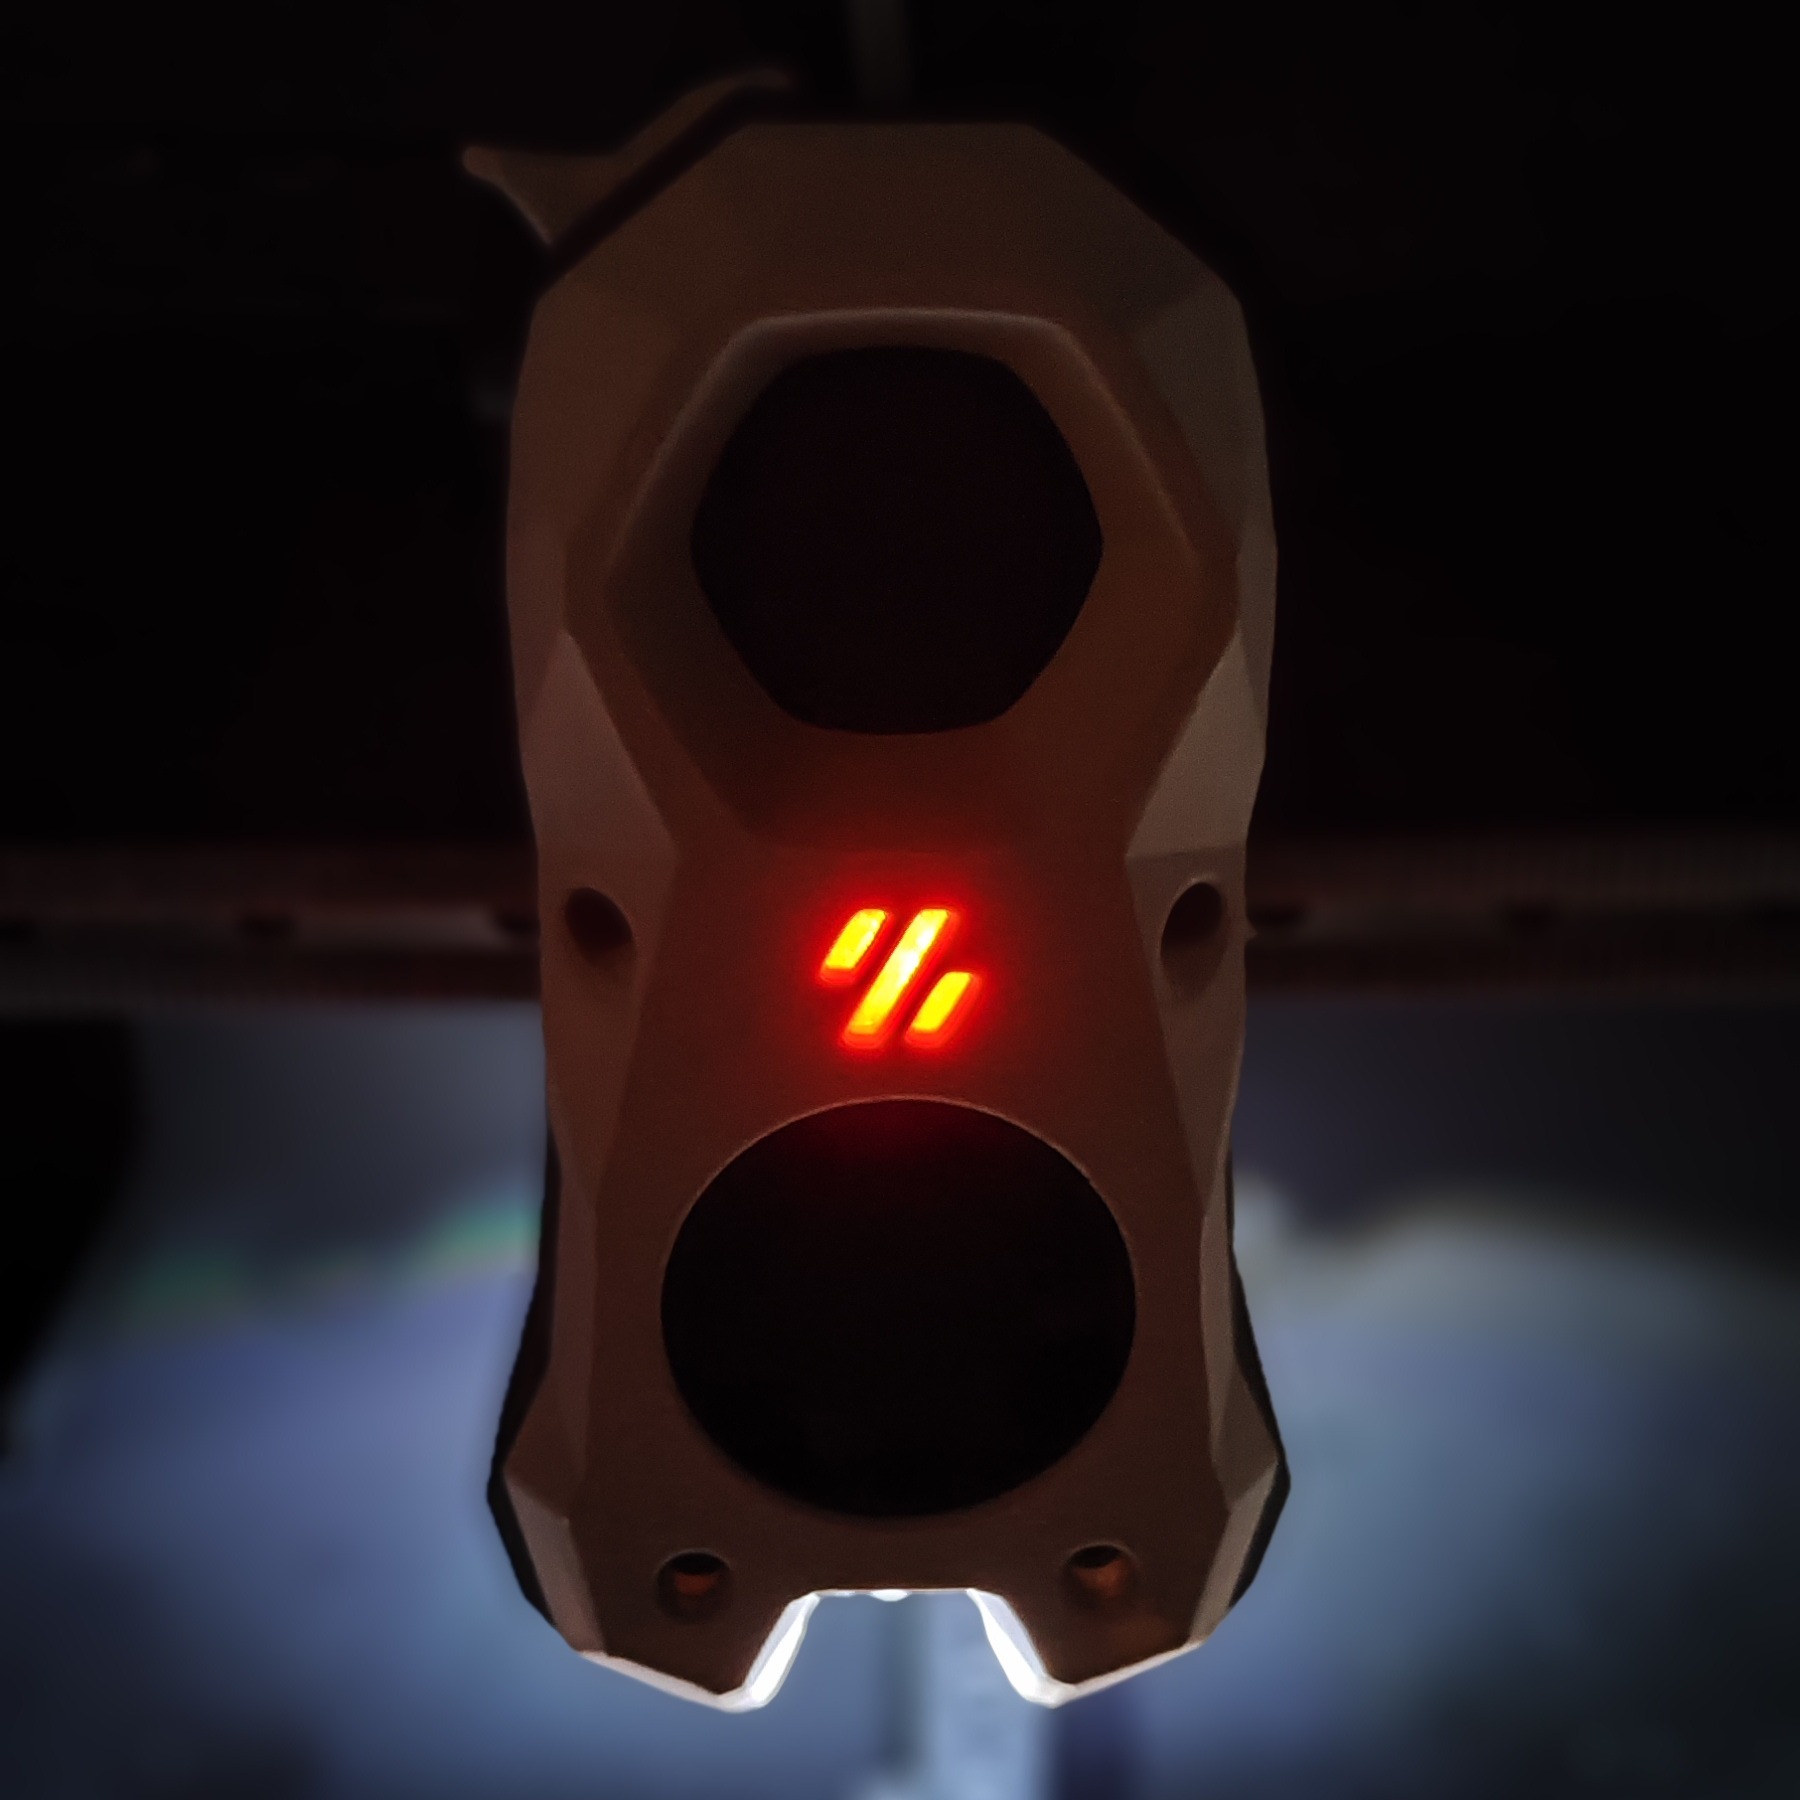
Works with SDS and Hammer drills. Depth stop easy to adjust, only a few screws required, no fancy spare parts.
- Ocena
- 5 / 5
- Polubienia
- 22
- Pobrania
- 65
- Wydruki
- 0
- Wyświetlenia
- 461
- Oceny
- 2
Aktualizacja u źródła:
Informacje o modelu
- Źródło
- Printables
- Kategoria
- Tools
- Licencja
- Creative Commons — Attribution — Noncommercial
SDS Dust Collector V3
Update 19.04.2026:
If you need a stronger spring solution you can change to an metal spring.
Length: 305, diameter: 35, wire diameter 0.3mm
The spring is relatively inexpensive, you need to cut it to the right length.
Remove the plastic spring and insert the metal spring.
You need to insert it on the dust tube under the Dust protector part
Update V3 01.03.2026:
small design changes
Revised dust extraction to minimize clogging of the springs
Changes are possible using the already printed parts.
Update V2.1 19.02.2026:
Please download the fixed parts: (Guide rail box v3), the older version is the wrong size for the new longer springs.
missing spring files now available
All CAD files are available for editing. Feel free to contact me with suggestions for improvement or to create a remix.
The mounting bracket on the machine must be 50mm or 43mm.

Contact me if you need other sizes
Special Features:
up to 80mm hole depth
Tested up to 10mm SDS drills.
Easy to adjust depth stop.
Only a few screws and nuts required.
36mm vacuum adapter (festool, etc.), if you need other sized contact me.
Spare Parts:
6x M3x20mm cylinder head screws
3x M3x10 or 12mm cylinder head screws
1x M6X36 Hex screw
2x M6X45 Hex screw
3X M6 Nut
Instructions:


(You can insert a metal spring instead of the PETG Springs in this step under the top part (2) if you want)
Take a file or sandpaper and smooth the circled areas until they glide smoothly on the " Guide Rail" part

1. Insert the 3 printed springs into the designated guides. The springs are slightly longer and protrude slightly.
2. push the "Guide Rail" and the "Slide Bearing Top" part with the springs in the "Guide Rail Box part.
The scale on the guide rail points to the right.
Assembling it can be a bit fiddly because the springs build up a certain amount of preload.
3. Screw the parts together using the 3x M3x20mm cylinder head screws.

4.Slide the "End Stop (PETG)" onto the guide rail as well and connect one of the Tension Lever with a M6X35 Screw and a Nut

1. Slide the "Depth Stop Max" part onto the guide rail with the writing facing right.
2. Align the "Dust collector Box" parts with the three holes
3.Align the "Top Plate Dust Box" part on top and secure with 3x M3x20mm cylinder head screws
4.The optional printable TPU insert can now be slide into the guide.

make shure that the dust guide tube is flush with the housing.
Attach the "36mm Vacuum Connector" It should turn easily.
connect all together with 3x 3x M3X10-12mm counter sink or cylinder head screws

1. Insert a hexagonal M8 screw for the handle.
2.insert 2x M6 Nuts to the bottom
3.prepare 2x Tension Lever with 2x M6x45mm screw.
Screw the two Tension levers in on the right and left so that they rest without preload.
You can attach a handle to the M8 screw or print out the handle yourself.

Finish :)


