
CTEK charger snip grip piece
Obliczymy ostateczną cenę na podstawie wybranego pliku. Sprawdzisz ją i zaakceptujesz przed płatnością.
Zapisane na tym urządzeniu.
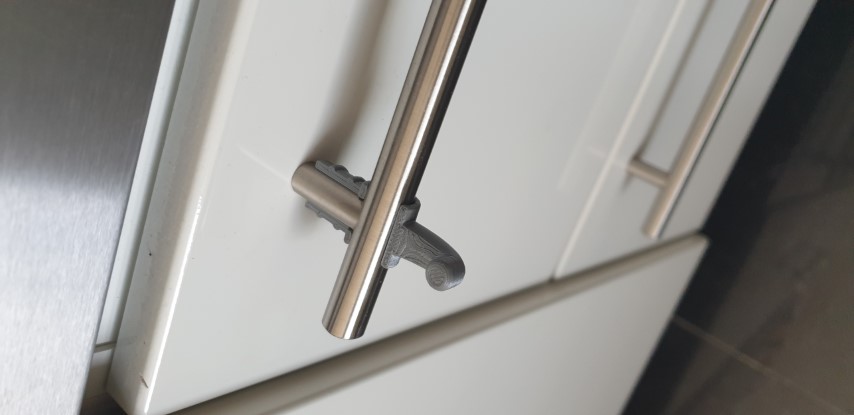
CTEK (excellent charger, no affiliation) has plastic grip parts in the connectors which are attached to the car…
- Ocena
- 5 / 5
- Polubienia
- 13
- Pobrania
- 142
- Wydruki
- 2
- Wyświetlenia
- 969
- Oceny
- 2
Aktualizacja u źródła:
Informacje o modelu
- Źródło
- Printables
- Kategoria
- Automotive
- Licencja
- Creative Commons — Attribution
CTEK (excellent charger, no affiliation) has plastic grip parts in the connectors which are attached to the car battery. They are made out of... I guess ABS plastic The small latches are quite small and I broke one. The plastic grip thus does not hold to the metal any more.
If I would be a sensible person I would have glued the broken plastic to the metal. But because I am not and I have a 3D printer I of course had to create a spare part.
So behold - badly fitting (but functioning and quite tight) and ugly part as a replacement.
Charger in question is MXS 5.0 Polar, 12 V / 5 A, CTEK.
There is definitely room for improvement in the front part of the piece. It is a bit too far from the metal.
The grip is also larger than the original which is quite good for my hands. Please be aware that if you have tight space with your car battery you might not fit the new handles to the engine space any more.
I tried to 3d scan the part and analyze with Meshroom. Unfortunately I could not get a good surface with that tool (probably lack of skills).
Print Settings
Printer Brand:
Prusa
Printer:
Prusa Mk2
Rafts:
No
Supports:
Yes
Resolution:
200
Infill:
20
Filament:
PolyMaker PLA
Notes:
I printed this part so that the surface which faces fingers was on top. The support material removal inside the part was a pain. You might consider printing the part other way around.
The part is tight.
The part is tight and I needed to force the plastic part in to it's place.
I first slipped the highlighted clips to the metal handle and then pressed the other end of the plastic handle in place (I was not gentle...)
How I Designed This
Prototyping right spots for clips / holders
It was tricky to have just right size for the plastic extrusion going in to the metal handle.
I thus made several (2 shown) prototypes to see that the grippers are in right places. Square holes are there just to save some material.Category: Automotive