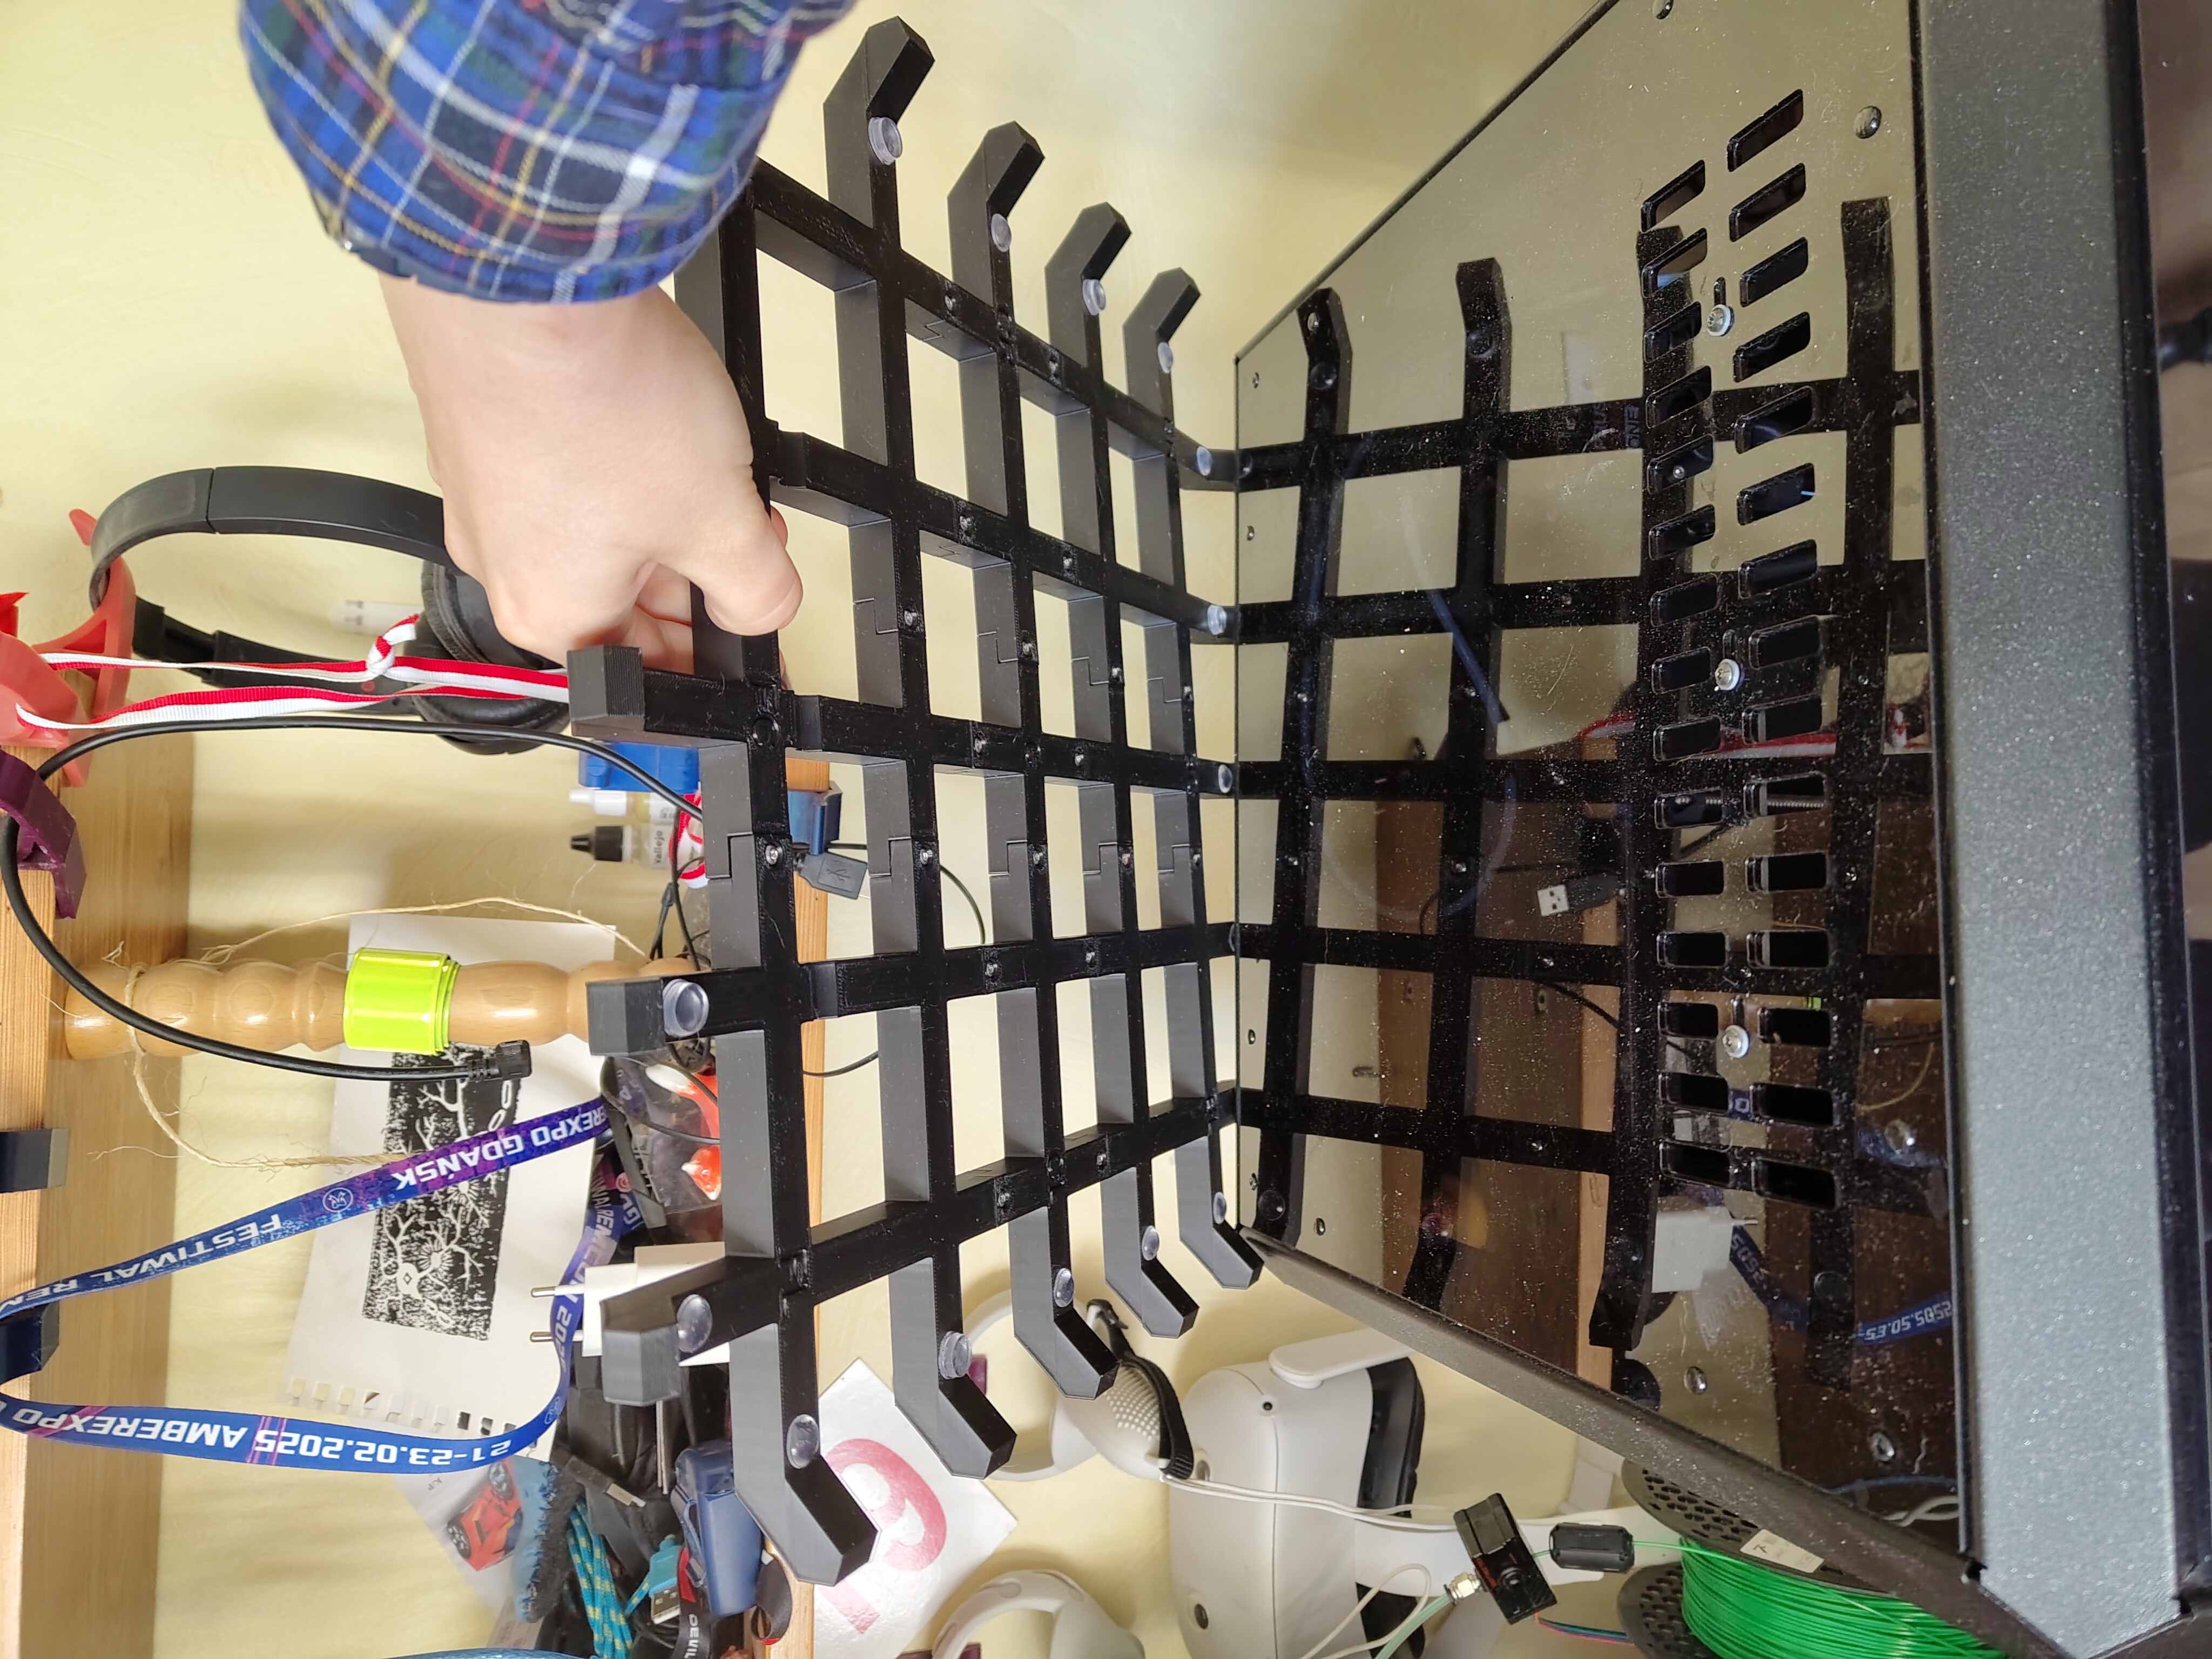
Prusa Core One Top Panel Protector
Obliczymy ostateczną cenę na podstawie wybranego pliku. Sprawdzisz ją i zaakceptujesz przed płatnością.
Zapisane na tym urządzeniu.

Grid top panel protector, cat proof
- Ocena
- 5 / 5
- Polubienia
- 71
- Pobrania
- 19
- Wydruki
- 4
- Wyświetlenia
- 1102
- Oceny
- 3
Aktualizacja u źródła:
Informacje o modelu
- Źródło
- Printables
- Kategoria
- Prusa Parts & Upgrades
- Licencja
- Creative Commons — Attribution — Noncommercial
If you have expensive cat's resting place which happen to also 3D print stuff, I have the solution for one of your problems. My cat weights almost 6 kg and its only matter of time when he falls into my printer. Top panel maybe holds it now, but it bends significantly and I don't want to test it long-term.
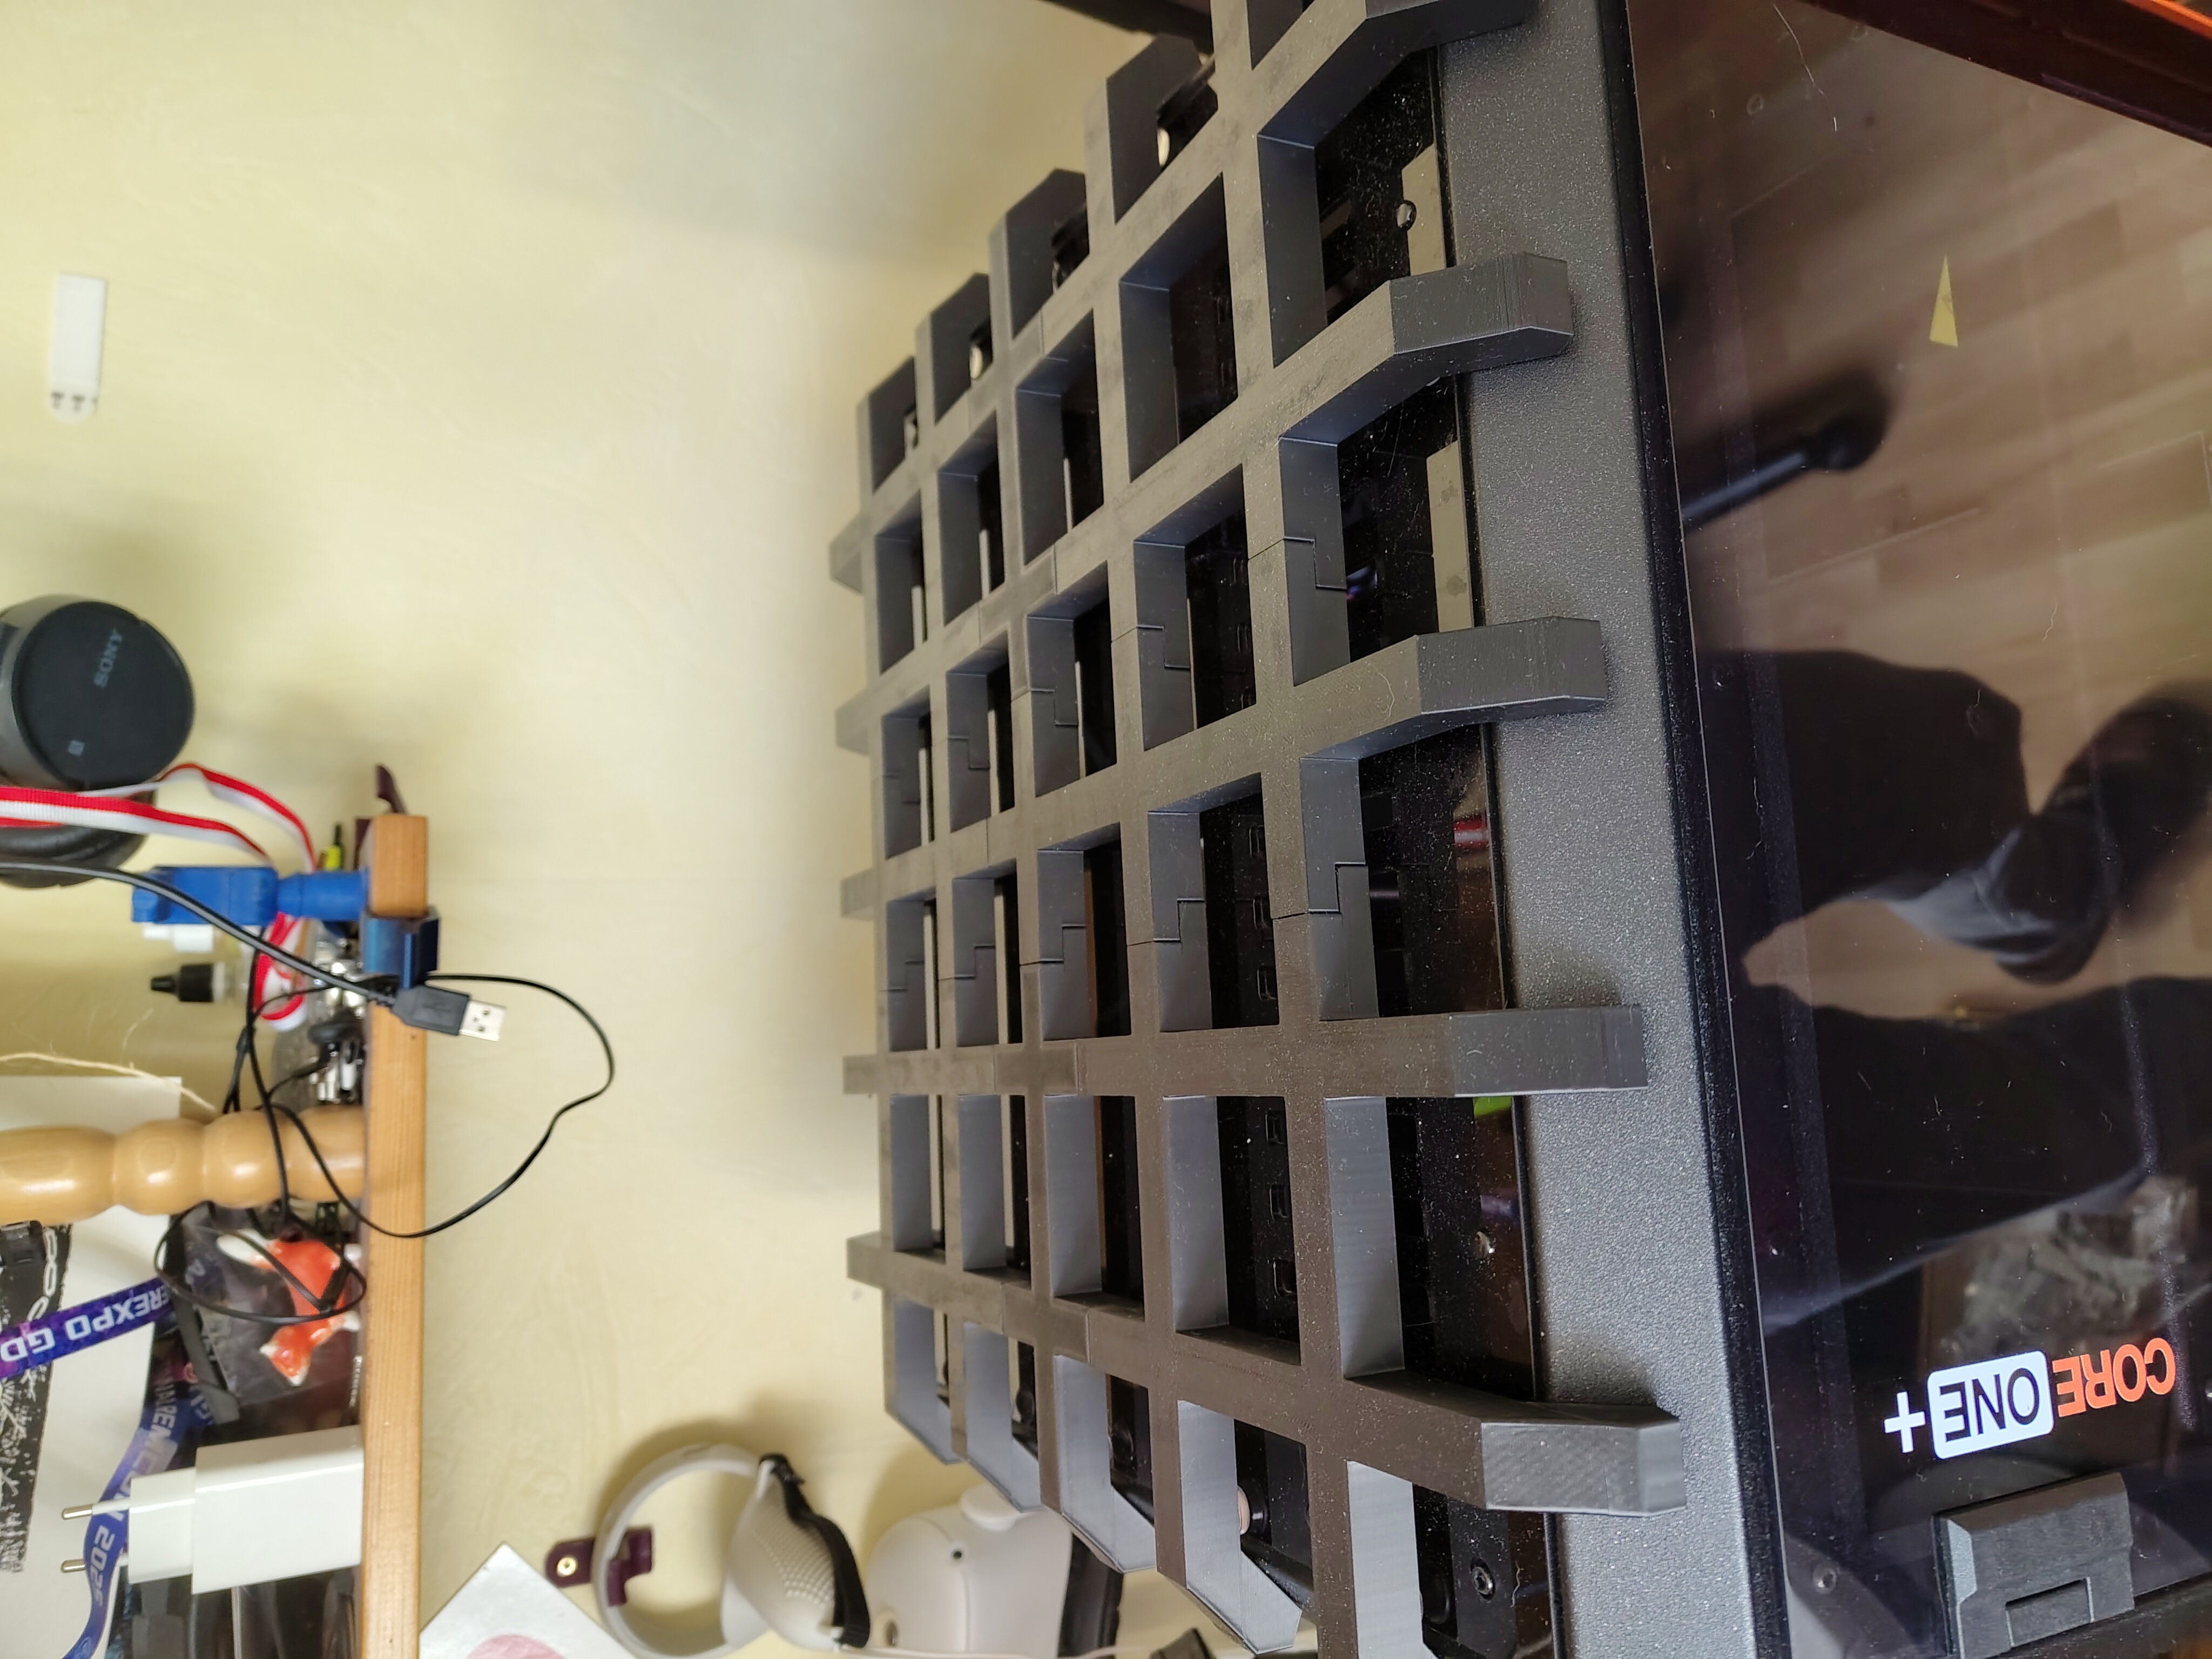
I've designed grid-pattern top cover, which you can throw on a blanket for that little rascal. Top vents are accessible and not blocked. Of course it's bigger than a buildplate, so I splitted it to 9 parts. Every one of them are named like FL (Front Left), C (Center), BR (Back Right) etc.
BOM:
M3x8 BHCS screw x20 - link
M3xL3xOD4.5 mm heated inserts x20 - link
12x4 mm flat silicone pad x20 - link
About 700g of filament, I used ABS
Cat or other agile pet
Blanket
Printing:
Position elements with letters facing up.
Use supports for flat, unsupported parts,
No need to support 45° legs,
Assembly:
Inserts will be placed facing up, when text is facing down.
Near 45° part on the inside put one silicone pad per "leg".
Parts descripted as FL, FC and FR have groove for air vents screws and should be in front of a printer.
Put some blankie for your kitten.
Remember to leave airflow for vents.
Cats are happy and I am happy.
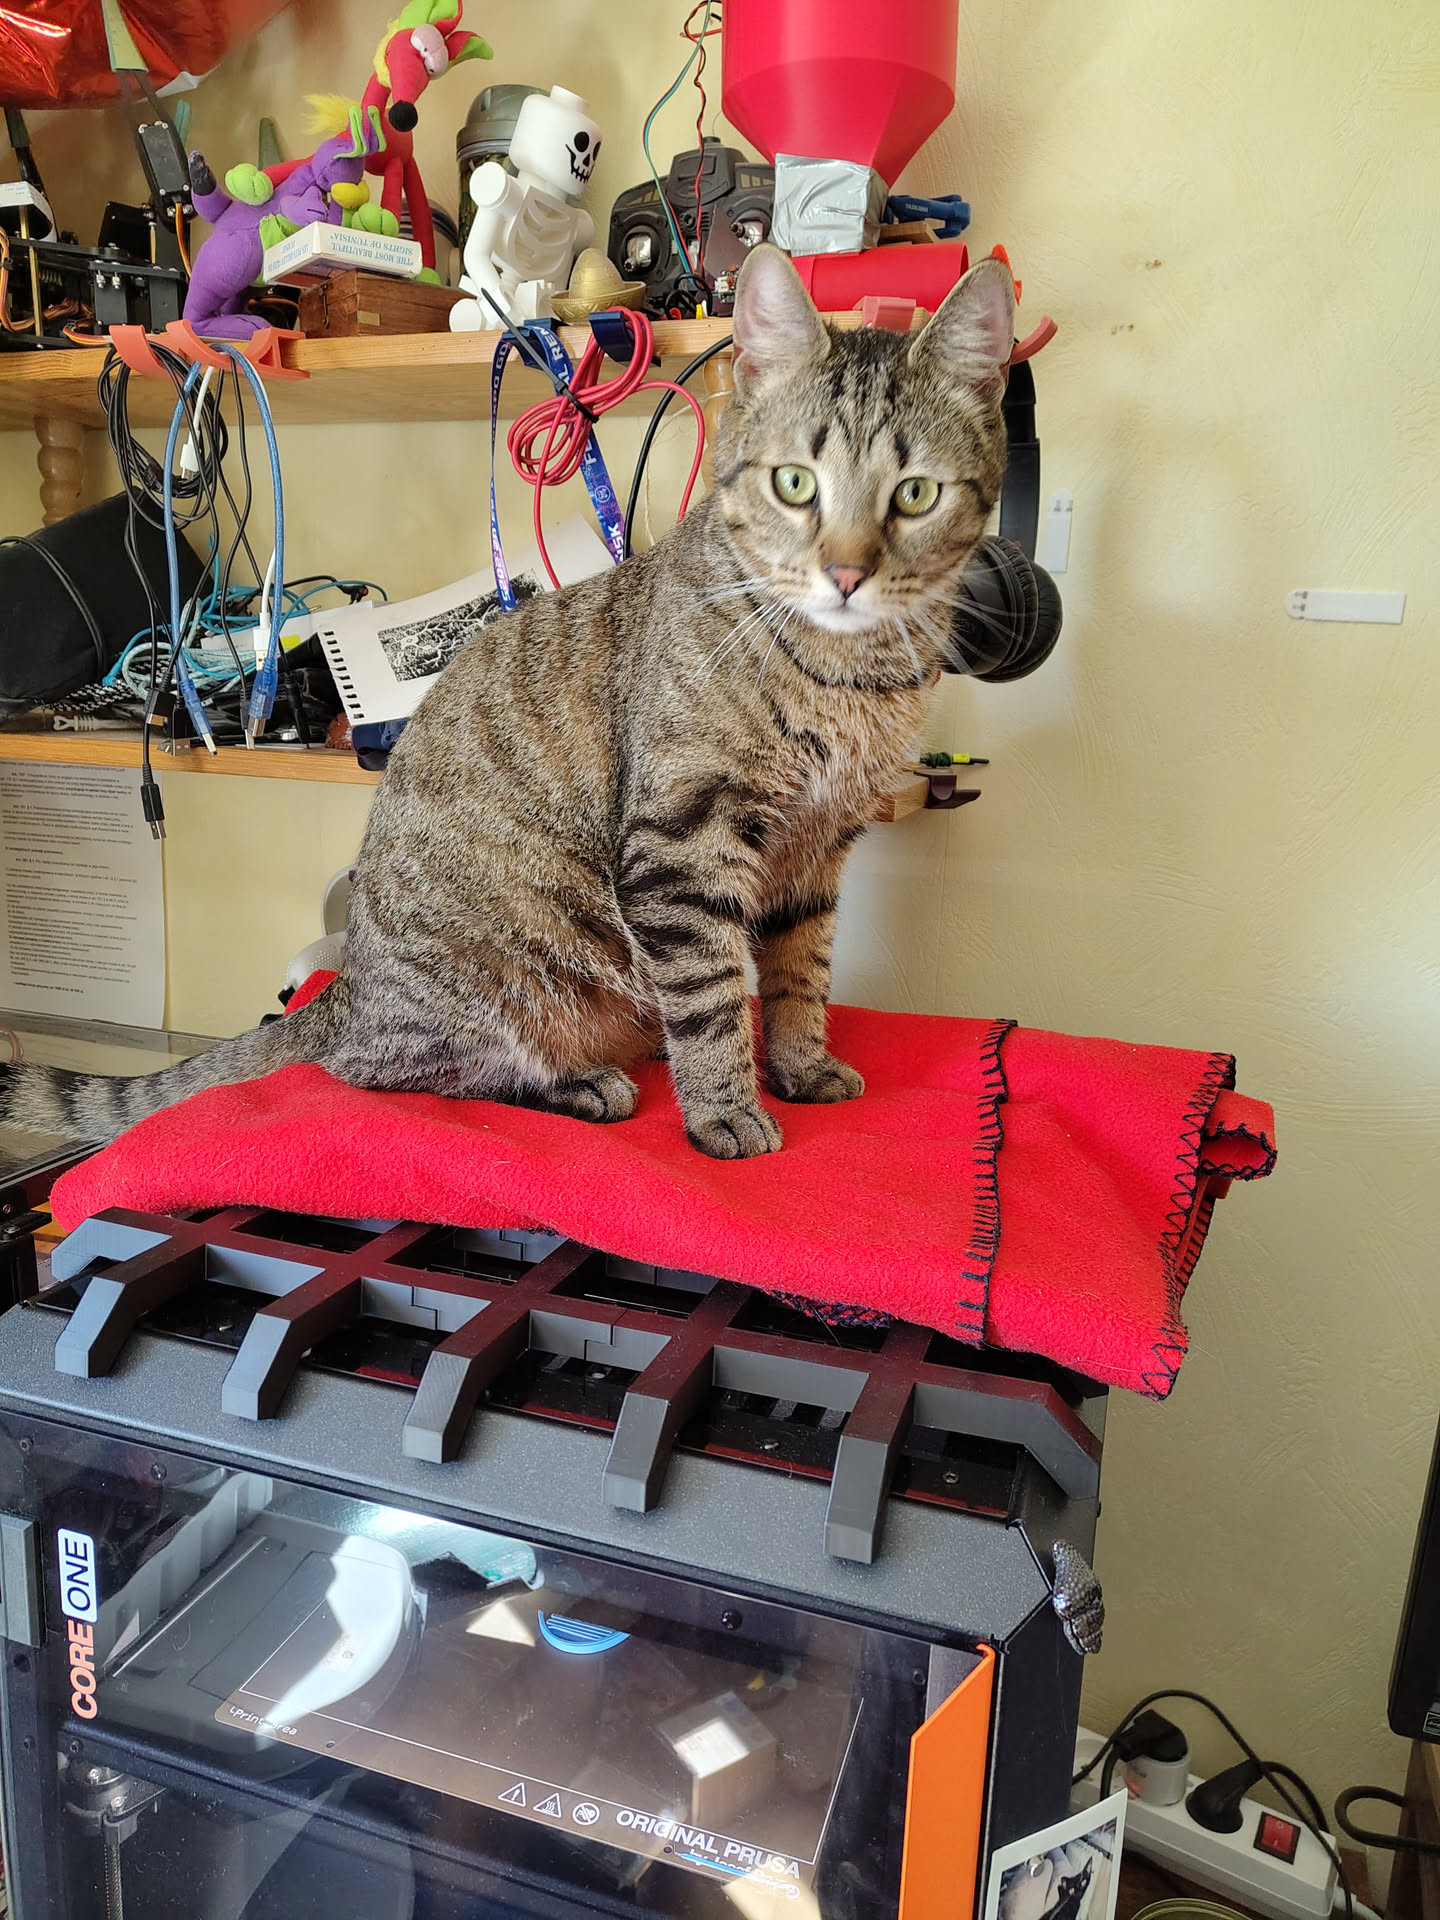
Banana, 6 kg:
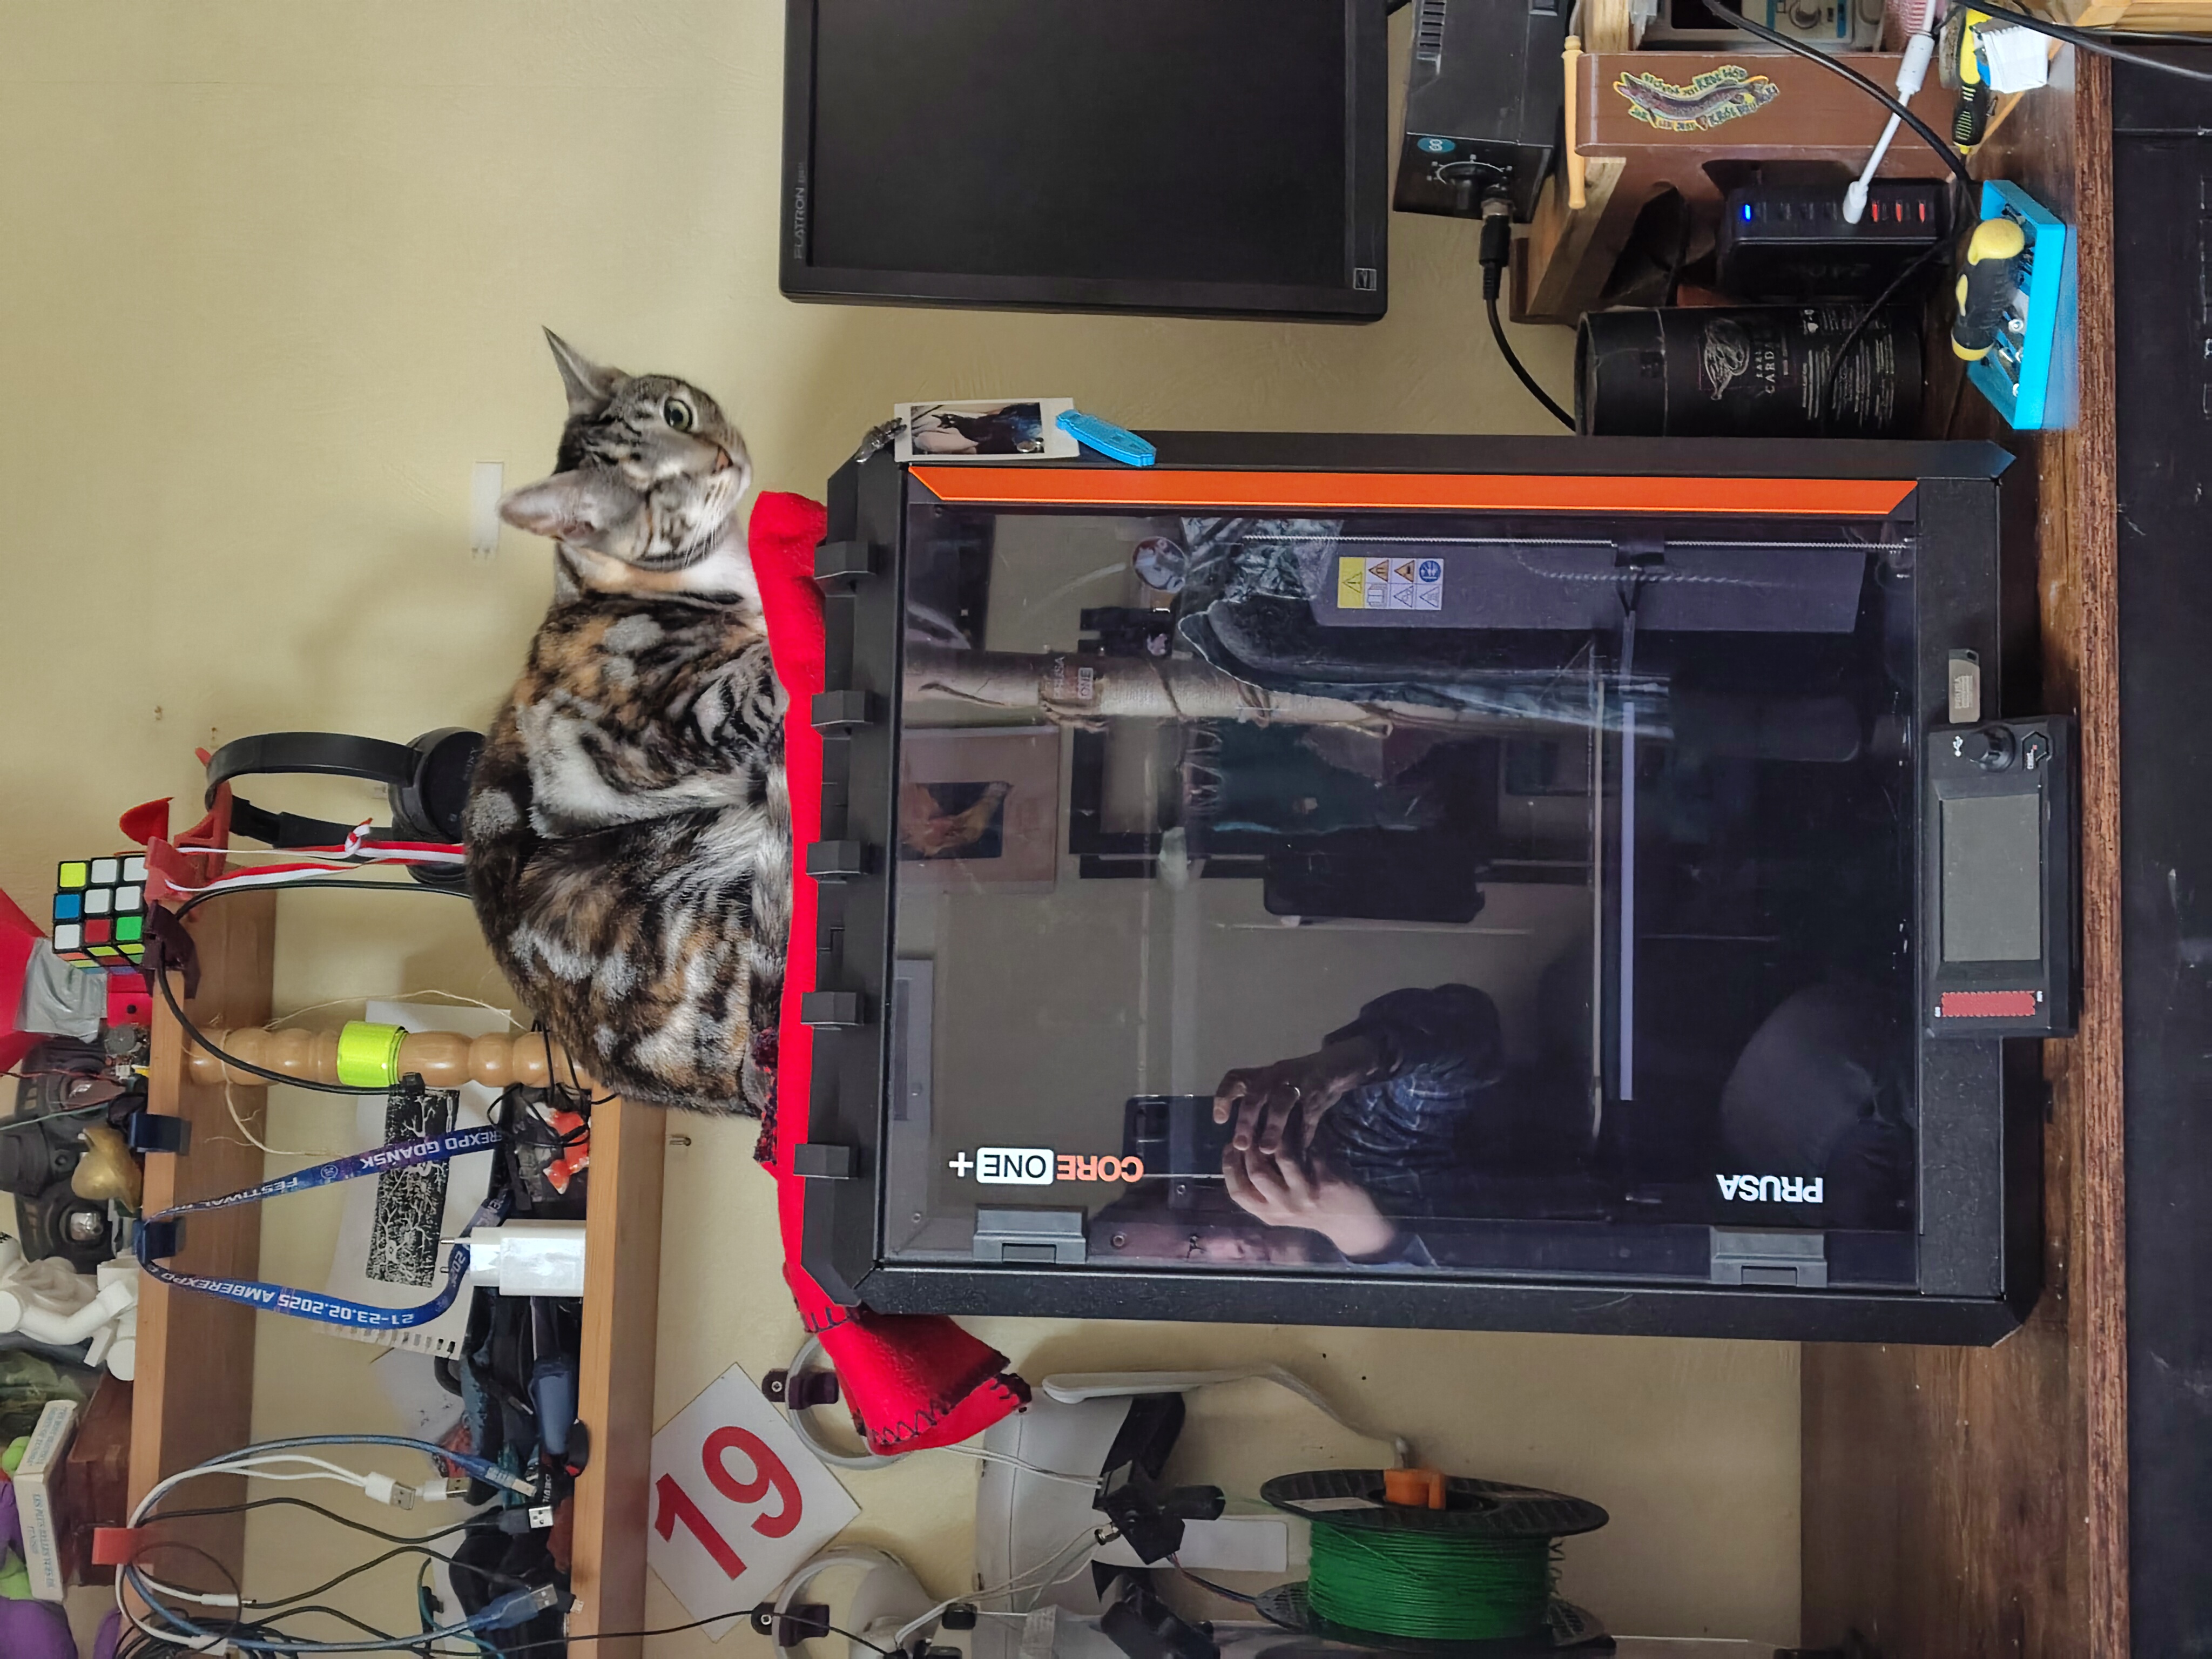
Little Seagull, 3.5 kg:
Top view of protector:
Bottom view of the protector with silicon pads: