
Auto Ink-Shading via Interleaved Layers (BumpMesh_Color) - Demo: Suzanne
Obliczymy ostateczną cenę na podstawie wybranego pliku. Sprawdzisz ją i zaakceptujesz przed płatnością.
Zapisane na tym urządzeniu.
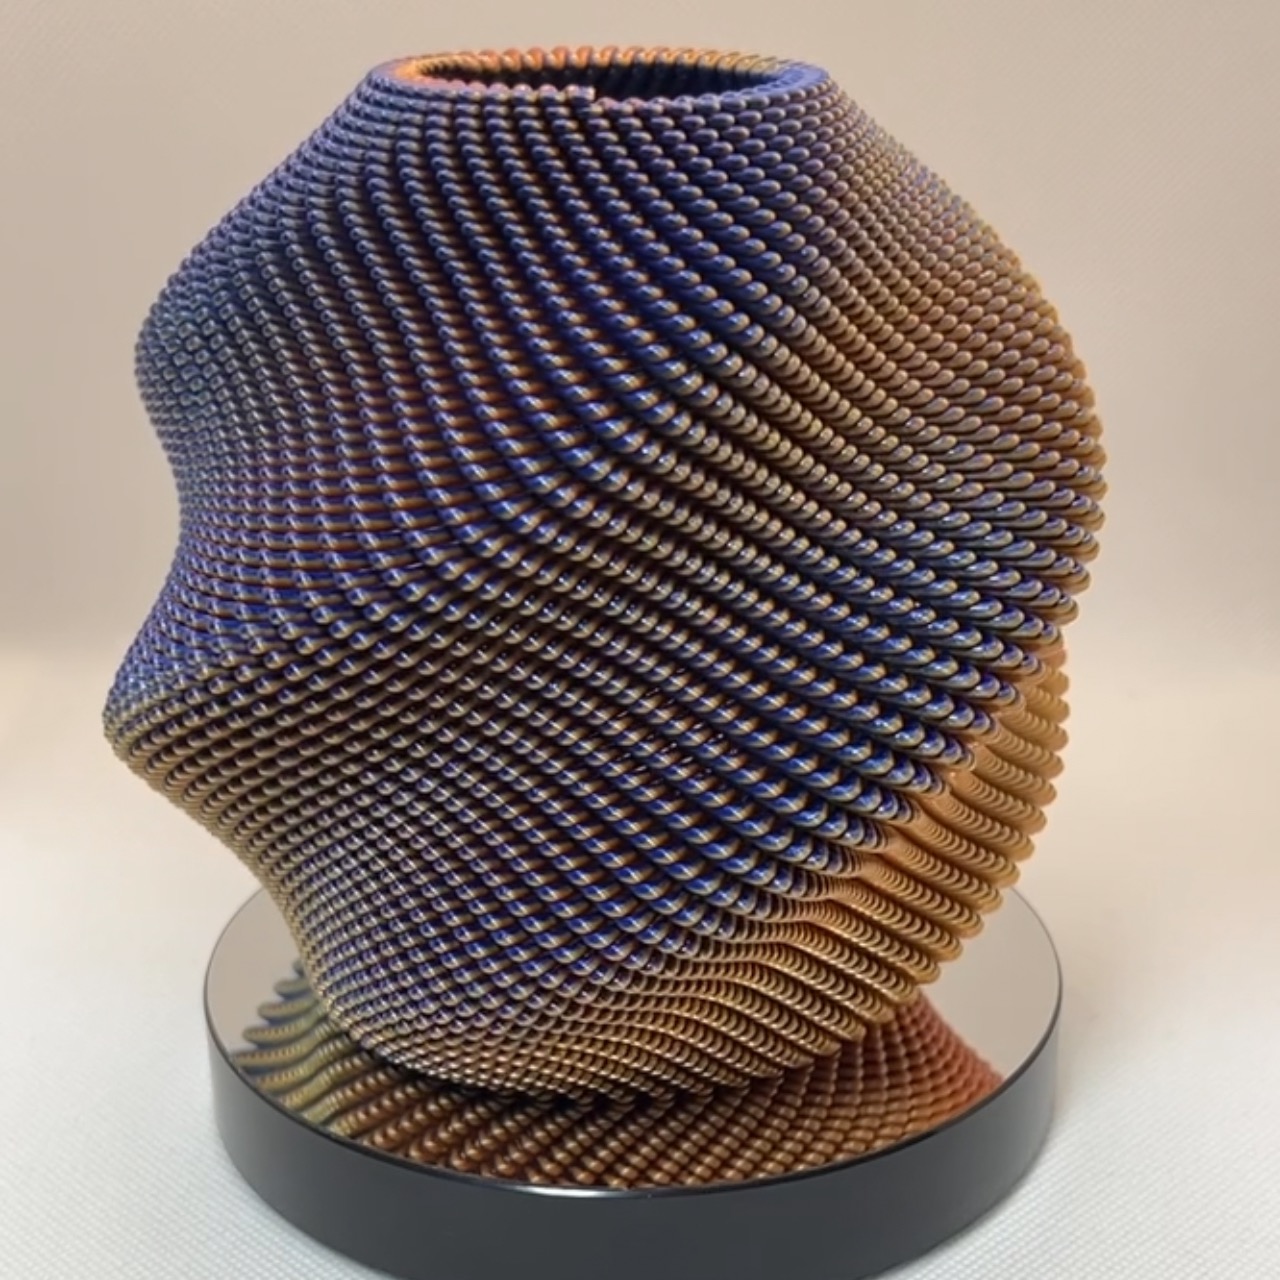
Turn any 3D mesh into auto ink-shaded ColorMix models using BumpMesh_Color! Includes dual-color Suzanne sample 3MF.
- Ocena
- 0 / 5
- Polubienia
- 10
- Pobrania
- 2
- Wydruki
- 0
- Wyświetlenia
- 94
- Oceny
- 0
Aktualizacja u źródła:
Informacje o modelu
- Źródło
- Printables
- Kategoria
- Sculptures
- Licencja
- Creative Commons — Attribution — Share Alike
🎨 Automatic Ink-Shading (Panel-Lining) for Multi-Color 3D Printing
I added an automatic geometric ink-shading (panel-lining / 墨入れ) feature to BumpMesh_Color, an open-source multi-color 3D printing web tool! It adds deep physical relief and shadow contrast to sculptures and organic models—without needing any texture images or manual painting.
This Suzanne model is a demonstration sliced using this new feature for the ColorMix Contest.
🚀 Free Web App (Runs 100% locally in your browser)
The tool is publicly available for free (no installation required; everything runs locally on your computer):
👉 Web App: https://mithril-3d.github.io/BumpMesh_Color/
(Open-source repository on GitHub)
📹 Video Tutorial / Workflow
Watch how easy it is to generate auto-shaded models in this short demo video:
👉 Demo Video on X (Twitter): https://x.com/Mithril_MEX/status/2107081840536555737
💡 How to Use
1. Load your model:
Drop your 3D file STL / OBJ / 3MF / STEP) into the browser, or click the Suzanne preset button in the top bar.

2. Enable Interleaved Layers:
Under COLOR & MULTI-TOOL in the right panel, check ☑ Enabled and select the [Interleaved Layers] mode tab.
3. Set Colors & Tools:
- Set Extruders (Colors) to 2.
- Set each palette slot's Tool dropdown to match your desired physical toolheads or AMS/MMU slots (e.g., Tool 1 for highlight color, Tool 2 for shadow/accent color).
4. Select Mesh Curvature as Shading Source:
Under Shading Source, click ✨ Mesh Curvature (Auto Geometry / No UV).
> ℹ Note on Textures: When using Mesh Curvature, it does not matter which texture is selected in the Texture Gallery. The shading is computed 100% directly from the 3D mesh's geometric peaks and crevices, completely bypassing any 2D images!
(You can tweak Detection Radius or Contrast sliders to fine-tune the shadow intensity).

5. Set Layer Thickness:
Set Layer Thickness (mm) to match your slicer's layer height (e.g., 0.20 mm).
6. Export & Print:
Click 🎨 Export Multi-Tool 3MF.
Drag the exported file into PrusaSlicer, OrcaSlicer, or Bambu Studio (select "Load as a single object with multiple parts" if prompted), slice, and print!
🖨 Recommended Slicer Settings (for the attached 3MF)
Infill: 0%
Perimeters (Walls): 2~3
Ensure vertical shell thickness: Disabled (Off)
🇯🇵 日本語での解説 (Japanese)
彫刻やフィギュアなどの3Dモデルの凹凸から自動的に陰影を抽出し、墨入れしたかのようなメリハリのある立体マルチカラー造形ができる機能を、Webツール BumpMesh_Color に新機能として追加・実装しました。
テクスチャ画像や手作業の着色は一切不要で、モデル自身の表面曲率から物理的な凹凸陰影(振り重ね積層)を自動生成します。
🎬 使い方動画: X (Twitter) ポスト
🖨 スライス推奨設定: インフィル0%、ペリメータ2~3、垂直シェル厚み確保オフ
使い方:
1. モデルの読み込み: 3Dモデル(STL/OBJ/3MF/STEP)をドラッグ&ドロップ(または上部プリセットの「スザンヌ」をクリック)。
2. 振り重ねの選択: 右側パネル「COLOR & MULTI-TOOL」の「有効 (Enabled)」にチェックを入れ、**「Interleaved Layers (振り重ね)」** タブを選択。
3. ツール数の設定:
- Extruders (Colors) を 2 に設定。
- お使いのプリンタのAMS/ツール番号(例: Tool 1 / Tool 2)を各スロットに割り当て。
4. 陰影ソースの設定:
- Shading Source で 「✨ Mesh Curvature (Auto Geometry / No UV)」 を選択。
- 💡 補足(テクスチャについて): 幾何曲率(Mesh Curvature)を使用する場合、テクスチャギャラリーでどの画像が選択されていても関係ありません(影響しません)。画像を使わず、モデル自体の形状から100%自動で陰影が計算されます。
- (お好みで「検出半径 (Detection Radius)」や「コントラスト」を微調整できます)
5. 積層厚み:
Layer Thickness をスライサーの積層ピッチ(例: 0.20 mm)に合わせる。
6. エクスポート:
「🎨 Export Multi-Tool 3MF」 をクリックして保存し、Bambu Studio / OrcaSlicer / PrusaSlicer に読み込んでスライス!
📜 Credits & Acknowledgments
Special thanks and massive respect to Stefan Hermann (CNC Kitchen) for creating the original, groundbreaking BumpMesh (stlTexturizer) project upon which BumpMesh_Color is built.
Base monkey mesh "Suzanne" by Blender Foundation.