
Flow Calibration Cube 60x60x15
Obliczymy ostateczną cenę na podstawie wybranego pliku. Sprawdzisz ją i zaakceptujesz przed płatnością.
Zapisane na tym urządzeniu.
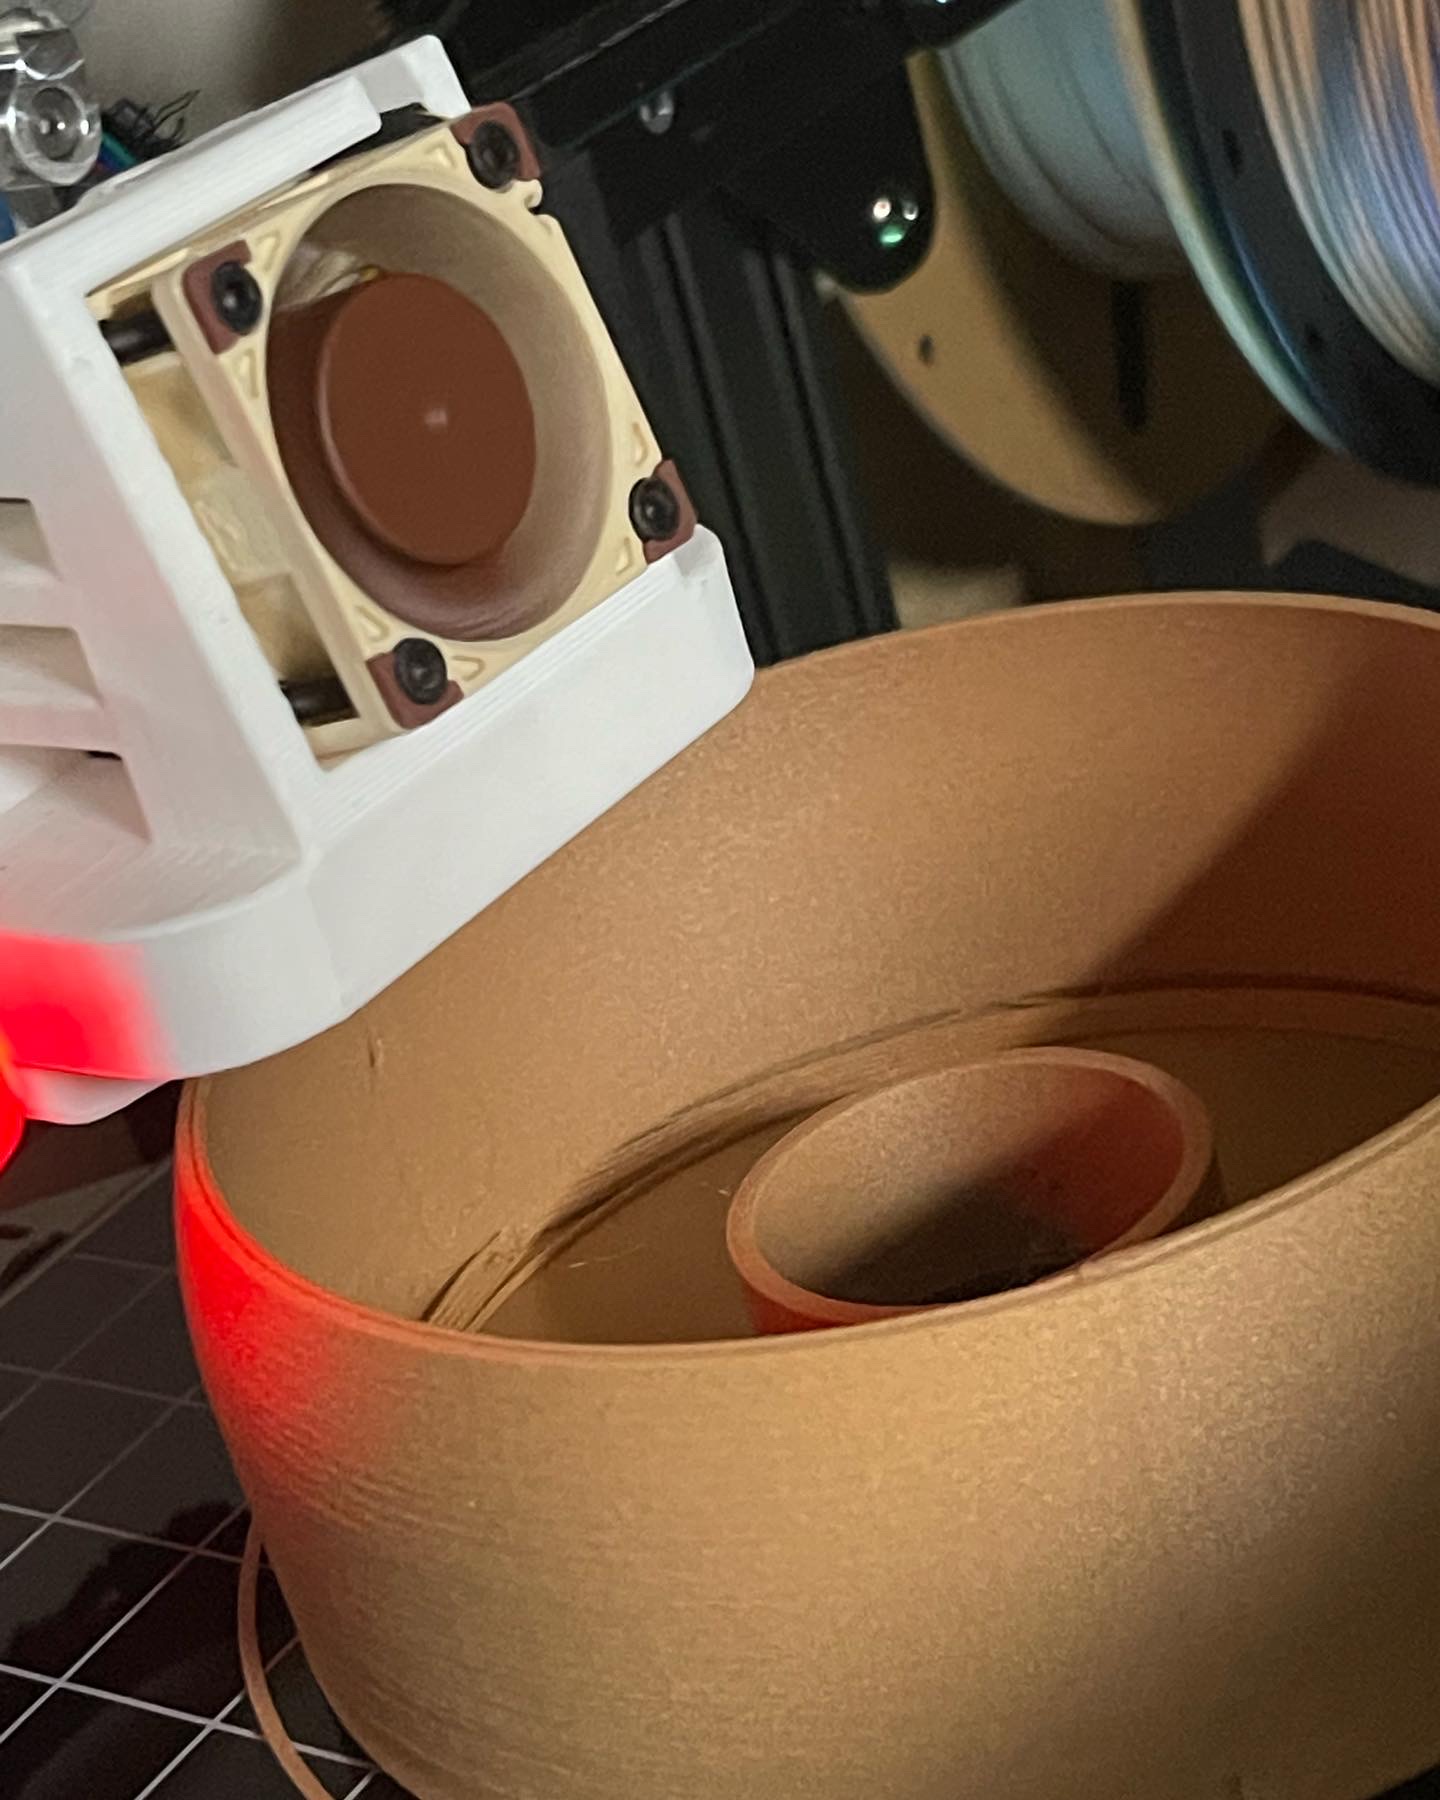
60x60x15 flow calibration cube. Printed in spiralize/vase mode.
- Ocena
- 5 / 5
- Polubienia
- 30
- Pobrania
- 346
- Wydruki
- 2
- Wyświetlenia
- 1549
- Oceny
- 2
Aktualizacja u źródła:
Informacje o modelu
- Źródło
- Printables
- Kategoria
- Test Models
- Licencja
- Creative Commons — Public Domain
Created this quick model for better flow calibration. I have found that when printing larger models after calibrating flow with a 20x20 cube, I usually end up with some form of under extrusion somewhere in the model I'm printing.
To solve my problem, I extended the width and length of a standard cube to 60mm on x and y. This gives me a better idea of flow when it comes to bigger models.
Also, I had some spare filament and thought what better way to use almost finished spools of filament than to calibrate and tune your printer!
NOTE: You will need digital calipers to calibrate your flow. You can find fairly priced good models on Amazon if you don't already have one.
Calibration Steps
- Set print to use spiralize/vase mode.
- Prusaslicer - go to Print settings > Vertical Shells > Spiral vase (check the box)
https://help.prusa3d.com/article/layers-and-perimeters_1748#spiral-vase - Cura - go to Special Modes > Spiralize Outer Counter (check the box)
https://all3dp.com/2/cura-vase-mode-all-you-need-to-know/
- Prusaslicer - go to Print settings > Vertical Shells > Spiral vase (check the box)
- Print the model
- Go to this link https://www.layerfused.com/3d-printer-calibration
- Scroll down to the section titled Flow Compensation
- Enter the flow rate value you used to print the model
- Enter the nozzle size you are using
- Using your digital calipers, measure each individual wall and enter the measurements in each respective input field. ***
- The number returned is your new flow rate.
- Print model again to verify the flow calibration
Example: For a standard 0.4mm nozzle each wall should measure 0.4mm. If it is under or above the nozzle diameter, run the calibration steps again. Until you get desired measurements. ***