
Modern Triangulated Magnet Tiles
Obliczymy ostateczną cenę na podstawie wybranego pliku. Sprawdzisz ją i zaakceptujesz przed płatnością.
Orientacyjna cena wydruku pliku
0,58 € – 0,71 € netto (bez VAT)
Dla pliku: CE3PRO_Modern1.gcode
To wstępna wycena jednego pliku. Dokładną cenę poznasz przed zamówieniem.
Plik i założenia wyceny
Plik użyty do wyceny
Średnia wycena orientacyjna: 0,65 € netto (środek widełek).
- Masa podana przez autora
- 6 g
- Czas druku podany przez autora
- 45 min
- Materiał u źródła
- PLA
- Materiał wyceny
- PLA
- Drukarka wyceny
- Bambu Lab P1S - 0.4 nozzle
- Proces wyceny
- 0.20mm Standard
Orientacyjna wycena wyłącznie wybranego pliku, oparta na masie i czasie druku podanych przez autora. Warianty plików nie są sumowane. Ostateczna cena zostanie obliczona po analizie pliku.
Zapisane na tym urządzeniu.
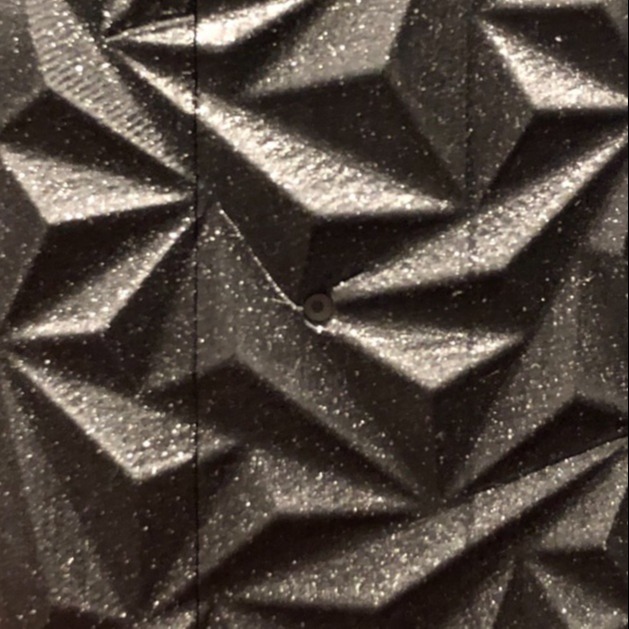
Want to make your fridge look modern? Make many of these magnet tiles! Comes in two sizes: Standard and Large!
- Ocena
- 5 / 5
- Polubienia
- 20
- Pobrania
- 60
- Wydruki
- 2
- Wyświetlenia
- 363
- Oceny
- 1
Aktualizacja u źródła:
Informacje o modelu
- Źródło
- Printables
- Kategoria
- Kitchen
- Licencja
- Creative Commons — Attribution — Noncommercial — Share Alike
Need to fill empty space on the side of your fridge or on another magnet adhering surface?
You could be looking for something of modern design yet still has great functionality. These tiles can be used for a display piece but also can be pulled around to hold various things on your surface.
I have designed three different looks on a sleek hexagon base. They require 8x2mm small round magnets which are pushed into the bottom of the print. You can find them on Amazon for around $11 USD. I made two sizes as well. One set large at 57.2mm across (pictured). One set small at 28.6mm across. Both at just over 5mm tall.
Print Settings:
- Use your fine tuned settings for your specific printer!
- In your slicer be sure to print this vertically (important for detail to show)
- You will need to rotate the model 90º to make it upright and then 30º to the side to make one side of the hexagon flat with the bed. See sample .gcode if you are confused at how it should look
- Infill is up to your preference. I used 100% for strength (also to cut time since infill could take longer)
- You need support coming only from the build plate. Each side of this model is tapered 5º for easy grabbing of the magnet tile
I will provide some sample .gcode of my print settings for the Modern1 file and Modern1Large file. Feel free to use it for reference!
Any comments, makes, and suggestions are much appreciated! Happy printing!
EDIT:
Make sure your Z-seam alignment is user specified! This makes the start and endpoint for each layer behind the print.
I tried out 20% infill and there was no issues!
Might I say this print looks better at thinner layer heights (0.2 or less).
Magnet can be press fitted or glued in place.