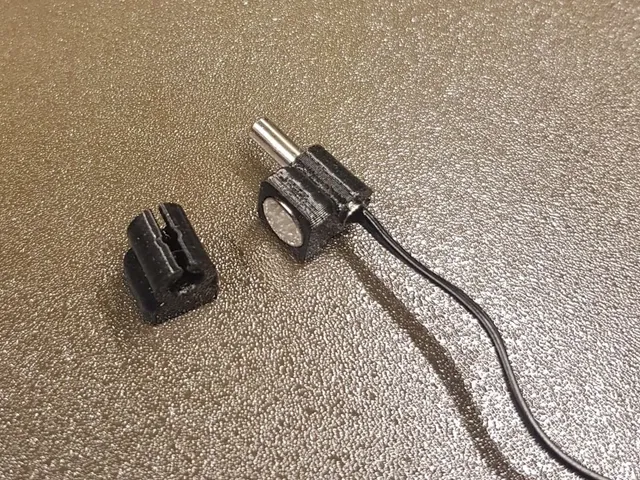
Cable Cover / Integrated Rail for PrusaBox by PrinterBox
Obliczymy ostateczną cenę na podstawie wybranego pliku. Sprawdzisz ją i zaakceptujesz przed płatnością.
Zapisane na tym urządzeniu.

Front cable cover with integrated rail for PrusaBox by PrinterBox
- Ocena
- 4 / 5
- Polubienia
- 9
- Pobrania
- 46
- Wydruki
- 1
- Wyświetlenia
- 805
- Oceny
- 1
Aktualizacja u źródła:
Informacje o modelu
- Źródło
- Printables
- Kategoria
- Prusa Parts & Upgrades
- Licencja
- Creative Commons — Attribution — Noncommercial — Share Alike
Cable cover with integrated rail and magnets of course. Now you can mount whatever you want and you can change the vertical position in a blink of an eye.


Instructions
- Print with supports (Important! Take a look at .gcode). I recommend using the “Intelligent mode” of prusa slicer.
- Print as many gliders and holders you need

- Remove the old rail
- If you have the frame for the thermometer installed (https://help.printer-box.com/3d-printer-enclosure-thermometer/), remove the clamp.

- Install the magnet holder (you'll need a longer screw: M3 x 20).

- Make sure the magnet poles of the holder and the glider are installed correctly, + and - must be facing each other.
For owners of the Logitech C270 camera:
- If you use a Logitech C270, download and print the magnetic holder I've designed:
https://www.printables.com/de/model/125937-magnetic-camera-holder-for-logitech-c270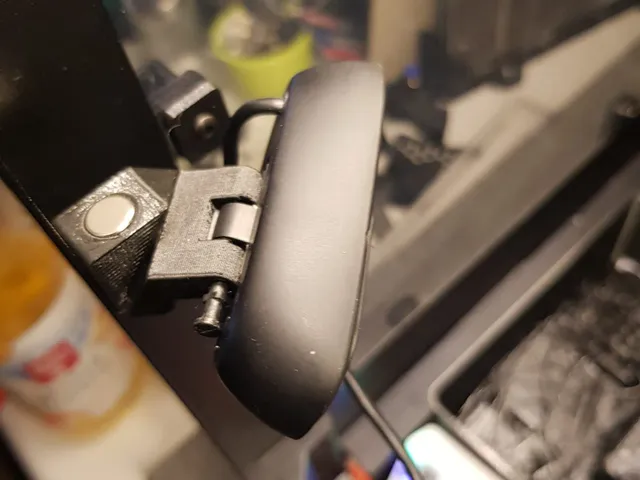
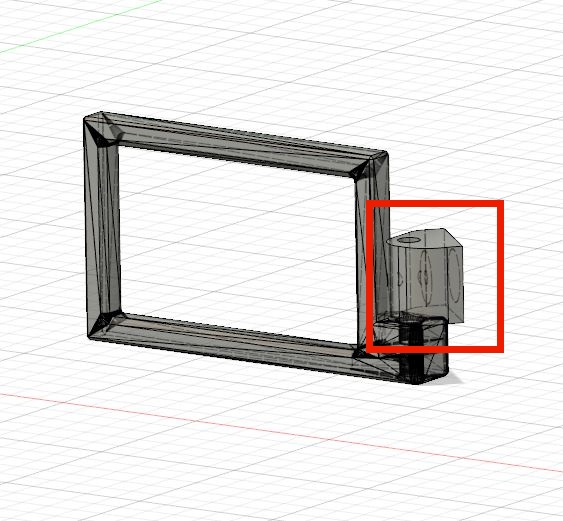
- You will only have to print the marked part:
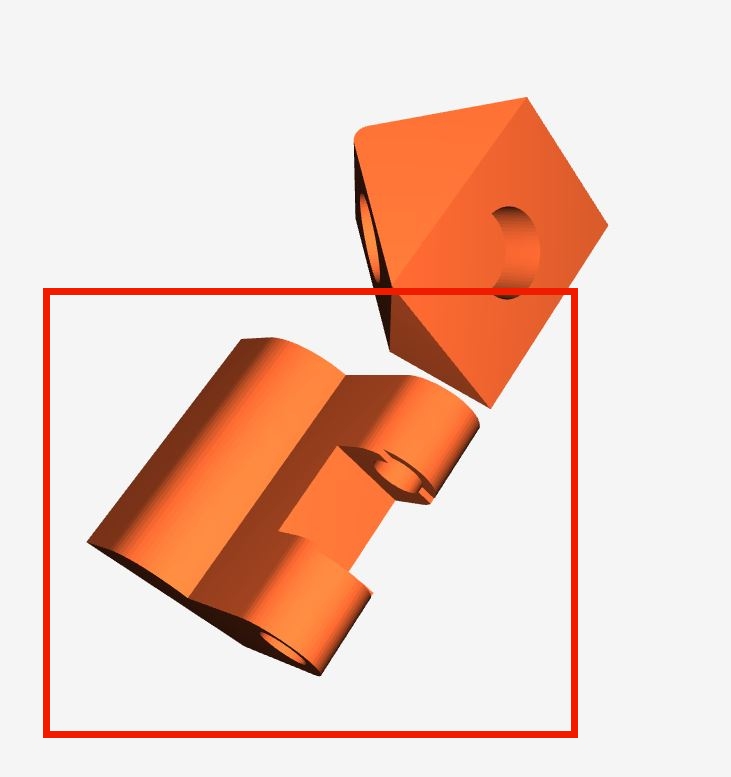
For owners of the Logitech C920 camera:
- Download mount: https://www.thingiverse.com/thing:3013280/files
- Download my C920 magnet holder ("C920_Magnet_Mount.stl")

- Note: This is a quick & dirty design that has not been tested and was created only on the basis of the .stl source on thingverse (simply because I don't own a c920 ). I am not sure wether the magnet will be strong enough to hold this heavy camera (but I guess this should do, as long as you use neodym magnets).
For all other cameras
- If you have a different camera installed, you probably have to design your own magnet holder.
Installation
- Mount all magnets. Use superglue to fix them, if necessary.
- Insert the glider into the rail. You will notice a small angle downwards. But this is intentional. Otherwise it would not be possible to provide enough space to move the glider along the rail. This also makes it a bit shaky when you slide/move it. Remember: The system is not meant to be rock solid, but functional and clean looking.
- To move the glider, simply pull it, change the position and push it back in.
You need:
8 8 x 3 magnets for the cover
1 8 x 3 magnet for the glider
1 8 x 3 magnet for the holder
1 8 x 3 magnet for the Logitech c270 holder
1 8 x 4 or 8 x 3 magnet for the Logitech c920 holder
1 M3 x 20 screw for the thermometer holder
Note
Check out my magnetic probe holder, that will perfectly fit to this print.
https://www.printables.com/de/model/125317-magnetic-holder-for-temperature-sensors-probes