
Parkside(tm) X20V basic adapter (STP, STL, FreeCAD)
Obliczymy ostateczną cenę na podstawie wybranego pliku. Sprawdzisz ją i zaakceptujesz przed płatnością.
Zapisane na tym urządzeniu.

Use this design to make your own stuff powered by the LIDL Parkside X20V battery system
- Ocena
- 0 / 5
- Polubienia
- 34
- Pobrania
- 570
- Wydruki
- 1
- Wyświetlenia
- 2565
- Oceny
- 0
Aktualizacja u źródła:
Informacje o modelu
- Źródło
- Printables
- Kategoria
- Tools
- Licencja
- GNU General Public License v3.0
Parkside X20V basic Adapter
Not much to say here. If you found this, you know what you need :)
Disclaimer: Those batterys pack quite a punch. If you short them out or start a fire using this design, I can't be held liable. Please print and use only if you “know your electronics” !!!

Is this thing useful to you?
Don't hesitate to hit the ❤ and show some love. I'm always happy to hear from you in the 🗩 comment section. If you have problems printing my files: tell me in the comment section too!
Provided files
I do like to have real CAD-files, when downloading things from others. Most users don't provide files other than .STL-files. These are useless for further manipulation or quick changes. So I'll provide the following files to you:
Format | Included? | Description |
STL | ✓ | - |
STEP | ✓ | Version 214 |
FreeCAD | ✓ |
Updates
2026-01-15 The .step file of the lid was the same as the bottom part. Corrected.
2021-12-11 Files: V1. Changelog:
Basepart:
connector-blades don't stick out of the part anymore
2 holes added to solder wire to the connectors and guide them through the top
added polarity signs
4mm holes for M3 Ruthex inserts
Lid:
2 holes added to solder wire to the connectors and guide them through the top
added polarity signs
holes for M3 countersink screws (ISO 10642 / DIN 7991)
2021-12-10 first upload. Files: V0
Is it easy to build/assemble?
In V0 there are a few holes you could drill bigger to add heat inserts to one of the parts. Or just glue the two parts together.
If there's interest I'll add more versions with countersunk holes. It's easy to do yourself in FreeCAD, just edit the “Holes” feature and edit:


Theres a 1mm slot to add a strip of 0.2mm 7mm wide hilumin strip (the stuff you connect Li-Ion cells with). Just fold it 4 times and press/glue it into the slot.

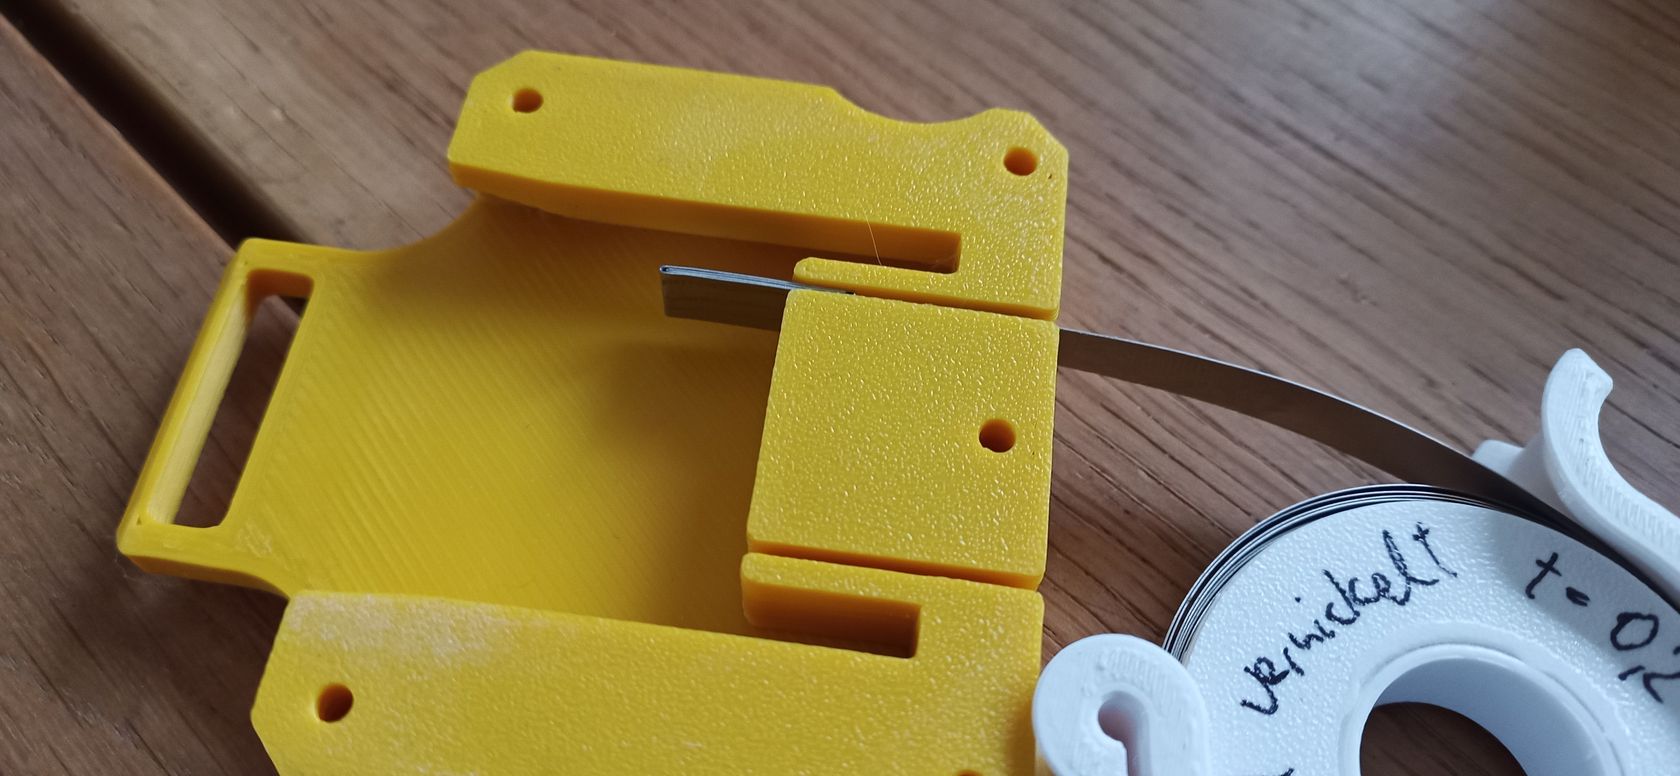
Remember: FreeCAD and STP-Files provided, just modify to your hearts content!!!
Is this thing finished?
Kinda…
Print Settings
If you'd like to attach stuff to the “lid”-part later with screws, just print that part 100% filled. Makes drilling holes much easier!
Rafts: Not necessary
Supports: Not necessary
Resolution: 0.2 … 0.3. Works great at 0.3mm layer height
Perimeters: 3 and more
Infill: 25%-100%
Filament: PLA, PETG, ABS, ASA, …
Notes:
Post-Printing
No supports needes, thus no cleanup.
Assembly
I recommend using super glue (CA) to join the parts. It does work perfectly with PLA, PETG, ASA, ABS if you do it correctly.
The key here is to use activator spray!
clean both surfaces with alcohol and let evaporate
spray the “lid” part with activator and let evaporate
add a fair amount of CA glue to the base part
put two 3mm nails/dowel pins in two diagonal holes
slide the two parts together and clamp them together
The glue sets immediately, that's why using pins to align the parts is essential when working with CA activator.