
IKEA LACK table enclosure PRUSA MK3 modification
Obliczymy ostateczną cenę na podstawie wybranego pliku. Sprawdzisz ją i zaakceptujesz przed płatnością.
Zapisane na tym urządzeniu.
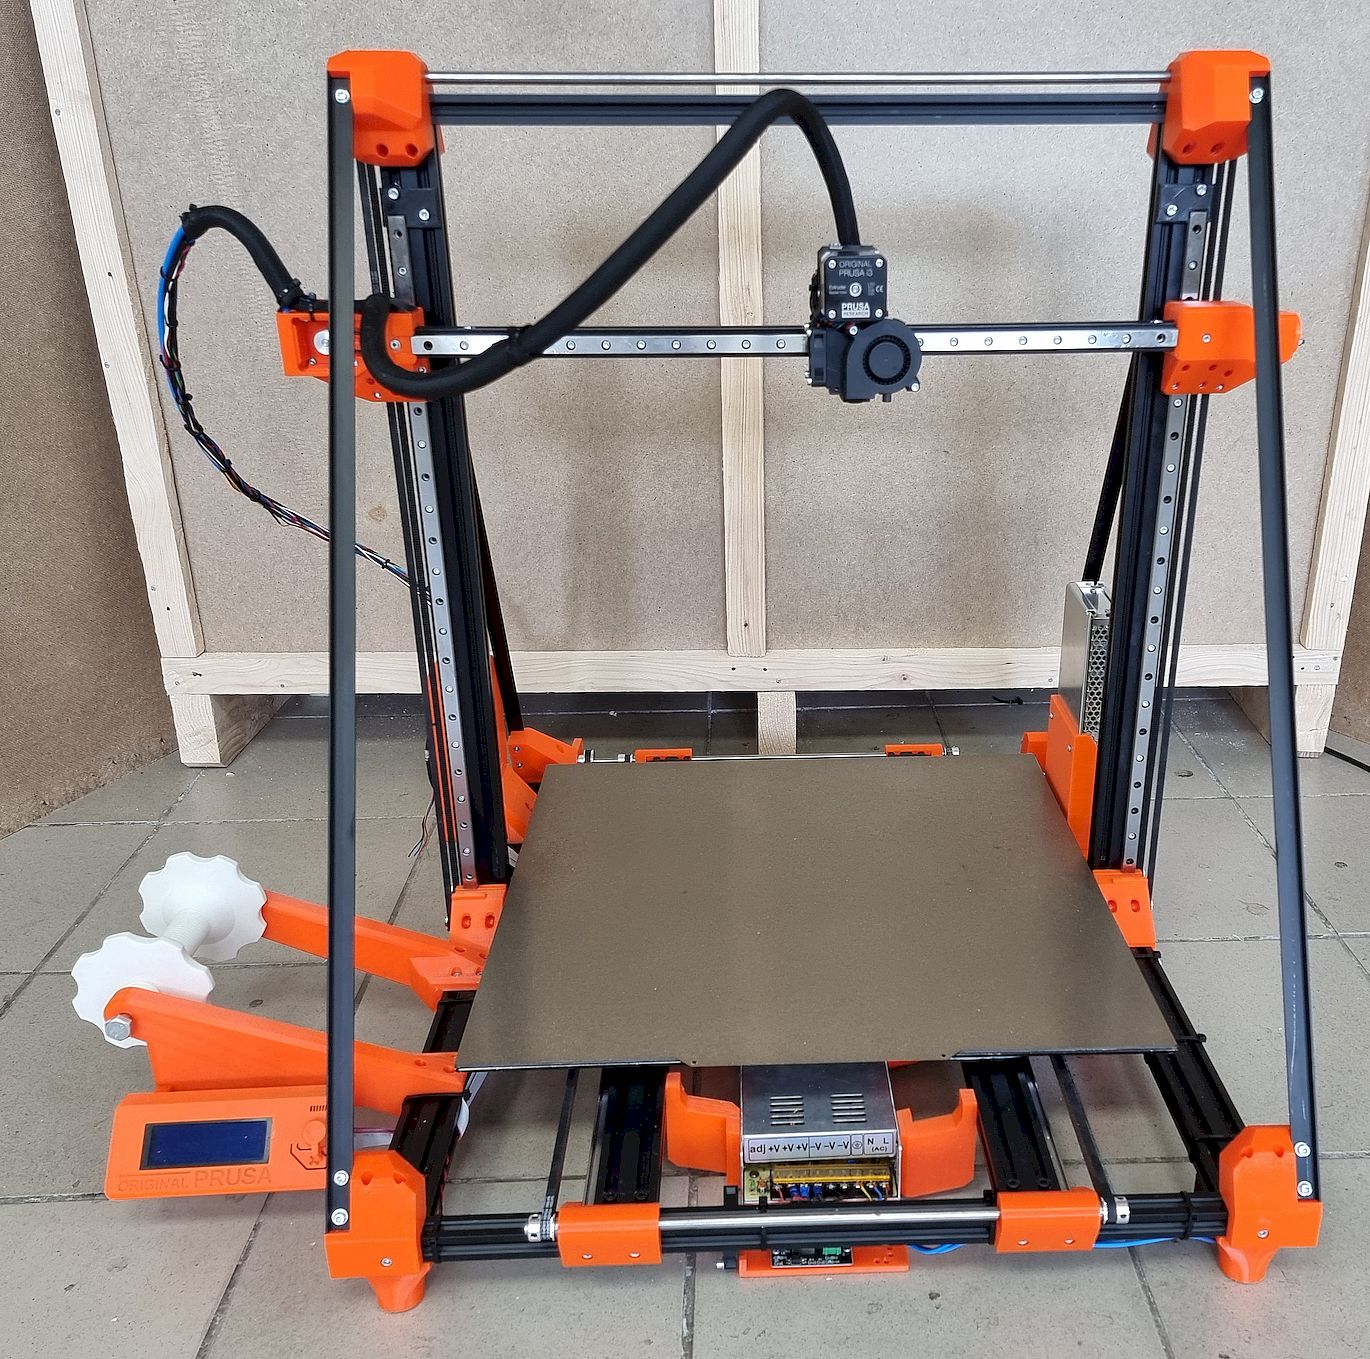
I started to make the original enclosure, but very soon I realized, that design of some parts is not the best.
- Ocena
- 0 / 5
- Polubienia
- 31
- Pobrania
- 118
- Wydruki
- 1
- Wyświetlenia
- 3894
- Oceny
- 0
Aktualizacja u źródła:
Informacje o modelu
- Źródło
- Printables
- Kategoria
- Accessories
- Licencja
- Creative Commons — Attribution — Noncommercial
I started to make the original enclosure, but very soon I realized, that design of some parts is not the best.
The position of main switch on the power supply does not have any sense, it is located back and under table... I wanted to control also LED lights, so I make extra "switch box" with 2 independent switches. One for on-off printer itself, and it is immersed so you can not accidentally switch it off, and the smaller one for LED strips light inside.
I put 4 LED strips around with total length 1,6 m. It is enough light now inside the box.
I printed some LED strip holders, because I can not trust the glue of LED strips on the paper surface, which is IKEA table bade from. Moreover on that temperatures, there are inside cover. So I printed fixation holders.
I put also electric installation box in the middle of the lower table from bottom, to make wirings better and more safe. Transparent panels I cut 440x440 mm but they are bigger than enough. I have to cut some mm from sides, where panels are in holders.
Also I add screws 3 mm to the front door holders.
I used magnets from furniture, so I redesign door handles. Magnets I put on the top, it is better to have clean bottom front space.
I am thinking to make top floor for filament spool, to keep it warm and out of the moisture..
EDIT 22.6.2019:
Added termostat holder.
Print instructions
Category: 3D Printer Accessories Summary
I started to make the original enclosure, but very soon I realized, that design of some parts is not the best.
The position of main switch on the power supply does not have any sense, it is located back and under table... I wanted to control also LED lights, so I make extra "switch box" with 2 independent switches. One for on-off printer itself, and it is immersed so you can not accidentally switch it off, and the smaller one for LED strips light inside.
I put 4 LED strips around with total length 1,6 m. It is enough light now inside the box.
I printed some LED strip holders, because I can not trust the glue of LED strips on the paper surface, which is IKEA table bade from. Moreover on that temperatures, there are inside cover. So I printed fixation holders.
I put also electric installation box in the middle of the lower table from bottom, to make wirings better and more safe. Transparent panels I cut 440x440 mm but they are bigger than enough. I have to cut some mm from sides, where panels are in holders.
Also I add screws 3 mm to the front door holders.
I used magnets from furniture, so I redesign door handles. Magnets I put on the top, it is better to have clean bottom front space.
I am thinking to make top floor for filament spool, to keep it warm and out of the moisture..
EDIT 22.6.2019:
Added termostat holder.
Print Settings
Printer Brand: Prusa
Printer: i3 MK3
Rafts: No
Supports: No
Resolution: 0.2
Infill: 20
Filament: PM filament PETG
Notes:
240°C 90°C