
Infill Bookmarks
Obliczymy ostateczną cenę na podstawie wybranego pliku. Sprawdzisz ją i zaakceptujesz przed płatnością.
Zapisane na tym urządzeniu.

Simple bookmarks generated using the different infill settings in PrusaSlicer
- Ocena
- 0 / 5
- Polubienia
- 74
- Pobrania
- 187
- Wydruki
- 1
- Wyświetlenia
- 1037
- Oceny
- 0
Aktualizacja u źródła:
Informacje o modelu
- Źródło
- Printables
- Kategoria
- Other Art & Designs
- Licencja
- Creative Commons — Attribution — Share Alike
These bookmarks are generated using the infill settings in PrusaSlicer.
I have uploaded STLs for the following sizes
- 100mm x 35mm x 1.2mm thick inside & 3mm thick outside the book
- 140mm x 35mm x 1.2mm thick inside & 3mm thick outside the book
- 180mm x 35mm x 1.2mm thick inside & 3mm thick outside the book
To customise the generated pattern:
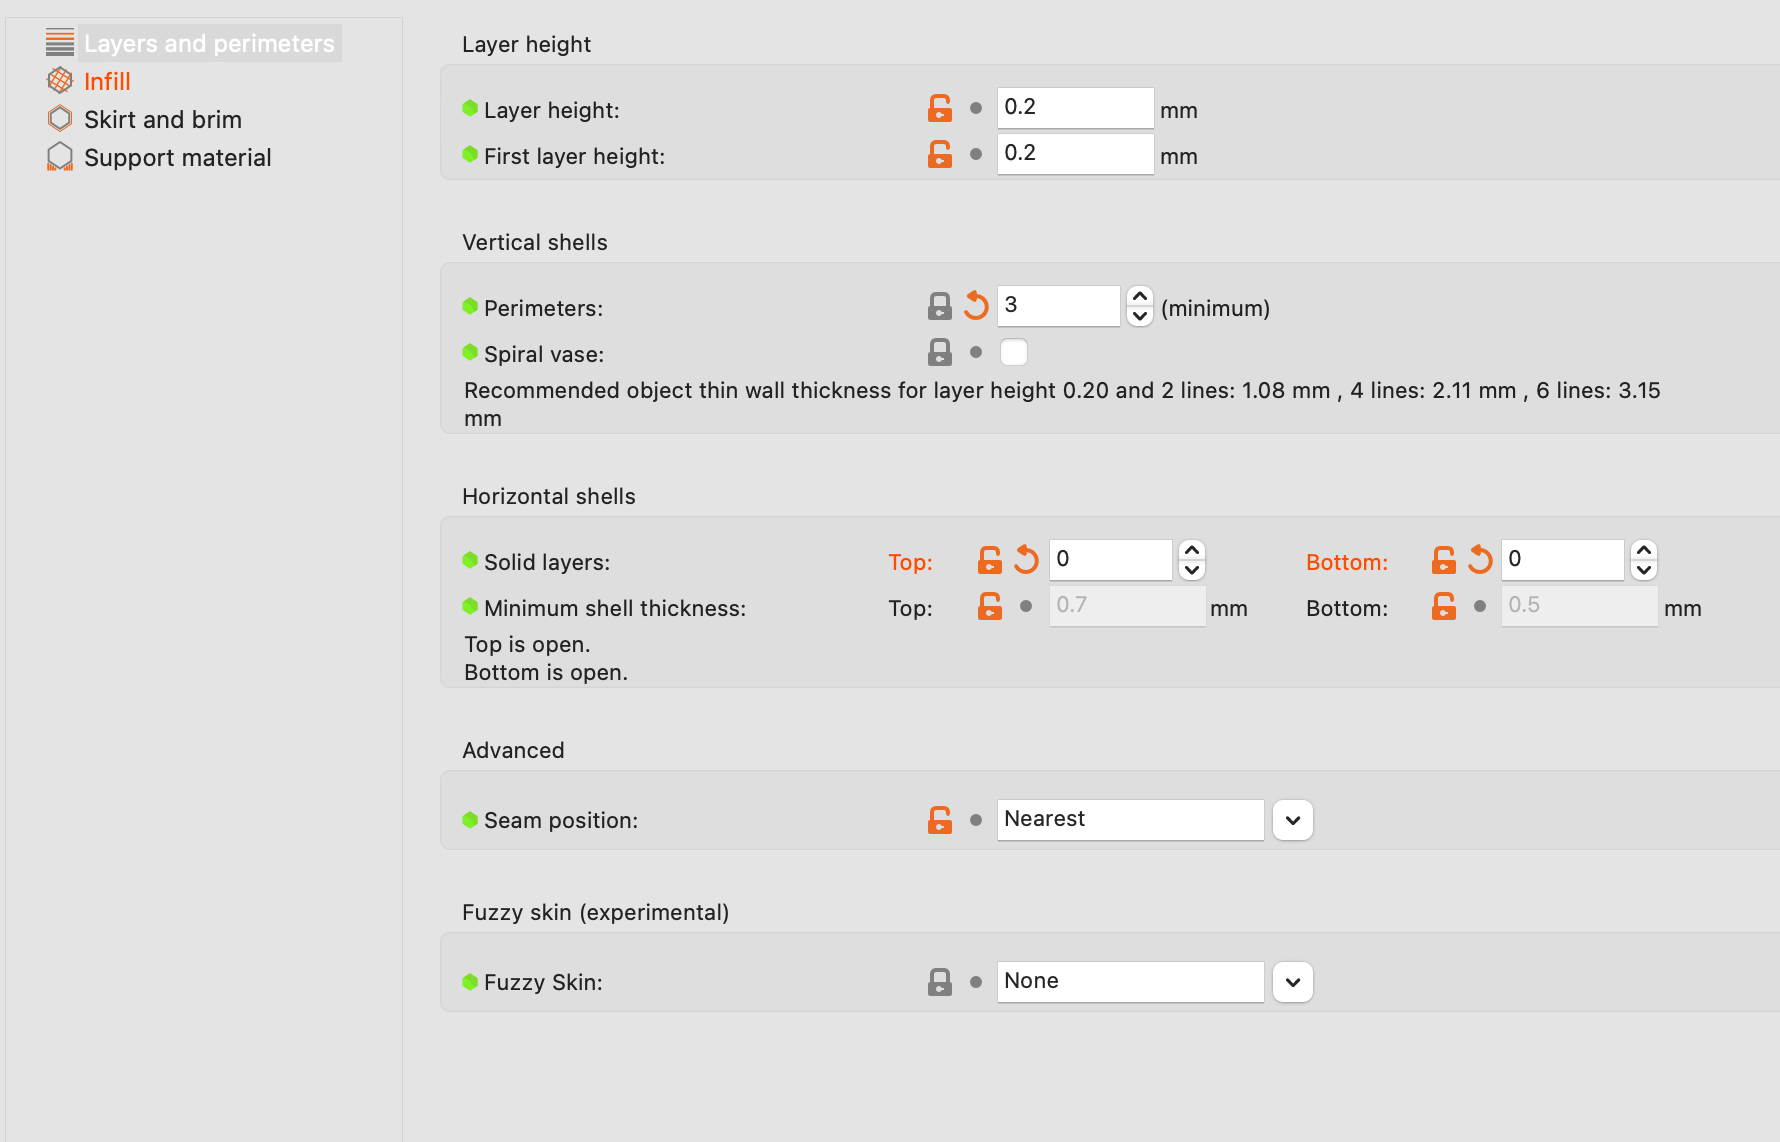
- Print Settings (top menu)
- Layers and perimeters (left side menu)
- Vertical Shells → Perimeters (Changing this value changes the amount of ‘rings’ your bookmark has around the edge)
- Horizontal Shells → Solid Layers → Set Top and Bottom to 0. (this removes the top and bottom layers)
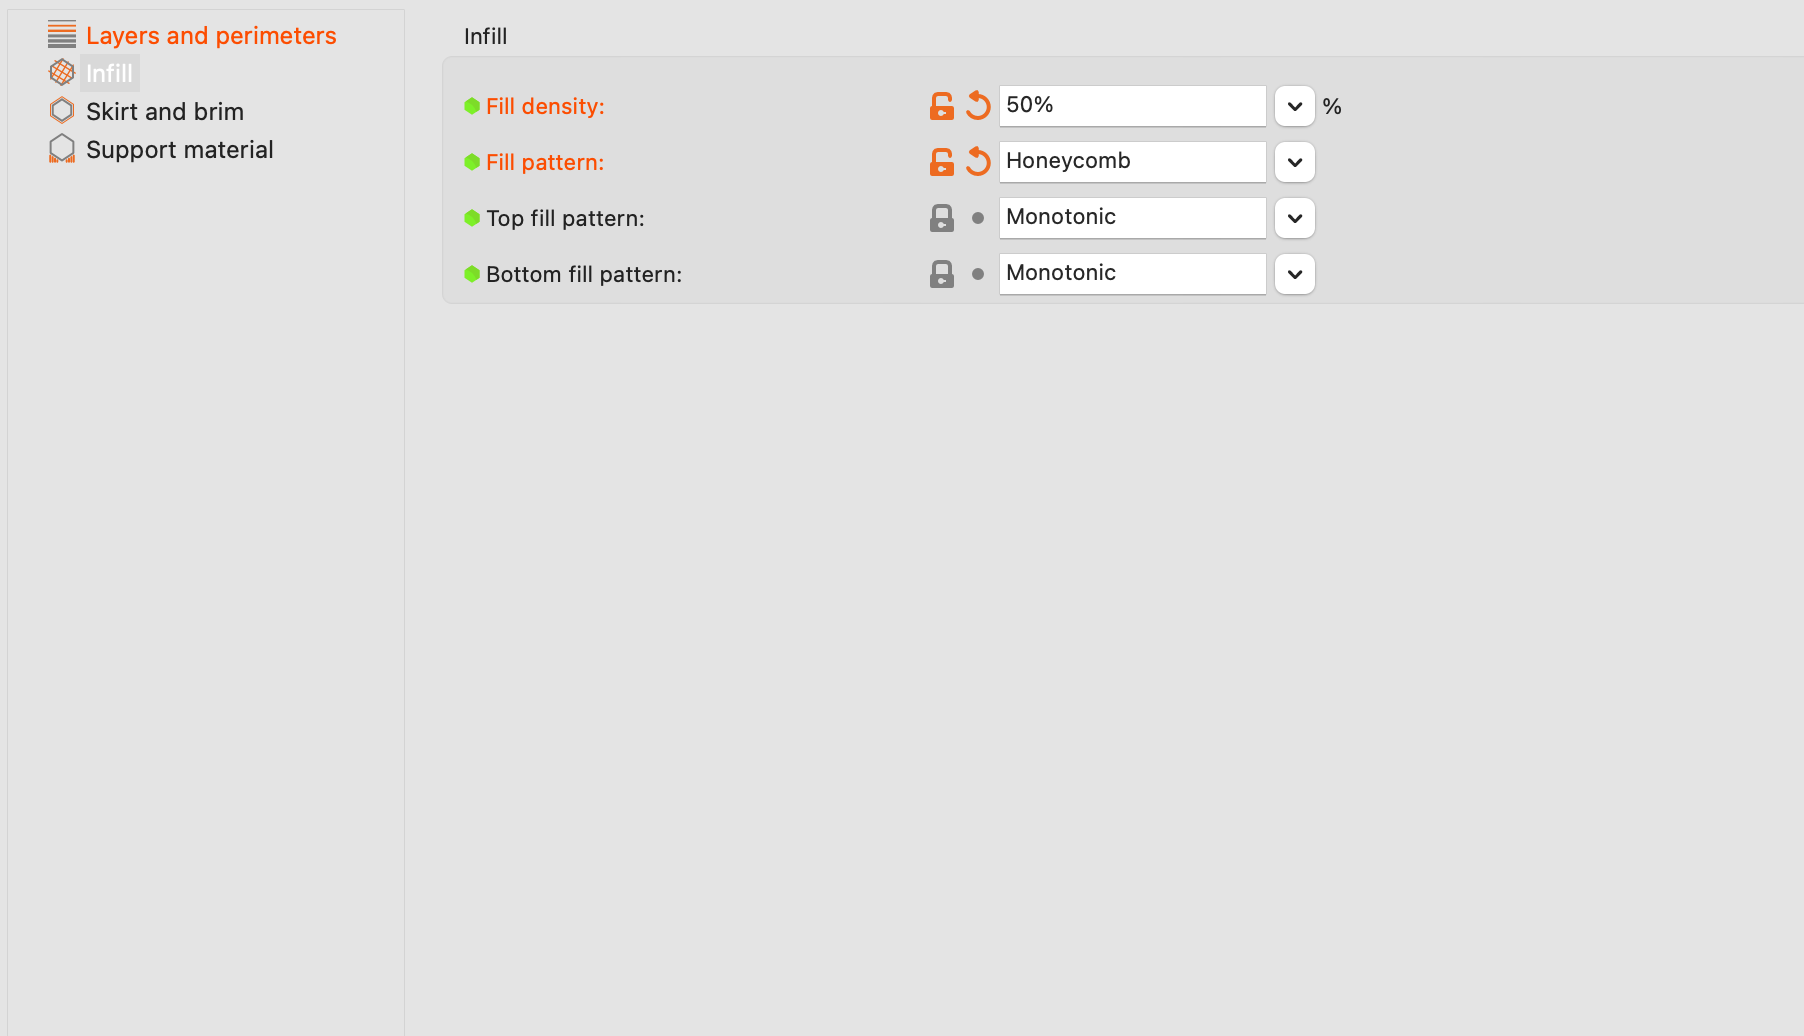
- Infill (left side menu)
- Play with the Fill density and Fill pattern to generate unique designs.
 |  |
Another idea is to keep the bottom solid layer and add a filament change with some contrasting colours to create stronger and more interesting designs. I found 3 bottom layers in black worked well.
I have uploaded the gcode for a few different designs.
- 100mm x 35mm Honeycomb 30%
- 140mm x 35mm Stars 40%
- 180mm x 35mm Rectilinear 15%
- 140mm x 35mm Honeycomb 30% with filament change
There is also an OpenSCAD file if you want to customise the sizes, thickness and corner radius.
I suggest letting the print cool for a while before removing from the print bed to avoid bending whilst still heated.
My prints are with a 0.5mm nozzle, I think the standard 0.4mm nozzle will produce better results.