
Infill Bookmarks
We calculate the final price from your selected file. You review and accept it before payment.
Saved on this device.

Simple bookmarks generated using the different infill settings in PrusaSlicer
- Rating
- 0 / 5
- Likes
- 74
- Downloads
- 187
- Makes
- 1
- Views
- 1,037
- Reviews
- 0
Updated at source:
Model information
- Source
- Printables
- Category
- Other Art & Designs
- License
- Creative Commons — Attribution — Share Alike
These bookmarks are generated using the infill settings in PrusaSlicer.
I have uploaded STLs for the following sizes
- 100mm x 35mm x 1.2mm thick inside & 3mm thick outside the book
- 140mm x 35mm x 1.2mm thick inside & 3mm thick outside the book
- 180mm x 35mm x 1.2mm thick inside & 3mm thick outside the book
To customise the generated pattern:
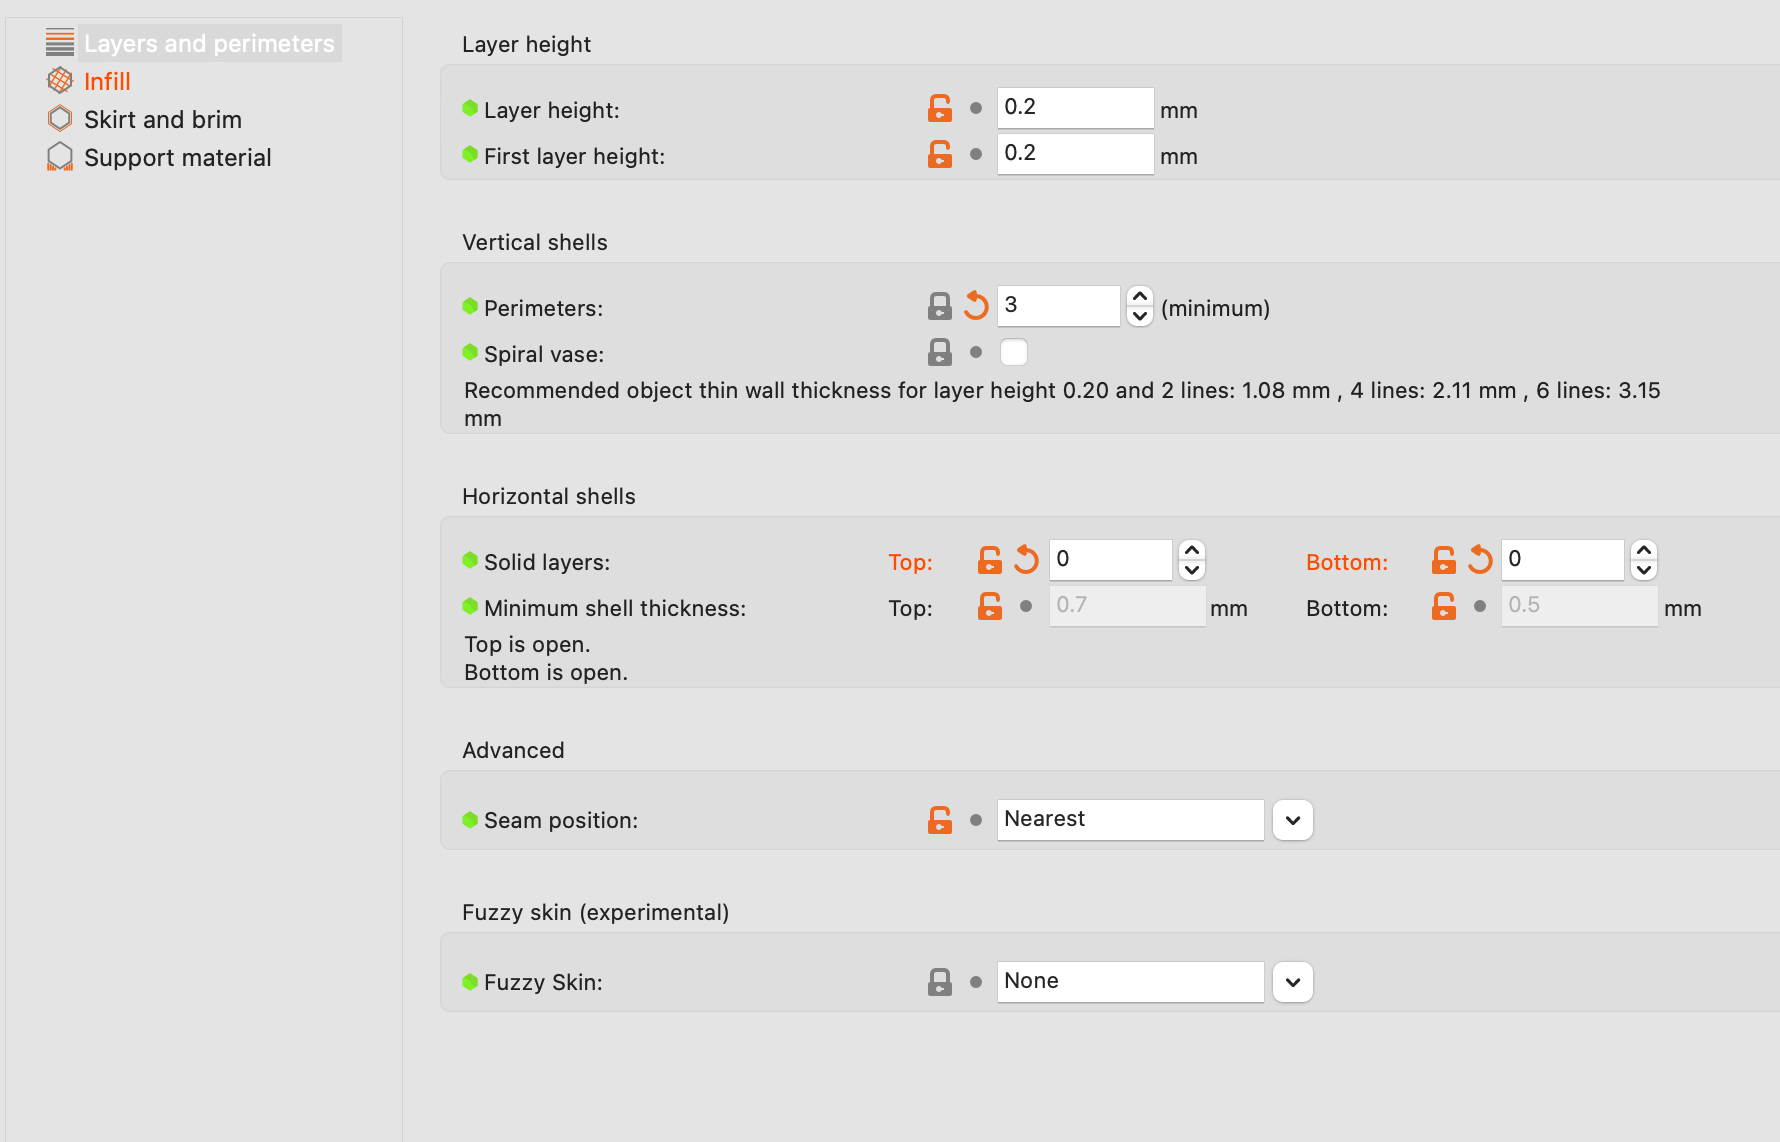
- Print Settings (top menu)
- Layers and perimeters (left side menu)
- Vertical Shells → Perimeters (Changing this value changes the amount of ‘rings’ your bookmark has around the edge)
- Horizontal Shells → Solid Layers → Set Top and Bottom to 0. (this removes the top and bottom layers)
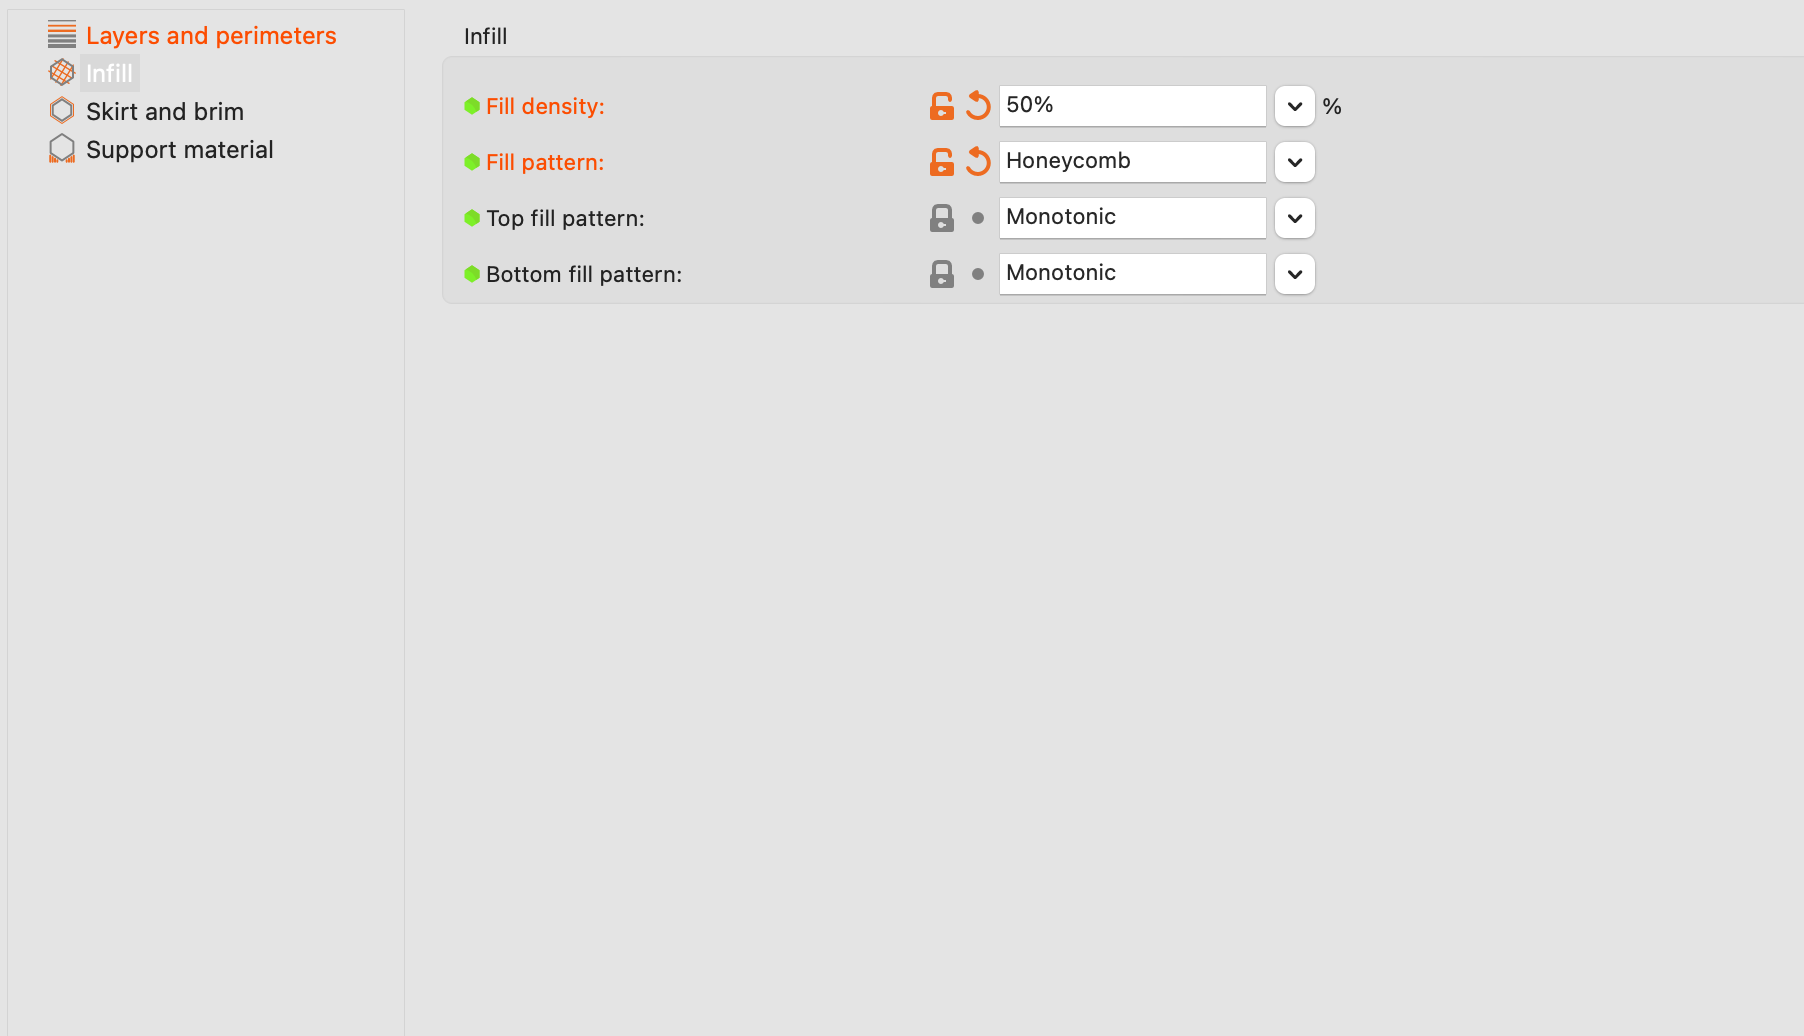
- Infill (left side menu)
- Play with the Fill density and Fill pattern to generate unique designs.
 |  |
Another idea is to keep the bottom solid layer and add a filament change with some contrasting colours to create stronger and more interesting designs. I found 3 bottom layers in black worked well.
I have uploaded the gcode for a few different designs.
- 100mm x 35mm Honeycomb 30%
- 140mm x 35mm Stars 40%
- 180mm x 35mm Rectilinear 15%
- 140mm x 35mm Honeycomb 30% with filament change
There is also an OpenSCAD file if you want to customise the sizes, thickness and corner radius.
I suggest letting the print cool for a while before removing from the print bed to avoid bending whilst still heated.
My prints are with a 0.5mm nozzle, I think the standard 0.4mm nozzle will produce better results.