
Cobi T-34-85 Upgrade Parts
Obliczymy ostateczną cenę na podstawie wybranego pliku. Sprawdzisz ją i zaakceptujesz przed płatnością.
Zapisane na tym urządzeniu.

A set of upgrade parts to improve the looks of Cobi model 2542(T-34-85). Turret requires some extra pieces not included
- Ocena
- 0 / 5
- Polubienia
- 13
- Pobrania
- 55
- Wydruki
- 0
- Wyświetlenia
- 1458
- Oceny
- 0
Aktualizacja u źródła:
Informacje o modelu
- Źródło
- Printables
- Kategoria
- Building Toys
- Licencja
- Creative Commons — Attribution — Noncommercial
Updates:
1/9/2023 - fixed mirroring of “Hull Front L”
Parts:
Hull Front L/R: Replace the corner slopes at the front of the turret for a more consistent shape all around. The Left piece has a a stud on the surface for mounting the headlight
MG Port: replaces default part and holds original hull-mounted MG piece
Turret Top: Replaces slopes on the front-side turret roof. Includes holes for mounting original gunner sight and MG
Turret Front/Back L-R: Provides a more uniform curve around the sides of the turret. See “Assembly” for installation instructions. The front turret parts include a cavity to hold the printed insignias. They can be released by pushing through the slits on the backside
Post-processing:
Parts may need sanding to achieve a light press fit. Sanding outer surfaces smooth will also improve paint adhesion
Assembly:
Important: do not force parts together if they are too tight, otherwise you may risk breaking them
Before you Start: You will need the following extra pieces. I was able to obtain them from replacing the turret panels on my Koenigstiger https://www.printables.com/model/358398-cobi-koenigstigertiger-upgrade-parts. 3D-printable versions can also be found at https://www.printables.com/model/117029-lego-compatible-plates-all-sizes-upto-50x50

Step 1: Disassemble the turret to match the pictures below. Some pieces are shown hanging in place without stud attachments
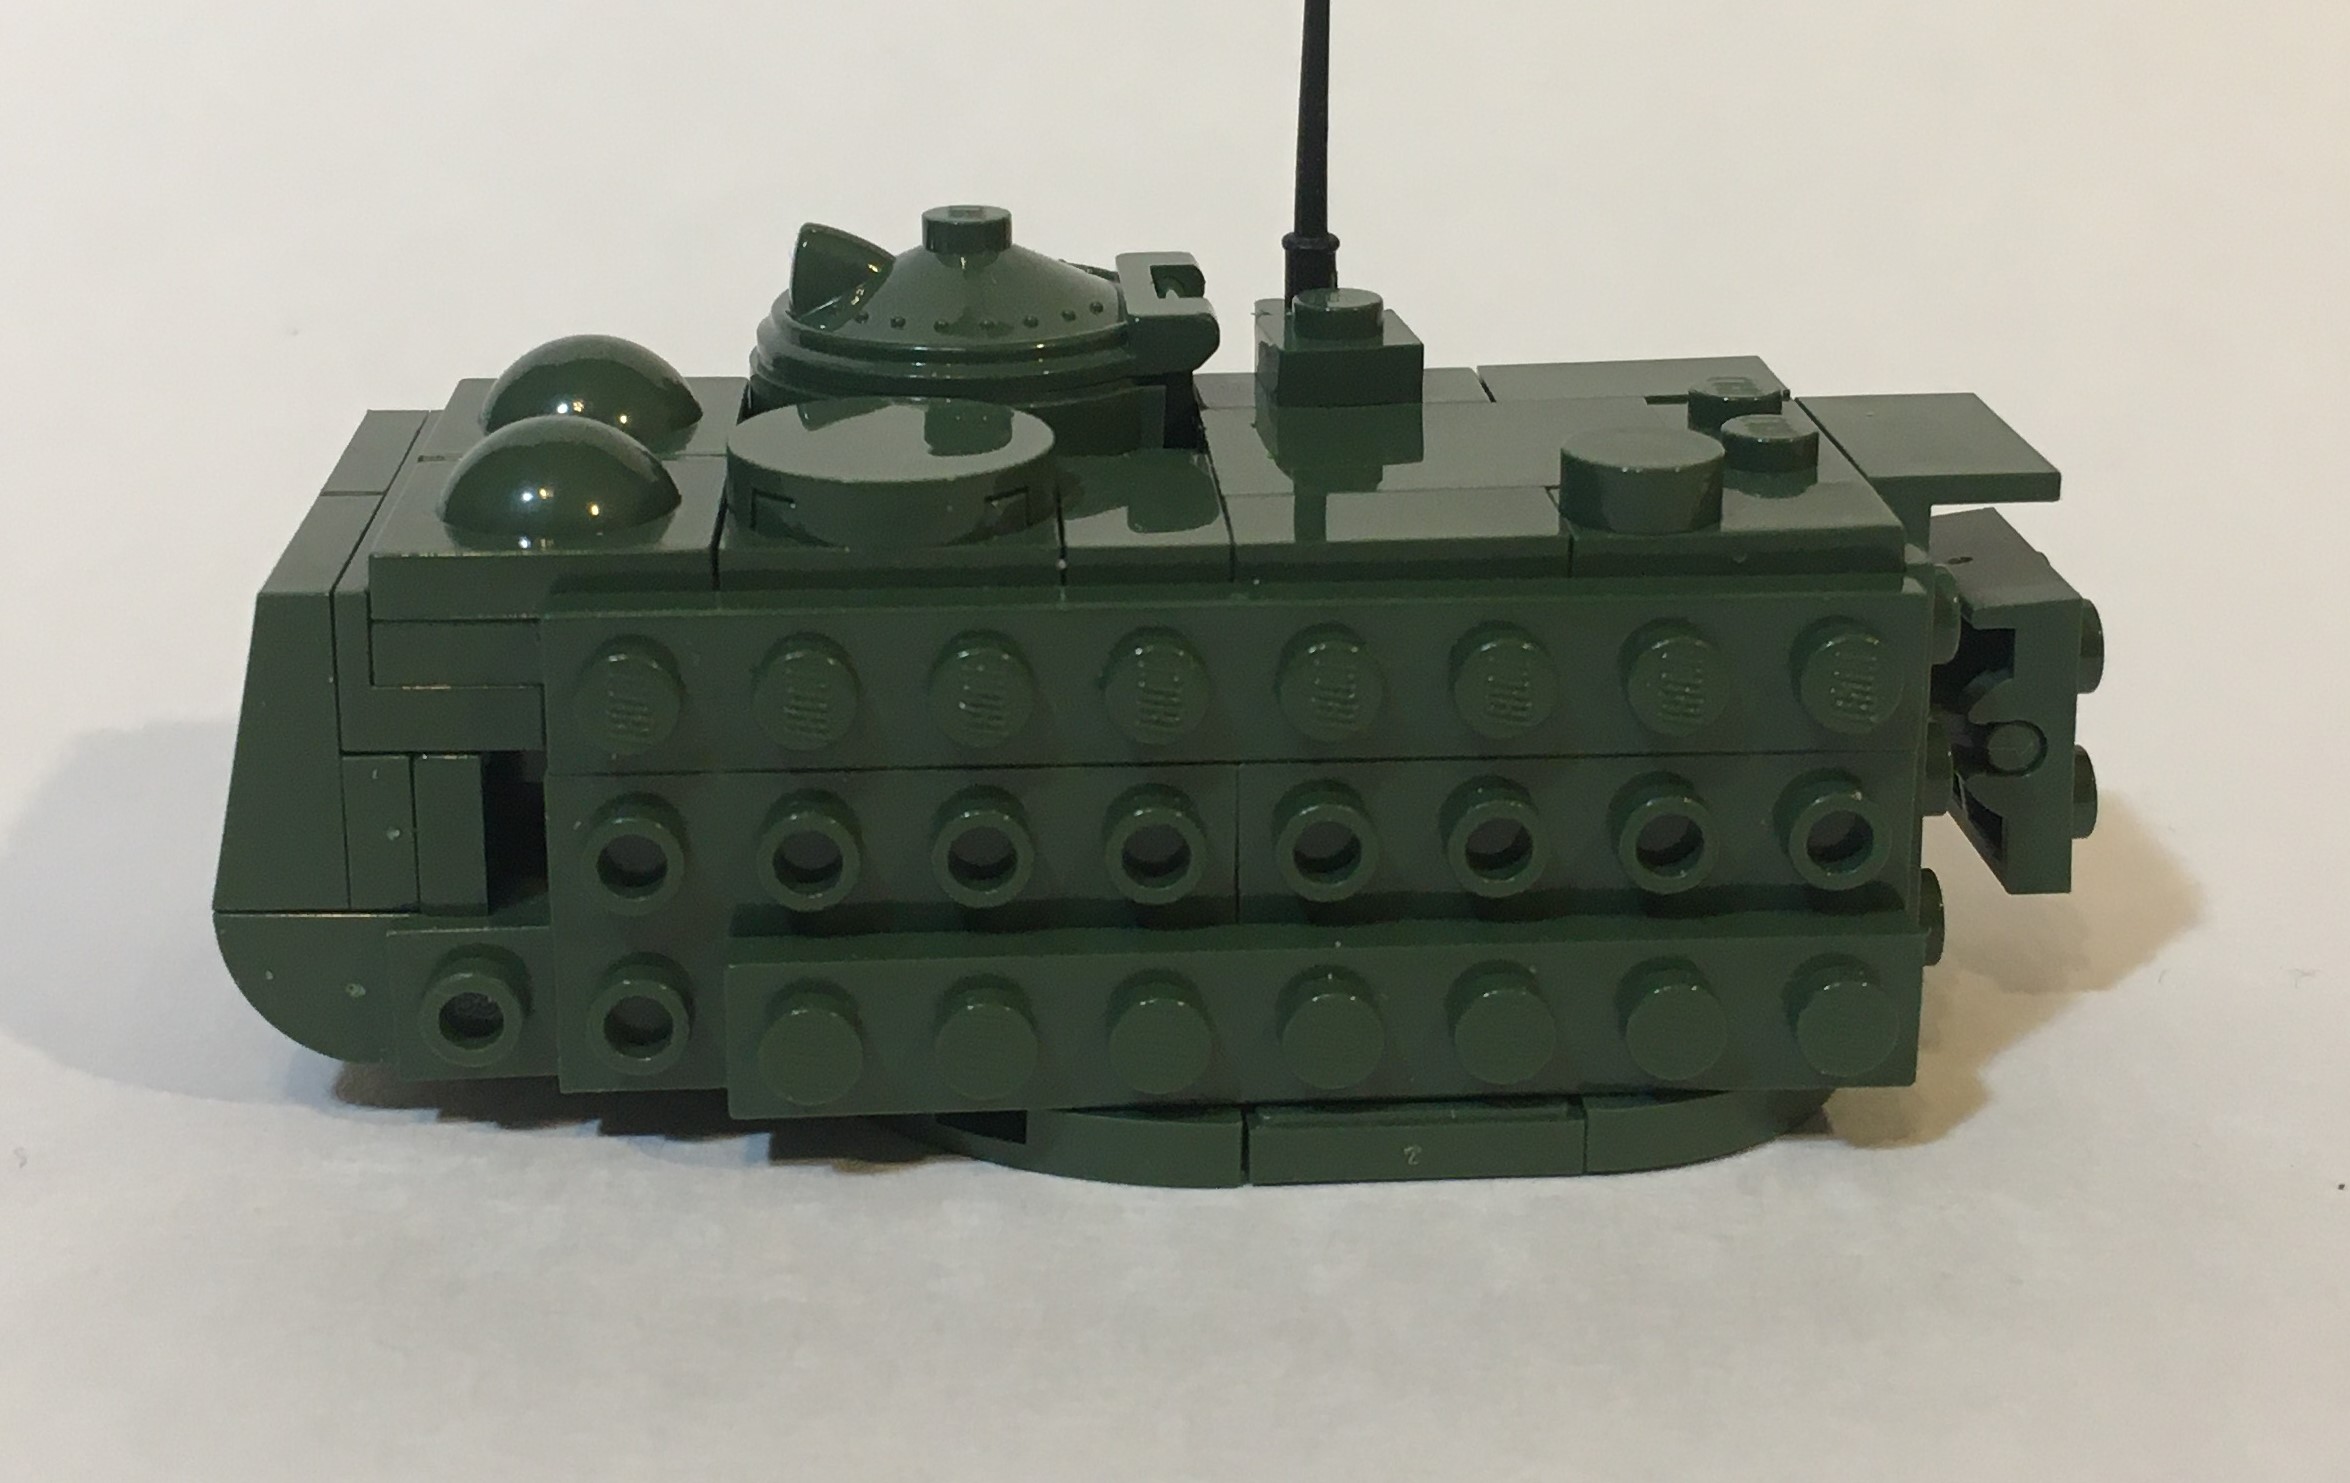

Hang onto the following pieces. You will need them later. Also hold onto the printed insignias (not pictured).
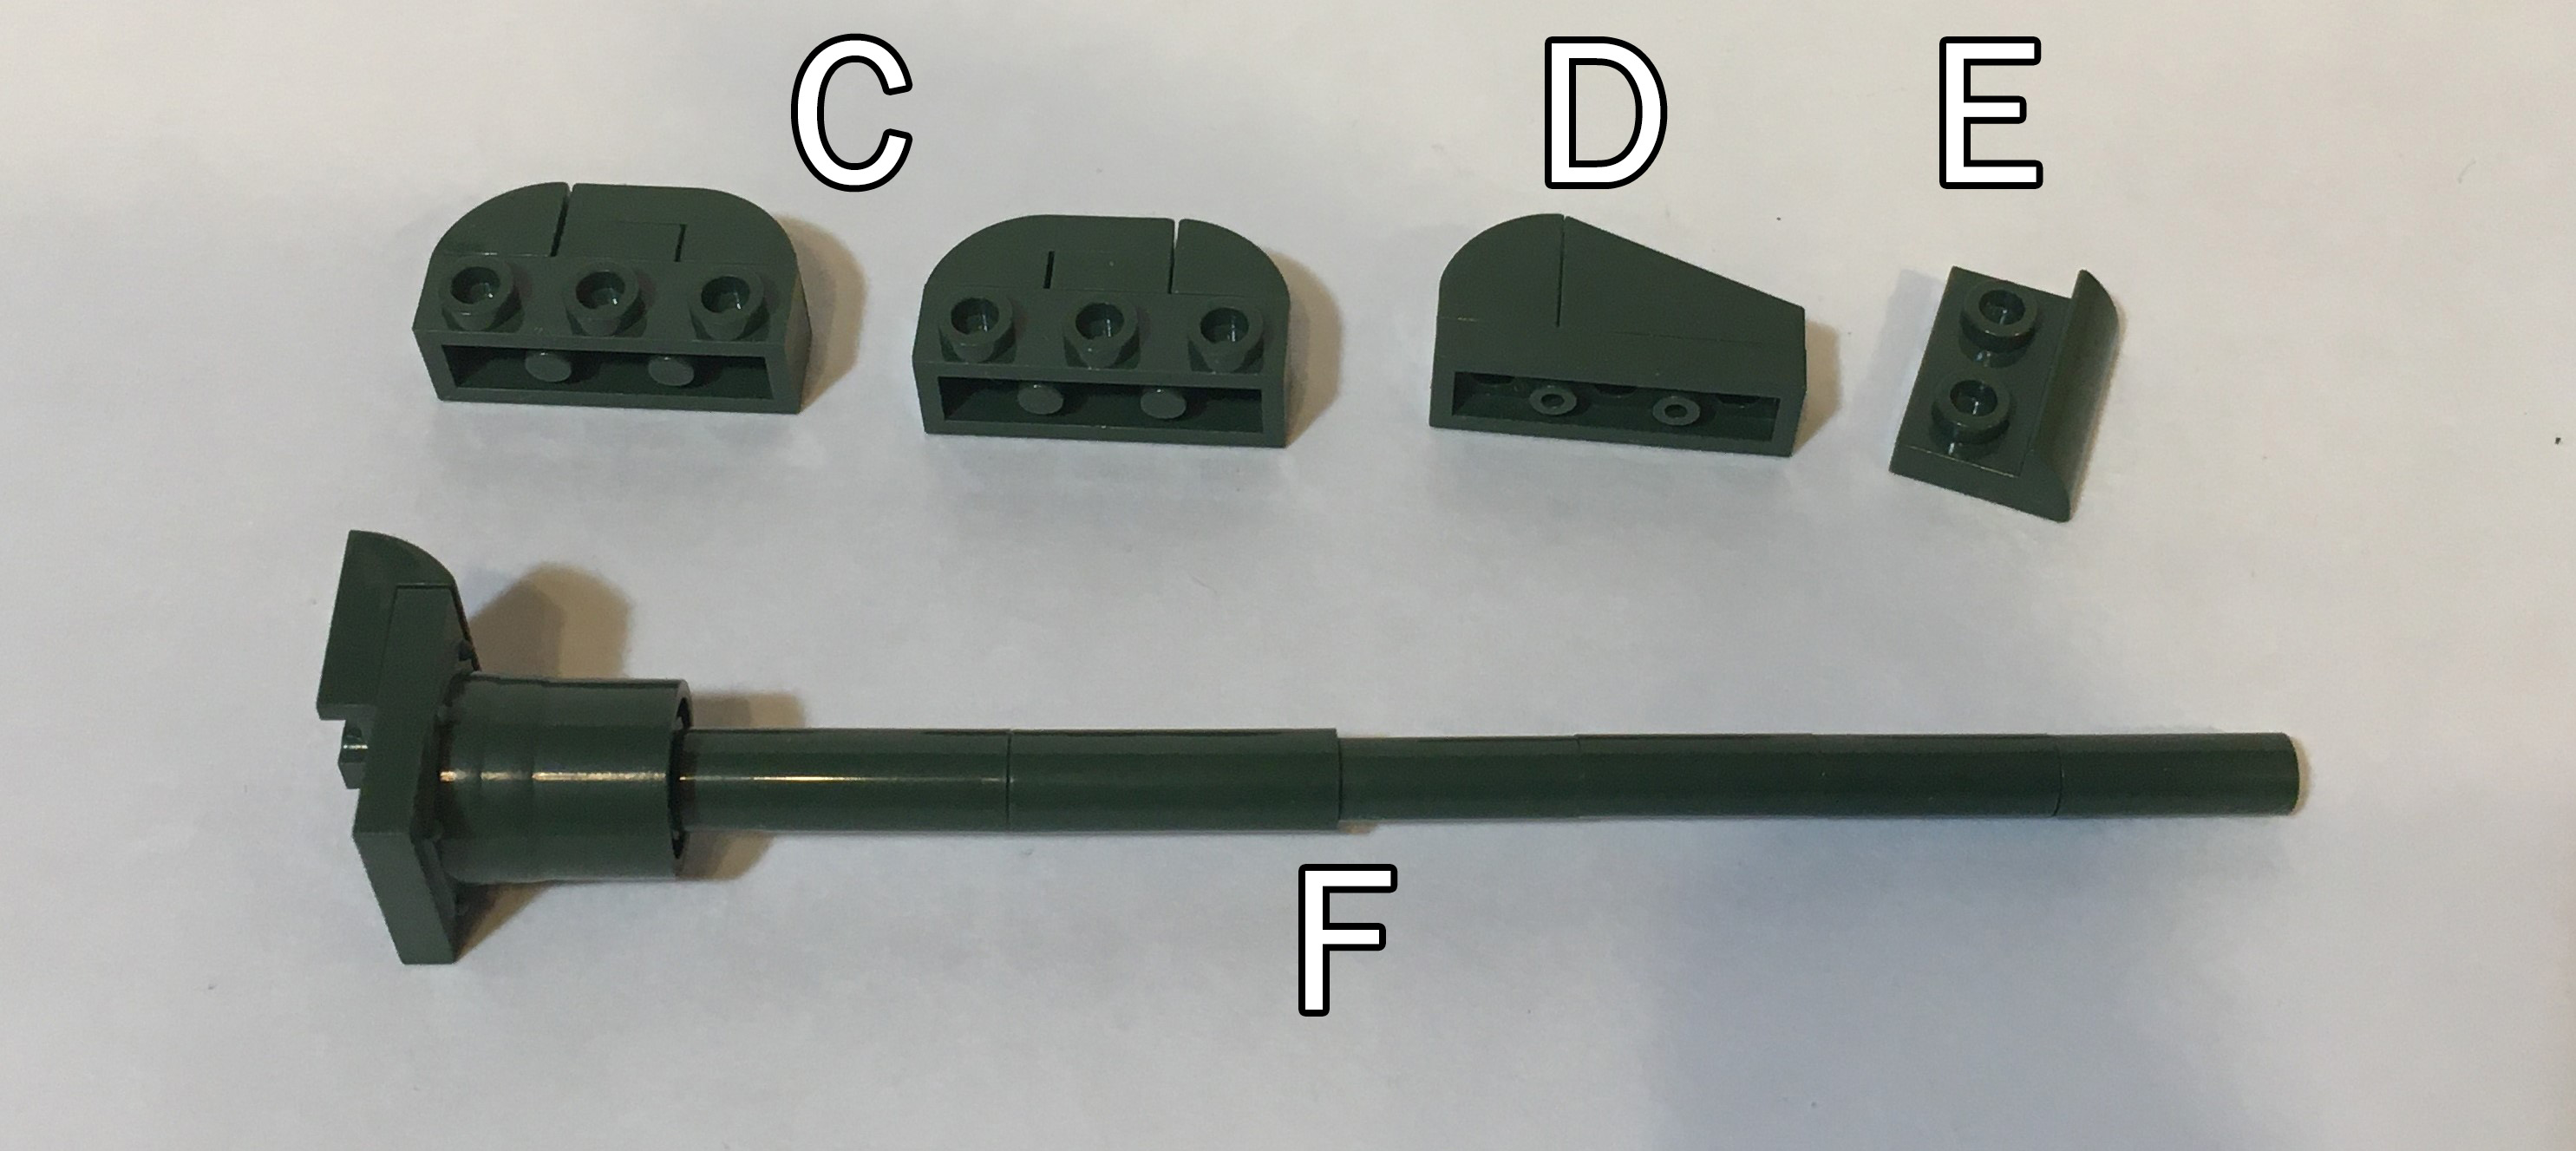
Add parts B and D to the right side of the turret

Add part E to the base of F

Sandwich part A between the block and slopes of part C. Repeat 2x.

Mount assemblies AC and EF to the front of the turret

Now add the printed turret parts, and mount the turret back on the hull. Note- the back turret parts may bump a little against the engine lid. Sanding or filing the problem areas should fix the problem,
